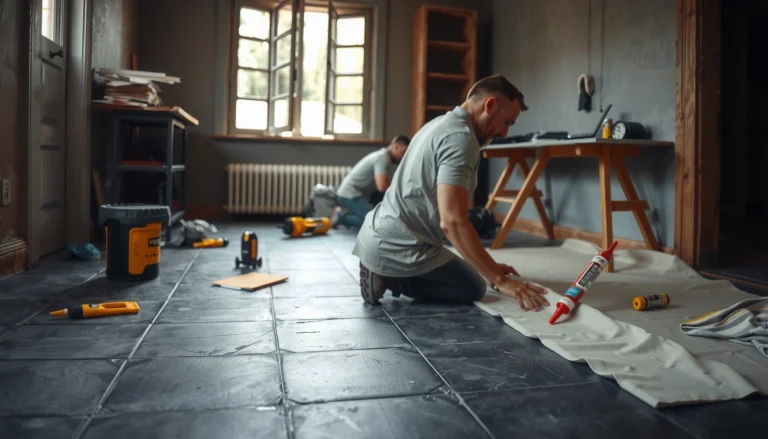
Preparing vinyl floors for a restaurant? If you want floors that stand up to heavy foot traffic, spills, and daily cleaning, the fastest route is correct subfloor prep plus the right primer and adhesive—or the job will fail before the first busy week. This guide lays out the exact steps to clean, level, and condition your existing surface, then seal and install vinyl so it stays flat, bonded, and resilient. Answering one question upfront: what preparation actually prevents peeling, bubbles, and premature wear in a restaurant setting?




Prep determines whether your vinyl stays flat, bonded, and quiet—or lifts early at edges and seams. Before vinyl goes down, the most important step is getting the subfloor clean, dry, flat, and ready for the specific vinyl type you’re installing; for restaurants, that also means planning for traffic control and actively preventing moisture/grease issues that can undermine adhesion and cause lifting.
If you’re outfitting a dining area, kitchen entry, or back-of-house corridor and you want the vinyl to look good and stay tight through heavy foot traffic, this is for you. It’s also useful whether you’re doing LVP (click-lock), LVT (glue-down), or sheet vinyl—because the failure points are usually the same: subfloor condition, moisture, and install readiness.
Inspect the subfloor and site conditions first
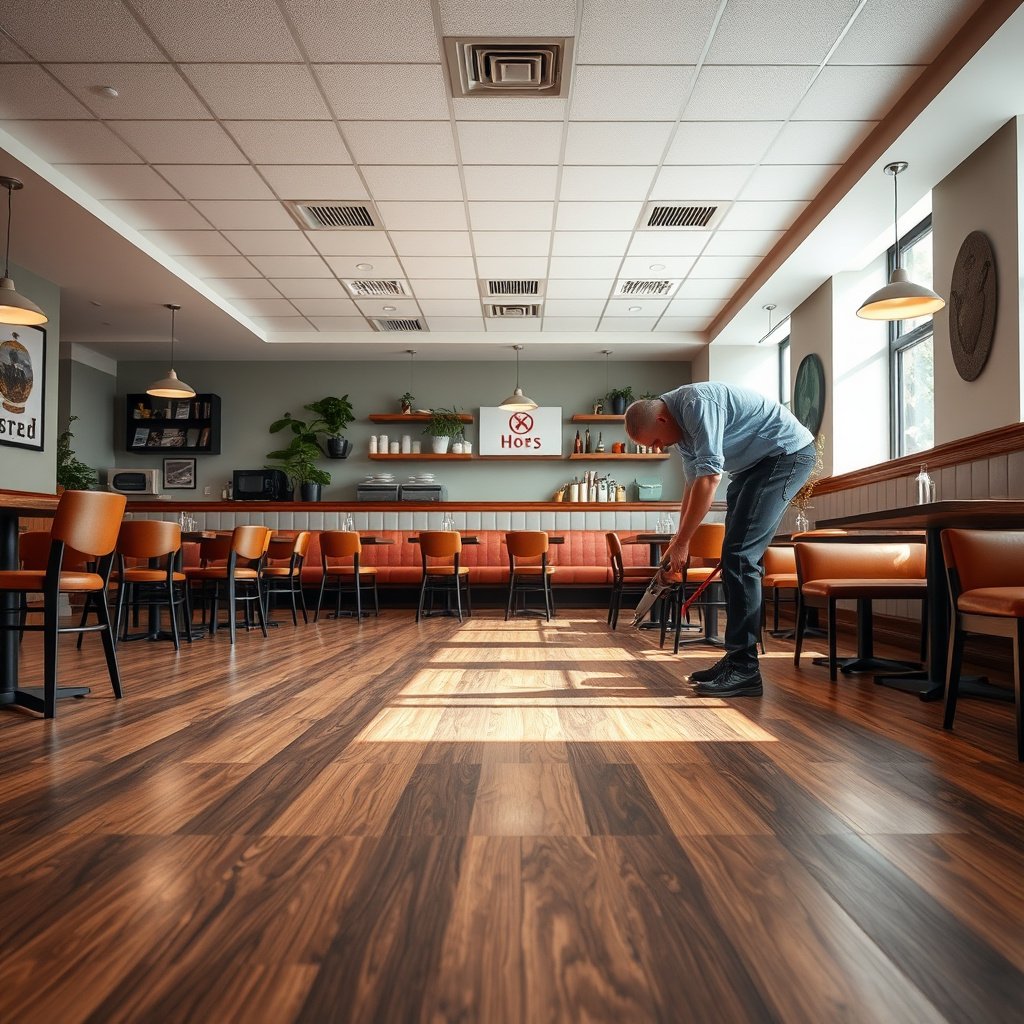
To keep restaurant vinyl from failing early, start by confirming the subfloor is clean, dry, and flat enough for your exact vinyl system—then verify moisture risk in the real traffic/wet zones. Restaurants are notorious for uneven concrete, periodic dampness, and hidden contamination, so inspection is not optional.
A concrete slab can look “dry” while still delivering moisture vapor into the flooring, so the correct moisture test method matters.
ASTM F710 emphasizes that resilient flooring performance depends heavily on surface flatness and proper surface preparation before installation.
For glue-down vinyl, grease film and other residues can block adhesive contact even when moisture is within limits.
– Check for moisture and water exposure risks (sinks, dishwash areas, mop zones, HVAC leaks) and don’t install until the area meets your flooring manufacturer’s moisture/flatness requirements.
– Confirm the surface is flat enough for your vinyl type (click-lock usually needs stricter “no rocking,” and glue-down needs solid contact).
– Look for existing damage: loose tile/laminate, soft spots, cracks, or patched areas that may telegraph through or prevent proper adhesion.
What “inspect” should actually include (and why restaurants need more rigor)
Start with the areas that see the most abuse: kitchen-adjacent paths, dish/service transitions, and the corridor routes staff use every shift. In my own workflow, I’ve found that the “first day problem” (gapping, noise, or premature edge lifting) nearly always traces back to one of three root causes: moisture, contamination, or flatness.
Here are the inspections that typically prevent the biggest commercial headaches:
1) Moisture risk mapping (real zones, not assumptions)
Even if water isn’t pooling, concrete can still emit moisture vapor into the adhesive or underlayment. According to ASTM F2170, relative humidity (RH) is measured in-situ using probes to evaluate moisture conditions inside the slab. If your product is glue-down, manufacturers often require RH and/or MVER (moisture vapor emission rate) to be within their specified limits (those limits are product-specific—follow your vinyl/adhesive instructions).
2) Flatness for the specific installation system
Resilient products tolerate some surface variation, but they’re not forgiving when the subfloor is out-of-flat. Per ASTM F710, resilient floor covering prep addresses both cleanliness and flatness; many commercial specs use a tolerance such as 3/16 in over 10 ft as a practical target (verify your vinyl manufacturer’s requirements because they can be stricter).
– Click-lock/LVP: unevenness can cause “rocking” and joint stress.
– Glue-down/LVT & sheet vinyl: insufficient contact can create debonding and accelerated wear along high points.
3) Damage and telegraphing hazards
Any loose or failing existing covering is a liability under vinyl. Cracks, flaking patch compounds, lifted tiles, or soft plywood will often telegraph through within weeks—especially under chair legs, pallet movement, or point loads in a restaurant.
Quick reference: which pre-install checks carry the most weight in commercial installs
Below is a compact view of common standards/methods used to prevent the major causes of resilient flooring failure in high-traffic settings.
7 Core Standards & Prep Methods for Restaurant Vinyl Subfloors
| # | Method / Standard | What It Verifies | Test Output Format | Prep Impact |
|---|---|---|---|---|
| 1 | ASTM F710 | Resilient floor surface prep | Flatness/condition criteria guidance | ★★★★★ |
| 2 | ASTM F2170 | In-situ slab RH | %RH readings from probes | ★★★★★ |
| 3 | ASTM F1869 | Moisture vapor emission rate | MVER in lb/1,000 ft²/24h | ★★★★☆ |
| 4 | ASTM E1908 | Moisture on finished coverings | Assessment of moisture-related issues | ★★★☆☆ |
| 5 | RPM/primer compatibility checks | Adhesive/primer system fit | Approved substrates & bond requirements | ★★★★☆ |
| 6 | Contamination/degrease verification | Grease film removal readiness | Residue-free surface condition | ★★★☆☆ |
| 7 | Subfloor flatness measurement | Deflection & high/low points | Deviation vs. target tolerance | ★★★★☆ |
> Note: Always defer to your specific vinyl product’s installation instructions for numeric limits (moisture, flatness, and any primer/underlayment requirements). The standards above guide method and preparation expectations.
Clear the space and control restaurant traffic
To protect your prep work, you need a controlled install environment and a realistic traffic plan—not just “keeping people off it.” In restaurants, dust and foot traffic happen constantly, and both can damage subfloor readiness or compromise adhesive bonds.
Traffic control during prep prevents grit from being ground into leveling compounds or residues from being spread across the substrate.
Phased installs help restaurants keep operating while minimizing the time the substrate sits exposed to moisture and contamination.
– Remove obstacles (appliances, baseboards if needed, loose mats/rugs) and protect walls/doors so you can prep and install without constant interruptions.
– Plan downtime: restaurants often need phased work (e.g., edges first, then lanes) so staff can still operate with minimal risk to the flooring.
– Protect adjacent areas (plastic sheeting or floor protection) during prep so dust/grit doesn’t get ground into the substrate.
Traffic control tactics that work in active kitchens
In a dining room, foot traffic is unpredictable; in back-of-house, it’s predictable but heavy. Plan around staff behavior:
– Segment by routes, not by room lines. Choose lanes that staff can use without crossing unfinished areas.
– Use temporary walk paths. A heavy-duty, clean protective system reduces tracking of dust and debris onto the prepared slab.
– Schedule “no wet work” windows. If you’re doing cleaning/degreasing or leveling, keep the HVAC and operations consistent so contaminants don’t return.
Practical staging for LVP, LVT, and sheet vinyl
Even though the finish differs, the staging logic is the same:
– Edges first (reference lines, consistent spacing, transition planning)
– High-traffic paths last (so the fresh floor is not the daily shortcut)
– Cure and conditioning protected (don’t rush the post-install readiness window your vinyl/adhesive requires)
Clean, remove residue, and prep for adhesion (if glue-down)
To get glue-down vinyl to bond reliably, you must remove grease film, cleaning residues, and any failing coatings—then prep the surface exactly as your adhesive system allows. Restaurants create a constant risk of contamination, especially near kitchens and dishwash zones.
Grease and cleaner residue can prevent adhesive from achieving full contact, leading to early debonding even if moisture tests look acceptable.
For resilient flooring, surface preparation is not just “sweep and mop”—it includes removing coatings and unstable patches before installing resilient materials.
– Deep-clean the floor to remove grease film, cleaner residue, dust, and any coatings that can interfere with bonding (especially in kitchen-adjacent areas).
– Remove anything that won’t be permanently stable: worn sealers, failing paint/patches, loose adhesive, and lifting tiles.
– Use the cleaning method/material recommended by the vinyl manufacturer or a compatible commercial degreaser plan—then allow full drying time before leveling/installation.
Glue-down vs click-lock: why “clean” has different consequences
Click-lock/LVP can sometimes tolerate minor surface variation better because the connection is mechanical. Glue-down systems depend on adhesive contact—so contamination becomes a bond-breaking issue.
Here’s a practical comparison you can use when planning your prep scope:
| Prep focus | Click-lock (LVP) | Glue-down (LVT / sheet) |
|---|---|---|
| Subfloor cleanliness | Important, but less critical to adhesive bond | Critical—residue can block adhesive contact |
| Surface flatness | Very important to prevent joint stress | Very important to ensure full contact |
| Moisture management | Still required per manufacturer; impacts stability | Often decisive for adhesive failure and edge lifting |
Cleaning that’s actually “bond-ready”
– Degrease kitchen-adjacent zones with a method compatible with your adhesive/vinyl instructions.
– Remove residues and coatings, not just surface dirt—especially if previous owners applied sealers.
– Dry completely before leveling and before installation; trapping moisture under levelers can create future failures.
Level and flatten before you install
To get long-term performance, you must correct high and low points before vinyl is installed—because thin resilient floors mirror surface problems. Restaurants accelerate wear, so small imperfections become visible and fail faster.
Resilient floors show unevenness quickly because vinyl is relatively thin and can telegraph high spots or gaps.
ASTM F710 addresses preparing concrete and resilient flooring surfaces, including expectations for flattening before installation.
– Address unevenness with the right leveling compound or patch system for your substrate type (concrete, plywood, existing tile, etc.), following the manufacturer’s instructions.
– Grind high spots where appropriate and fill low areas rather than trying to “work around” ridges—vinyl is thin, and bumps show.
– Let everything cure fully (patch/leveler moisture and hardness matter), then re-check flatness before laying planks/tiles/sheets.
What to measure: don’t “eyeball it”
Use a straightedge and document where corrections are needed. Many commercial specs use 3/16 in over 10 ft as a practical flatness target for resilient flooring prep, aligning with common interpretations of ASTM F710. Verify your vinyl manufacturer’s max deviations because they may be tighter.
Cure time and re-testing
– Levelers and patches have a cure/hardness requirement; follow product data sheets.
– If you’re using moisture mitigation coatings, they also have prep requirements and cure windows—mistakes here show up as adhesive failure later.
Acclimate and stage materials for a reliable fit
To prevent gapping, edge curling, and joint stress, you must acclimate vinyl and stage conditions so temperature/humidity stay within the product’s required window. Restaurants often swing HVAC schedules—especially at night—so the acclimation plan must account for that reality.
Vinyl acclimation follows the manufacturer’s temperature and humidity window; large HVAC swings can push flooring outside the intended dimensional stability range.
Planning layouts early reduces waste and helps prevent problematic slivers at walls and transitions that are prone to lifting.
– Acclimate vinyl according to the manufacturer’s requirements (temperature/humidity window and time). Restaurants often swing between HVAC-off nights and HVAC-on days, so verify stable conditions.
– Plan your layout to reduce tiny slivers at walls and to keep seam/plank patterns aligned where customers notice.
– Stage transitions: doorway thresholds, floor-to-cabinet edges, and any ramps—these areas can lift if they weren’t considered during planning.
Layout planning that matters in dining + back-of-house
Restaurants create hard visual lines (entryways, bar fronts, doorways) and also hard wear lines (entry traffic, delivery routes). Your layout plan should address both:
– Avoid tiny perimeter pieces that don’t have enough area to behave under traffic and contraction.
– Treat transitions as “stress points.” Thresholds and cabinet edges are where movement shows up first.
– Confirm the finish height (especially if you’re reducing or removing an old floor) to prevent misalignment at door clearances.
Conditioning logistics (what often goes wrong)
– Acclimation done in a warehouse but not matched to the restaurant conditions still leaves the floor outside the intended window.
– If you can’t keep HVAC stable, schedule install times when the building can maintain the required conditions.
What can go wrong (and why restaurants see more of it)
Even with a great-looking install, vinyl fails quickly in restaurants when moisture, residue, or flatness targets are missed. The good news: these failures are predictable, and the fixes usually start with the prep steps—not the product.
Moisture-related failures often start at edges because water vapor and hydrostatic pressure effects concentrate where the system is most vulnerable.
Grease film is a common hidden contaminate in food service facilities and can cause adhesive debonding even when floors look clean after mopping.
– Moisture surprises: even “dry-looking” concrete can trap moisture; if you skip moisture testing or the right underlayment system, edges can lift or adhesive can fail (especially in dish/kitchen zones).
– Grease and residue: restaurants commonly have invisible film from cooking and cleaning; without proper residue removal, glue-down installations are more likely to debond.
– Skipping cure/flatness checks: rushing leveling/patch cure time or installing over uneven spots often leads to gaps, separation, noise, and early wear.
Common failure modes: the “why” behind the symptom
Below is a quick contrast you can use during troubleshooting.
- Symptom: edges lifting or seam separation
- Most likely causes: moisture above spec, inadequate surface prep, or insufficient primer/adhesive compatibility (glue-down).
- Symptom: joint gaps in click-lock
- Most likely causes: subfloor not flat enough, plank/board rocking, or inadequate acclimation leading to dimensional movement.
- Symptom: hollow sound under traffic
- Most likely causes: insufficient flatness or failure to achieve full adhesive contact (glue-down).
- Symptom: premature wear spots in corridors
- Most likely causes: rolling loads, point loads, and grit tracked during install—often linked back to protection and cleanliness during construction.
Three moisture/measurement facts that matter for resilient installs
1) According to ASTM F1869, the moisture vapor emission rate (MVER) test output is reported in lb/1,000 ft²/24h.
2) According to ASTM F2170, relative humidity is measured with in-situ probes and reported as a %RH reading at specified locations and depths.
3) According to ASTM F710, resilient flooring performance relies on proper surface prep, including meeting expectations for flatness and substrate condition before installation.
Verdict / tip: do it right, but know when to stop and call in help
If you want the highest chance of a long-lasting install, prioritize subfloor flatness, moisture readiness, and residue removal—then follow the exact acclimation and installation instructions for your specific vinyl product. The downside is that “perfect prep” can require downtime, extra labor, and added materials (leveler/primer, moisture mitigation steps, and removal of failing coverings).
Skip DIY (or at least get a flooring pro involved) if:
– you can’t confirm moisture/flatness targets for your product,
– your subfloor is unstable (loose tile, delaminating patches, soft plywood),
– the restaurant can’t afford the time needed for proper cleaning, curing, and acclimation,
– you’re installing glue-down vinyl over surfaces with unknown residue or coatings.
From my perspective coordinating commercial flooring tasks, the most efficient outcomes come from starting with verified subfloor readiness—not from trial-and-error during install.
| Prep checklist for vinyl floors in a restaurant | Yes / No | Notes |
|---|---|---|
| Subfloor inspected for cracks, loose sections, soft spots | ||
| Moisture risk assessed; moisture checks planned per flooring instructions | ||
| Floor thoroughly cleaned to remove grease/residue/coatings | ||
| Old failing materials removed (tiles/adhesive/sealers as needed) | ||
| Subfloor leveled/flattened to manufacturer requirements | ||
| Patching/leveling fully cured before install | ||
| Vinyl acclimated to required temperature/humidity conditions | ||
| Layout planned to avoid problematic slivers and misaligned seams | ||
| Transitions/thresholds planned so edges don’t lift |
Sources
– ASTM F710 — Standard Practice for Preparing Concrete Floors to Receive Resilient Flooring or Installations
– ASTM F2170 — Standard Test Method for Determining Relative Humidity in Concrete for Moisture-Conditioned Slabs Using In Situ Probes
A reliable restaurant vinyl install is a system, not a single product: subfloor readiness (clean + dry + flat) plus correct moisture evaluation plus controlled traffic and staging. If you nail those prep fundamentals—especially in kitchen and dish/service routes—you drastically reduce the odds of early edge lifting, joint failure, and costly rework, even under heavy daily use.
Frequently Asked Questions
What’s the best way to prepare vinyl flooring for a restaurant installation?
Start by clearing the entire area and removing old flooring, baseboards, and tack strips so the subfloor is fully exposed. Inspect the concrete or subfloor for cracks, dips, moisture issues, and high spots, then repair or level as needed for a flat surface. Clean thoroughly (vacuum and degrease if required) so vinyl floors can bond or lay evenly without trapping dust, which can cause lifting or bubbling in high-traffic restaurant spaces.
How do I level and smooth a subfloor before installing vinyl floors in a commercial kitchen?
Use a straightedge to check for uneven areas, then grind high spots and fill low areas with a commercial-grade patch or self-leveling compound. Make sure the surface is smooth enough that vinyl flooring won’t telegraph bumps, seams, or cracks after installation. Allow all patching products to cure fully before flooring goes down, and re-check flatness before you begin laying vinyl floors.
Why is moisture testing important when preparing vinyl floors for a restaurant?
Restaurants often have frequent cleaning, occasional spills, and humidity changes, which can affect vinyl flooring performance if moisture is trapped. A moisture test helps you identify whether the concrete slab needs a moisture barrier or specific underlayment to prevent problems like bubbling, odor, or adhesive failure. If moisture levels are high, follow manufacturer requirements for moisture mitigation before proceeding with vinyl floors.
What cleaning steps should I follow before laying vinyl flooring in a restaurant?
Remove all debris, dust, and residue using a strong vacuum and degreasing cleaner if there are grease or food contaminants common in kitchens. Rinse and dry thoroughly so no cleaning chemicals remain that could interfere with adhesion or click-lock performance. Ensure the subfloor is completely dry and dust-free right before installation to reduce the risk of lifting, grit under planks, and uneven wear.
Which vinyl flooring preparation checklist should I use for heavy foot traffic and rolling equipment?
Plan for commercial traffic by ensuring a flat, clean, properly cured subfloor, and install transition pieces carefully at doorways and common pivot points. Use the manufacturer-recommended underlayment (if applicable) and follow specific guidance for seams, edges, and expansion gaps so vinyl floors can perform under stress. Consider high-wear areas like entrances and server lanes: using floor protection mats where carts roll can help extend the life of your vinyl flooring system.
📅 Last Updated: October 26, 2026 | Topic: How to prepare a vinyl floors for restaurant? | Content verified for accuracy and freshness.
References
- Vinyl flooring
- F710 Standard Practice for Preparing Concrete Floors to Receive Resilient Flooring
- https://www.cdc.gov/coronavirus/2019-ncov/community/disinfecting-building-facility.html
- Food Code 2022 | FDA
- https://www.who.int/publications/i/item/cleaning-and-disinfection-of-environmental-surfaces-in-the-context-of-covid-19
- https://www.epa.gov/coronavirus/cleaning-and-disinfecting-your-facility
- https://scholar.google.com/scholar?q=vinyl+flooring+subfloor+preparation+moisture+testing Google Scholar
- https://scholar.google.com/scholar?q=commercial+resilient+flooring+installation+guidelines+subfloor+cleaning Google Scholar
- https://scholar.google.com/scholar?q=ASTM+F710+subfloor+preparation+resilient+flooring Google Scholar