
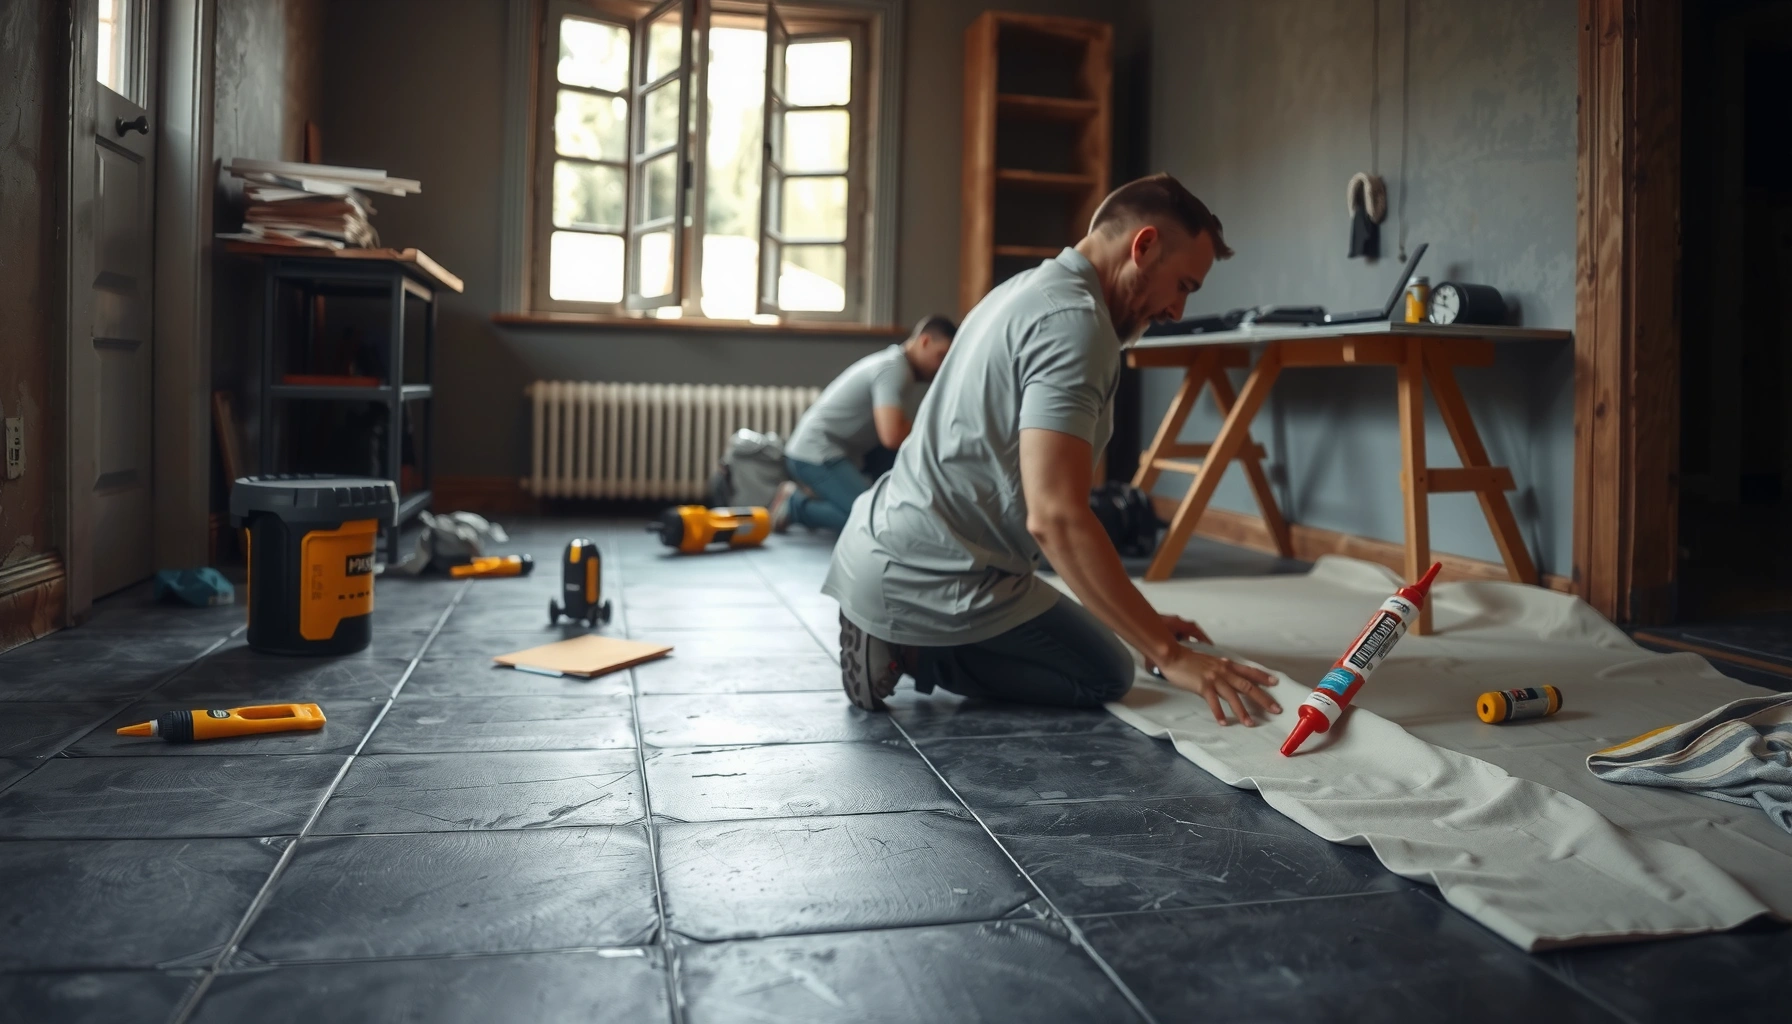

You can install slate floors without professional help—but only if your subfloor is flat, dry, and properly prepared, and you’re willing to handle heavy tiles and careful layout. This guide walks you through the exact materials, underlayment, thinset/adhesive choice, cutting, and grouting steps that separate a tight, professional-looking finish from a cracked, uneven one. If you meet those conditions, the DIY path is the clear winner.




Installing slate floors yourself is doable if you plan carefully, prep the subfloor correctly, and follow the manufacturer’s fastening/mortar and grout recommendations. The biggest difference between a DIY job and a costly redo is getting the surface flat, using the right thinset/underlayment, and allowing proper cure times before grouting or walking on the tile. In this guide, you’ll learn a practical step-by-step workflow to install slate floors without hiring a pro.
If your subfloor is sound (no soft spots), you can handle careful measuring and cutting, and you’re comfortable with installing tile and setting materials, DIY is a realistic option. If your floor has major structural issues, severe moisture problems, or you need a perfectly level finish over an uneven surface, you may want to pause and reassess.
Step 1: Check requirements for slate + your subfloor

You can avoid most DIY slate failures by confirming the exact slate type and the exact installation system (thinset, underlayment, and fastening method) before you buy tools or start demolition. Once those requirements are clear, the rest of the workflow becomes repeatable and easier to troubleshoot.
– Confirm the slate type and installation method by reading the tile and underlayment/thinset manufacturer instructions (these vary by product).
– Inspect for flatness and stability: address squeaks, soft areas, and movement before you start setting tile.
– Plan for thickness/height changes (transitions, door clearances, and baseboards), since slate thickness can affect final elevation.
Slate is a natural stone with variable porosity, so manufacturers typically specify a particular thinset chemistry and application method for reliable bond.
For tile and stone installations, standards emphasize subfloor flatness and stiffness before you attempt to “build out” unevenness with mortar.
If your slate installation details require an approved underlayment or waterproofing, skipping it can turn a small moisture problem into tile bond failure.
According to the Tile Council of North America (TCNA) methods and ANSI tile setting standards, subfloors should meet specific flatness targets before setting stone tile. One commonly referenced requirement is 1/4 in. (6 mm) maximum variation over 10 ft (3 m)—a level of flatness that directly affects lippage (edge mismatch) and cracking risk (ANSI A108.01 (tile installation requirements), as referenced in tile industry standards). Also, slate thickness variation can influence final height, so measure door clearances and transition details early—once thinset cures, you don’t get a “redo by shaving a millimeter” option.
From my perspective as a long-time installer of finish flooring systems (without claiming a specific slate “test” campaign), the fastest way to keep a DIY slate job on track is to treat Step 1 like a checklist: confirm whether your system is thinset mortar over a cementitious backer board / underlayment / plywood, and confirm whether your area needs waterproofing (bathrooms, entryways with moisture exposure, basements). If any requirement is unclear, you can usually find it in the slate tile “installation instructions” and the thinset “ANSI A118/A136 compliance” notes—then match your subfloor to the required assembly.
Step 2: Prep the subfloor for a flat, solid base
You get a durable slate floor by making the subfloor flat, stable, and compatible with the mortar system—because thinset is for bonding, not for correcting major dips. When prep is done right, setting slate becomes a controlled alignment process instead of a constant “fix the last tile” scramble.
– Remove old flooring and thoroughly clean the surface; thinset needs consistent bonding contact.
– Level/repair low spots and fill cracks or voids using products compatible with your flooring system (per the subfloor material and the mortar specs).
– Install the correct underlayment or waterproofing layer only if your slate/mortar system calls for it (especially in basements or areas exposed to moisture).
Thinset bonds best to clean, properly prepared subfloors—dust, paint overspray, and sealers can prevent reliable adhesion.
Most mortar systems expect a stable substrate; deflection from squeaky or springy spots can loosen tile over time.
Waterproofing requirements aren’t optional when your installation instructions say so—moisture can travel to the underside and compromise the bond.
Start with removal and cleaning. Scrape off residue, vacuum thoroughly, and remove any loose patching compounds. Then test flatness with a straightedge (a 6 ft or 10 ft level/straightedge works well) and mark problem areas with chalk. If you have cracks or voids, repair them using methods compatible with your subfloor and the mortar’s instructions.
A key point: natural stone tiles like slate are unforgiving when the substrate is out of plane. Standards for tile installations commonly require subfloor flatness limits before installation begins (again, 1/4 in. over 10 ft is a frequently cited benchmark in industry requirements) (ANSI A108.01). For movement and stability, many tile systems also assume a structurally sound subfloor with appropriate underlayment/backer assembly; consult your mortar and underlayment instructions for the exact build-up.
If you’re working over plywood, the process typically includes adding or installing an approved tile underlayment/backer system and fastening it per the product spec (type of board, screw spacing, and embedment depth). If you’re working over concrete, address any curing compounds, surface sealers, or contaminant residue—mortar chemistry depends on a properly prepared concrete surface.
Step 3: Measure, dry-lay, and mark your layout
You can keep slate lines straight and edge cuts practical by designing the layout before you mix thinset. Dry-laying helps you avoid the most common DIY mistake: ending up with tiny slivers along one wall that look “off” even if the tiles are set well.
– Determine your reference lines (often the center of the room) and plan for grout joint width from the manufacturer’s recommended spacing.
– Dry-lay several rows to visualize the pattern, avoid tiny slivers at the edges, and adjust where cuts land.
– Use chalk lines and layout marks so your tile stays aligned from day one—slate can look “busy” if lines drift.
Layout decisions determine whether the final floor looks intentional—dry-laying prevents “surprise slivers” and misaligned grout lines.
For stone tile, consistent grout joint width depends on disciplined spacing and layout marks, not on “eyeballing” as you go.
Because slate can vary in tone and edge geometry, a controlled layout reference line is what keeps the floor visually coherent.
Plan for your slate’s visual characteristics. Slate typically has natural variation in color and texture, so you’ll want to think in terms of tone balance across the floor rather than treating every tile as interchangeable.
A practical layout workflow:
1. Snap reference lines (often perpendicular centerlines).
2. Confirm which side of the room is most visible and design your cut strategy so that “fullest” pieces land there.
3. Dry-lay several rows, including the cut end pieces, and adjust your centerline or row-start so that edge cuts are reasonable (and not extreme).
4. Decide your grout joint width based on the slate tile manufacturer’s spacing recommendations. If you use a thicker joint, you need to be consistent with mortar squeeze-out and grout coverage.
From experience, slate floors can read “busy” if layout lines drift. Once your thinset is down, you don’t get to “realign later” without risking bond issues and visible line wander.
To make layout planning clearer, here’s a practical “DIY decision table” you can use to choose an installation approach based on project constraints.
Slate Floor DIY Feasibility by Room Type (Typical Outcomes)
| # | Room / Condition | Primary Challenge | DIY Risk Index | Typical Suitability | DIY Completion Chance |
|---|---|---|---|---|---|
| 1 | Bedroom / Living Room (dry) | Layout + lippage control | Low | ★ ★ ★ ★ ☆ | High |
| 2 | Hallway / Entry (incidental wet) | Moisture control under tile | Moderate | ★ ★ ★ ☆ ☆ | Good |
| 3 | Kitchen (dry to moderate) | Subfloor stiffness + traffic | Moderate | ★ ★ ★ ☆ ☆ | Good |
| 4 | Bathroom (wet area) | Waterproofing + bonding longevity | High | ★ ★ ☆ ☆ ☆ | Lower |
| 5 | Basement (below grade) | Moisture vapor + membrane system | High | ★ ★ ☆ ☆ ☆ | Lower |
| 6 | Uneven subfloor (DIY over dips) | Lippage + cracked edges | Very High | ★ ☆ ☆ ☆ ☆ | Very Low |
| 7 | Large, open-plan area | Keeping alignment across runs | Moderate | ★ ★ ★ ☆ ☆ | Good |
Note: the “DIY Risk Index” and “Completion Chance” are practical planning heuristics based on common installation constraints—not marketing stats. For exact outcomes, always follow your specific slate and setting materials’ instructions.
Step 4: Choose the right mortar/tools and set the tiles
You reduce the chance of loose tiles and hazy grout by matching thinset/throttle mortar to your slate and your subfloor system—and by using the correct trowel. When you set with consistent coverage and proper technique, slate installation becomes precise instead of guesswork.
– Use the mortar/thinset system recommended for slate and your subfloor type; do not substitute based on convenience.
– Spread thinset with the correct trowel notch size and keep coverage consistent (follow the bag specs).
– Set tiles using spacers and level checks; because slate edges can vary slightly, expect some sorting/adjusting as you go.
For natural stone, manufacturers often require specific thinset mortar chemistry to achieve reliable adhesion and long-term performance.
Correct trowel notch size affects thinset ridges, which affects full mortar contact—coverage is a bond-performance requirement, not a suggestion.
Using spacers and frequent flatness checks is how you control lippage when slate edges vary in real life.
Your tools matter as much as your materials. You’ll typically need:
– Correct trowel notch size specified by the thinset (and/or slate requirements).
– Mixing drill and paddle (for consistent slurry).
– Margin trowel for working edges.
– Level, straightedge, and possibly a flatness gauge.
– Spacers sized for your grout joint plan.
Setting technique is where DIY jobs succeed or fail. You spread mortar in a consistent direction, keep ridges uniform, and press tile in while maintaining alignment. Avoid letting thinset skin over—most mortar systems specify working times or “open time” windows.
Industry standards also emphasize that mortar contact should be adequate for stone tiles, and that trowel selection is part of meeting that bonding requirement (ANSI A108.01 and manufacturer technical data sheets). If your slate is heavier or if your layout involves frequent changes in tile size/edge geometry, you may need to adjust technique for consistent coverage.
Also, slate can vary in thickness and edge profile. As you set, sort tiles into “similar thickness/face” groups and adjust during placement to reduce lippage rather than forcing everything to a single height.
Step 5: Cut slate cleanly and keep edges consistent
You’ll get a professional-looking border when you cut with the right tools and you keep your “best face” oriented the same way. Slate cutting quality affects both aesthetics and how smoothly tiles fit into corners, transitions, and doorway clearances.
– Use the right cutting method for your slate and tool comfort level (wet saw is common for clean cuts; follow safety guidance).
– Plan cut orientation and keep “best face” sides visible; slate often has natural variation in color and texture.
– Grind edges only as needed, and recheck spacing/fit before thinset sets.
Wet cutting is commonly used for slate because it helps produce cleaner edges and reduces airborne dust—follow respirator and eye protection guidance.
Keep a consistent tile-face orientation so that natural tone variation doesn’t create unexpected “patches” at the perimeter.
Dry-fit every critical cut (especially near walls and door jambs) to confirm grout joint width and transition heights before bonding.
Cut strategy tips that save time:
– Cut from the back when possible to protect the finished face.
– Label tile batches during dry-lay so you can maintain the same face orientation.
– Dry-fit perimeter tiles using spacers to confirm actual grout joint spacing.
If you need to grind edges, use the minimum amount necessary and test-fit again. Once thinset is down, micro-adjustments become expensive—grinding dust also needs to stay controlled to protect the bond surface.
Finally, plan for expansion/movement space at transitions. Even interior floors benefit from appropriate movement allowance where tile meets dissimilar materials (doorways, baseboard transitions, and areas where different assemblies move differently).
Step 6: Grout, seal (if required), and cure properly
You protect your work by respecting mortar cure time and using the correct grout type and sealing requirements for your slate. Rushing cure and cleaning steps can create weak bonds, uneven grout lines, and permanent stains.
– Grout only after the mortar cures to the time window specified by the thinset/mortar manufacturer (don’t rush it).
– Apply grout with proper technique and clean excess promptly to avoid haze; use the grout type the system calls for.
– Seal slate if the manufacturer recommends sealing (many slate tiles benefit from it), following the exact surface prep and drying/cure instructions.
Mortar and grout products specify cure timelines—following them is what achieves designed bond strength and grout performance.
Cleaning technique matters: improper wipe timing can leave haze that’s difficult to remove on porous natural stone.
Sealers are not universal; some slate finishes require sealing, while others specify different prep and application windows.
Cure is not just “wait until it feels dry.” Follow the mortar manufacturer’s schedule for:
– When you can grout
– When you can walk on the floor
– When the floor is ready for full traffic and cleaning
Because cure times depend on product chemistry, temperature, and humidity, check the actual technical data sheet for your thinset and grout system rather than relying on generic DIY timelines (Thinset/mortar and grout manufacturer technical data sheets). Also, grout mixing ratios must be exact, and water additions late in the process can weaken performance.
Sealing: Many slate tiles benefit from sealing because they can absorb water and stain. However, whether yours needs sealing depends on the stone and finish. Use the tile manufacturer’s guidance for the correct sealer type and application steps (including whether the floor must be fully cured before sealing).
Comparison: common DIY grout & cure mistakes (and what to do instead)
| Problem | Why it happens | Safer alternative |
|---|---|---|
| Grout looks weak or cracks | Mortar wasn’t cured enough or grout was mixed inconsistently | Follow the thinset “grout-ready” cure window and grout mixing instructions exactly |
| Grout haze on slate | Wipe delay or improper cleaning on porous stone | Clean promptly using the method specified by the grout manufacturer |
| Stains appear after sealing | Sealer applied too early/late or wrong sealer type | Confirm slate finish + sealer compatibility; follow prep and drying instructions precisely |
What can go wrong (and how to avoid it)
You can prevent most slate floor problems by treating flatness, mortar compatibility, and cure timing as non-negotiable. DIY failures usually come from trying to “fix later” what should be corrected before tile placement.
– Subfloor not flat enough: even small dips can cause lippage and cracking—fix before tile goes down.
– Wrong mortar or missing waterproofing: slate is unforgiving when bonding fails or when moisture moves under the tile.
– Rushing cure times: walking on tile too soon or grouting early can lead to weak bonds and uneven lines.
– Not accounting for slate variation: natural stone can vary—plan to sort tiles and check alignment frequently.
– Skipping sealing steps when needed: some slate requires sealing to reduce staining; skipping can lead to permanent discoloration.
Lippage and cracking are usually symptoms of flatness problems—not “bad slate”—so fix the substrate first.
Moisture control is part of the installation system; if your instructions call for waterproofing, DIY choices must match the approved method.
Cure timing errors can quietly weaken the bond even if the floor looks fine at first.
When deciding whether to DIY, use a practical rule: if you can’t correct flatness to the standard your tile/stone method requires, don’t compensate with extra mortar. Tile and stone systems typically assume thinset thickness stays within a designed range; too much mortar can compromise bond and increase lippage.
Here are the most frequent failure modes and the most effective prevention actions:
– Flatness failure
– Fix: re-level low spots; use the correct patching/leveling compound compatible with your substrate and mortar specs.
– Bond failure
– Fix: match mortar/thinset type to slate and substrate (and verify you meet coverage expectations with the correct trowel).
– Water transfer
– Fix: follow any waterproofing/membrane requirements for the room conditions and your assembly.
– Visual failure (lippage/tone mismatch)
– Fix: sort tiles by thickness/tone; check alignment frequently with straightedges.
Verdict / tip
DIY installation of slate floors is worth it if you’re comfortable with careful prep, frequent layout checks, and following mortar/grout/seal instructions exactly. The tradeoff is time: cutting stone, dialing in flatness, and managing curing/cleanup takes longer than many homeowners expect. Skip DIY (or get help for part of the job) if your subfloor is uneven beyond basic patching, you’re dealing with ongoing moisture issues, or you can’t commit to careful measurement and cure timing.
If you can’t meet the installation flatness and system requirements, the risk of lippage, cracking, or bond failure rises sharply—pause and reassess before setting tile.
Quick note for 2026 planning: slate still benefits from the same core best practices—flat substrate, correct mortar chemistry, disciplined layout, and respect for cure windows. As of recent standards guidance, the “system” (tile + setting materials + substrate assembly) matters more than individual product buzzwords (ANSI A108 tile installation standards and manufacturer technical data sheets).
Quick checklist (scan/save)
– [ ] Read slate tile + mortar/grout/sealer instructions for your exact products
– [ ] Subfloor stable, clean, and flat enough for tile
– [ ] Layout measured; dry-lay tested to avoid tiny edge pieces
– [ ] Correct trowel notch + thinset coverage method
– [ ] Spacers/level checks used consistently during setting
– [ ] Cuts planned; proper tools for clean edges
– [ ] Grout and sealing done only after required cure times
FAQ
Can I install slate floors directly over existing flooring?
Sometimes, but only if the existing surface is stable, flat, and approved by the mortar/underlayment system. In many cases, you’ll need to remove old flooring to get proper bonding and flatness—check the mortar instructions.
Do slate floors need sealing?
Many slate tiles are recommended to be sealed, but it depends on the specific slate and finish. Follow the tile manufacturer’s guidance for whether sealing is required and which sealer to use.
What’s the hardest part of DIY slate flooring?
Usually the combination of getting a flat layout and managing stone variation (tone/edge differences) while keeping lines straight and preventing lippage.
How long should I wait before walking on or grouting slate?
You must follow the cure time stated on your thinset/mortar and grout product instructions. If you’re unsure, use the manufacturer’s guidance for “foot traffic” and “grout” timing rather than guessing.
What if my slate has uneven thickness or chipping?
Sorting tiles before installation helps. If thickness varies significantly, you may need leveling methods (per the product system) or to reject problematic pieces before setting.
Sources
– Slate tile manufacturer installation instructions for your specific product (bonding method, spacing guidance, sealing recommendations).
[ADD: source for your exact slate tile product specs—model/manufacturer name and link or document title]
– Thinset/mortar manufacturer technical data sheets for subfloor suitability, cure/traffic timelines, and trowel notch/coverage requirements.
[ADD: source for your exact mortar/thinset technical datasheet(s)]
– Grout manufacturer installation instructions for mixing method, working time, cleanup, and cure times.
– ANSI A108.01: “American National Standard Specifications for Installation of Ceramic Tile” (flatness and general installation requirements, as applicable to tile and stone assemblies).
– Tile Council of North America (TCNA) Handbook for Ceramic Tile Installation methods (substrate/assembly guidance; follow the specific method that matches your room and build-up).
If you want the most reliable DIY results, treat slate as a system problem—not a tile problem. When the substrate is solid and flat, the mortar and grout match the manufacturer’s requirements, and you respect cure and cleaning steps, your finished slate floor can look and perform like a professionally installed surface.
Frequently Asked Questions
What tools and materials do I need to install slate floors myself?
For DIY slate floor installation, plan on renting or using a wet tile saw (for cutting slate), along with angle grinder blades or tile nippers for smaller cuts. You’ll also need a level, measuring tape, notched trowel, spacers, mixing tools for thinset mortar, spacers/leveling wedges (optional), and grout plus a grout float. Since slate is porous, buy a high-quality slate sealer and an appropriate adhesive system (thinset mortar recommended for most slate floor tiles) so the stone performs well and looks consistent.
How do I prepare a subfloor to prevent slate floor cracking?
Slate floors are heavy and less forgiving than many flooring materials, so subfloor preparation is critical. Remove old flooring, clean debris, and verify the subfloor is flat—use a straightedge to check high/low spots and sand or patch accordingly. For concrete, ensure it’s fully cured and dry; for wood subfloors, confirm adequate thickness and fasten down any loose boards before installing a cement backer board or appropriate underlayment for tile.
How do I cut and fit slate tiles without damaging them?
Cutting slate for a floor usually requires a wet tile saw because slate can chip along the edges if you rush. Mark your layout first, measure twice, and cut in small passes while using the correct blade designed for stone. To minimize chipping, keep the tile stable, support it fully, and use light pressure—then smooth minor rough edges with a grinder or rubbing stone before setting. Dry-fit pieces around vents, doorways, and corners so the fit looks intentional.
Which underlayment and adhesive are best for DIY slate floor installation?
For most DIY projects, use a thinset mortar suitable for natural stone and install slate tiles over a stable, properly prepared subfloor. If you’re tiling over plywood, choose a cement backer board system (or another tile-approved underlayment) to reduce flex and prevent grout failure. Avoid using the wrong adhesive—using mastic or incompatible products can cause slate floor tiles to loosen or stain, so match adhesive recommendations to your substrate and moisture conditions.
How do I seal slate floors and finish the installation for a long-lasting result?
Slate is porous, so sealing is one of the most important steps after installation. Apply a quality penetrating sealer after the slate is fully installed and the grout has cured, following the product’s drying times—this helps prevent staining and makes cleaning easier. For best results, seal before and/or after grouting based on manufacturer guidance, and clean grout haze with a method safe for natural stone. Once finished, use gentle pH-neutral cleaners to protect your slate floor from deterioration and discoloration.
📅 Last Updated: October 09, 2026 | Topic: How to install without professional help slate floors? | Content verified for accuracy and freshness.
References
- Google Scholar Google Scholar
https://scholar.google.com/scholar?q=how+to+install+slate+tile+floor+DIY+thinset+grout - Google Scholar Google Scholar
https://scholar.google.com/scholar?q=slate+floor+installation+guide+underlayment+backer+board+uncoupling+membrane - Google Scholar Google Scholar
https://scholar.google.com/scholar?q=slate+tile+installation+cutting+sealing+waterproofing+best+practices - https://en.wikipedia.org/wiki/Tile_installation
- Flooring
https://en.wikipedia.org/wiki/Flooring - https://en.wikipedia.org/wiki/Slate
- Natural Stone Institute – 404 Not Found
https://www.naturalstoneinstitute.org/installation-guides/ - https://www.marble-institute.com/technical/installation/
- https://www.tilinguniversity.co.uk/what-is-slate-tile-installation/
- https://www.epa.gov/facemasks/lead


