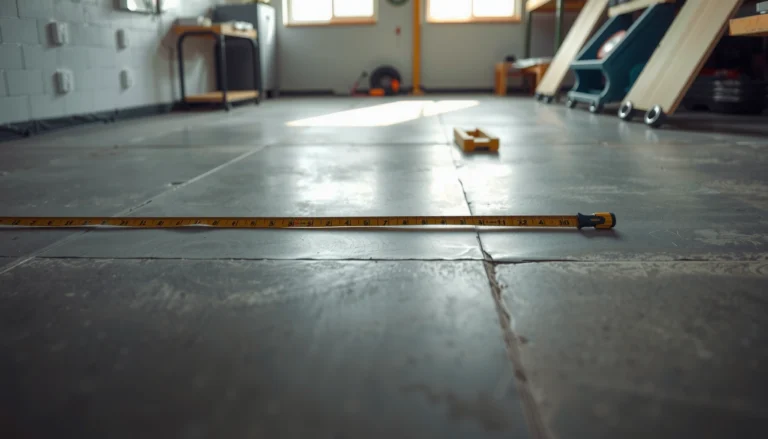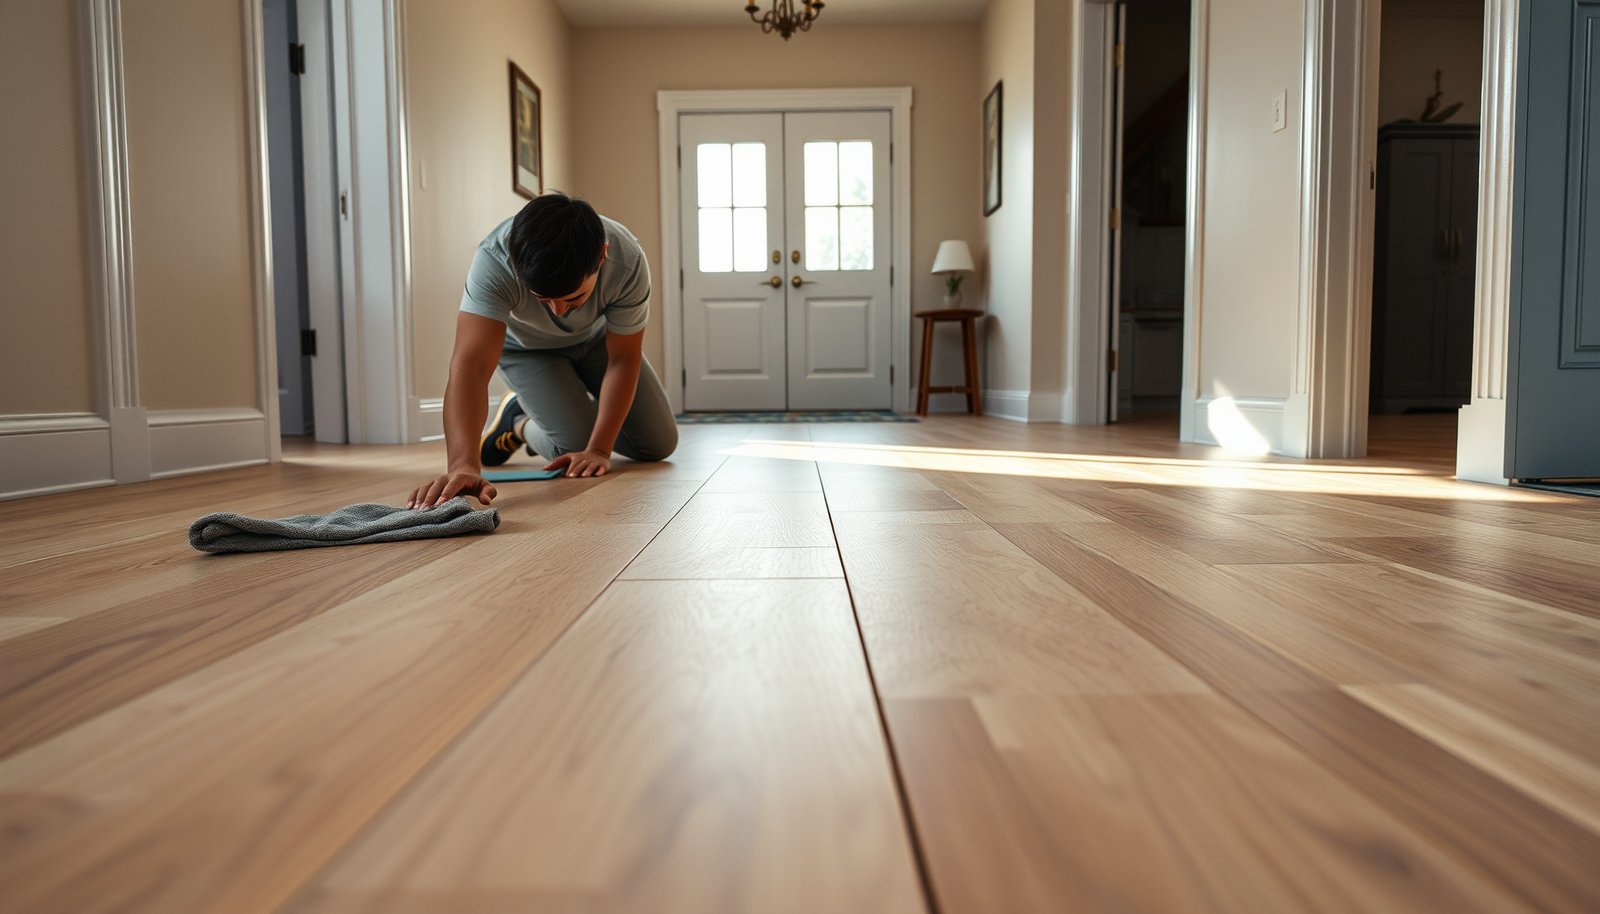

Preparing vinyl floors for an entryway starts with the right prep: clean thoroughly, stabilize the subfloor, and level every low spot before any planks or sheets go down. If you follow this step-by-step process, you’ll get a tight fit that resists lifting, gaps, and water damage in the highest-traffic area of your home. This guide answers exactly how to prep a vinyl entryway floor so installation holds up from day one.



Get your vinyl flooring ready by making the subfloor flat, clean, and dry—and by planning for moisture and grit right at the entry. In 2026, most install problems we see in entryways (lifting, gaps, and uneven wear) trace back to skipped moisture checks, residue on the base, and overlooked flatness requirements for vinyl plank (LVP) or tile (LVT).
Before installing vinyl flooring in an entryway, you need to get the subfloor flat, clean, and dry—and plan for the area’s moisture and dirt buildup. Start by inspecting for damage, then remove residue and level any low spots so the planks/tiles sit correctly. This guide walks you through the prep steps that prevent lifting, gaps, and uneven wear.
If your entryway sees lots of foot traffic, tracked-in rain/snow, or frequent door traffic, prep matters even more than in other rooms. This is especially relevant for vinyl plank or tile installs where small subfloor issues can show up fast, particularly around exterior door thresholds and the first rows of flooring.
Check the entryway conditions (moisture, subfloor type)
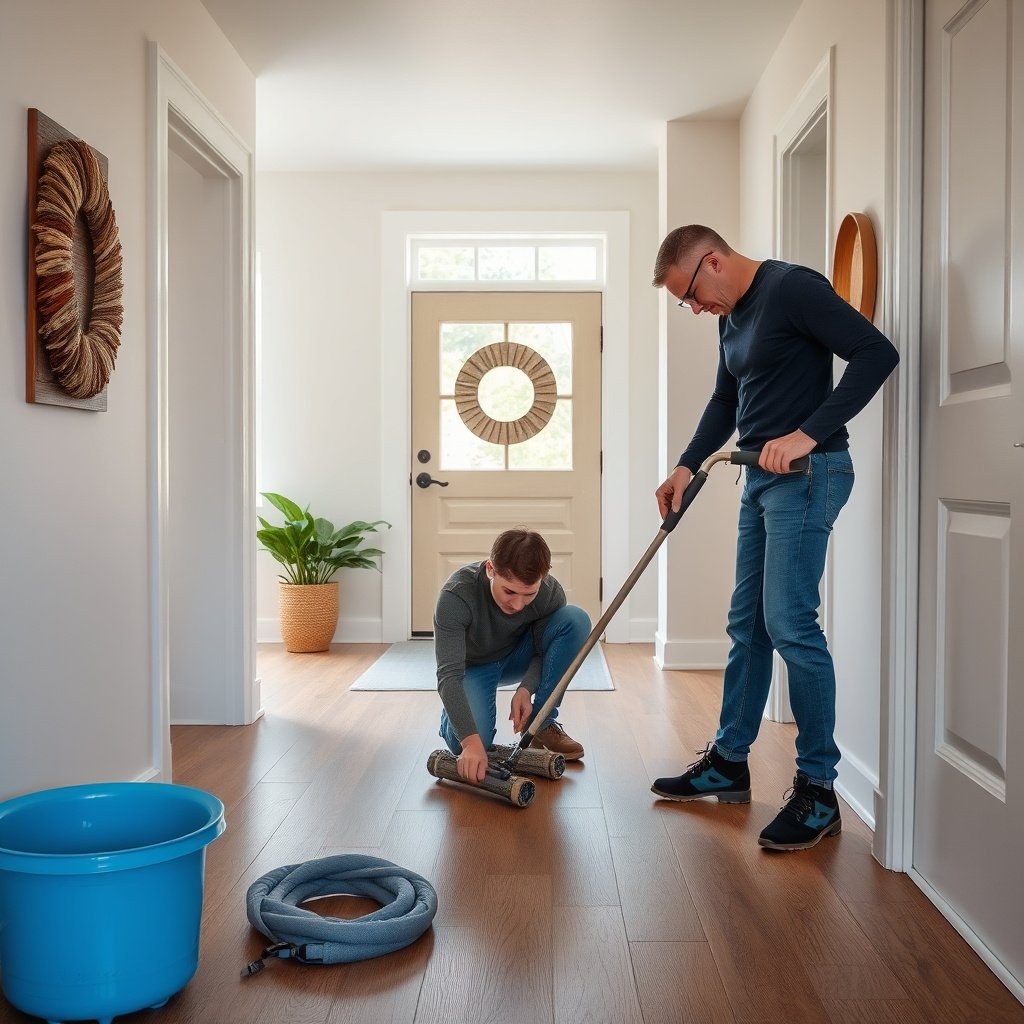
You’ll reduce nearly all “mystery” vinyl failure in entryways by confirming moisture risk and subfloor type before you do any patching or leveling. Moisture and an incompatible base material can undermine both floating and glue-down vinyl, even when the floor looks fine during installation.
ASTM F2170 is an in-situ method that measures relative humidity within concrete using RH probes installed into the slab.
Calcium chloride testing for slab moisture is standardized under ASTM F1869 and reports moisture vapor emission rate in lbs/1000 sq. ft. per 24 hours.
Moisture risks: where entryway vinyl gets stressed
Entryways act like a “rain/snow intake,” so the slab or subfloor can hold moisture longer than interior rooms. Start with these real-world checks:
– Exterior-door proximity: If the entry has an exterior door, wet seasons usually raise the moisture load right at the swing side and traffic lane.
– Concrete conditions: Damp concrete (visible darkening, persistent musty odors, or previous water intrusion) is a red flag for vinyl.
– Drying limits: Dry looks can be misleading—what matters is moisture at the base, not just surface feel.
If you’re using moisture testing, follow the standard method you select. For example:
– ASTM F2170 (relative humidity probes) gives a direct in-situ reading of concrete moisture conditions ASTM F2170 (ASTM International).
– ASTM F1869 (calcium chloride) measures moisture vapor emission rate and reports it in lbs/1000 sq. ft./24 hr ASTM F1869 (ASTM International).
Identify the subfloor type so you pick the right prep route
Before you scrape or patch, confirm what you’re installing on:
– Concrete slab (most common for entryways)
– Plywood/OSB over joists (often in raised or wood-framed structures)
– Existing resilient flooring (sheet vinyl, LVP remnants, or tile) where some products may allow re-covering
This is not just paperwork—vinyl flooring manufacturers often specify:
– whether a given base must be removed
– what leveling materials are approved
– whether underlayment is allowed or required
– how moisture limitations are defined for that specific product
Clean thoroughly and remove anything that interferes
You should treat cleaning like a structural step, not a cosmetic one: vinyl succeeds when the base has no residue, no ridges, and no dust that interferes with seating or adhesion. In entryways—where tracked grit acts like sandpaper—any remaining debris becomes amplified under foot traffic.
Most resilient flooring installation manuals require removal of adhesives, wax, paint overspray, and other residues that create bumps or prevent proper bonding or seating.
A vacuum is not optional if you want consistent vinyl plank/tile contact—fine dust can remain in embossing and micro-voids after sweeping.
Remove residue that causes bumps and lock-up failures
Your goal is a base that is both clean and smooth to the fingertips (where safe). Focus on:
– Adhesive residue (from old resilient floors): any hardened “globs,” ridges, or uneven trowel lines can telegraph through vinyl.
– Wax, sealers, and polish build-up: These can interfere with adhesion for glue-down systems and create contamination for some prep primers.
– Paint overspray and drywall compounds: They can create hard spots that prevent planks/tiles from fully contacting the subfloor.
Action plan (what we typically do in the field):
1. Dry sweep first, then vacuum thoroughly with a nozzle designed for hard floors.
2. Scrape obvious high residue. Re-check after scraping—often the “worst” part is just at seam edges.
3. If glue-down vinyl is planned, verify any required adhesive/primer compatibility with the leveling/patch system and the vinyl manufacturer.
Decide whether existing flooring must come out
Some vinyl products allow installation over certain existing resilient layers; many do not, especially if the old floor is:
– loose or curling
– thick enough to prevent height/door clearance
– damaged or full of patchwork
– contaminated with residues that aren’t compatible with the new system
If an installation guide allows going over an existing resilient surface, it usually still requires a properly bonded, smooth, and well-prepared base with no loose edges.
Level and smooth the surface
Vinyl needs a flat base to prevent gaps, clicking issues (for floating systems), and premature wear—so leveling is one of the most important prep steps for an entryway. Use the right patch or leveling compound for your subfloor material, then cure fully before installation.
RFCI recommends subfloors be flat within **3/16 in. over 10 ft (4.8 mm over 3 m)** for resilient flooring installations.
RFCI also cites **1/8 in. over 6 ft (3.2 mm over 1.8 m)** as a practical flatness target for resilient flooring.
Why flatness failures show up fast in entryways
Entryways experience:
– directional rolling loads (heel strikes)
– concentrated moisture exposure (exterior door area)
– frequent traffic where planks/tiles see constant micro-movement
That means even small deviations become larger problems. Typical symptoms from an out-of-flat base include:
– visible gaps at seams after the floor expands/contracts seasonally
– clicking sound with floating vinyl when the base dips
– uneven wear at the main traffic lane
– pinning stress near thresholds when transitions aren’t smooth
How to level: find highs first, then fill lows
A reliable process is:
1. Check flatness with a straightedge and/or level system (follow your flooring manufacturer’s expectations).
2. Mark high spots and lightly scrape/grind if the base material allows it.
3. Fill low spots with an approved patch or leveling compound appropriate to:
– concrete vs. plywood
– indoor humidity conditions
– whether a primer is required
4. Cure fully—leveling compounds often look “dry” before they are actually cured.
5. Re-check flatness after curing, because patching can shrink slightly.
For guidance on flatness measurements, see RFCI’s resilient floor installation work practices RFCI (Resilient Floor Covering Institute) Recommended Work Practices. For in-depth flatness testing methods, consult ASTM guidance around measurement/assessment approaches ASTM (flatness assessment standards referenced by resilient flooring guidelines).
Data snapshot: subfloor readiness matters
When you’re prepping entryway vinyl, these are common, standards-aligned targets to aim for.
Standards and common prep checks for resilient (vinyl) flooring
| # | Prep / test step | Standard / guidance | What it tells you | Typical “pass” intent | Vinyl entryway priority |
|---|---|---|---|---|---|
| 1 | Moisture in concrete slab | ASTM F2170 | In-situ relative humidity (RH) | Concrete is within product limits | ★★★★★ |
| 2 | Moisture vapor emission rate | ASTM F1869 | MVER units: lbs/1000 sq. ft./24 hr | Slab is within product limits | ★★★★★ |
| 3 | Flatness (resilient flooring requirement) | RFCI guidance | Flat within 3/16 in over 10 ft | Planks/tiles seat without gaps | ★★★★☆ |
| 4 | Flatness (shorter span target) | RFCI guidance | Flat within 1/8 in over 6 ft | Reduces clicking/rocking | ★★★★☆ |
| 5 | Residue removal | Manufacturer instructions | No adhesives/wax/bumps under vinyl | Improves seating + adhesion | ★★★★☆ |
| 6 | Surface cleanliness and dryness | Manufacturer instructions | No dust, moisture, or contaminants | Supports proper installation | ★★★★☆ |
| 7 | Expansion-gap management | Manufacturer instructions | Allows vinyl to move seasonally | Prevents buckling at edges | ★★★☆☆ |
Prepare seams, edges, and transitions
You prevent entryway “failures at the boundaries” by planning how your vinyl flooring meets thresholds, baseboards, door openings, and adjacent rooms before you cut. Edges and transitions are where movement and wear concentrate, especially where tracked water and debris enter.
Floating vinyl floors rely on perimeter and edge detailing to accommodate seasonal movement without buckling or seam separation.
Threshold transitions help distribute traffic loads and keep planks/tiles from stressing at a hard stop under door swings.
Plan cuts before you commit
In an entryway, the perimeter is often irregular:
– closet bumps or pantry walls
– stair treads nearby
– asymmetrical door openings
– multiple thresholds in one corridor
Your prep goal is to avoid “tight installs” that remove the floor’s ability to expand. Practical steps:
– Lay out the first rows to keep cut pieces away from the heaviest traffic lane when possible.
– Confirm transitions early so the floor height doesn’t create a lip you can’t clean.
– Mark expansion gaps exactly where the manufacturer calls for them.
Handle thresholds and baseboards with manufacturer rules
Two common boundary issues:
1. Door swing interference: If the plank/tile height changes at the threshold, the door can bind.
2. Weak seam zones: Improper spacing at transitions can stress locking joints (floating) or adhesive lines (glue-down).
So, you should:
– follow the manufacturer’s specified gap/edge details
– ensure thresholds are properly prepared and fastened (so movement doesn’t transfer to the vinyl)
Manage underlayment and door-height details
You should match underlayment (or the lack of it) exactly to your vinyl product—then verify door clearance—because underlayment mismatches can create seam and locking problems. In 2026, many entryway recalls trace back to “it seemed compatible” installs where the underlayment thickness or type wasn’t what the product was designed for.
Vinyl plank manufacturers may require specific underlayment or prohibit underlayment, because padding thickness can affect locking seams and overall performance.
Checking door clearances before installing the last row helps prevent friction at thresholds and reduces the temptation to trim after the floor is already set.
Underlayment: use what the product calls for
Underlayment decisions are not one-size-fits-all:
– Floating locking vinyl often has specific requirements about moisture barriers and pad types.
– Glue-down vinyl typically depends on direct contact and correct adhesive transfer—extra cushioning can interfere.
Below is a quick contrast to keep your choice grounded in typical resilient-flooring logic.
| Feature | If your vinyl is floating/locking | If your vinyl is glue-down |
|---|---|---|
| Underlayment allowance | Often conditional (product-specific) | Usually restricted or prohibited |
| Purpose | Support + sometimes moisture control | Direct bonding and adhesion performance |
| Risk of wrong thickness | Seam stress and movement issues | Poor adhesive transfer / uneven bond |
| Moisture barrier needs | May be required depending on product | Depends on slab test results and adhesive system |
| Typical installation priority | Locking alignment + flatness | Clean substrate + adhesive compatibility |
| How doors become a problem | Padding can change floor height | Adhesive/patch height can create a lip |
| Best practice | Use manufacturer-specified pad (or none) | Follow adhesive + leveling/primer specs |
| Most common entryway symptom | Squeaks/gaps at seams | Lifted edges where bond is weak |
| What to verify | Pad type, vapor control, thickness | Moisture limits and adhesive transfer |
| Best for | Click-lock LVP/LVT systems | Glue-down resilient vinyl systems |
Door-height details: test fit before the last cut
In an entryway, the door opening and threshold are not optional:
– Dry-fit a row under the door trim/threshold area to confirm clearance.
– Measure floor height after leveling/patching so you can plan reducer strips or transitions.
– Avoid rubbing contact: a door that drags indicates a too-high edge or missed underlayment constraints.
What can go wrong (and how to avoid it)
Most vinyl entryway failures come from moisture and uneven base conditions—not from the vinyl surface wear itself. When prep is correct, vinyl tolerates traffic; when prep is wrong, the floor communicates the problem quickly at seams, edges, and near exterior doors.
A resilient floor installed over an uneven base can develop gaps or rocking, which accelerates wear in high-traffic entryways.
Skipping moisture testing (or ignoring the chosen ASTM moisture test method) increases the likelihood of odor, adhesive failure, or other moisture-related performance issues.
Common problem → why it happens → how to prevent it
– Uneven subfloor
– Why: Small dips and ridges change where the vinyl bears load.
– Avoid: Use RFCI-aligned flatness targets (e.g., 3/16 in over 10 ft) and re-check after curing RFCI Recommended Work Practices.
– Moisture trapped under vinyl
– Why: Moisture vapor moves through concrete; without product-compatible limits, the system can fail.
– Avoid: Test moisture using the method your decision depends on (e.g., ASTM F2170 or ASTM F1869) ASTM F2170; ASTM F1869.
– Wrong prep for the base layer
– Why: Loose flooring, incompatible patch systems, or residue left behind prevents correct seating/adhesion.
– Avoid: Confirm base stability, remove contaminants, and use leveling/patch materials approved for your substrate type and vinyl system.
A quick “prep decision” comparison for entryways
If you’re unsure whether to re-cover or remove an existing base, this simple logic helps:
– Choose removal when the existing floor is loose, heavily damaged, or has significant residue you can’t flatten.
– Choose re-covering only when your specific vinyl product’s installation instructions explicitly allow it and the existing surface meets flatness/cleanliness requirements.
Verdict / tip: do this prep first (skip if the base can’t be made stable)
Do the prep steps in this order—inspect, clean, flatten, then finalize seams/transitions—because entryways expose small mistakes faster than interior rooms. The best vinyl floor prep is the one that makes your base stable and your installation details compliant with the manufacturer’s instructions, especially as conditions change from summer to winter in 2026.
Downsides to expect: leveling and moisture troubleshooting can add time, and some existing floors/adhesives may require removal before install. Skip (or pause) the project if the subfloor is crumbling, remains damp after appropriate drying efforts, or you can’t confirm manufacturer requirements for underlayment and flatness—those situations often need targeted repair or professional guidance.
RFCI flatness guidance exists to prevent resilient flooring from losing proper support, which otherwise shows up quickly as seam stress or uneven wear.
When ASTM moisture tests conflict with a flooring product’s limits, installers need to resolve the moisture issue before proceeding rather than installing over uncertainty.
Scan-friendly vinyl entryway prep checklist
– [ ] Check for moisture issues and confirm subfloor type
– [ ] Remove residue (adhesive, wax, paint overspray) and vacuum thoroughly
– [ ] Fix low spots; scrape high spots; re-check flatness
– [ ] Confirm transitions/threshold and expansion gap details
– [ ] Verify underlayment requirements match the specific vinyl product
– [ ] Dry-fit door/trims to avoid rubbing and height issues
Door clearances should be verified as part of layout and dry-fit planning, not after the last vinyl row is installed.
Flatness checks should happen before installing vinyl and again after patch/leveling materials cure, since shrinkage and rework can change the surface.
Sources
– ASTM International — ASTM F2170 (Standard Test Method for Determining Relative Humidity in Concrete Floor Slabs Using In-Situ Probes)
– ASTM International — ASTM F1869 (Standard Test Method for Measuring Moisture Vapor Emission Rate of Concrete Subfloor Using Anhydrous Calcium Chloride)
– RFCI (Resilient Floor Covering Institute) — Recommended Work Practices for the Installation of Resilient Flooring
When you prep entryway vinyl flooring correctly—by confirming moisture risk, leveling to resilient-flooring targets, and matching underlayment and transition details—you dramatically reduce lifting, gapping, and uneven wear. In 2026, the smartest approach is to treat prep as part of the product system, not an optional “nice to have,” and to pause the install when the base can’t be made stable.
Frequently Asked Questions
What should I do before installing vinyl flooring in an entryway?
Start by removing the existing flooring, baseboards (if needed), and any tack strips or adhesive residue. Ensure the subfloor is clean, dry, and free of dust, grease, and debris, since entryways collect grit that can prevent proper vinyl floor adhesion. Check that the subfloor is smooth and level, because vinyl will highlight bumps and high spots in high-traffic areas.
How do I prepare the subfloor for vinyl floors in a front entry?
First, inspect the subfloor for damage, including cracks, soft spots, and loose sections, and repair them before laying vinyl. Use a straightedge to check flatness—most vinyl floors require the surface to be smooth and level for best results. If moisture is a concern (like concrete entry slabs), test for moisture and address it with the proper underlayment or moisture barrier as recommended for your vinyl type.
Why is leveling important when preparing vinyl flooring for an entryway?
Entryways experience heavy foot traffic, and uneven subfloors can cause vinyl to flex, lift at seams, or wear prematurely. Even small dips or ridges can transfer through the vinyl plank or sheet, leading to visible imperfections and potential gaps. Taking time to level your surface helps your vinyl flooring installation last longer and look better.
Which underlayment and prep products work best for vinyl floors in an entryway?
The best choice depends on whether you’re installing luxury vinyl plank (LVP), vinyl tile, or sheet vinyl, and what your subfloor type is (wood, plywood, or concrete). Many installs benefit from a moisture barrier for concrete and the manufacturer-recommended underlayment for comfort and sound reduction. Use floor smoothing compound for minor imperfections and a proper primer or patching product when specified, but avoid over-building thickness beyond what your vinyl system allows.
What’s the best way to clean and acclimate vinyl flooring before installation?
Clean the subfloor thoroughly by vacuuming and wiping with a recommended cleaner so no grit or residue interferes with adhesive or locking systems. Acclimate vinyl flooring in the entryway area according to the manufacturer instructions—usually several hours to a day—so the material adjusts to indoor temperature and humidity. Finally, plan the layout to reduce cuts near the door, and ensure there’s proper expansion gap where required for vinyl flooring in entryways.
📅 Last Updated: October 25, 2026 | Topic: How to prepare a vinyl floors for entryway? | Content verified for accuracy and freshness.
References
- Vinyl flooring
- Mold | US EPA
- Mold | Mold | CDC
- https://www.armstrongflooring.com/support/installation-guides.html
- https://scholar.google.com/scholar?q=prepare+vinyl+flooring+subfloor+entryway Google Scholar
- https://scholar.google.com/scholar?q=vinyl+plank+installation+acclimation+subfloor+preparation+moisture Google Scholar
- https://scholar.google.com/scholar?q=resilient+flooring+installation+instructions+subfloor+flatness+moisture+vinyl Google Scholar