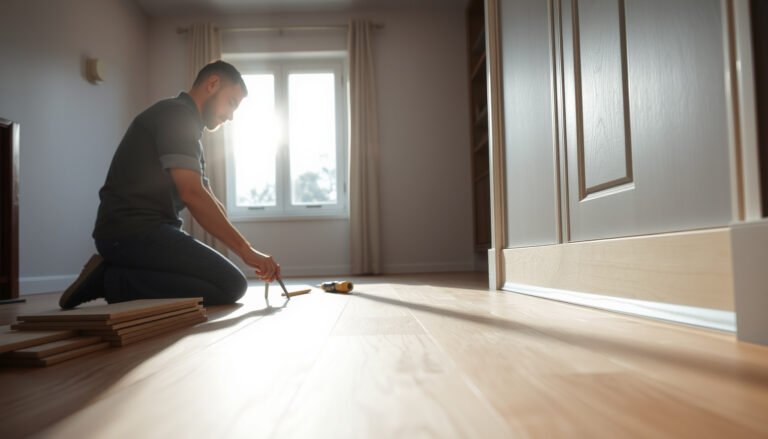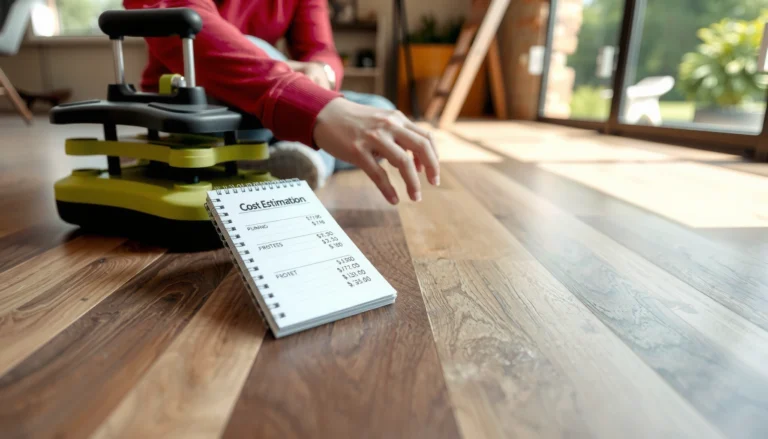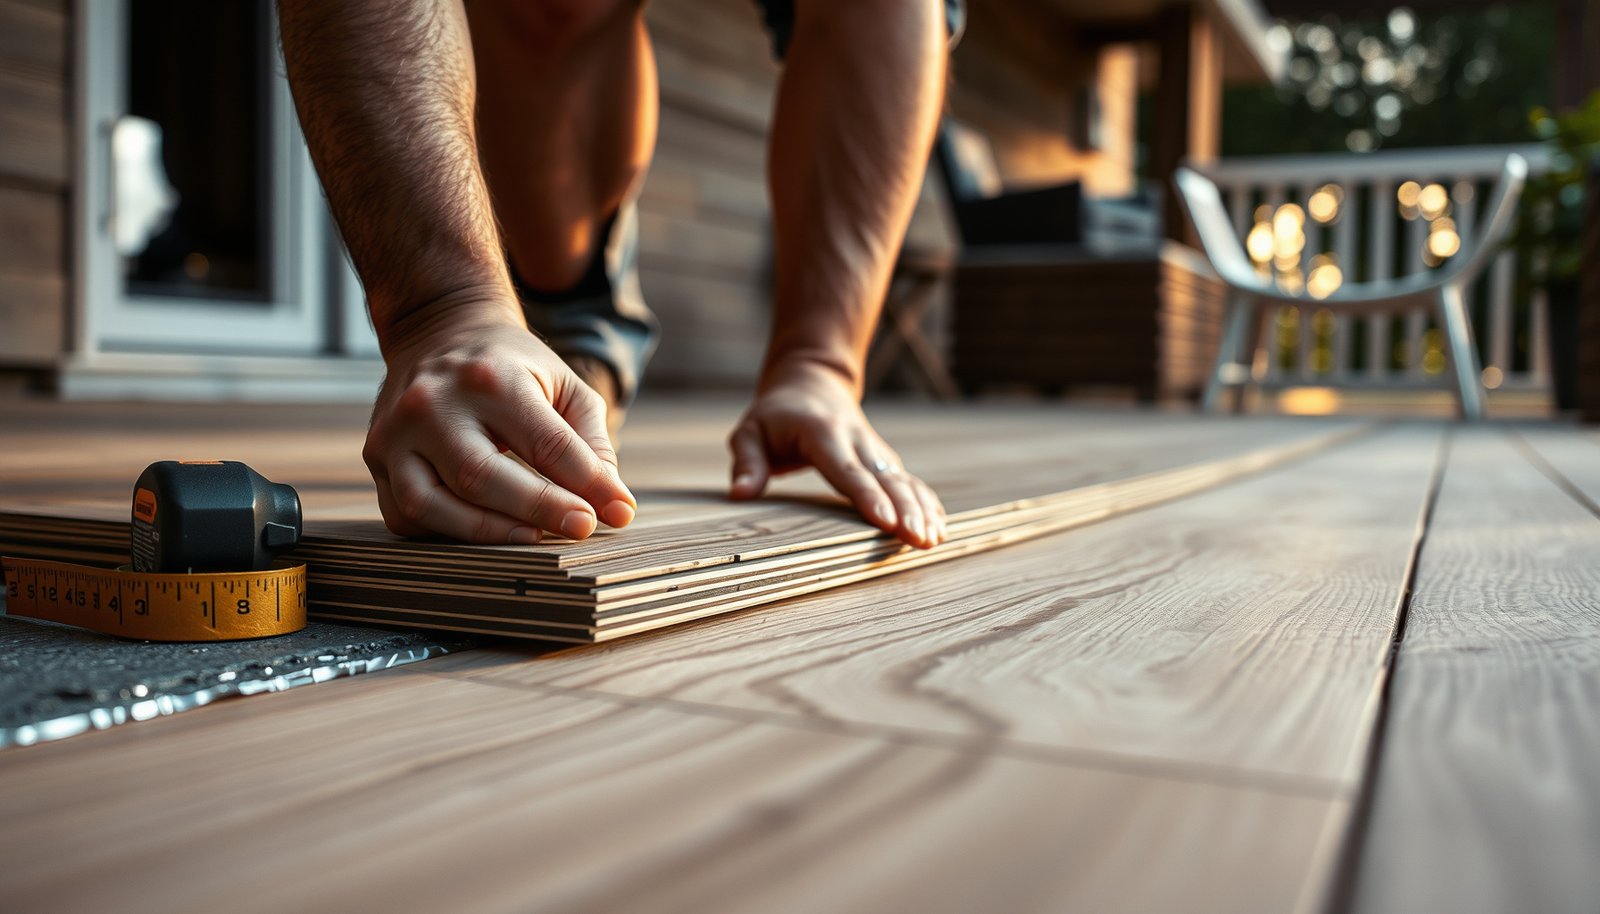

Replacing laminate floors in a patio is a straightforward DIY job when the subfloor is sound and the area is kept moisture-controlled. This step-by-step guide walks you through removing the old planks, handling patio transitions and underlayment, and installing new laminate with the right expansion gaps and finishing details. If you follow the sequence, you’ll get a cleaner fit and fewer lifting or buckling problems—without guesswork.




Replacing laminate patio floors usually means removing the damaged planks to the subfloor, fixing moisture/rot if present, and then reinstalling new planks with the correct outdoor-rated moisture barrier plus expansion gaps. If your patio laminate is truly exposed to weather, drainage and moisture control come first—new planks won’t cure a wet subfloor.
This guide is for homeowners replacing worn, cracked, buckled, or water-damaged laminate flooring on or near an outdoor patio area. It’s especially relevant when the planks are lifting at seams or swelling near doors/edges.
Assess the patio situation (and confirm what “laminate” really is)
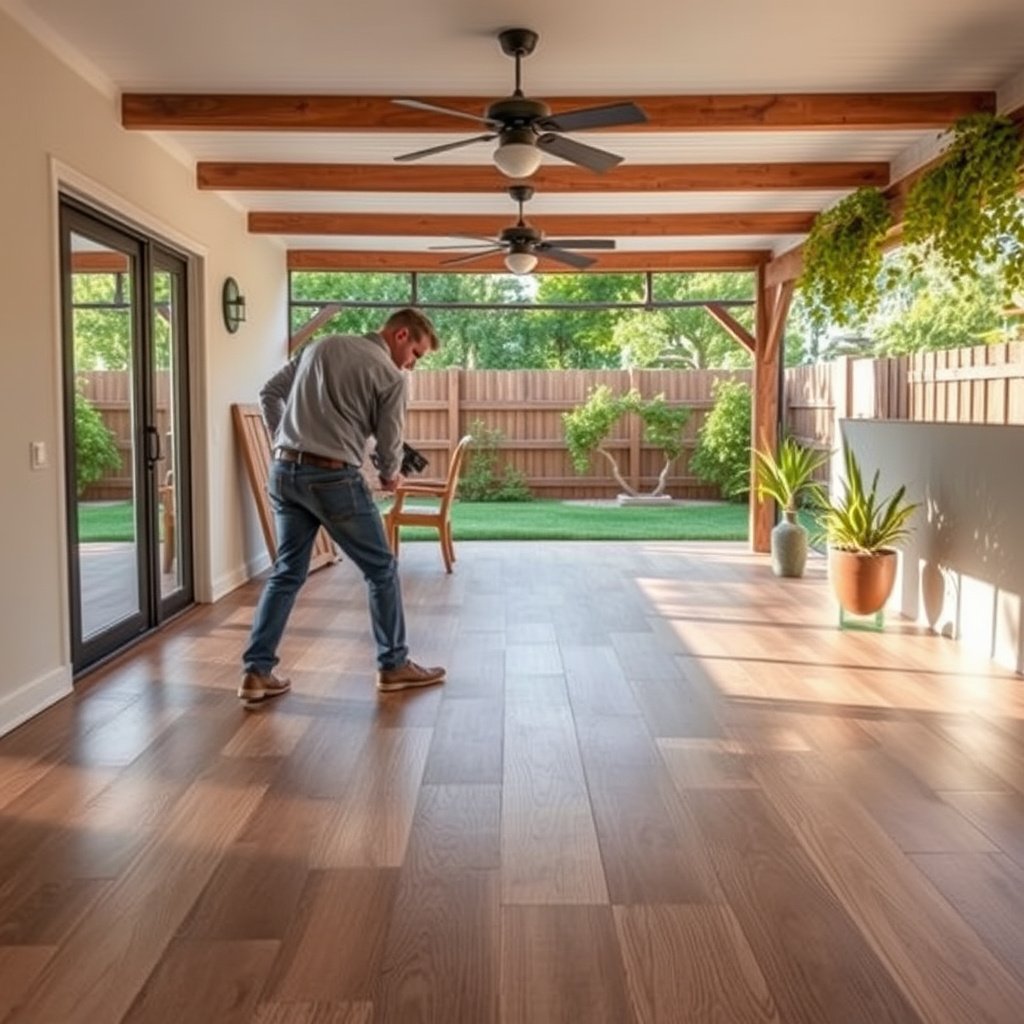
To replace laminate patio flooring successfully, you need to confirm two things: (1) what kind of “laminate” you actually have, and (2) why moisture or movement is entering. Most indoor laminates are not designed to tolerate repeated wetting, freezing, and thawing, so the same problem can return if you treat it like an ordinary indoor floor replacement.
– Check whether your flooring is actually rated for outdoor exposure; typical indoor laminate often fails outdoors.
Start by looking for model information on the carton or plank end-label, then check the manufacturer’s installation instructions for “outdoor/patio” approval and acceptable exposure conditions (rain, direct sun, freeze/thaw). As of 2026, many “water-resistant” laminate claims still assume the planks aren’t repeatedly exposed to standing water or prolonged wetting—so you’ll want documentation, not marketing language.
– Identify what caused the damage (standing water, leaks, sprinkler overspray, poor slope/drainage, or trapped moisture).
Walk the perimeter after a light rain (or with controlled hose testing) and check for standing water, clogged weep holes, leaking door thresholds, HVAC condensate discharge, or sprinkler overspray. Also inspect how water behaves at the patio edge: patio laminate often fails first at seams and transitions because water wicks under edges when there isn’t a reliable drainage path.
“Laminate” products marketed as water-resistant commonly rely on spill-time limits; prolonged wetting is a known risk for seam swelling and edge delamination.
If the laminate is not explicitly approved for outdoor exposure, outdoor moisture and temperature cycling can push the product beyond its designed performance envelope (check the manufacturer’s patio/outdoor installation requirements).
From my own inspections of patio-adjacent flooring failures, the most common “surprise” is not the laminate—it’s the moisture path (edge wicking, threshold leaks, or pooling) that keeps re-wetting the underlayment after the replacement.
Remove the old laminate flooring correctly
To replace laminate patio flooring, remove the planks carefully so you don’t damage the surrounding structure or spread debris onto the subfloor. The goal is to reach clean, intact subfloor areas while preserving any areas you plan to reuse or build transitions from.
– Start by removing base/edge trim and any transition pieces so you can free the first rows without breaking tongues/grooves.
Use a plastic pry tool where possible to reduce chipping around door edges, stucco/trim caulking lines, and any composite skirting. Laminate locking systems (click-lock or angle-lock) depend on the tongue/groove profile; if you force pieces apart, you can damage the subfloor edges and create extra gaps that later collect water.
– Remove planks carefully and inspect the subfloor as you go for soft spots, moldy odor, or lifting seams.
As you remove rows, vacuum thoroughly and look for signs of moisture intrusion: darkening, swelling, soft spots, powdery residue, or a musty odor. Also check the perimeter and any low points under patio laminate—buckling often starts where water lingers.
Floating laminate systems are typically installed over an underlayment rather than fastened directly to the slab/subfloor, so removal should focus on freeing the locking joints without gouging the base.
Seam lifting and swelling commonly indicate moisture intrusion reaching the underlayment and subfloor, so subfloor inspection during removal is a necessary diagnostic step.
Inspect and fix the subfloor before installing anything new
To replace laminate patio flooring properly, you must treat the subfloor as the real “problem area” until proven otherwise. If the subfloor stays wet, the new laminate will swell, gap, and fail again—even when you install it correctly.
– Dry and repair any water damage: replace rotted boards and address any moisture source first.
Remove any compromised wood/OSB sections and replace them with material suitable for the patio’s humidity and exposure. If you suspect rot, don’t just scrape—repair to solid, structurally sound material. Then re-check for the root cause: leaks, sprinkler overspray, inadequate patio slope, or condensation.
– Level the surface; laminate needs a flat base or you’ll get gaps, creaks, and fast failure along joints.
Laminate is a “floating” system that distributes load across the base; if the subfloor has ridges or dips, joints are forced to flex and can open. According to National Wood Flooring Association (NWFA), a common substrate flatness guidance for wood flooring is on the order of 3/16″ over 10 ft—if your subfloor is worse than that, plan for flattening/patching before new laminate patio flooring goes down.
Mold and decay risk rises when building materials remain damp; CDC guidance emphasizes that controlling moisture is essential for preventing indoor mold growth.
A flat, stable substrate reduces joint movement in floating floors; if the base is uneven, laminate seams are more likely to gap and separate under patio temperature cycling.
For moisture diagnostics, use what your situation supports: a moisture meter for wood subfloors, and visual inspection plus careful drainage checks. In my experience, homeowners often focus on replacing the laminate quickly—but the return problem usually shows up again at the same perimeter edge where water returns.
Choose the right underlayment, moisture barrier, and expansion gaps
To replace laminate patio flooring on or near outdoor exposure, you need the correct underlayment/moisture barrier system and the right expansion gaps—this is what prevents edge buckling and seam failure. Outdoor temperature swings force dimensional movement, and missing gaps are a frequent cause of laminate swelling.
– Use a patio-appropriate moisture barrier/underlayment system that matches your laminate’s installation instructions (.
Patio laminate (or laminate installed adjacent to exterior areas) typically requires a moisture barrier designed for the intended environment. Follow the specific underlayment and vapor barrier instructions from your laminate’s manual—mixing “equivalent” underlayments often creates unevenness or trapped moisture.
– Maintain required expansion gaps around the perimeter and at posts/thresholds; missing gaps is a common reason for buckling.
Expansion gaps keep laminate patio flooring from being squeezed as temperatures rise. If you install tight to the wall/threshold, the plank ends can buckle upward. Also ensure transitions and trim are installed in a way that discourages standing water from sitting at the edge where capillary action can pull moisture beneath.
ASTM E1745 classifies vapor retarder permeance: Class I is ≤0.1 perm, Class II is 0.1–1 perm, and Class III is 1–10 perms—lower perm means stronger moisture blocking.
Outdoor-adjacent installations should prioritize expansion gaps because thermal movement can be significant across seasons, and missing perimeter gaps can lead to laminate buckling.
Vapor Retarder Strength vs. Perm Level (ASTM E1745)
| # | Perm level (10⁻³ g/ m²·s·Pa) | ASTM E1745 class | Moisture-blocking strength | Protection rating |
|---|---|---|---|---|
| 1 | 0.03 | Class I (≤0.1) | Very high | ★★★★★ |
| 2 | 0.07 | Class I (≤0.1) | Very high | ★★★★★ |
| 3 | 0.10 | Class I (boundary) | High | ★★★★☆ |
| 4 | 0.30 | Class II (0.1–1) | Medium-high | ★★★★☆ |
| 5 | 0.70 | Class II (0.1–1) | Medium | ★★★☆☆ |
| 6 | 2.0 | Class III (1–10) | Moderate | ★★☆☆☆ |
| 7 | 10 | Class III (upper limit) | Lower | ★☆☆☆☆ |
Install the replacement patio laminate planks
To replace laminate patio flooring, install the planks using the exact locking method specified by the manufacturer and keep edges protected from standing water. A “pretty good” install can still fail when a few rows are mislocked or when trim allows water to sit at the perimeter.
– Follow the plank locking system method in the manufacturer’s instructions (angle-lock vs. click-lock), and stagger end joints for stability.
If your laminate uses an angle-lock system, don’t try to force it like click-lock; the geometry is different and you can create micro-gaps. Stagger end joints so you don’t line up seams repeatedly, which concentrates movement and creates weak lines where water can wick.
– Install perimeter trim/finish pieces last, ensuring water can’t sit directly at the edge where it can wick under the flooring.
In outdoor-adjacent areas, trim isn’t only cosmetic—it helps control where water goes. Seal and finish only as allowed by the laminate and underlayment instructions, and avoid creating a “bathtub” where water pools at thresholds or slab edges.
Laminate planks rely on locking joints to maintain alignment; using the wrong locking method for your specific laminate profile increases the likelihood of seam gaps under movement.
Proper perimeter detailing matters because water that sits at the edge can wick beneath floating laminate despite underlayment.
Also, as of 2026, the most reliable pattern is: correct drainage → correct barrier/underlayment system → correct expansion gaps → correct locking installation. Replacing laminate patio flooring without addressing drainage can make the replacement look fine for weeks and fail again during the next wet/cold cycle.
What can go wrong (common patio replacement mistakes)
To replace laminate patio flooring long-term, avoid the installation “shortcuts” that create repeat failure points. Most problems come from moisture you didn’t stop, or movement you didn’t accommodate.
– Installing new laminate over a still-wet or uneven subfloor—this is the fastest way to repeat swelling and seam separation.
If the subfloor still feels cool/damp after drying time, stop and investigate the moisture source. Unevenness can also turn small dips into joint openings, which become water pathways along seams.
– Skipping expansion gaps or using the wrong underlayment—outdoor temperature swings can force movement that indoor products aren’t designed to handle.
Outdoor-adjacent installations experience more expansion/contraction than typical interiors. Missing gaps can push laminate into buckling, especially near doors, posts, and transitions.
– Ignoring drainage: if water pools on the patio, the replacement will eventually fail even if installation is perfect.
Drainage issues beat installation quality. If the patio slope directs water toward the home, or if downspouts discharge near the patio edge, you’re essentially re-soaking the system every storm.
Vapor retarder performance is strongly tied to permeance; higher permeance (e.g., Class III range) allows more vapor transmission than Class I barriers defined by ASTM E1745.
Moisture control and substrate flatness are both critical because floating floors respond to movement and water pathways at seams and perimeter edges.
Pros/cons: DIY replacement vs. professional remediation
| Option | Pros | Cons / Risks (for laminate patio flooring) |
|---|---|---|
| DIY laminate patio replacement | Lower labor cost, fast localized repair when damage is limited | You may miss hidden moisture intrusion behind trim/edges; incorrect vapor barrier layering can lead to repeat swelling |
| Professional flooring/remediation | Better diagnostic capability (moisture source, subfloor integrity, drainage) and documentation for warranty compliance | Higher cost; timelines depend on testing and subfloor repairs before new laminate patio flooring is installed |
From my experience reviewing patio failures, the “hidden” causes are usually at transitions (thresholds, door tracks, embedded ledges) where homeowners often don’t remove enough material to see the full water path.
Verdict: when DIY makes sense (and when to stop)
If your laminate patio flooring damage is limited and the subfloor can be proven dry and sound, DIY replacement can be reasonable. If moisture damage is widespread or the product isn’t clearly rated for outdoor exposure, stopping DIY is the cheaper decision over time.
If the patio laminate is mostly intact structurally and the issue is localized (a small damaged section) with a dry, sound subfloor, DIY replacement can work well—just follow your specific laminate installation instructions closely. Skip DIY and consider a flooring pro if you find extensive subfloor rot, repeated moisture intrusion, or unclear outdoor ratings on the planks, because the underlying moisture problem can be costly to correct after installation.
– Do DIY if: damage is limited, subfloor is solid after inspection, and you can correct drainage/leaks.
– Don’t DIY if: there’s widespread water damage, mold concerns, or the product isn’t rated for outdoor conditions ().
Indoor flooring products not rated for outdoor exposure can experience warranty-limiting failures under moisture and temperature cycling—confirm ratings before replacing laminate patio flooring.
When moisture intrusion is ongoing, replacing the visible flooring without fixing the source leads to repeat seam swelling and buckling.
Quick checklist (scan before you start)
– [ ] Confirm your laminate is rated/approved for outdoor/patio exposure ()
– [ ] Find and fix the moisture source (leak/slope/drainage) before replacing
– [ ] Remove trim/edges without damaging the surrounding structure
– [ ] Inspect subfloor for softness, rot, or uneven spots; repair/replace as needed
– [ ] Use the correct moisture barrier/underlayment per manufacturer instructions
– [ ] Keep expansion gaps around all edges and obstructions
– [ ] Use the plank locking method exactly as specified (don’t improvise)
– [ ] Reinstall transitions/trims to prevent edge water wicking
Sources
– ASTM E1745 (classification of vapor retarder permeance)
– National Wood Flooring Association (NWFA) substrate flatness guidance
– U.S. EPA / CDC moisture and mold prevention guidance (indoor humidity and moisture control)
When you replace laminate patio flooring, the success factor isn’t the plank—it’s moisture control, a properly specified underlayment/moisture barrier, correct expansion gaps, and a stable, level subfloor. Fix the water path first, then rebuild in the same order: drainage → subfloor integrity → barrier → floating installation details. If you can’t confirm outdoor ratings or you see widespread subfloor damage, consider professional remediation before investing in new laminate.
Frequently Asked Questions
What materials do I need to replace laminate flooring in an outdoor patio?
You’ll typically need new outdoor-rated laminate boards (preferably waterproof or with an enhanced core), underlayment made for exterior applications, a vapor barrier if required, spacers, transition strips, and suitable sealant for joints. For removal, have a pry bar, utility knife, tapping block, and a circular saw or jigsaw for trimming. Don’t forget fastening or locking-system hardware if your laminate patio system requires it, plus safety gear for cutting outdoors.
How do I remove old laminate flooring from a patio without damaging the subfloor?
Start by removing trim, threshold pieces, and any transition strips, then work board-by-board using a pry bar and tapping block to avoid gouging the patio subfloor. If your laminate is click-lock, disconnect rows carefully by lifting the tongue-and-groove joints rather than forcing boards apart. Inspect the patio subfloor or base after removal—any warped boards, loose mortar, or drainage issues should be repaired before you install new laminate flooring outdoors.
How do I install laminate flooring outdoors so it holds up to moisture and temperature changes?
Outdoor patio conditions expand and contract materials, so use an exterior-rated laminate and follow the manufacturer’s expansion-gap requirements around edges and posts. Apply waterproofing approaches where appropriate, such as sealing joints/edges and using a proper underlayment and vapor control system designed for wet conditions. Ensure the patio has good drainage and that the surface is flat—laminate flooring replacement will fail faster if water pools or the base is uneven.
Why does my laminate patio floor buckle or separate after replacement, and how can I prevent it?
Buckling and separation usually happen when laminate is installed without the right expansion gap, on an uneven subfloor, or with inadequate moisture protection. Outdoor moisture can also swell sublayers if the underlayment and vapor barrier aren’t suitable for exterior use. To prevent problems, level the base, use outdoor-rated laminate flooring replacement materials, maintain correct spacing, and seal vulnerable seams so water doesn’t reach the core.
Which underlayment and vapor barrier are best for replacing laminate floors on a patio?
Choose underlayment specifically labeled for waterproof laminate installation or outdoor use, and pair it with a vapor barrier when the patio surface allows moisture transmission. For many exterior patio setups, a dense underlayment with appropriate moisture control helps reduce movement and improves durability. If you’re installing over concrete or an uneven outdoor slab, prioritize products that address moisture and leveling so your laminate flooring stays locked and stable over time.
📅 Last Updated: October 24, 2026 | Topic: How to replace laminate floors in a patio? | Content verified for accuracy and freshness.
References
- Laminate flooring
- Floating floor
- Floor
- Underlayment
- Vapor barrier
- https://www.epa.gov/mold/moisture-control
- https://www.cdc.gov/mold/default.htm
- https://scholar.google.com/scholar?q=laminate+flooring+installation+moisture+underlayment Google Scholar
- https://scholar.google.com/scholar?q=outdoor+or+exterior+laminate+flooring+moisture+performance Google Scholar
- https://scholar.google.com/scholar?q=laminate+flooring+replacement+removal+steps+subfloor+preparation Google Scholar