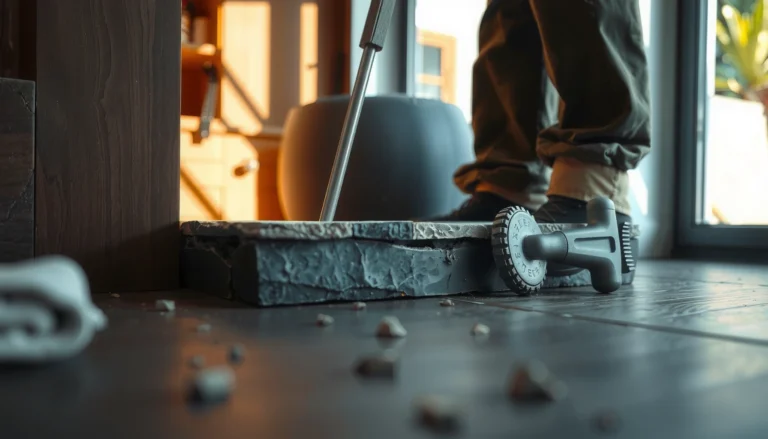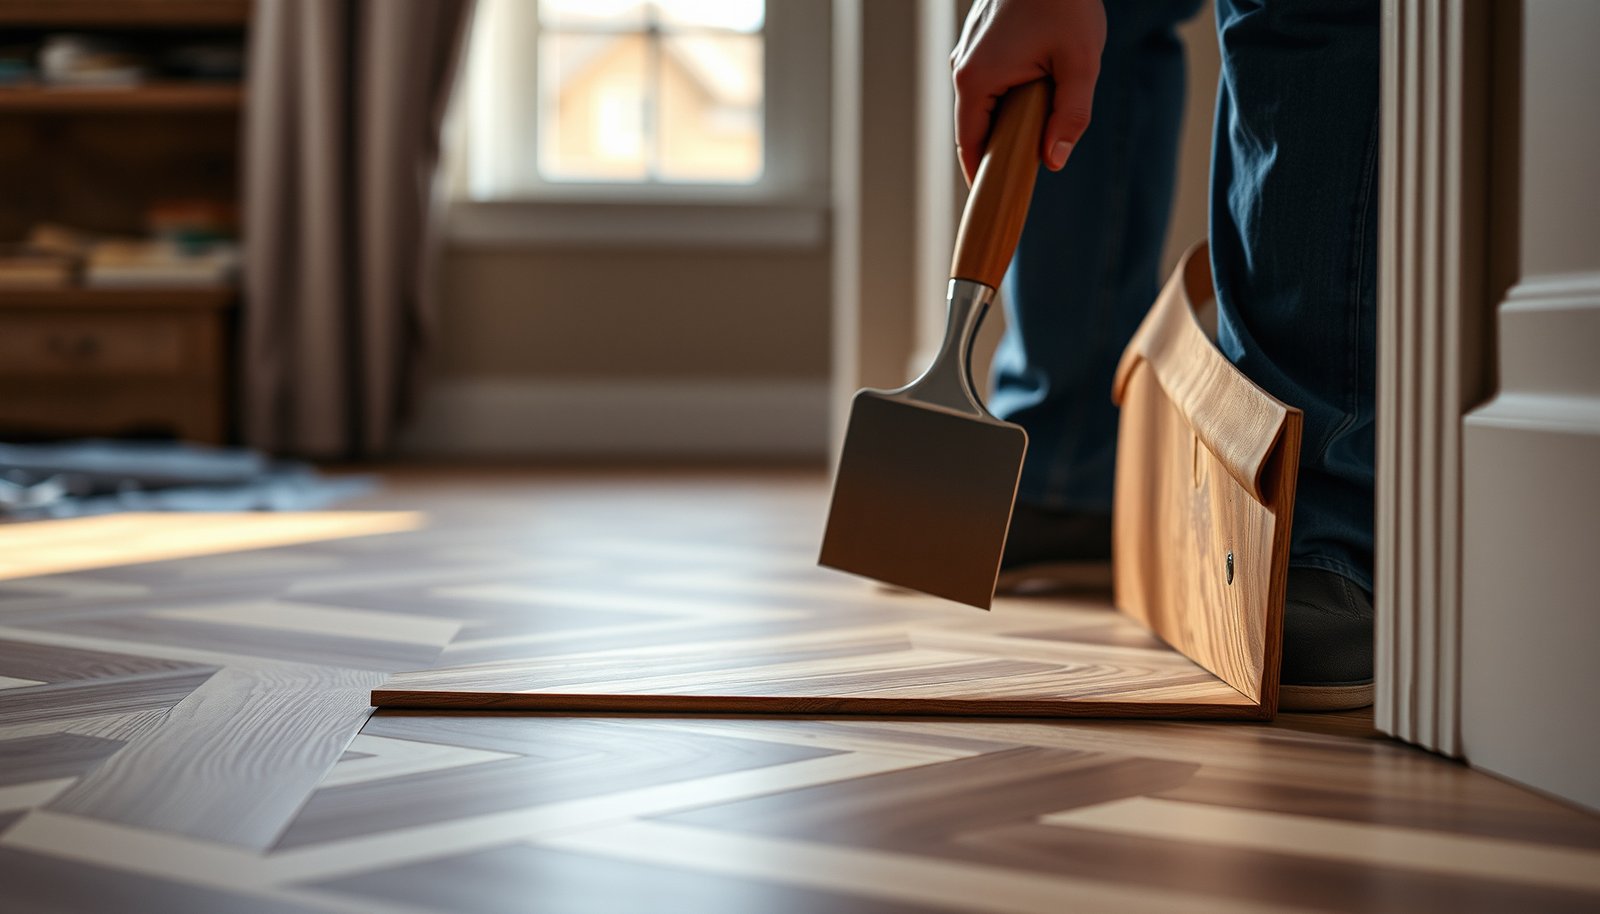

Want to remove chevron floors and finish the job without damaging the subfloor? This step-by-step guide shows the fastest, safest removal method—from prepping the room and finding the flooring layout to prying, scraping, and cleaning up after—so you know exactly what to do at every stage. Follow these instructions and you’ll be ready to replace the chevron flooring with confidence.




Chevron floors usually come up by removing trim, lifting from an edge, and scraping off any glue/mastic left behind. The exact approach depends on whether your chevron floor is floating (click-lock), nailed, or glued down—because prying in the wrong place can damage the subfloor and turn “a removal job” into a reconstruction project.
If you’re planning a refresh, fixing a damaged subfloor, or replacing the chevron pattern entirely, this guide shows the practical steps and what to watch for so you don’t destroy the flooring underneath. We’ll also cover common failure points (like adhesive residue and chipped subfloor) and what to do instead.
If you’re unsure about anything, stop and confirm the attachment method and material type first—this is the difference between efficient chevron floor removal and a long, messy cleanup.
Identify Your Chevron Floor Type First

Your first step is to identify whether your chevron floor is floating, glued-down, or nailed/stapled—because the removal method changes based on how the planks or tiles are secured. Once you know the attachment style, you can choose the safest “release points” and reduce the odds of tearing up your subfloor.
Here’s how to confirm the chevron floor type quickly and correctly, without guessing:
– Check how it’s attached: Floating floors often have perimeter gaps hidden under baseboards; glued-down floors feel firmly bonded across the entire surface.
– Confirm the material: Chevron can be solid/engineered wood, laminate, LVP/vinyl, or tile—each responds differently to prying, cutting, and scraping.
– Inspect the perimeter: If you see caulk at the baseboard/trim line, expansion gap coverage, or tight trim joints, plan on removing baseboards/quarter-round before you lift anything.
Floating chevron floors are typically installed with an underlayment and an expansion gap at the perimeter, so they can often be lifted from an edge once the trim is removed.
Glued-down chevron flooring is designed to be bonded to the subfloor, so removal usually requires cutting the perimeter bond before prying to avoid subfloor damage.
What to look for in the real world (fast checks)
– If the floor can “lift” anywhere (even slightly) after trim removal, it’s more likely floating/click-lock.
– If there’s no movement and seams don’t release, it’s more likely glued-down.
– If you find nail/staple lines (often near seams) or you can see exposed fastener patterns on removed edge boards, it’s likely nailed/stapled.
From my side, the most reliable determinant is always the perimeter behavior after trim is removed—. This is the kind of detail that prevents the wrong tool and the wrong leverage point.
Tools and Materials You’ll Likely Need

You can remove chevron floors efficiently when you match tools to both the material (wood/vinyl/tile/laminate) and the attachment type (floating/glued/nailed). Before you start, assemble the core tools for lifting and the specialized tools for cutting residue—because glue cleanup is where most chevron floor projects spiral.
Your baseline tool set:
– Core removal tools: flat pry bar, floor scraper, utility knife with sharp blades, putty knife (adhesive cleanup).
– For stubborn glue/underlayment: a heat gun (for some adhesive types) and/or an oscillating multi-tool (for cutting edge bond/fasteners)—use only when it matches your chevron floor type.
– Safety gear: gloves, eye protection, and a dust mask/respirator if you’ll be cutting/scraping (especially for older installations).
OSHA sets a permissible exposure limit for respirable crystalline silica during demolition/sanding at 50 µg/m³ as an 8-hour TWA (29 CFR 1926.1153), which is why dust control matters when scraping chevron floors.
OSHA’s asbestos standard establishes a 0.1 f/cc 8-hour TWA exposure limit (29 CFR 1910.1001), so you should not “dry scrape” unknown adhesives in older homes.
Tool lists that match common chevron floor types
To make this actionable right now, here are the tool selections that typically align with the most common chevron categories:
– Engineered wood chevron (floating/click-lock):
– Flat pry bar + tapping block (to remove trim without gouging)
– Utility knife for caulk lines at perimeter
– Floor scraper for light underlayment glue
– Putty knife for seam/edge cleanup
– Laminate chevron (floating/click-lock):
– Flat pry bar (thin profile preferred to reduce laminate chipping)
– Utility knife (cutting perimeter caulk)
– Floor scraper + carbide-tipped scraper blade (only after you know it won’t damage subfloor)
– LVP/vinyl chevron (glued-down or peel-and-stick):
– Utility knife with fresh blades (frequent swaps reduce tearing)
– Heat gun (low-to-medium heat) for adhesive softening (when compatible)
– Oscillating multi-tool with a blade designed for scraping/cutting (for perimeter bond)
– Tile chevron (thinset/mortar):
– Oscillating multi-tool (to cut grout/caulk lines at edges)
– Floor scraper with carbide edge (for thinset removal)
– Dust shroud + shop vacuum with appropriate filtration (if cutting is needed)
Safety: why your respirator matters during chevron floor removal
Chevron floor removal often generates fine dust from:
– scraped adhesive residue,
– underlayment foam (if present),
– sanding a damaged subfloor edge,
– and cutting nails/staples.
The table below summarizes several regulatory exposure benchmarks relevant to demolition and scraping dust.
OSHA Air Exposure Benchmarks Relevant to Scraping/Cutting During Chevron Floor Removal
| # | Airborne contaminant | OSHA benchmark (TWA)* | Benchmark value | Control priority | “Tolerance” score |
|---|---|---|---|---|---|
| 1 | Respirable crystalline silica (dust from cutting/sanding) | PEL | 50 µg/m³ | ★★★★☆ | Low |
| 2 | Asbestos (if present in old mastics/materials) | PEL | 0.1 f/cc | ★★★★★ | Very low |
| 3 | Lead (dust from old residues/subfloor disturbance) | PEL | 50 µg/m³ | ★★★★☆ | Low |
| 4 | Wood dust (total particulate) | PEL | 15 mg/m³ | ★★★☆☆ | Medium |
| 5 | Wood dust (respirable particulate) | PEL | 5 mg/m³ | ★★★☆☆ | Low-Med |
| 6 | Nuisance dust (total particulate) | PEL | 15 mg/m³ | ★★★☆☆ | Medium |
| 7 | Nuisance dust (respirable particulate) | PEL | 5 mg/m³ | ★★★☆☆ | Low-Med |
These are OSHA exposure benchmarks commonly referenced for dust control during scraping/cutting activities; check the exact OSHA standard that applies to your setting.
Remove Chevron Floors (By Attachment Method)
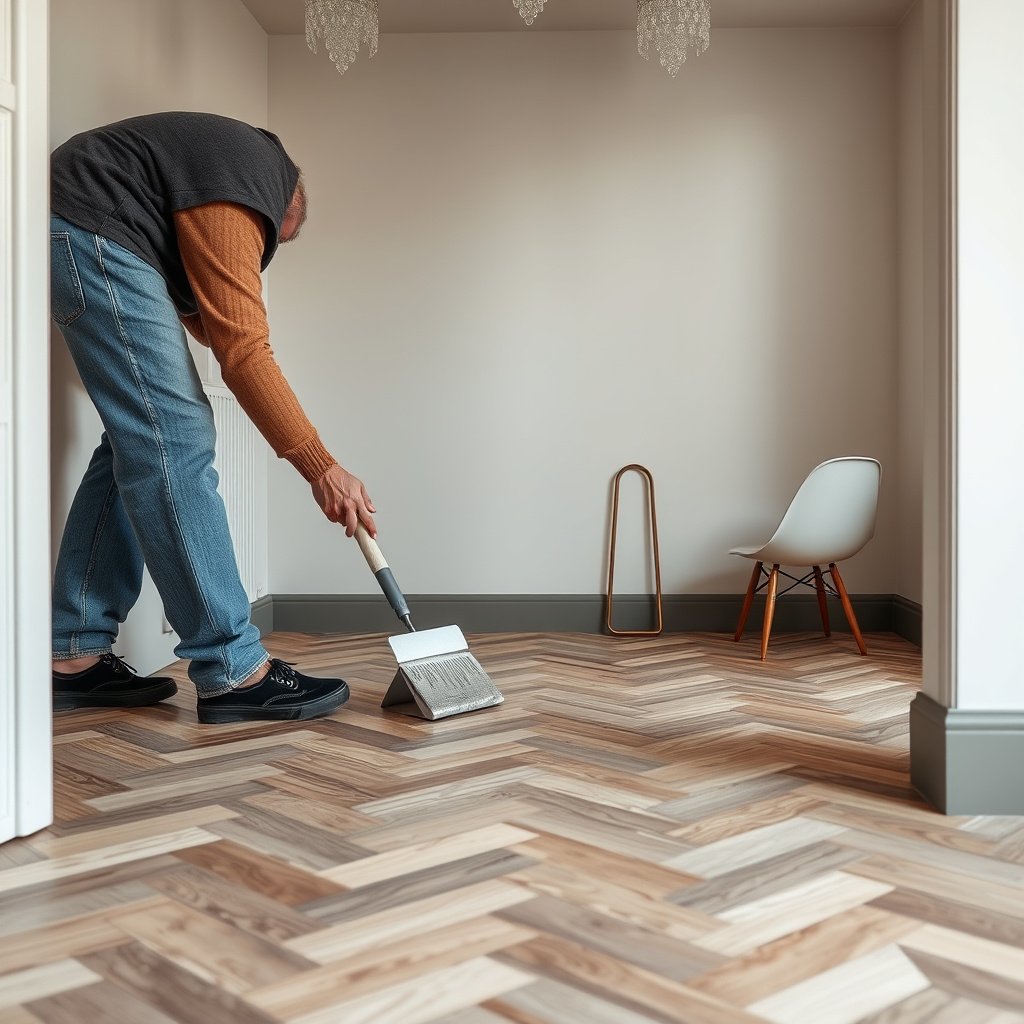
The right chevron floor removal method is the one that matches the attachment style—floating floors lift, glued floors need perimeter cutting, and nailed/stapled floors require fastener release. If you skip that match, you usually replace clean removal with subfloor repair and adhesive rework.
Below is the practical route for each common attachment type.
For glued-down flooring, cutting the perimeter bond before prying is a standard way to reduce the risk of pulling up subfloor material.
For floating click-lock floors, removal after trim is typically easiest at a perimeter edge where the locking system can disengage with the least stress.
A) If It’s a Floating/Click-Lock Chevron Floor
Floating click-lock chevron floors come up by disengaging the locking joints, usually starting at the perimeter. Your goal is to lift without forcing the locks—because chevron patterns have many joints and small pieces that chip under stress.
– Start at an edge: Remove baseboards/trim first, then lift along the perimeter seam where the locking mechanism is least stressed.
– Work in a straight line: Pull up carefully and keep pieces aligned to avoid cracking the tongue-and-groove or click tabs.
– Remove underlayment (if needed): If there’s padding or an underlayment layer, pull it once the main floor is out so you can evaluate the subfloor.
B) If It’s Glued-Down (Mastic/Adhesive)
Glued-down chevron floors usually fail during removal when people pry “big chunks” and break the substrate or lift the floor backing. For glued chevron floor removal, perimeter cutting and small-section lifting are the difference between controlled cleanup and chaos.
– Cut the perimeter first: Use a utility knife or oscillating tool to cut the bond at the edges so you don’t tear the subfloor.
– Lift in small sections: Pry near seams, then keep moving; forcing large sections increases breakage and adhesive transfer to the subfloor.
– Scrape adhesive thoroughly: After removal, scrape remaining residue. Expect multiple passes with different blade angles rather than one “perfect” scrape.
Pros/cons: attachment methods for chevron floor removal
| Method | Pros (why it’s easier) | Cons (what usually goes wrong) |
|---|---|---|
| Floating/Click-Lock | Often lifts in large pieces after trim removal | Chevron locks can chip if pried sideways |
| Glued-Down | Predictable bond line at seams after perimeter cut | Adhesive residue prevents flat re-install unless scraped |
| Nailed/Stapled | If fasteners are released, boards come out cleanly | Old nails/staples require removal or grinding |
C) If It’s Nailed or Staples-Set (Common with solid wood)
Nailed/stapled chevron removal works best when you release fasteners along seams and edges. Pulling directly from the field (the middle of a plank) can split boards or crack the chevron pattern geometry.
– Locate release points: Remove trim, then look for nail/staple lines near seams.
– Pull from seams, not directly from the field: Work along joints to avoid splitting boards.
– Plan for subfloor clean-up: Old fasteners may need to be pulled or ground down before installing a new floor layer.
Example: for solid wood chevron that’s stapled, you typically benefit from checking each plank edge pattern and setting aside fastener-pulling tools before you start prying.
What Can Go Wrong (And How to Avoid It)
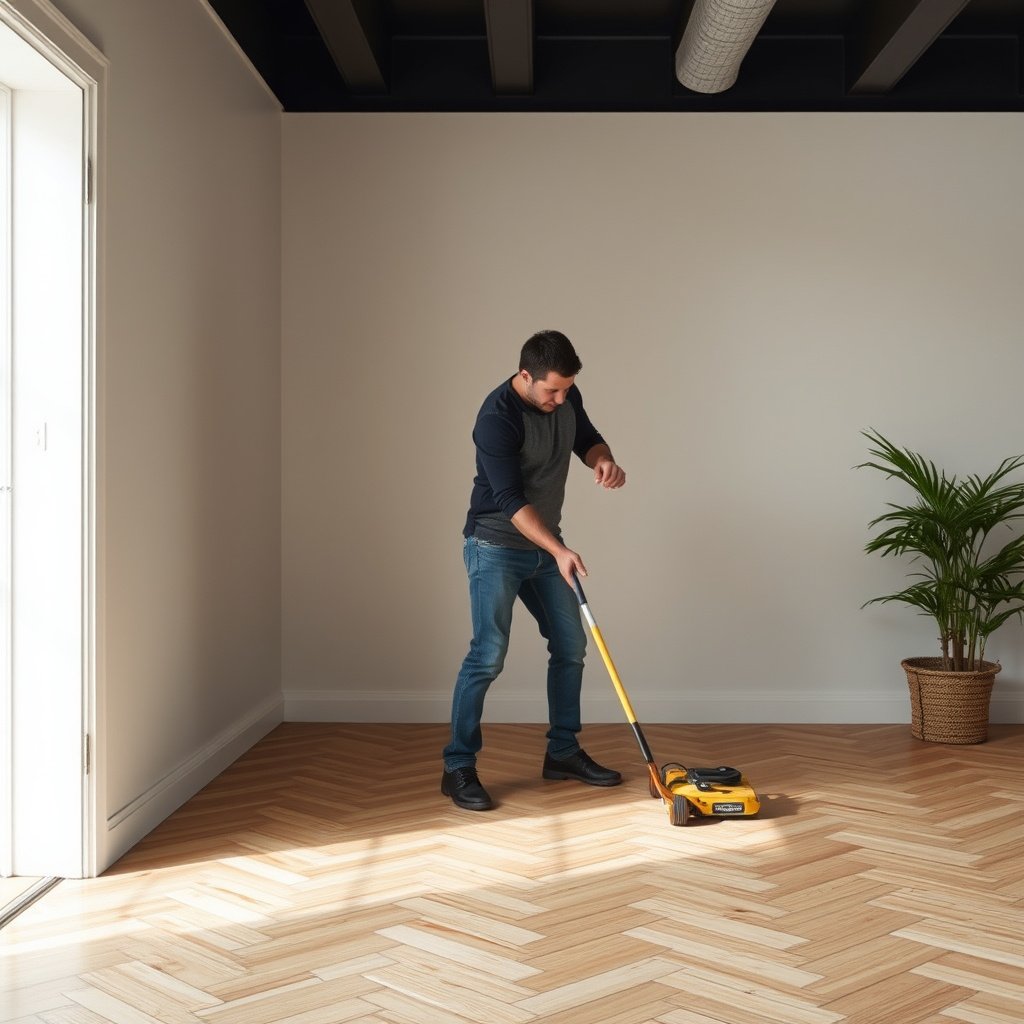
Chevron floor removal usually goes wrong in predictable places: the subfloor gets damaged during prying, adhesive residue prevents the new floor from sitting flat, or you break pieces you hoped to reuse. If you plan around those failure modes, you reduce rework and avoid a “half-removed” disaster.
Common failure points and how to prevent them:
– You damage the subfloor while prying: This happens when you skip perimeter cuts or pry too wide of a section. Cut/score edges first, then pry gently at seams.
– Glue/mastic residue prevents a new floor from sitting flat: Even “mostly removed” adhesive can telegraph through and can interfere with click-lock engagement on new installs. Scrape more than you think you need, then evaluate flatness.
– You break chevron pieces instead of removing them cleanly: Chevron patterns magnify breakage because pieces are smaller and joints are more numerous. If you want to reuse materials, expect slower work and some inevitable chips.
– Dust and possible hazardous materials: If your home is older or you’re unsure about adhesive contents, treat dust and cutting seriously. Follow OSHA asbestos guidance and EPA recommendations for managing potentially hazardous materials (OSHA 29 CFR 1926.1101, EPA asbestos in buildings guidance).
OSHA’s respirable crystalline silica standard applies when cutting/sanding materials that generate silica dust, and it emphasizes controls that reduce airborne dust rather than relying on cleanup afterward.
If you’re removing old adhesives in an older building, asbestos risk depends on whether asbestos-containing materials are present—so assume “unknown” materials require safer dust control and professional testing when needed.
A practical “avoidance mindset” for chevron floors
From a practical planning standpoint, chevron floor removal should be treated as two separate jobs:
1. Get the flooring off without vandalizing the subfloor, and
2. Get the subfloor ready to accept the next layer (flat, clean, correctly bonded).
If you do both, your next installation typically aligns better and doesn’t develop hollow spots or lock-up problems that owners often attribute to “bad new flooring.”
Verdict: Should You DIY Removing Chevron Floors?
You can DIY chevron floor removal when the installation is floating/click-lock, the area is small, and you can remove trim cleanly. It becomes risky—time-consuming and expensive—when the chevron is heavily glued down, the subfloor is soft, or you discover extensive leveling and adhesive cleanup is required.
Here’s when DIY is a good fit:
– Good DIY fit: Smaller areas, newer installations, and floors that lift relatively easily (floating or lightly bonded).
– DIY can get risky when: the floor is glued down heavily, the subfloor is damaged, or you’ll need extensive scraping/leveling before installing a new floor layer.
– Skip or hire help if: you suspect hazardous materials, you can’t remove trim safely, or you’re not confident achieving a flat, clean subfloor afterward.
Downside to DIY: chevron glue-down removal often turns into subfloor repairs + adhesive cleanup, which can take longer than expected—especially because chevron joints create more edge/bond lines to release and clean.
OSHA exposure limits for silica, asbestos, and lead reinforce that demolition/scraping tasks are not just “messy,” they can be regulated health risks—so DIY chevron floor removal should include dust controls appropriate to the materials involved.
Quick Checklist (Save This)
| Task | What to check before you start | Done |
|---|---|---|
| Identify material + attachment | Floating vs glued vs nailed; wood/vinyl/tile | ☐ |
| Clear the room & protect edges | Plastic over doors/vents; tape off openings | ☐ |
| Remove trim/baseboards | Don’t pry hard against walls | ☐ |
| Start at the correct edge | Lift from a perimeter seam, not the middle | ☐ |
| Remove flooring methodically | Small sections reduce breakage | ☐ |
| Clean remaining adhesive | Scrape residue until the surface is ready | ☐ |
| Inspect subfloor flatness | Replace/repair any damaged spots | ☐ |
Sources
– OSHA 29 CFR 1926.1153 (Respirable Crystalline Silica)
– OSHA 29 CFR 1910.1001 / 29 CFR 1926.1101 (Asbestos)
– OSHA 29 CFR 1926.62 (Lead in Construction)
– EPA guidance on asbestos-containing materials in buildings
Chevron floors can come up successfully when you confirm whether they’re floating, glued-down, or nailed—and then remove from the correct perimeter using the right pry/cut approach. If you’re unsure of attachment method or material type, pause and confirm before you start; that’s what prevents subfloor damage and the “glue cleanup nightmare.” For the safest results, prioritize dust control and subfloor prep quality over speed, because a clean surface is what makes the next chevron floor installation work.
Frequently Asked Questions
How do I remove chevron floors without damaging the subfloor?
Start by identifying your flooring type (solid wood, laminate, vinyl, or engineered). Remove transition strips and baseboards, then lift a corner or use a heat gun and pry bar to loosen planks only if the material is designed to be removed. For glued-down chevron floors, use a floor scraper and adhesive remover, working slowly to avoid gouging the subfloor. After removal, clean residue thoroughly so the new surface can be installed properly.
What’s the best way to remove chevron floor planks if they’re nailed down?
If the chevron flooring is nailed, remove baseboards first to expose nail lines and prevent wall damage. Use a pry bar with a protective shim to lift boards gradually, pulling nails with a nail puller or pliers as you go. For stubborn sections, score along seams with a utility knife before prying to reduce splintering. Once the chevron section is off, scrape any remaining nails or staples and smooth the subfloor with sanding or a leveling compound.
Why do chevron floors feel difficult to remove, and how can I avoid splitting them?
Chevron patterns often involve tight interlocking seams and multiple rows that can resist prying, especially if adhesive or fasteners are present. Splitting happens when you pry upward too aggressively or from the wrong angle, causing the tongue-and-groove or locking edges to crack. Use heat to soften glue for glue-down installations, and pry from seam edges rather than the center of planks. Keep your pressure controlled, and remove one row at a time to reduce stress on the chevron floor.
Which tools do I need to remove chevron floors effectively?
You’ll typically need a pry bar, putty knife, utility knife, floor scraper, and a hammer or tapping block for controlled removal. For glued chevron floors, add an adhesive remover and possibly a heat gun, along with a scraper blade that won’t gouge the subfloor. If the floor is nailed, a nail puller, oscillating multi-tool, and crowbar can make removal faster and safer. Wear eye protection, gloves, and a respirator if you’re working around adhesives or old finishes.
How do I remove chevron laminate or click-lock floors without pulling up the underlayment?
For click-lock chevron floors, locate the end joint or corner where the locking mechanism can be disengaged first, then lift at the manufacturer-recommended angle. Pulling straight up usually breaks the locking tabs, so use a tapping block and gentle leverage to release seams row by row. If the laminate is over underlayment, protect it by cutting through any perimeter caulk and carefully removing baseboards and transitions. Once the chevron floor is removed, inspect the underlayment for damage and replace it if it’s torn or compressed.
📅 Last Updated: October 15, 2026 | Topic: How to remove chevron floors? | Content verified for accuracy and freshness.
References
- Parquet
- https://www.epa.gov/lead/renovation-repair-and-painting-program-lead
- Asbestos | US EPA
- Asbestos – Overview | Occupational Safety and Health Administration
- Silica, Crystalline – Overview | Occupational Safety and Health Administration
- About Childhood Lead Poisoning Prevention | Childhood Lead Poisoning Prevention | CDC
- https://www.cdc.gov/niosh/topics/lead/default.html
- https://scholar.google.com/scholar?q=chevron+floor+removal+hardwood Google Scholar
- https://scholar.google.com/scholar?q=parquet+floor+removal+procedure Google Scholar
- https://scholar.google.com/scholar?q=vinyl+flooring+removal+guidance Google Scholar