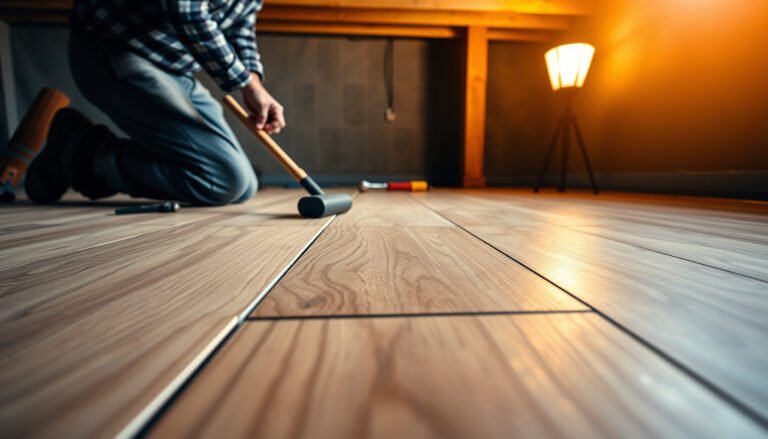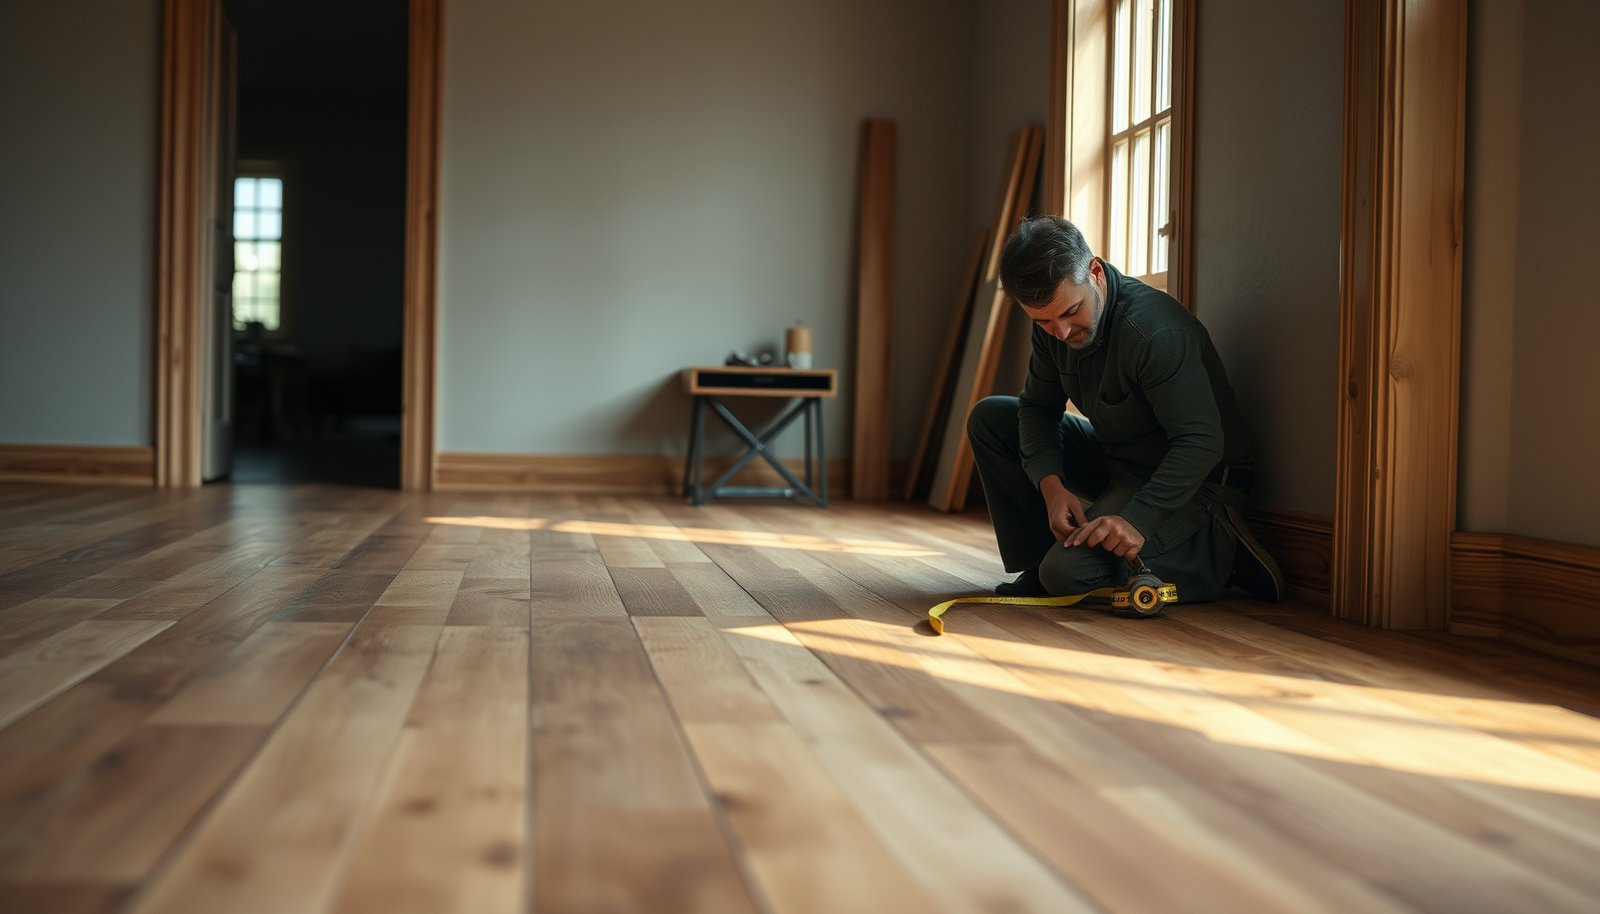

Learn how to install reclaimed wood floors around doors without gaps, sticking, or misaligned thresholds. We’ll walk you through the key steps—undercutting door jambs, planning the board layout, and finishing the expansion gaps—so the floor sits flush and still moves naturally. If you want a clean, professional fit at every swing and latch, follow this proven method.




Install reclaimed wood floors around doors by undercutting the jamb/trim so each plank can slide underneath, while preserving the required expansion gap and avoiding mechanical fastening into the door casing. Then finish the doorway with a properly installed threshold/transition strip that anchors to the subfloor (not the floating floor), so movement stays controlled and the edge stays crisp.
Who this is for / when it applies
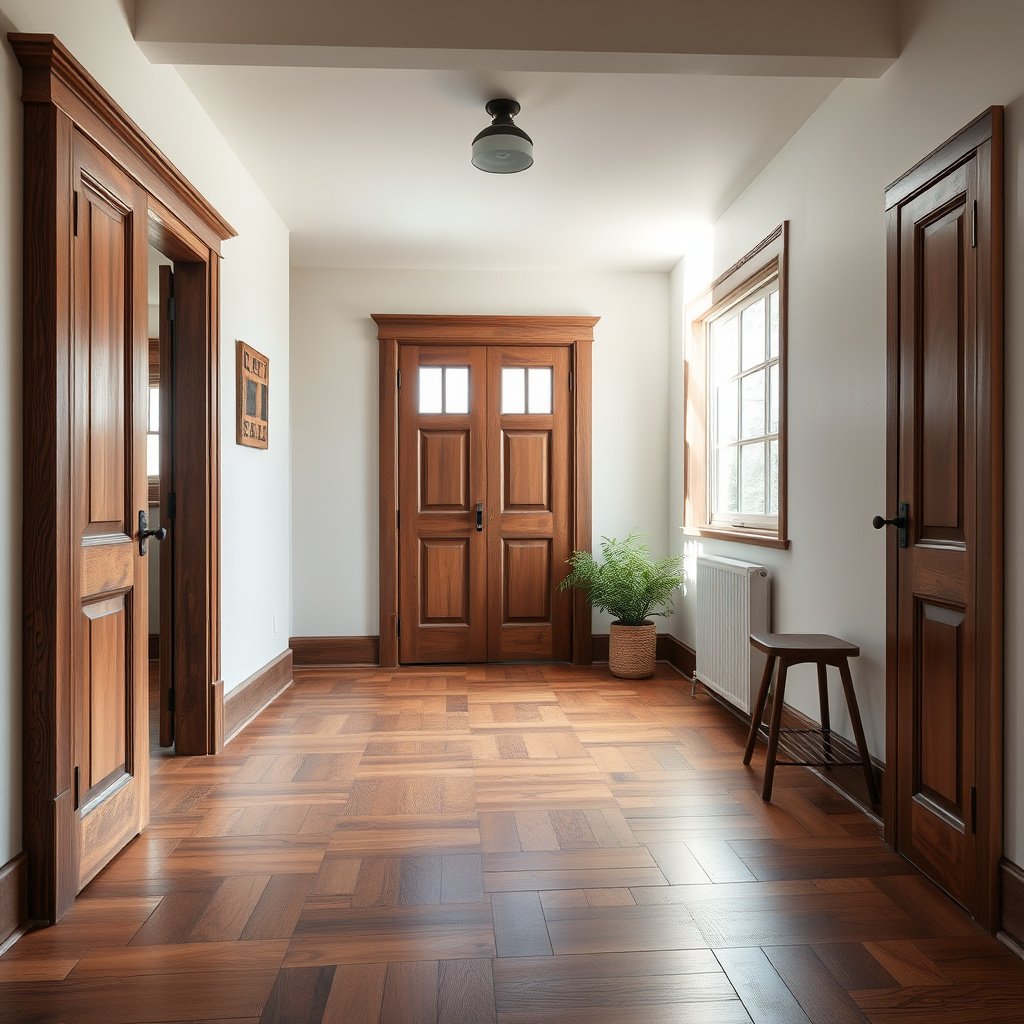
This guidance is for homeowners and installers installing reclaimed wood flooring at doorways where the casing/jamb can’t be removed. It applies to solid nail-down, glue-down, and click-lock/float systems—use the undercut + threshold logic, but follow the specific gap and fastening rules from your reclaimed wood manufacturer.
For most reclaimed hardwood installations, the floor must not be fastened to fixed trim so it can expand and contract across seasonal humidity swings.
Doorways are where expansion constraints are most likely, so undercut clearance and perimeter gap discipline matter more than in open-field runs.
Many installation failures at door casings come from “pinching” the plank—binding prevents natural movement and can lead to squeaks or raised edges.
Plan the doorway cuts before you start
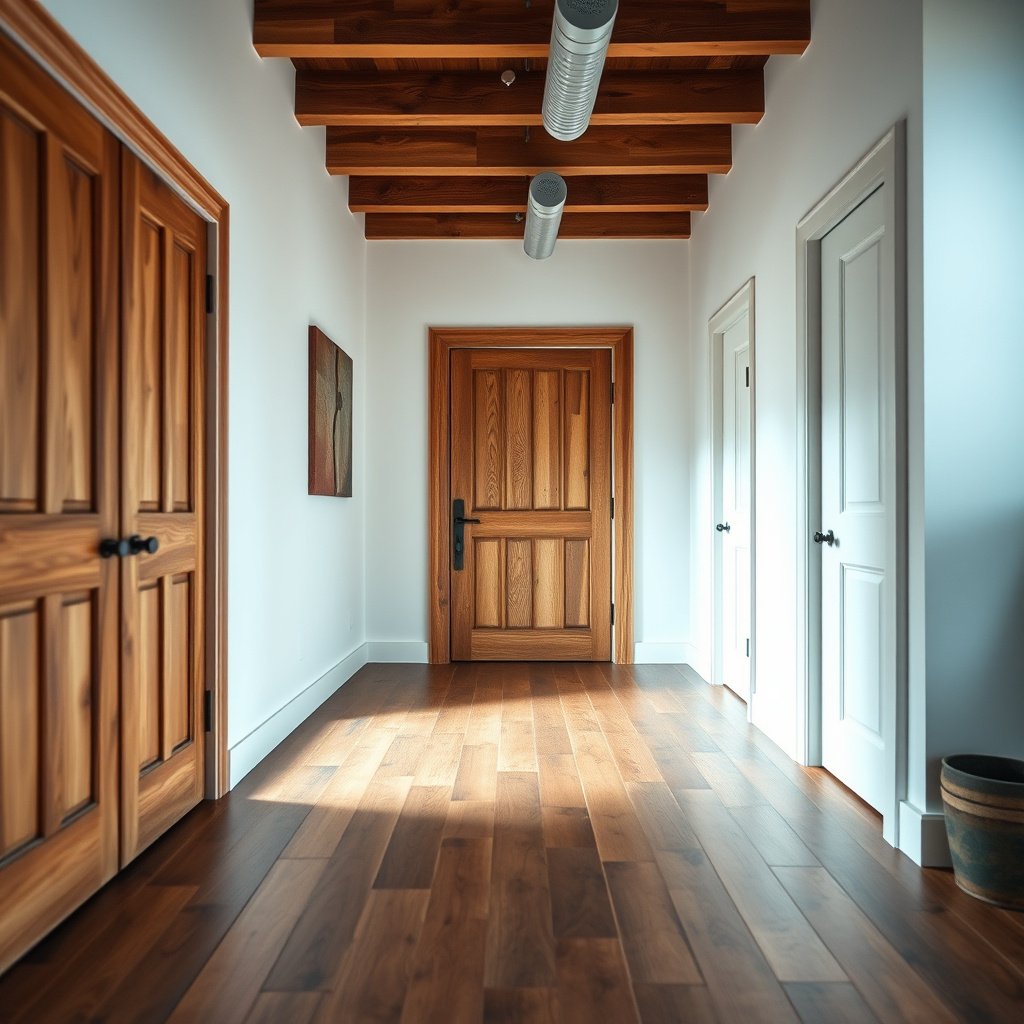
You get the cleanest doorway fit when you decide in advance where joints land and how the planks will pass under the jamb without forcing the boards. The goal is a smooth visual line, plus enough clearance for the required expansion gap and the plank’s full locking/nailing/gluing behavior.
– Decide whether you’ll remove the casing/trim or keep it in place; if keeping it, plan to undercut the jamb.
– Mark a “layout line” across the doorway so your plank joints land where you can handle them (not right at the most visible edge of the door).
– Confirm your floor type: nail-down and glue-down handle transitions differently than floating/click-lock installations.
According to the National Wood Flooring Association (NWFA), installation quality depends on maintaining proper acclimation conditions and following the required expansion/contraction allowances for hardwood flooring.NWFA (National Wood Flooring Association) hardwood installation guidance—follow your flooring type’s recommended expansion and acclimation practices.
If you’re keeping the door casing, the “cut strategy” becomes undercut-first planning: you’re not just cutting planks—you’re creating a continuous path for plank movement.
What to measure (and why)
Measure three things before you cut a single plank:
1) Plank thickness (including any attached pad for click-lock/float systems).
2) Actual distance from subfloor to the face of the jamb/trim where the plank must slide under.
3) The planned expansion gap required by your reclaimed floor’s installation instructions (commonly expressed at the perimeter/adjacent fixed woodwork).
From my experience helping troubleshoot doorway installs, most “mystery” problems (scraping as you walk, gaps opening later, or a threshold that won’t sit flat) trace back to one of those three measurements being assumed rather than verified on-site.
Visual planning that reduces noticeable seams
Mark your layout line so plank end joints are either:
– Less visible (behind a door leaf line, or shifted toward the least noticeable side), or
– Aligned with natural visual breaks like wall transitions.
This matters because reclaimed wood often has texture variation—what would be “fine” in a hallway can look like a deliberate seam at the most visible doorway edge.
Doorway Transition Choices for Reclaimed Wood Floors
| # | Transition type | Anchors to subfloor | Typical use at doorway | Floating-floor movement compatibility |
|---|---|---|---|---|
| 1 | Reducer (flush) strip | Yes | Height changes | ★★★★★ |
| 2 | T-molding (spanning joint) | Yes | Room-to-room seam | ★★★★★ |
| 3 | Threshold/door bar | Yes | Nailed threshold cover | ★★★★☆ |
| 4 | Flush reducer with expansion slot | Yes | Tight, low-profile edges | ★★★★☆ |
| 5 | Straight edge/matching strip (non-locked) | Yes | When floors end cleanly | ★★★☆☆ |
| 6 | Reducer fastened into the floating floor | No | Avoid—traps movement | ★☆☆☆☆ |
| 7 | Threshold clamped only over the floor edge | Partial | If substrate is irregular | ★★☆☆☆ |
Prep the subfloor and lock in the right fit
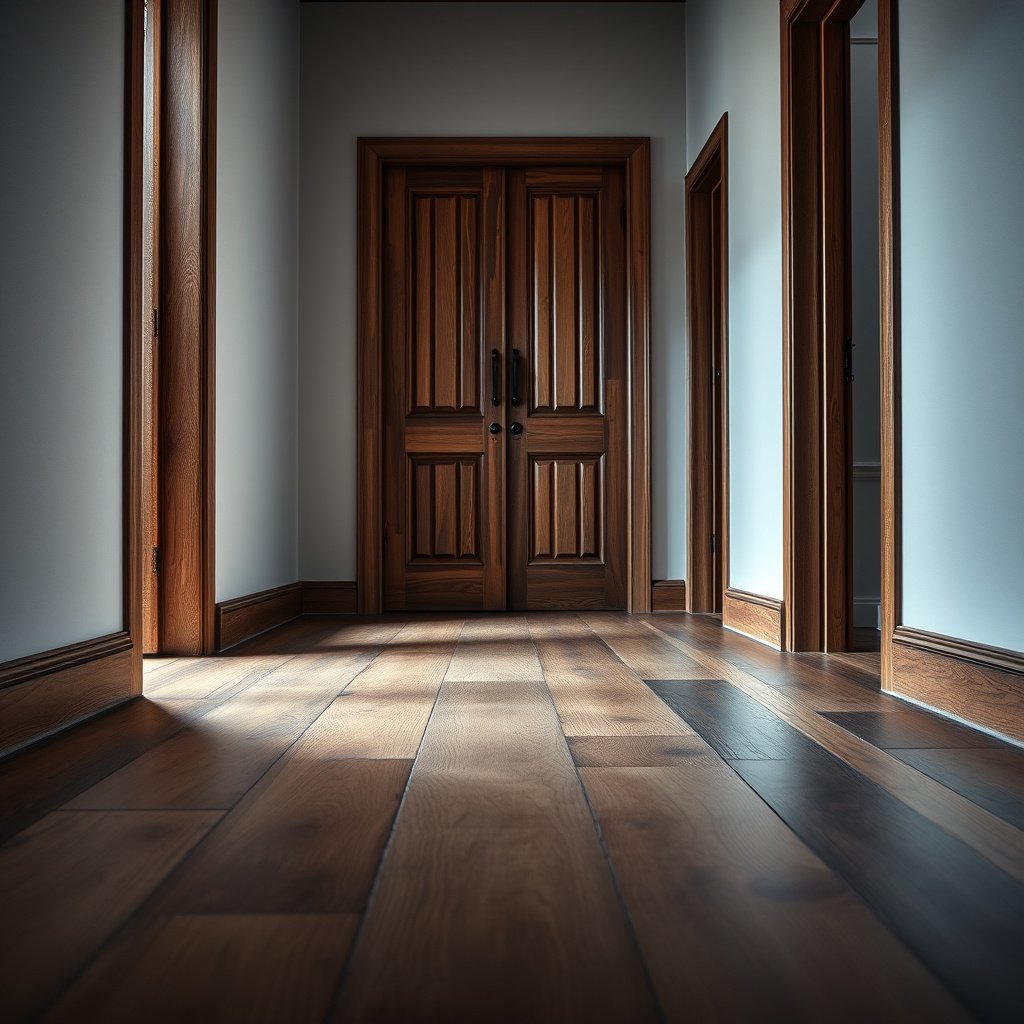
You’ll prevent most doorway issues by getting the subfloor flat and stable before you work near the casing. Once the base is correct, your planks will slide under the undercut cleanly and the expansion gap will stay consistent across the doorway.
– Make sure the subfloor is flat and secure before fitting around door areas; reclaimed boards can highlight dips, so address high spots/low spots early.
– Dry-fit a few planks at the doorway to confirm thickness, overage, and how much space you have under the jamb.
– Leave the expansion gap required by your reclaimed floor’s installation instructions—use spacers for consistency around frames and fixed woodwork.
According to NWFA guidance, hardwood floors perform best when installed over a flat, structurally sound substrate and allowed to acclimate to the home’s indoor conditions.NWFA (National Wood Flooring Association) hardwood installation guidelines.
On-site dry-fitting is the fastest way to verify the actual clearance under a jamb—especially with reclaimed planks that may vary slightly in thickness.
Flatness is non-negotiable at doorways
Doorways are short spans, which means:
– A small dip can create a “rocking” feel underfoot.
– A high spot can keep a plank from sliding fully under the undercut.
– A transition strip may not sit flush, creating a visible edge or a trip hazard.
If you find a problem, correct it before installing near the door. Reclaimed wood often has dimensional variability, but it doesn’t replace subfloor fundamentals.
Expansion gaps: measure, don’t estimate
Most hardwood installations require an expansion gap around fixed objects (jambs, posts, hearths), because wood moves with humidity. If your reclaimed product requires a specific perimeter gap, that number controls your undercut depth and your threshold plan. Common target conditions during installation are often in the neighborhood of 35–55% indoor relative humidity and stable temperatures—check your manufacturer and the NWFA guidance for your climate and system.
Wood movement at installation is driven by moisture content changes; NWFA emphasizes maintaining jobsite conditions within recommended indoor ranges to reduce post-install gapping and stress.NWFA—jobsite condition recommendations vary by flooring type and installation method; follow the guidance matching your product.
Install reclaimed planks tight to door jambs (without binding)
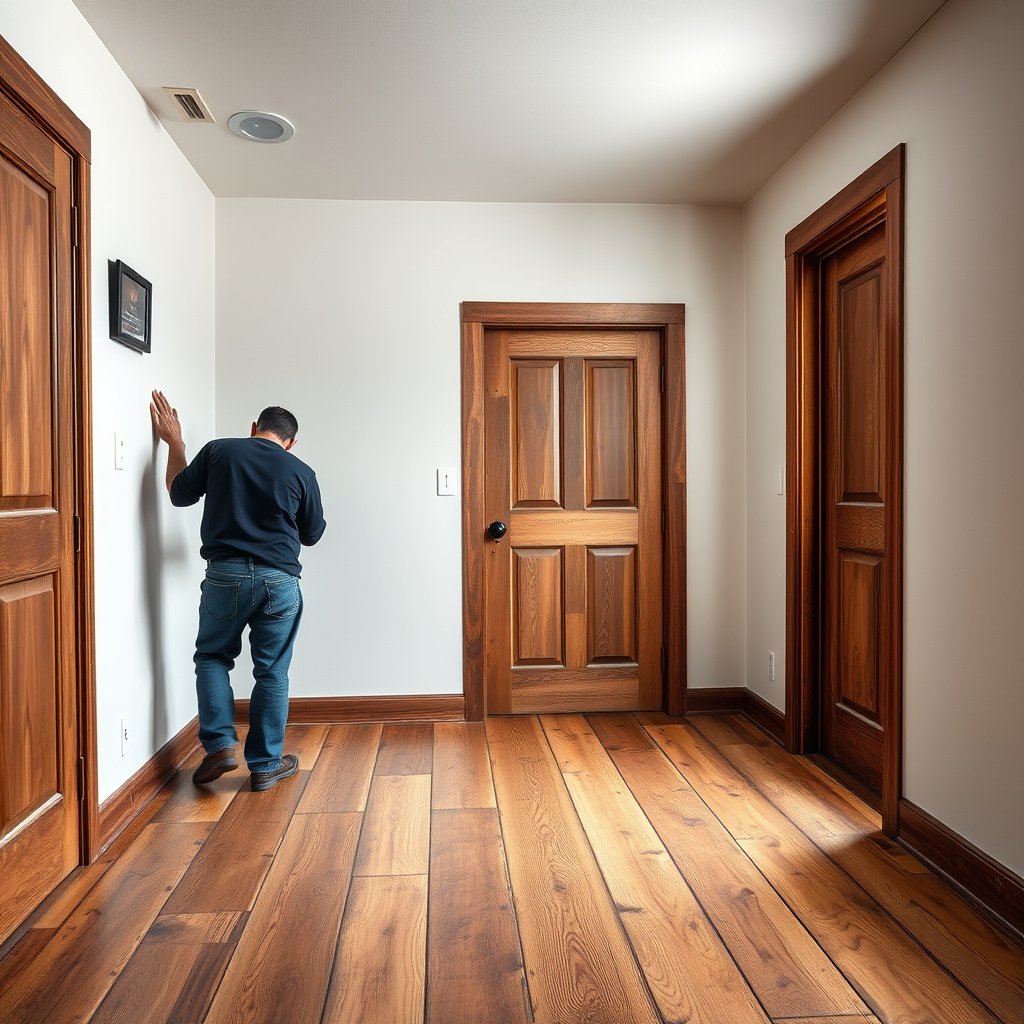
You get a professional fit by undercutting the jamb/trim just enough for planks to slide underneath without forcing the floor into contact. The most important rule is keeping the required expansion gap and never locking or nailing the planks into the fixed door casing.
– Undercut the door jamb/trim: remove the minimum needed material so planks slide under while still leaving the required expansion gap at the perimeter.
– Use the right cutting approach:
– Oscillating multi-tool (trim/jamb clearance) for controlled undercuts
– Miter saw/table saw for straight plank ends and doorway cross-cuts
– Fit boards so they don’t lock against the frame: if a plank touches the jamb, you’ll eventually feel scraping or buckling, especially with humidity changes.
A correct jamb undercut creates a “slip zone” so the plank can move freely without contacting fixed trim during seasonal expansion.
For floating (click-lock) reclaimed floors, any hard contact with the casing can prevent the floor from moving as one unit and increase the risk of edge separation.
Undercut technique that keeps the edge looking intentional
Start with a test plank and aim for:
– Enough clearance for the plank to pass under the jamb with minimal resistance.
– Preserved perimeter gap—your undercut depth must not eliminate the expansion space around the frame.
– No “forced fit”—if you need to tap the plank into place, you likely undercut too little or your layout line is off.
I tend to work in small increments: cut/undercut, dry-fit, adjust. That approach reduces the odds of making an undercut that looks too deep or too ragged at the visible edge.
Cutting and end-joint discipline at the opening
> If end joints land right on the doorway sight line, you’ll notice them even with excellent workmanship.
– Stagger end joints across the doorway so no single joint becomes the focal point.
– Avoid “pinching” the floor between jambs—if your cut leaves no room for movement, adjust your line before fastening/locking boards.
Nail-down vs glue-down vs click-lock: don’t mix the rules
Here’s the practical difference at doorways:
– Click-lock/float: the plank system must be free to expand/contract; don’t anchor it to door trim.
– Glue-down: the floor is bonded to the approved substrate; door edges still need perimeter clearance, but movement management is handled differently.
– Solid nail-down: nail placement and substrate approval govern performance; perimeter and fixed trim constraints still apply.
- Best practice:
- Match the fastening/locking method to your reclaimed floor type, then keep the perimeter gap intact at jambs and door frames.
Create clean transitions at thresholds and between rooms
You get “invisible” doorway transitions when you use a threshold or transition strip where the floor needs an explicit boundary. Install these transitions to the subfloor (as required), so the floor can move beneath while the edge stays flat and aligned.
– Where the doorway floor changes (different room height, different floor type, or a floating floor stops), use a threshold/transition strip installed to the subfloor (not into the floating floor).
– If you’re transitioning between two wood areas, ensure the expansion strategy matches both sides—floating floors need movement, even at doorways.
– Aim for a flat, flush transition: scrape/sand any reclaimed high points before installing the reducer/threshold so the strip sits evenly.
Threshold strips used at floating-floor doorways should be substrate-mounted so the floating wood remains free to expand and contract.
A flush reducer depends on the floor surface being level at the edge; high spots can prevent the strip from sitting tight and create a visible lip.
Avoiding the “trip edge” problem
A doorway transition becomes a trip hazard when:
– the strip bridges over a high spot instead of sitting flush,
– the reclaimed plank edge is still proud after trimming,
– or the installation gap was consumed accidentally during undercutting.
Before the strip goes in:
1) Check that the plank edge is straight and not raised.
2) Verify your clearance at the perimeter.
3) Dry-fit the transition to confirm it sits evenly across the doorway width.
Pros/cons: transition strategies for reclaimed floors
| Strategy | Pros | Cons / Watch-outs |
|---|---|---|
| Reducer/threshold at a doorway seam | Keeps edges crisp; handles height changes; supports clean, consistent gap coverage. | Requires good subfloor prep; improper mounting can trap movement (especially for floating floors). |
| Undercut-only approach (no threshold) | Simplifies hardware at doorways if floors stay continuous and heights match. | Less control over movement at a hard boundary; if two systems meet (or a floating system ends), you usually need a transition. |
| Transition with explicit expansion joint coverage | Better long-term appearance as the wood moves; protects the edge visually. | More parts and more layout planning; surface must be flat for a flush look. |
What can go wrong (and how to avoid it)
Doorway installs fail when wood movement gets blocked or when the transition is installed in a way that traps the floor. Most problems are preventable by maintaining the expansion gap, undercutting correctly, and using transitions that behave the way your flooring type requires.
– No expansion gap: planks swell, get squeezed at doorframes, and you get gaps, squeaks, or raised edges.
– Fastening into fixed trim: door casings and jambs should typically stay “fixed,” while the floor needs controlled movement—don’t mechanically lock planks to the casing.
– Improper undercut depth: too shallow means the plank won’t slide under; too deep can leave a weak-looking edge at the jamb.
– Reclaimed board variability: uneven thickness/warped pieces can make doorway gaps look worse—sort and test-fit pieces around the door first.
A missing perimeter expansion gap is one of the most common causes of hardwood gapping and edge buckling at fixed woodwork in service conditions.NWFA—follow hardwood installation guidance for recommended expansion allowances and acclimation practices.
Door casings and jambs are fixed architectural references; the floor system is the moving component, especially for floating/click-lock installations.
A quick diagnostic mindset
If you’re inspecting a finished floor, look for patterns:
– Squeaks only near doorways: often indicates compression/binding at the casing or insufficient clearance under the undercut.
– Raised edges at the threshold: often indicates a high reclaimed plank edge or a transition strip installed over an uneven surface.
– Gaps that “grow” over seasons: nearly always points to inadequate expansion allowance or insufficient acclimation—verify indoor humidity targets.
Reclaimed-specific challenges (and how to manage them)
Reclaimed wood isn’t uniform. To keep doorway cuts clean:
– Sort boards by thickness and straightness before the doorway run.
– Use your best-fitting boards in the most visible portion of the opening.
– Dry-fit and adjust—especially when matching the plank’s thickness to the gap your undercut must leave.
Verdict / tip: DIY-friendly if you can undercut accurately
This is a DIY-friendly project if you can undercut jamb/trim cleanly and you treat the door frame as a fixed boundary that must not trap your moving floor. Skip DIY (or plan extra labor/time) if your jambs are fragile, the doorway has unusual angles, or your reclaimed planks vary so much that you can’t get them consistent enough to slide cleanly.
If your door detail prevents a proper undercut and you can’t maintain the required expansion gap, the installation is at higher risk for long-term movement-related defects.
Following manufacturer installation instructions for fastening and expansion gaps is critical because reclaimed wood systems can differ in required clearance and joint behavior.
Quick scan checklist for doorway installs
– ☐ Confirm flooring type (nail-down / glue-down / floating) and follow manufacturer instructions
– ☐ Check subfloor flatness at the door opening
– ☐ Plan plank joint locations so joints aren’t sitting in the most visible spot
– ☐ Undercut jamb/trim enough for planks to slide under (no forced fit)
– ☐ Maintain the required expansion gap around frames and fixed woodwork
– ☐ Use thresholds/transitions where needed (especially for floating floors)
– ☐ Dry-fit at least a few rows around the doorway before final installation
A dry-fit of several planks around the jamb catches clearance problems before you commit adhesive, nails, or locking joints.
Planning joint location reduces the chance that a necessary doorway cut becomes a dominant visual seam.
Sources
– National Wood Flooring Association (NWFA) installation guidelines for hardwood flooring (follow the specific guidance that matches your flooring type).
With reclaimed wood flooring around doors, the “make-or-break” details are undercut clearance, maintaining the expansion gap, and installing transitions in a way that respects how your flooring type moves. Plan the doorway layout first, prep the subfloor flat, slide planks under jambs without forcing them, and finish with a properly anchored threshold/transition—so the result stays tight now and remains tight as humidity changes over the next seasons.
Frequently Asked Questions
How do you install reclaimed wood floors around door frames without damaging the trim?
Use a fine-tooth oscillating tool or undercut saw to create a clean gap under the door trim (usually about the thickness of the new flooring plus a small expansion allowance). Test-fit a few planks first, then slide them into place so the boards sit flat and don’t force the trim outward. If you need to remove trim sections, label them and reinstall with finishing nails to keep the door casing looking original and neat.
What spacing and expansion gaps are needed when installing reclaimed wood flooring near doors?
Reclaimed wood can still move with seasonal humidity, so you should maintain an expansion gap around the perimeter and at any fixed boundaries near doors. Follow the flooring manufacturer’s guidance, but commonly you’ll leave about 1/2 inch near walls and door jambs, then cover it with trim or transitions. For door openings, also plan for the flooring to “float” if it’s designed to do so, so it can expand without pushing into the casing.
Why do gaps or squeaks happen at door thresholds with reclaimed wood floors, and how can you prevent them?
Door thresholds often create pressure points where different materials meet, and reclaimed boards may cup or shrink after acclimating, leading to small gaps and squeaks. Acclimate the reclaimed wood thoroughly, use the correct underlayment for your installation method, and ensure the subfloor is flat and smooth before laying planks. When fastening or locking planks near thresholds, avoid overdriving nails/screws and keep the transition pieces aligned so they don’t restrict wood movement.
Which installation method is best for reclaimed wood floors around doors—nail-down, glue-down, or floating?
The best method depends on your subfloor and the room conditions, but many reclaimed wood floors are installed using nail-down or floating systems for easier adjustments near doorways. Floating reclaimed wood floors can be ideal around door areas because they tolerate slight movement, but they require careful spacing and proper underlayment. Nail-down can deliver a solid feel, yet you must ensure the subfloor is stable and flat, and you’ll need precise cuts around door jambs and casing for a professional look.
What’s the best way to cut reclaimed wood planks to fit snugly around door jambs and transitions?
Dry-fit planks and measure the exact clearance under the door jamb, then mark the cut using the plank thickness and any required expansion gap. Use a jamb saw/undercut tool for tight spaces so the plank slides under the casing cleanly without chipping reclaimed wood edges. For thresholds and transitions, cut the last plank accurately, then use a matching transition strip to cover the expansion gap and create a smooth, durable finish at the door opening.
📅 Last Updated: October 15, 2026 | Topic: How to install around doors reclaimed wood floors? | Content verified for accuracy and freshness.
References
- Wood flooring
- Wood flooring
- Reclaimed lumber
- https://en.wikipedia.org/wiki/Door_threshold
- Jamb
- Expansion joint
- https://en.wikipedia.org/wiki/Wood_shrinkage
- https://scholar.google.com/scholar?q=how+to+install+hardwood+flooring+around+doorways Google Scholar
- https://scholar.google.com/scholar?q=reclaimed+wood+floor+installation+around+door+frames+thresholds Google Scholar
- https://scholar.google.com/scholar?q=hardwood+floor+installation+undercut+door+jamb+expansion+gap Google Scholar