
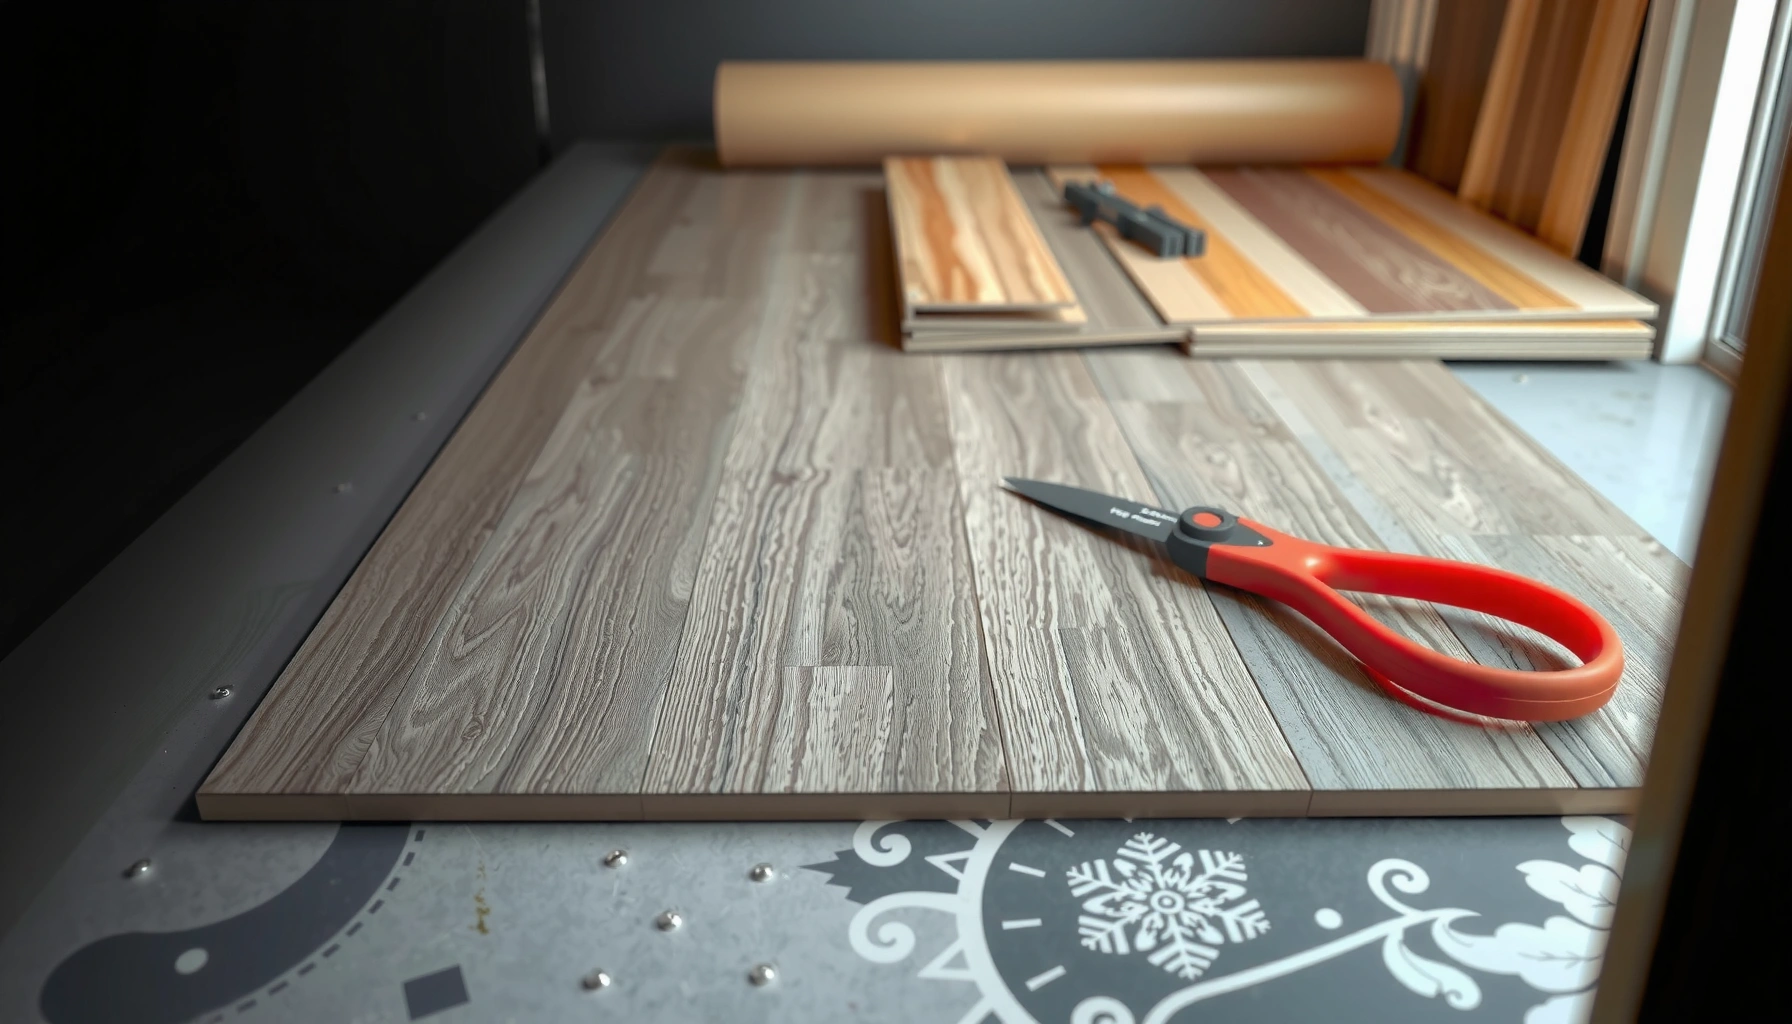

How to install vinyl flooring over concrete—step by step—is the fastest way to get a clean, professional finish without guesswork. You’ll learn exactly how to prep the concrete, choose the right vinyl type, and handle leveling, moisture checks, and seam details so the floor stays flat and secure. Follow these instructions and you’ll know precisely what to do before, during, and after installation.
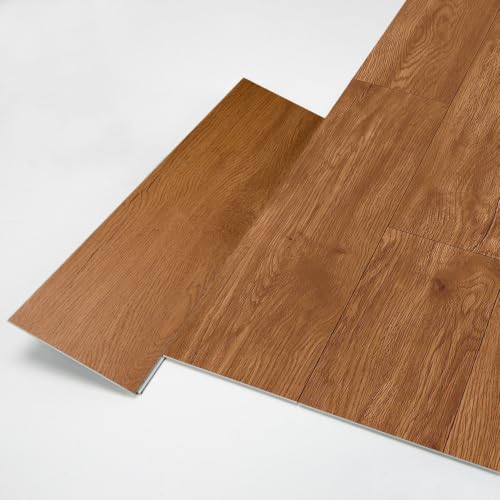



If your concrete slab is smooth, dry, and well-prepped, you can install vinyl flooring directly over it using the right underlayment (or a vinyl product designed for concrete). Start by checking moisture and flattening any bumps, then level low spots and remove coatings so the new flooring bonds/locks correctly. This guide walks you through prep, installation, and the most common mistakes that cause lifting or gaps.
This is for homeowners tackling LVP (luxury vinyl plank), LVT (luxury vinyl tile), or vinyl sheet flooring over an existing concrete subfloor—especially if you’re dealing with an older slab, patch jobs, or a basement installation. It’s also useful if you’re unsure whether you need a leveling compound, vapor barrier, or special adhesive.
Assess your concrete: moisture, flatness, and cleanliness

You can install vinyl over concrete only if the slab is both flat enough and within the moisture limits your vinyl product allows. In practice, most failures come from skipped moisture testing, uncorrected surface ridges, or leftover coatings that prevent the vinyl system from locking or bonding.
ASTM F2170 is commonly used to evaluate in-slab relative humidity (RH) for resilient flooring decisions, including vinyl over concrete.
Most resilient floor manufacturers base “can I install over concrete?” on a moisture result measured by the method they specify (often ASTM F2170 or ASTM F1869).
Vinyl click-lock floors still require a flat substrate; excessive ridges can stress the click joints and lead to separation or gapping.
Moisture: test first, then decide on mitigation
Start with moisture testing that matches your flooring brand/model’s instructions. Many systems use relative humidity (RH) testing (commonly ASTM F2170) and/or calcium chloride testing (commonly ASTM F1869). The key point is not which test you choose—it’s whether your test method matches the manufacturer’s required method. If your results are high, plan for a moisture mitigation system designed for resilient flooring (not a generic “waterproof paint” you brushed on last year).
Flatness: measure for “tight tolerance,” not “looks OK”
For vinyl (especially click-lock LVP/LVT), you want the concrete within the flatness tolerance specified by the product—think “tight” rather than “no major cracks.” Use a straightedge and check across the full room and doorways. In older slabs, common issues include:
– crown/ridges from troweling or past grinding
– settlement dips along walls or expansion joints
– raised patch edges where patch compound meets the original slab
If your product requires it, you may need to correct high spots with grinding and low spots with a suitable leveling compound.
Cleanliness: remove anything that blocks locking/bonding
Concrete dust is the enemy of both glue-down vinyl adhesion and some floating underlayment systems. Remove paint overspray, curing compounds, drywall mud, drywall patch residue, and old adhesive (only if your product allows installing over it). Then vacuum thoroughly and wipe with a cleaner recommended for your concrete type—avoid leaving residues that interfere with bonding.
| Key substrate check | What you’re looking for | Typical fix |
|---|---|---|
| Moisture | In-slab RH or emissions within manufacturer limits | Moisture mitigation system if out of spec |
| Flatness | No significant ridges/dips beyond manufacturer tolerance | Grind highs; level lows |
| Surface contamination | No coatings, paint, sealers, or loose debris | Mechanical removal + proper cleaning |
> Note: I’m not including a “universal” moisture number because vinyl manufacturers vary. Use your brand/model’s exact limits and test method. [ADD: source for your exact vinyl brand/model’s moisture test method and limits]
Choose the correct vinyl system for concrete
The best vinyl installation over concrete depends on whether you’re doing floating/click-lock (LVP/LVT) or glue-down (LVT or some sheet vinyl systems). These two approaches require different underlayment, different moisture expectations, and different ways to handle transitions.
Click-lock LVP/LVT typically uses an underlayment system that controls comfort, sound, and sometimes vapor—its design matters for concrete.
Glue-down vinyl relies on specific adhesive chemistry and concrete surface preparation, so coatings or dust can cause bond failure.
Always confirm your flooring product’s allowance for direct-to-concrete or underlayment-over-concrete before you buy additional pads or barriers.
Click-lock vs glue-down: pick the right rules before you start
Start by identifying your vinyl type:
– Floating/click-lock (LVP/LVT): usually “floats” over an underlayment. The underlayment choice must be approved for concrete and compatible with the flooring’s backing.
– Glue-down: your success hinges on adhesive selection, concrete prep, and correct spread/trowel technique and dwell time (if specified).
Verify underlayment and vapor barrier requirements
Some vinyl products include an attached backing or specify “pad attached” rules. Others require a separate vapor barrier over concrete—sometimes down to material type (poly film thickness) and overlap/seam sealing.
Layout and room conditions
Your layout affects joint stress. For floating floors, stagger planks/tiles and avoid thin edge “starter strips” that can be under stress during seasonal movement. For glue-down, you still want a thoughtful layout to avoid awkward cuts at doorways and to maintain consistent adhesive coverage.
Prep the slab: level, patch, and address surface issues
Prep is where over-concrete vinyl either succeeds or silently fails months later. Your goal is a clean, stable surface where the underlayment can sit flat (floating) or the adhesive can wet out (glue-down).
Most vinyl failures show up as gapping at seams, joint separation, or hollow-feeling areas caused by uneven substrate or poor adhesion.
If the concrete is sealed or glossy, manufacturers often require specific surface prep (mechanical abrasion or removal) to ensure bonding.
Leveling/patch compounds must cure fully before installation, because trapped moisture and soft spots can telegraph through vinyl.
Level low spots; fix high ridges
Use the right products for the job:
– Low spots: use an approved patch/leveler for floor systems.
– High spots: grind ridges so you remain within the flatness tolerance.
Be methodical—don’t patch and install the same day. Let compounds cure per their instructions.
Deal with sealed/glossy concrete (don’t assume it’s fine)
Older slabs sometimes have a sealant, curing compound, or paint. Even “scuff-sanded” concrete can still be incompatible with adhesive. If you’re gluing, follow the flooring manufacturer’s concrete surface preparation rules. If you’re floating, you still need clean, stable concrete so the underlayment lays evenly without trapping debris or moisture.
Patch edges and transitions
Pay attention to patch feather edges. A sharp patch edge can become a “stress line” under click joints, especially in basements where temperatures swing.
Install the vinyl correctly: underlayment, layout, and seams
Correct installation is about following the vinyl system’s instructions to the letter: acclimation, underlayment placement, seam fit, and—if glue-down—adhesive technique.
Acclimation periods are product-specific; manufacturers require acclimation so the vinyl reaches room temperature and reduces expansion/contraction problems.
For floating/click-lock vinyl, underlayment thickness and seam placement rules affect joint stability and may void warranty if incorrect.
For glue-down vinyl, adhesive coverage and correct trowel/notch size directly impact bond strength and long-term performance.
Step 1: acclimate
Let the vinyl acclimate according to your manufacturer’s guidance. Basements often run cooler and more humid—acclimation still matters.
Step 2: plan your layout
Common best practices (again: subject to manufacturer rules):
– center the layout in the room if it helps your symmetry
– stagger joints (avoid repeating end joints)
– account for doorways and transitions early
Step 3: floating/click-lock—underlayment and seam fit
Use only the underlayment your flooring brand approves (especially over concrete). Install underlayment according to the plan—some require taped seams and specific overlap methods. When installing planks/tiles:
– fit pieces without forcing misaligned joints
– keep the subfloor free of grit during fitting
– respect expansion gaps at all walls and fixed objects per instructions
Step 4: glue-down—adhesive application discipline
For glue-down vinyl:
– spread adhesive exactly as directed (including trowel/notch size)
– avoid adhesive on areas the manufacturer forbids
– follow any stated dwell/flash times before placing vinyl
What can go wrong (and how to prevent it)
The most common causes of lifting, gapping, or seam failure are moisture problems, uneven concrete, and incorrect underlayment/adhesive usage. Preventing them is straightforward: test, measure, and follow the product system rules.
Moisture vapor pressure can create cupping or adhesive failure in resilient floors when concrete exceeds the flooring system’s limits.
Uneven concrete increases point loading on click joints, which can lead to separation and visible gaps.
Using unapproved underlayment on concrete can introduce excessive give, trap moisture, or interfere with the floor’s locking mechanism.
Common mistakes—and what to do instead
Avoid these high-risk shortcuts:
– Installing on concrete without moisture testing (especially in basements)
– Skipping grinding/leveling because the slab “looks flat”
– Installing over sealed/glossy concrete without mechanical prep
– Using a random vapor barrier or foam pad not approved for your vinyl
– Not leaving required expansion gaps around walls, cabinets, or posts
Click-lock vs glue-down: practical pros and cons
Here’s a parseable comparison to help you decide where you need the most diligence.
| Feature | Floating / Click-lock | Glue-down |
|---|---|---|
| Substrate flatness sensitivity | High—uneven slabs stress joints | Medium to high—adhesive can’t “bridge” issues |
| Moisture tolerance | Varies; vapor control rules still matter | Often lower—bond depends on correct prep and limits |
| Underlayment requirement | Must be manufacturer-approved | Often not used (depends on system) |
| Installation complexity | Moderate; seam fit consistency is critical | Higher; adhesive technique affects results |
| Repairability | May be easier to replace sections | More involved if boards/tiles must be lifted |
| Typical failure mode | Gapping at seams from movement or unevenness | Edge lift or debonding from moisture/poor prep |
What Often Determines Success When Installing Vinyl Over Concrete (Most Common Root Causes)
| # | Root cause category | Observed impact frequency | Risk to vinyl joints/bonds | How to reduce |
|---|---|---|---|---|
| 1 | Insufficient moisture testing/mismatch of method | High | ★★★☆☆ | Test to manufacturer method; mitigate if out of spec |
| 2 | Uneven substrate (high ridges/low dips) | High | ★★★☆☆ | Grind highs; fill lows to flatness tolerance |
| 3 | Skipping concrete cleaning/debonding | Medium-High | ★★☆☆☆ | Remove coatings/adhesive residue per prep spec |
| 4 | Wrong underlayment/vapor barrier choice | Medium | ★★☆☆☆ | Use only manufacturer-approved concrete underlayment |
| 5 | Adhesive misapplication (glue-down) | Medium | ★★☆☆☆ | Follow trowel size, coverage, and dwell time |
| 6 | Expansion gap mistakes at walls/columns | Medium | ★☆☆☆☆ | Maintain manufacturer-specified perimeter gaps |
| 7 | Skipping vinyl acclimation | Lower-Medium | ★☆☆☆☆ | Acclimate per product instructions |
Why these categories? They align with the failure mechanisms repeatedly described in resilient flooring installation guidance (moisture, flatness, surface prep, and system compatibility). Specific frequency data varies by project and product warranty scope.
Verdict / tip: when to DIY vs when to hire help
DIY over-concrete vinyl is usually a good choice when your slab is within flatness specs, moisture tests are in-range, and your project matches the product’s approved installation method. Hire help (or at least consult) when moisture is elevated, the slab can’t be leveled to tolerance, or your system requires a moisture mitigation approach you’re not prepared to execute.
If your moisture test method and results don’t match the flooring warranty requirements, a DIY install may limit coverage.
When concrete flatness can’t be corrected to the manufacturer’s tolerance, floating click-lock joints are more likely to separate over time.
For glue-down vinyl, adhesive and substrate preparation mistakes are difficult to reverse without rework.
Click-lock vs glue-down: who should choose what?
| Criteria | Floating / Click-lock | Glue-down |
|---|---|---|
| Best for unevenness you can’t fix | — | — |
| Flatness tolerance requirements | High | High |
| Moisture sensitivity | Moderate | High |
| Underlayment complexity | System-dependent | Varies |
| Adhesive skills needed | None | Yes |
| Noise/comfort | Often improved with pad | Depends on system |
| Warranty risk from prep mistakes | Moderate | Higher |
| Typical failure symptoms | Gapping/joint stress | Debonding/lift |
| DIY friendliness | Higher | Lower |
| Verdict | Best for most prepared basements | Consider pro if moisture is marginal |
Downside to DIY: poor concrete prep isn’t always visible right away; gapping and edge lift can show up weeks later. If you discover significant moisture, can’t correct flatness to spec, or your installation instructions require a specific mitigation system you’re not equipped to install, skip the DIY approach or get pro help. [ADD: source for manufacturer moisture/flatness/mitigation requirements once you identify your exact vinyl brand/model]
Quick checklist: install over concrete vinyl floors
– [ ] Test moisture using the method required by your flooring manufacturer
– [ ] Check flatness with a straightedge; grind highs, fill lows
– [ ] Remove dust, debris, paint/sealers, and old residue as required
– [ ] Use only the approved underlayment/vapor barrier (or none, if specified)
– [ ] Follow vinyl type rules (click-lock vs glue-down) for installation method
– [ ] Allow patches/levelers to cure fully before installing
– [ ] Maintain required expansion/edge details around room perimeter
FAQ
Do I need a vapor barrier when installing vinyl over concrete?
It depends on your vinyl type and the manufacturer’s instructions. Some click-lock systems require a specific vapor barrier, while others include an attached backing; [ADD: source for your specific product’s underlayment/vapor barrier requirement].
What’s the most important thing to fix on concrete before installing?
Flatness and surface condition are usually the biggest performance drivers—level low areas, grind high spots, and remove coatings/dust so the vinyl can perform as designed.
Can I install over old adhesive on concrete?
Sometimes, but only if the flooring manufacturer allows it and the surface meets prep requirements (adhesive removal, grinding, or testing may be necessary). Use the manufacturer’s concrete/subfloor prep directions: [ADD: source for your product’s “existing adhesive” guidance].
Does glue-down vinyl work better than click-lock on concrete?
Glue-down can be more stable in some cases, but it’s also more sensitive to moisture and surface prep and requires correct adhesive application. The “best” choice is whichever your room conditions support and whichever your specific product is rated for.
Sources
– [ADD: Manufacturer installation instructions for your exact vinyl flooring brand/model—especially moisture testing, flatness tolerance, underlayment/vapor barrier, and surface prep requirements.]
– [ADD: Moisture testing method reference specified by your flooring manufacturer (e.g., ASTM F2170 system requirements; ASTM F1869 for moisture vapor emission), since requirements vary by product.]
Frequently Asked Questions
What prep work is needed to install vinyl flooring over concrete subfloors?
Before installing vinyl over concrete, you need a clean, dry surface with the concrete fully cured, typically at least 30 days. Remove dust, paint, sealers, and debris, then fill cracks, pits, and low spots with a concrete patch or leveling compound. Check that the floor is flat using a straightedge because vinyl (especially click-lock) can telegraph bumps and lead to gaps.
How do you level and smooth concrete before installing vinyl plank or sheet vinyl?
Use a two-part concrete patch for small holes and a self-leveling underlayment for larger or widespread unevenness. Feather the edges of any patch so transitions are smooth and won’t create ridges under the vinyl flooring. After leveling, allow the product to fully cure and then vacuum thoroughly so the underlayment or vinyl adheres correctly.
How can you prevent moisture problems when installing vinyl over concrete?
Moisture is one of the biggest concerns with concrete and vinyl flooring, so confirm the slab is dry and consider a moisture test if you’re unsure. For many installs, a concrete moisture barrier underlayment film is recommended, especially with sheet vinyl or glue-down vinyl. If you’re using click-lock vinyl, still ensure you’re not trapping moisture—use the manufacturer-approved underlayment and follow their moisture requirements.
Which underlayment should you use for vinyl flooring installed on concrete?
The best underlayment depends on the vinyl type and the manufacturer’s instructions. Many click-lock vinyl floors require an approved underlayment (often an attached pad is not enough), while glue-down vinyl typically needs a smooth, properly prepared substrate and may not need extra padding. Choose underlayment that helps with moisture mitigation and sound reduction without creating excessive softness that can cause joint separation.
What’s the best installation method for vinyl over concrete—glue-down, click-lock, or peel-and-stick?
Glue-down vinyl is often ideal on well-prepared concrete because it creates strong contact and can handle minor texture better when the slab is level. Click-lock vinyl can be faster but requires very flat concrete to avoid flexing and seam issues, making leveling critical. Peel-and-stick vinyl works best on clean, smooth concrete with minimal moisture concerns, and it performs best when you carefully prime or condition the surface if recommended by the manufacturer.
📅 Last Updated: October 07, 2026 | Topic: How to install over concrete vinyl floors? | Content verified for accuracy and freshness.
References
- https://en.wikipedia.org/wiki/Vinyl_flooring
- Flooring
https://en.wikipedia.org/wiki/Resilient_flooring - Google Scholar Google Scholar
https://scholar.google.com/scholar?q=installing+vinyl+flooring+over+concrete+subfloor+preparation - Google Scholar Google Scholar
https://scholar.google.com/scholar?q=vinyl+sheet+floor+installation+over+concrete+moisture+vapor+barrier - Google Scholar Google Scholar
https://scholar.google.com/scholar?q=vinyl+plank+floor+installation+over+concrete+underlayment+expansion+gap - RFCI – Resilient Flooring Covering Institute
https://www.rfci.com/ - https://extension.umn.edu/household-safety-and-prevention/flooring-vinyl-and-linoleum
- https://www.cdc.gov/mold/default.htm
- https://www.epa.gov/indoor-air-quality-iaq/voc-what-you-need-know-home
- Google Scholar Google Scholar
https://scholar.google.com/scholar?q=How+to+install+over+concrete+vinyl+floors?


