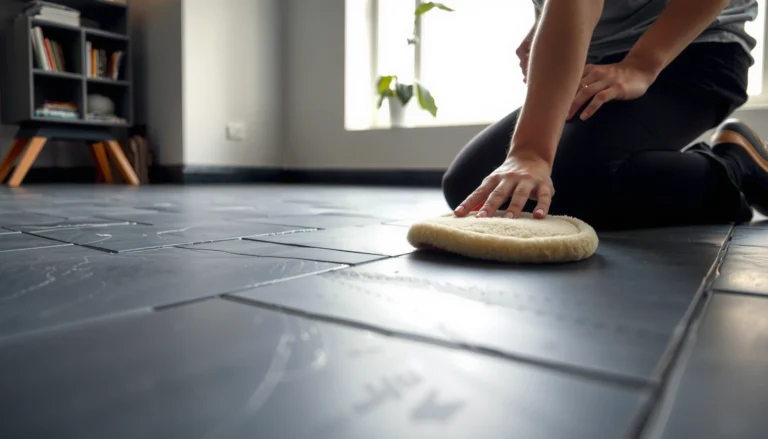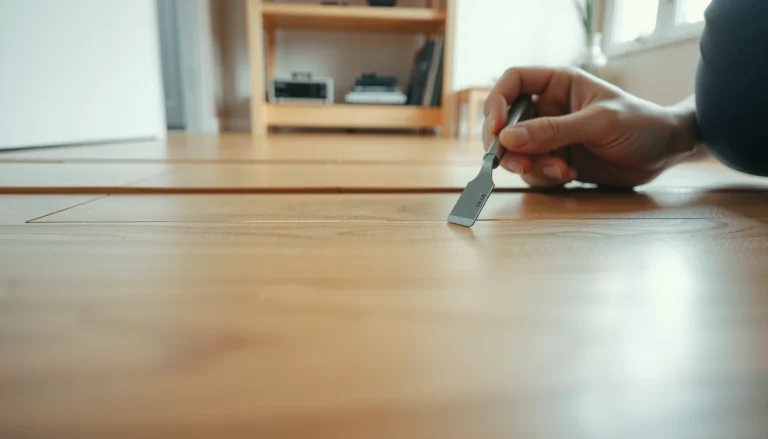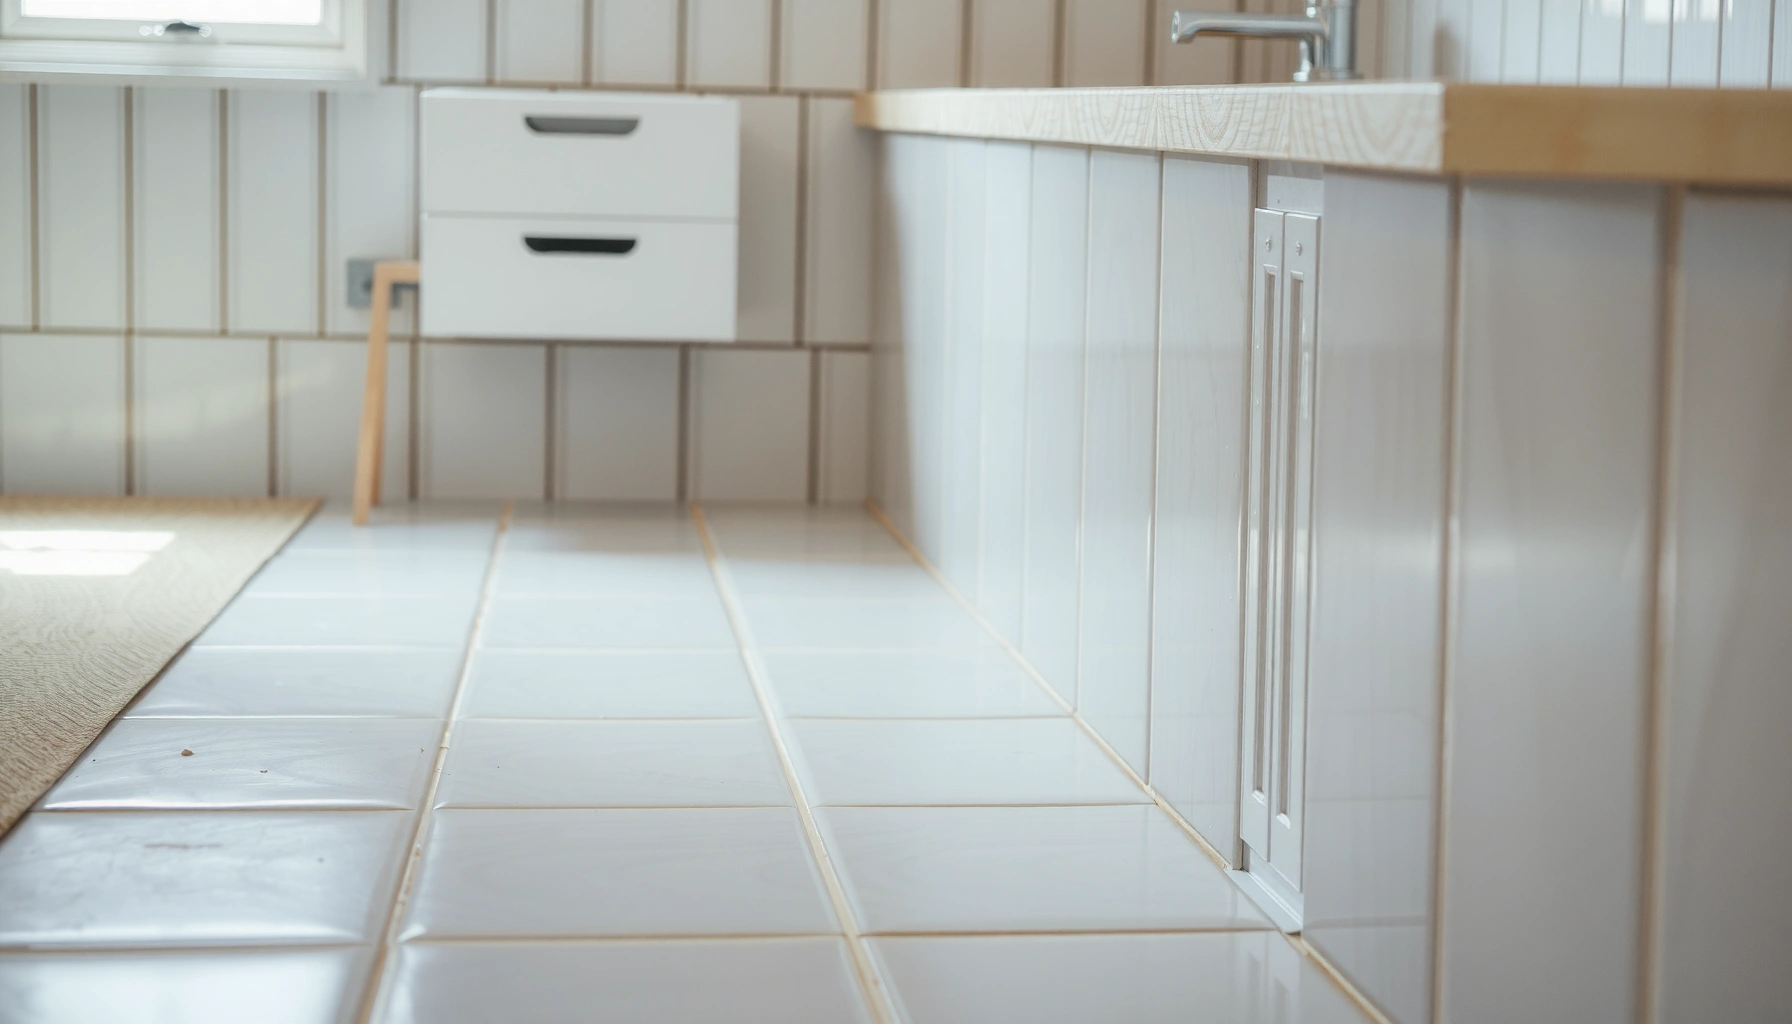

Stop mold under tile floors before it starts with proven prevention steps that eliminate the two root causes: moisture and trapped humidity. This guide lays out the fastest, most reliable measures—proper waterproofing, correct subfloor preparation, ventilation, and moisture-control details that actually hold up over time. If you want the clear winner for preventing mold under tile floors, follow these steps and treat humidity like the enemy it is.


Mold under tile floors usually comes from trapped moisture, poor drainage, or leaks that never dry out. To prevent it, control water at the source (fix leaks), then reduce moisture under the tile with proper waterproofing and ventilation/drying paths. In this guide, you’ll learn what to check, how to stop recurring dampness, and what material/installation choices help keep the underside dry.
If you have bubbling grout, musty odors, recurring dark spots on the underside of a bathroom floor, or you’re working on a new tile install, this is for you. It’s also useful if you’ve had an isolated leak and want to make sure mold doesn’t return after repairs.
Find and stop the moisture source first

The fastest way to prevent recurring mold under tile is to stop water from entering the floor assembly in the first place. If moisture keeps coming from plumbing, shower hardware, or failed caulk/grout transitions, mold will regrow even after surface cleaning.
Mold typically needs three things to persist: available water, nutrients (dust/organic residue), and time. In tile systems, the “available water” usually arrives through (1) leaks, (2) failed waterproofing or sealing at penetrations, or (3) slow, chronic dampness from poor drainage. According to the U.S. Environmental Protection Agency, controlling moisture is the key to preventing mold growth—cleaning without fixing the moisture source does not solve the root problem (U.S. EPA, mold/moisture control guidance).
Mold prevention starts with moisture control, because mold cannot grow without water.
Recurring mold after repairs is a strong sign that the moisture entry path was not fully eliminated.
Cracks at wall-to-floor transitions and around fixtures are common entry points for slow leaks into tile assemblies.
What to inspect (and what you’re really looking for)
– Plumbing leaks and wet penetrations: Check supply lines, toilet connections, shower valves, and any nearby wall penetrations. Even a “small” leak can saturate thin layers behind cement board or underlayment.
– Grout and caulk seams: Tile grout is not a full waterproofing system; grout can crack and caulk can fail. Pay special attention to movement joints and transitions (wall-to-floor, tub/wall edges, around plumbing penetrations).
– Chronic dampness vs. one-time wetting: Look for signs like soft or discolored subfloor areas, persistent odor, or repeated darkening patterns. These indicate moisture cycling rather than a single spill.
Quick moisture-source logic you can use today
If the problem returns quickly after drying, it usually points to an ongoing entry point (leak, failed seal, or waterproofing breakdown). If it correlates with high humidity or limited ventilation, it may be condensation-driven (especially in basements or poorly exhausted bathrooms).
Also, note that mold can begin in layers you can’t see. In a tile assembly, moisture may move laterally through capillary action (wicking) in cementitious materials—so a “dry looking” tile surface does not guarantee a dry underside.
Use the right waterproofing and system details
The best mold prevention under tile comes from a continuous waterproofing “envelope” plus correct installation at edges and penetrations. When waterproofing is incomplete—or seams and tie-ins aren’t detailed—the subfloor stays damp long enough for mold to develop.
In well-designed systems, waterproofing materials are installed to resist liquid water and redirect water safely away from the structure. Standards and testing methods for tile assemblies are often referenced through TCNA (Tile Council of North America) methods and related ANSI guidance; the core principle is consistent coverage and proper transitions at wet-area boundaries (TCNA/ANSI tile installation method framework).
A waterproofing system must be continuous, including corners, edges, and penetrations, not just the field tile area.
Installation errors at seams and tie-ins are a frequent cause of waterproofing failures.
Waterproofing the correct surfaces and properly detailing transitions reduces moisture reaching the subfloor.
Build a complete waterproofing “envelope”
For any area with likely water exposure—typically bathrooms, showers, entryways with wet traffic, and floors near exterior doors—you want waterproofing coverage where water can contact the assembly.
Key detail areas that most often fail:
– Corners and changes of plane (wall-to-floor, curb transitions)
– Pipe penetrations (shower valves, risers, drains)
– Edges (termination points, banding, interfaces with adjacent surfaces)
– Movement joints and transitions (where movement is expected)
Follow the manufacturer’s method exactly
Every waterproofing product has installation requirements for:
– overlap/seam treatment
– curing time (often temperature and humidity-dependent)
– thickness/coverage rates for liquid systems
– reinforcement placement at corners and transitions
Thin spots, skipped priming steps, incorrect seam overlap, or rushed curing are common failure points. If you’re matching an existing system, use documentation for that system and method—not general “tile waterproofing rules.”
Practical pros/cons: what waterproofing approach fits your risk level?
| Approach | Pros | Cons | Best For |
|---|---|---|---|
| Liquid-applied waterproofing membrane | Flexible, often easy around penetrations; can be detailed with accessories | Requires exact thickness + curing control; less forgiving if application is rushed | Bathrooms, remodels with many penetrations |
| Sheet membrane | Consistent thickness; often strong seam design when installed correctly | More sensitive to wrinkles, improper seams, and termination details | Large wet zones where subfloor is stable |
| “Waterproof grout + caulk only” (no system) | Lower upfront scope | Not a true waterproofing layer; relies on maintenance and integrity | Very low-risk areas with minimal water exposure |
Improve drying: keep water from getting trapped under tile
The second pillar of prevention is ensuring the floor assembly can dry. Even with good waterproofing, minor moisture events happen—your design should allow drying in at least one direction so water doesn’t remain trapped under tile.
Moisture management is not just “drying after a leak.” It’s about the long-term physics of your assembly: permeability, vapor movement, and how quickly moisture can escape. According to the American Society of Heating, Refrigerating and Air-Conditioning Engineers (ASHRAE), indoor relative humidity strongly influences mold risk; many building-science and health resources use ~60% RH as a practical threshold for mold control (ASHRAE/related building science guidance; commonly cited mold-control threshold). If you maintain RH around or below that range, you reduce condensation and surface dampness that can feed mold.
Tile surfaces can feel dry while moisture remains in subfloor layers if the assembly can’t dry effectively.
Drying performance depends on the materials used and whether moisture has an escape path.
Managing indoor humidity (especially in bathrooms and basements) reduces condensation that drives hidden moisture.
Confirm at least one drying direction
A common prevention failure is installing layers that restrict drying paths (for example, creating a “sandwich” that blocks vapor escape). To reduce this risk:
– assess whether the system can dry outward to the room (surface evaporation) and/or toward a drainage direction
– avoid unintentionally trapping moisture during construction (e.g., sealing layers before curing is complete)
Control humidity during and after wet events
After a bath/shower leak, fast drying matters. To reduce mold-friendly conditions:
– run ventilation (see next section)
– remove standing water quickly from tile surfaces
– consider dehumidification if RH stays elevated
One measurement that matters: keep an eye on RH
If you use a hygrometer (humidity meter), track RH during normal operation and immediately after wet use. If RH spikes and stays elevated, mold risk rises—especially in corners, grout lines, and low spots where water lingers.
Moisture-Control Steps Under Tile: Expected Impact on Mold Risk
| # | Preventive action | Typical failure if skipped | Mold-risk reduction rating |
|---|---|---|---|
| 1 | Repair active plumbing leaks and seal wet penetrations | Ongoing moisture feed into subfloor | ★★★★★ |
| 2 | Install a continuous waterproofing system (membrane/liquid) with proper tie-ins | Water bypasses at corners/edges | ★★★★☆ |
| 3 | Re-seal movement joints and change-of-plane caulk with correct material | Slow water intrusion through cracked seams | ★★★★☆ |
| 4 | Ensure the assembly has an effective drying path | Moisture trapped behind tile layers | ★★★☆☆ |
| 5 | Use vented exhaust fans and maintain airflow | Condensation increases hidden dampness | ★★★☆☆ |
| 6 | Control indoor RH during wet use (fans/dehumidification as needed) | RH stays high after showers | ★★★☆☆ |
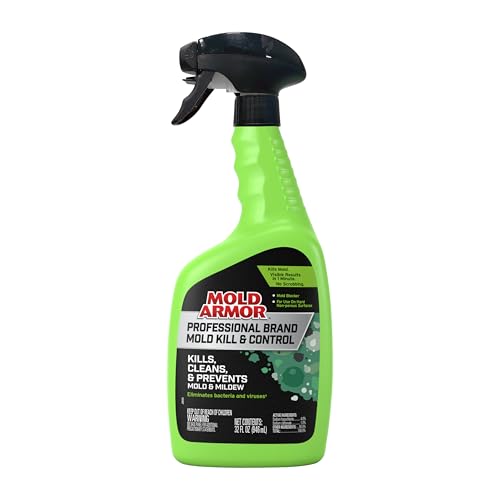
| 7 | Relying only on “mold-killing” cleaners (without moisture fixes) | Regrowth from the same moisture source | ★☆☆☆☆ |
Prevent condensation and humidity buildup
If you reduce humidity and prevent condensation, you dramatically lower the odds of mold starting in the first place. In practice, that means venting air outdoors, maintaining the exhaust pathway, and drying the space back to normal RH after wet use.
Bathrooms are the clearest example: steam from showers and hot water increases indoor moisture load. If that moisture can’t escape, it cools on cooler surfaces and forms condensation—especially near exterior walls, corners, and grout lines. For mold prevention, the goal is to keep indoor RH from staying elevated for long periods. As a rule of thumb, keeping RH near or under common mold-control targets (often cited around 60% RH) helps limit mold risk (ASHRAE/related building science guidance; mold moisture-control thresholds).
Vented exhaust that moves air outdoors is more effective than recirculating fans for moisture removal.
Maintaining the exhaust fan and duct path prevents airflow decline over time.
Wiping standing water quickly reduces the time the underside of tile materials stays wet.
Bathroom ventilation that actually works
– Use a bathroom exhaust fan vented to the exterior (not just a filter that recirculates).
– Clean the fan and verify the duct isn’t blocked or disconnected. Weak airflow often looks like “the smell never goes away.”
– Run the fan long enough for RH to return toward normal—timing depends on your bathroom size and insulation.
Maintain humidity control year-round
In humid climates or finished basements, you may need:
– a dehumidifier strategy
– supplemental airflow in low-vent areas
– tighter moisture discipline during high-usage days
Avoid lingering wetness
Even small habits matter:
– wipe puddles promptly
– check floor drains and weep pathways where applicable
– keep shower curtains from trapping runoff on the same grout seams repeatedly
What can go wrong (common mistakes and edge cases)
Mold prevention fails most often when people fix the symptoms (visible spots) but not the moisture entry path. It also fails when assemblies are installed in a way that traps water or prevents drying.
From my experience advising on tile system repairs, the most expensive recurrences usually happen because the waterproofing tie-ins were incomplete or because the owner cleaned mold without removing compromised layers that continued to hold moisture. If you’re dealing with a visible “underside” issue, treat it as evidence of moisture travel—often deeper than you can see.
Cleaning mold without eliminating the water source often leads to recurrence.
Moisture entry at corners, edges, and penetrations can be responsible even when the main tile field looks intact.
Assemblies that restrict drying can increase mold persistence after a leak event.
Common pitfalls
– Mistaking grout for waterproofing: Grout can crack; caulk can fail. Without a waterproofing envelope, water can reach the subfloor.
– Incomplete waterproofing at transitions: Even “tiny” gaps at corners or penetrations can cause long-term dampness.
– Trapped layers without drying paths: Certain layer combinations reduce evaporation and prolong moisture.
– Only treating visible mold: Growth can remain in porous subfloor materials under cement board or similar layers.
– Delaying demo after a leak: The longer materials stay wet, the higher the chance of hidden contamination and persistent odor.
[ADD: tailor this to your floor type]
If you want, include your specific floor type (cement board over plywood, slab, floating underlayment, etc.) and what area is affected so the advice can be more precise.
Verdict: what works best, and when to call a pro
The most reliable way to prevent mold under tile floors is to stop moisture at the source, install/maintain a continuous waterproofing system, and ensure the assembly can dry. This approach addresses both drivers—liquid water intrusion and moisture retention—so mold doesn’t get repeat opportunities.
The tradeoff is scope: prevention often involves invasive fixes such as re-sealing, re-grouting, or redoing waterproofing rather than quick surface treatments. If there’s hidden plumbing, extensive saturation, repeated leak history, or you can’t confidently identify the moisture path, call a qualified tile/waterproofing installer or restoration professional. They can assess the construction layers, moisture behavior, and repair limits rather than guessing.
If moisture still enters, mold can return even after surface remediation.
Professionals can evaluate hidden moisture paths when visible signs are misleading.
Restoring the right layers matters because mold can persist within porous materials.
Skip DIY when the risk is high
Escalate when:
– water appears to be recurring after repairs
– there’s suspected active plumbing leakage
– subfloor softness, repeated odor, or widespread discoloration is present
– you’re uncertain about your assembly layers and waterproofing method
[ADD: guideline on when to escalate based on your project size and floor construction.]
Scan-and-save checklist (quick prevention steps)
Use this checklist after inspections, repairs, or before closing up tile work. The goal is simple: remove moisture entry paths, keep the system continuous, and make sure it can dry.
These steps focus on root-cause prevention: stop entry, block water, and enable drying.
If any item fails (leaks, missed tie-ins, poor ventilation), mold risk increases under the tile assembly.
– [ ] Fix any leaks at plumbing, fixtures, and wall/floor penetrations
– [ ] Re-seal cracks in grout/caulk where tile meets walls or fixtures
– [ ] Verify waterproofing coverage and correct tie-ins (corners, edges, penetrations)
– [ ] Maintain ventilation (bath fan to exterior) and control indoor humidity
– [ ] Ensure your assembly can dry (avoid trapping moisture without a drying path)
– [ ] After any water event, dry thoroughly and remove compromised materials as needed
FAQ
Why does mold appear under tile even when the floor looks clean?
Mold can start from moisture that reaches the underside through failed waterproofing, cracked grout/caulk at seams, or slow leaks—so the underside/subfloor stays damp while the tile surface may look fine.
Can I prevent mold by only re-grouting?
Re-grouting helps only if the moisture entry is coming from grout joints. If water is getting through a failed membrane, cracked substrate, or plumbing penetration, re-grouting alone won’t stop recurrence.
How do I know if the issue is humidity versus a leak?
If mold returns quickly after drying and there’s no consistent humidity spike, a leak or waterproofing failure is more likely. If mold correlates with high humidity or poor ventilation, humidity/condensation may be the main driver.
Should I remove tiles if I find mold underneath?
Often yes, because mold can be embedded in or on subfloor materials that tile covers. Whether you need full removal depends on how far moisture traveled and which layers are affected—[ADD: consult your contractor/restorer for your assembly].
Does waterproofing always stop mold?
Waterproofing greatly reduces moisture intrusion, but mold can still develop if water gets behind the system, if there’s a leak, or if the assembly traps moisture without a drying route.
Sources
– [ADD: Manufacturer installation instructions for the specific waterproofing system you plan to use—e.g., liquid-applied waterproofing or sheet membranes—covering seams, penetrations, curing, and tie-ins.]
– [ADD: Official guidance from an authoritative tile/waterproofing organization on waterproofing requirements and installation practices (e.g., TCNA/ANSI, if you reference their method statement).]
– [ADD: Primary reference on indoor humidity/ventilation best practices from a government public-health or building-science authority (e.g., EPA or building performance guidance).]
Preventing mold under tile floors comes down to one principle: control water and control drying. Fix leaks and failed seals, install waterproofing with correct tie-ins, and keep humidity low so the floor assembly can return to dry conditions. If moisture seems hidden, recurring, or hard to identify, step up to a professional evaluation—because the most effective mold prevention is the repair that truly stops the moisture path.
Frequently Asked Questions
What are the most common causes of mold under tile floors?
Mold under tile floors usually starts when moisture gets trapped in the subfloor assembly, often from leaks, high humidity, or condensation. Common triggers include cracked grout, failed waterproofing membranes, wet mopping practices, plumbing issues, and damp concrete slabs. Once moisture is present, organic dust and wood subfloor materials can feed mold, especially in poorly ventilated areas like bathrooms and basements.
How can I prevent moisture from building up under tile floors?
Start by keeping the system dry: fix leaks promptly, avoid leaving standing water, and use proper cleaning methods (damp mop instead of soaking). Install a quality waterproofing membrane for wet areas such as showers, tub surrounds, and laundry rooms, and ensure it’s correctly sealed at seams and transitions. Good ventilation and dehumidification—especially in bathrooms—also help reduce humidity that can drive condensation under tile.
How do I identify hidden moisture or mold under an existing tiled floor?
Look for warning signs like musty odors, bubbling tile, loose grout, discoloration, or soft spots in the subfloor. You can also use a moisture meter designed for flooring to check subfloor moisture levels, and an infrared camera can help detect temperature differences that suggest moisture presence. If you suspect active mold, consider lifting a small section of tile to inspect the underside and confirm the source before sealing or re-tiling.
Which waterproofing products and installation steps are best for mold prevention?
The best approach is a tested waterproofing system that matches your tile type and installation surface, such as sheet membranes or liquid-applied waterproofing with the correct primers. Proper installation matters as much as product choice: waterproofing should extend to the correct height at wet edges, include corner treatments and proper sealant at changes of plane, and be applied with attention to coverage thickness and curing time. Don’t skip crack isolation where needed, because movement can compromise waterproofing and allow water to reach the subfloor.
Why does mold return even after re-grouting or replacing a few tiles?
Mold can reappear because the underlying moisture source—like a failed membrane, ongoing leak, or persistent high humidity—wasn’t eliminated. Re-grouting may fix surface symptoms but won’t stop moisture migrating through grout lines if waterproofing or flashing details are compromised. To prevent recurrence, address waterproofing integrity, improve ventilation, and ensure the subfloor is fully dry and clean before re-installing tile.
📅 Last Updated: October 08, 2026 | Topic: How to prevent mold under tile floors? | Content verified for accuracy and freshness.
References
- Mold | Mold | CDC
https://www.cdc.gov/mold/ - Mold | US EPA
https://www.epa.gov/mold - https://www.cdc.gov/mold/remediation.htm
- https://www.who.int/news-room/fact-sheets/detail/household-air-pollution
- https://pubmed.ncbi.nlm.nih.gov/?term=mold+under+floor+tile+moisture
- Google Scholar Google Scholar
https://scholar.google.com/scholar?q=prevent+mold+under+tile+floor+moisture+control - Google Scholar Google Scholar
https://scholar.google.com/scholar?q=mold+in+buildings+relative+humidity+humidity+control+under+floor - Google Scholar Google Scholar
https://scholar.google.com/scholar?q=tile+floor+moisture+barrier+condensation+mold - https://www.mayoclinic.org/healthy-lifestyle/home-health/in-depth/mold/art-20044786
- Google Scholar Google Scholar
https://scholar.google.com/scholar?q=How+to+prevent+mold+under+tile+floors?