
If your chevron floors are peeling, follow this step-by-step repair to get the surface back to flat and firmly bonded. You’ll learn exactly why chevron pattern flooring fails at the seams or edges and which fixes—prep, removal, leveling, adhesive, and re-finishing—actually stop the lifting. By the end, you’ll know whether your peeling is a simple spot repair or a sign the entire installation needs attention.



Peeling on chevron floors is usually a top-finish (or glued/laminated layer) bond failure triggered by moisture, spills, or insufficient surface prep. The practical repair is to stop the cause, scrape/sand back to firmly bonded material, and then refinish—or re-glue/replace if the veneer/planks themselves have lost adhesion. The key is diagnosing which layer is actually failing before you start removing material.
Peeling on chevron floors usually happens when the floor’s top finish (or a glued/laminated layer) loses adhesion due to moisture, spills, or poor surface prep. The fix is to first stop the cause, then scrape/sand back to anything still firmly bonded, and refinish—or re-glue/replace if the plank/veneer itself has failed. In this guide, you’ll learn how to identify what’s actually peeling and choose the right repair path.
If you’re seeing flaking, lifting, or bubbles specifically in a chevron pattern (often where spills, cleaning, or traffic concentrate), this article is for you. It’s most useful when the damage is localized enough to repair spots, but we’ll also cover when peeling means the whole layer needs a bigger fix.
Identify what’s peeling (finish vs veneer vs lifted planks)
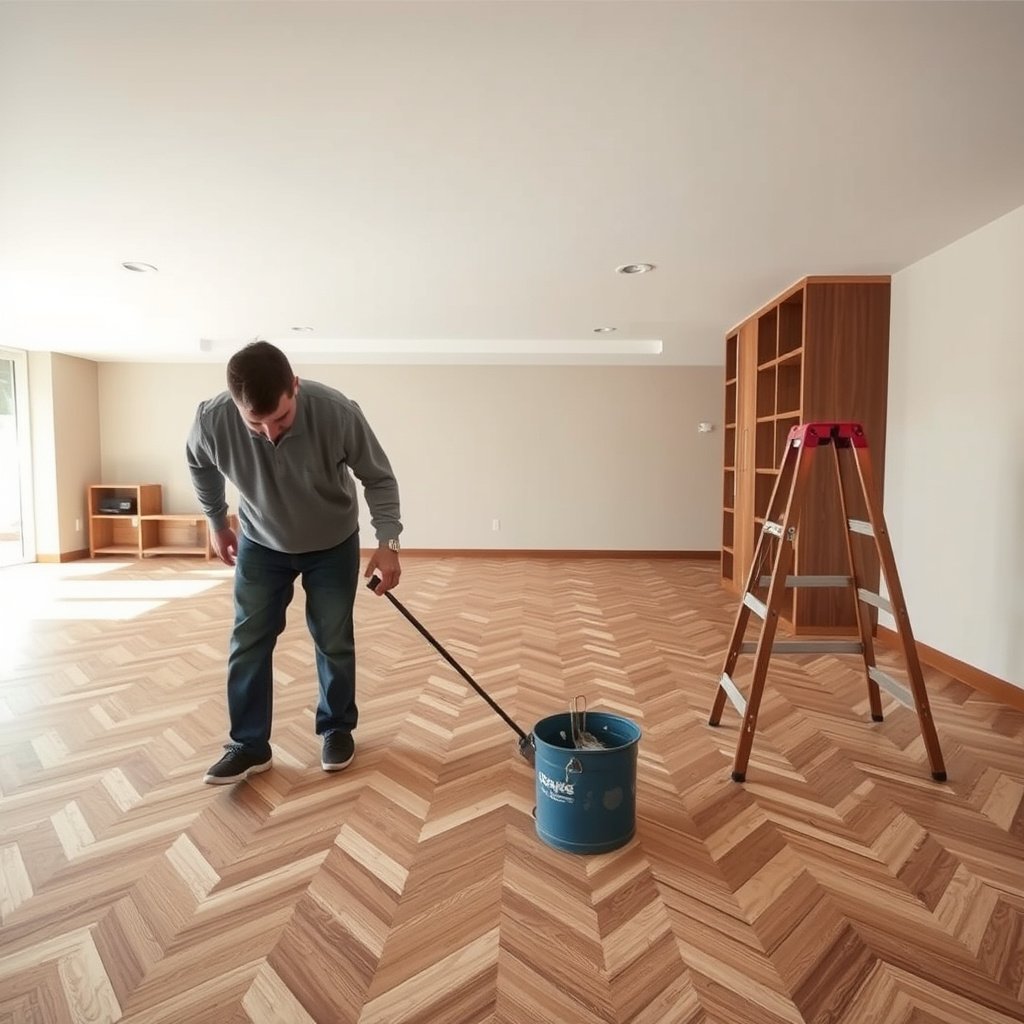
If you want repairs to last, you must identify which layer is failing—finish, veneer/top layer, or the planks/adhesive under the chevron layout. The fastest way to narrow the problem is to observe the “edge” of the damage: does the coating crumble cleanly, or does the wood-like layer separate, or do the chevron joints lift?
“Peeling typically indicates a loss of adhesion between a top finish and the substrate beneath it, often driven by contamination or moisture.”
“Veneer or laminate delamination commonly shows fuzzy edges or layered separation rather than just surface flaking.”
“Raised joints or plank movement often points to an adhesive/subfloor issue, not merely a failing clear coat.”
Check the layer
Start by inspecting with a bright light at a low angle and gently pressing around the damaged area (without flexing raised pieces). If the damage is mostly clear coat or paint-like flaking, you’ll usually find that the surrounding coating is stable and you can refinish after prep. If the “wood” layer looks like it’s separating—think fuzzy fibers, exposed layers, or a visible bond line—you’re dealing with veneer/laminate failure, not just a cosmetic finish issue.
Look for lifting seams
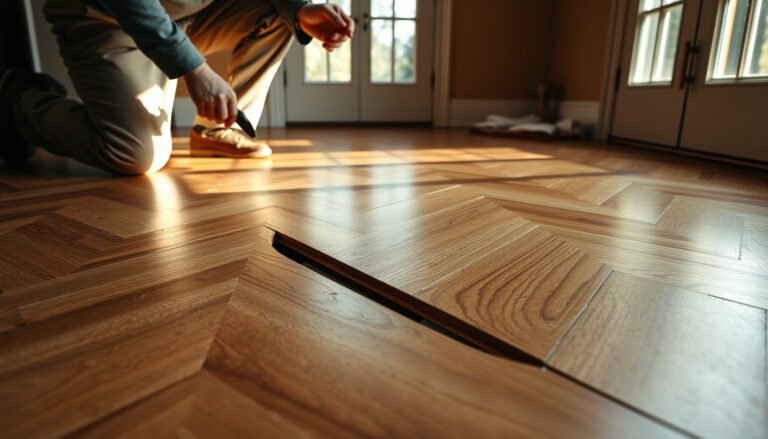
Chevron floors draw attention to joints—so lifting often shows up where the pattern lines intersect. If planks/tiles are raised at the chevron joints, the root cause is commonly adhesive/subfloor moisture, inadequate bonding, or a leveling problem that keeps the joint area stressed.
Confirm whether water is involved
Water-driven failures follow a recognizable pattern: dark staining, a faint musty odor, “soft” spots, or movement after a spill. If peeling started after a recent exposure event (even one that seemed minor), treat moisture as the suspect until you can confirm otherwise. As of 2026, moisture diagnostics and finish/system matching are still the two highest-impact variables in chevron-floor repair outcomes.
According to the National Wood Flooring Association’s moisture guidance, controlling jobsite moisture is critical to reduce dimensional movement and coating/adhesion failures (National Wood Flooring Association (NWFA); exact document/year to confirm for your flooring type).
Stop the cause before you repair anything
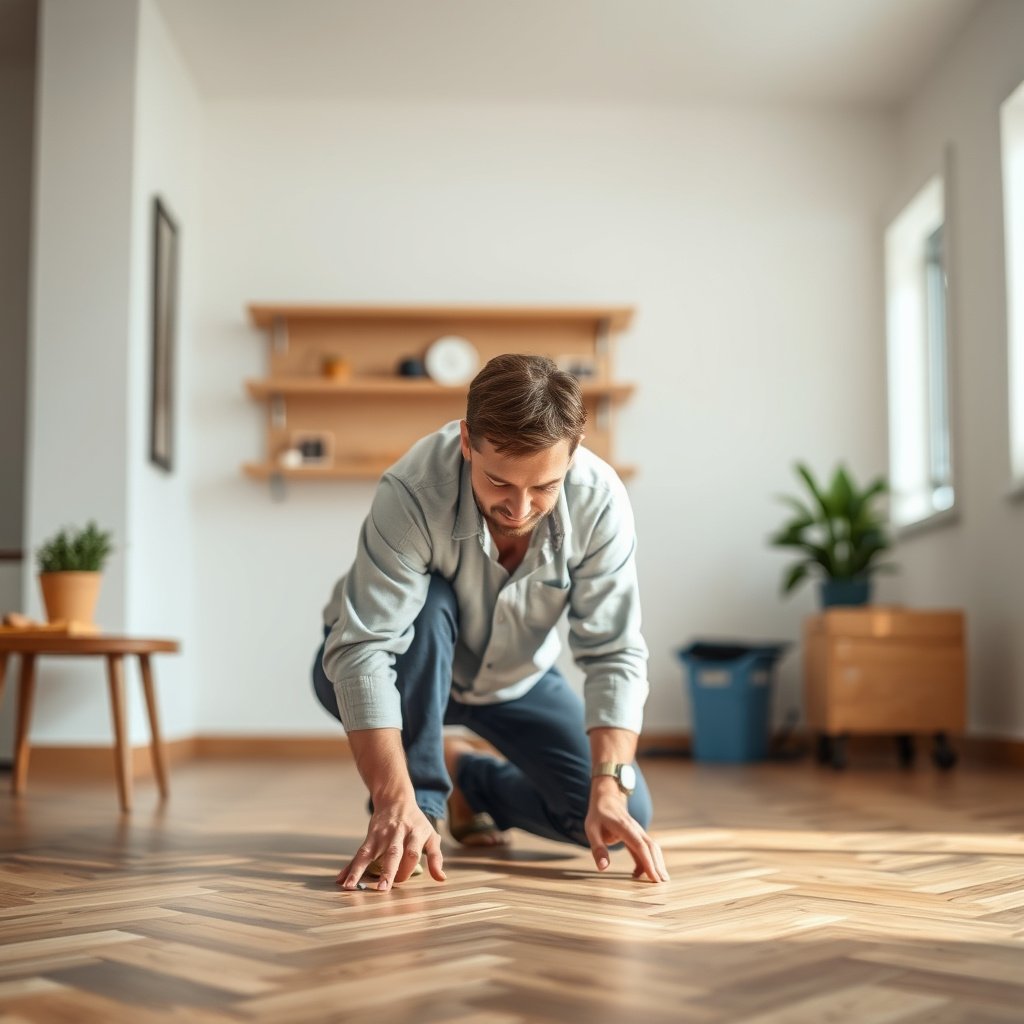
Your repair will fail again if you refinish or re-glue while moisture intrusion or bond-stress continues. The direct answer is: dry, correct cleaning methods, and verify subfloor stability before you scrape, sand, or apply adhesives/coatings.
“If the substrate remains wet or contaminated, new coatings can’t properly wet out and bond.”
“Moisture control and correct cleaning methods are core prerequisites before refinishing wood flooring.”
“Subfloor movement and poor leveling can keep joints in a stressed cycle, re-lifting even a freshly installed patch.”
Dry the area fully
If peeling followed a spill, leak, or a high-humidity period, you must address drying first. Focus on eliminating ongoing moisture sources and stabilizing indoor conditions (consistent HVAC operation, controlled humidity, and appropriate airflow). For localized repairs, you still need the surrounding area to be dry enough that the substrate’s surface can accept adhesion—otherwise the “new” bond becomes temporary.
Address cleaning habits that can drive peeling
Chevron floors often receive aggressive cleaning attempts: wet mopping, steam, or leaving liquid standing. For repair planning (especially as of 2026), assume that the cleaning method matters as much as the repair materials. If your maintenance changed right before peeling started, revert to manufacturer-approved cleaning that doesn’t over-wet the surface.
Inspect the subfloor and transitions
Peeling that’s confined to chevron lines can still originate below the surface. Check:
– Any bounce, hollow sound, or movement when you step near the damaged area
– Transitions (to tile, carpet, or thresholds) where differential movement can stress joints
– Leveling and any signs of recurring dampness (crawlspace/basement conditions, plumbing proximity)
Comparison: root-cause checks vs. “cosmetic-only” thinking
| What you find | Likely root cause | Best repair emphasis |
|---|---|---|
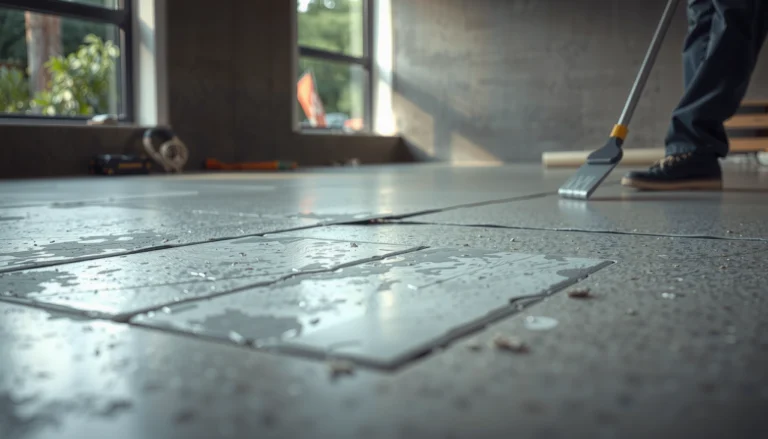
| Coating flaking with stable edges | Finish adhesion failure | Scrape + prep + refinish |
| Fuzzy delamination lines under a “wood” top | Veneer/laminate bond failure | Re-bond or replace top layer |
| Joints lifted in chevron pattern | Adhesive or subfloor issue | Verify moisture/leveling, re-adhere or replace |
Fix peeling on chevron floors when the finish is failing
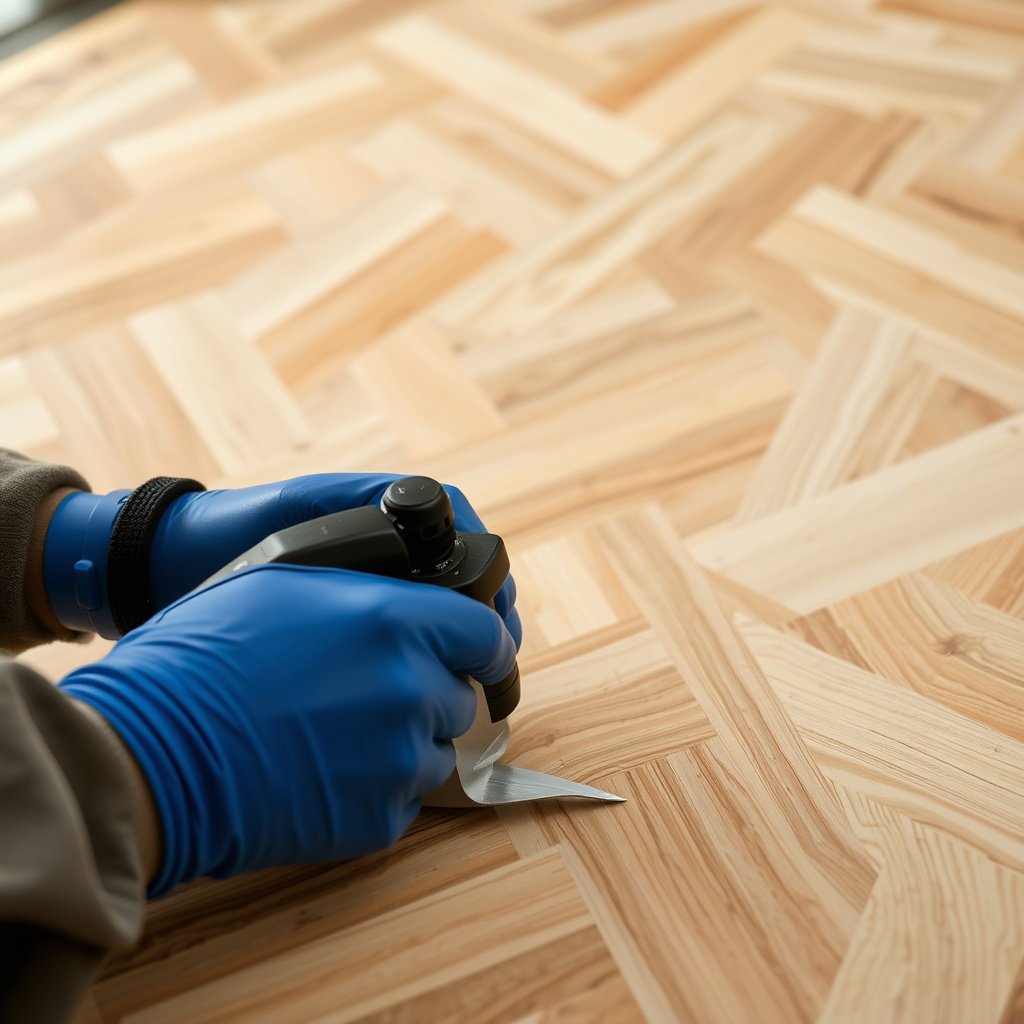
If the “problem” is mainly a failing clear coat/finish, you can often stop the deterioration by removing only what’s not bonded and then refinishing with correct system prep. The direct answer is: stabilize edges first, prep to a clean keyed surface, and blend the refinish so the chevron pattern doesn’t show a patch “flash.”
“Successful refinishing depends on removing all loose coating so the new finish bonds to stable substrate.”
“Proper surface preparation (clean, dust-free, and correctly abraded) is a key step for finish adhesion.”
“Spot refinishing in patterned floors often requires sheen/color blending to avoid visible boundaries.”
Remove only what’s not bonded
Start carefully. Use a scraper to remove loose material and stop when surrounding coating feels solid—no brittle edges, no lifting corners you can catch with a fingernail. Light sanding can feather the boundary so you’re not leaving a hard “step” that telegraphs through the new coating.
Clean and prep correctly
The goal isn’t just cleanliness; it’s residue-free prep so the new coating can properly bond. Follow the finish type’s prep method—water-based products, solvent-based systems, and prefinished coatings can require different cleaning/abrading approaches. Avoid shortcuts like wiping with random household cleaners that may leave surfactants behind.
Refinish the damaged areas (or blend zones)
Plan for blending. Chevron floors visually expose patch edges because the pattern repeatedly catches light. You may need to:
– Recoat only the damaged area, then blend sheen intentionally
– Expand the refinish boundary if the surrounding finish is thin or inconsistently aged
– Match the sheen level (matte vs satin vs gloss), not just color
From a repair workflow perspective, this is where many homeowners spend time sanding but underestimate the blending step—so the “fix” looks worse than the original peeling. As of 2026, more brands also emphasize system compatibility (primer/coats/topcoat) rather than “any polyurethane will do,” so always follow the manufacturer’s instruction set for your exact product line.
Repair peeling veneer or damaged top layers
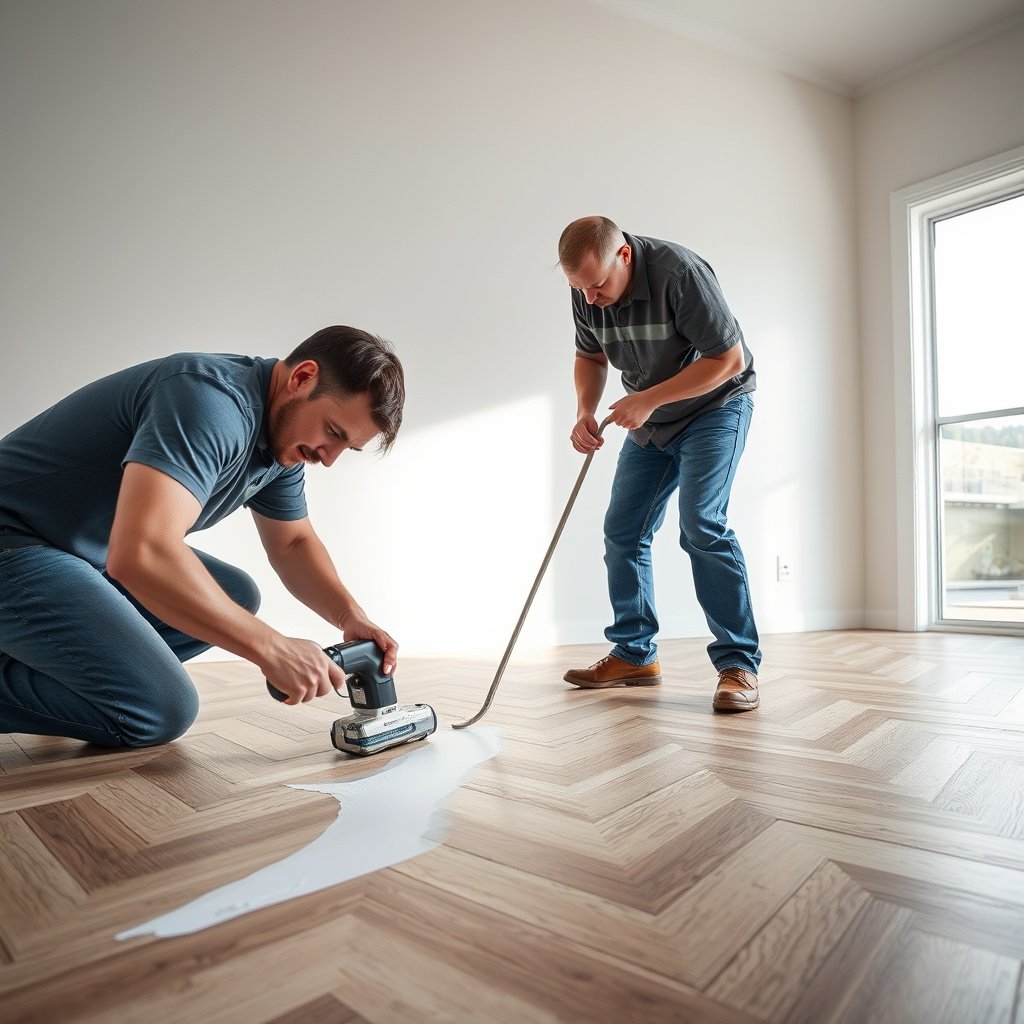
If the peeling is happening in the veneer/laminate layer, refinishing alone usually won’t solve it—because you’re not re-establishing the bond line. The direct answer is to assess whether the base is solid enough for re-bonding; if the bond line is broadly compromised, replacement is often the most reliable route.
“Delamination at a veneer/laminate bond line typically can’t be corrected reliably with surface-only coatings.”
“If the veneer is lifting from its substrate, re-bonding requires the correct adhesive system and controlled pressure.”
“After reattachment, sanding/leveling is still required before a matched resurfacing.”
Assess thickness and feasibility
Not all chevron “wood-looking” floors are the same. Engineered wood and veneer layers vary in thickness and in whether the failure is localized at a glue line or systemic across the sheet/panel. If the veneer is separating and the bond line is visibly failing, coating over it won’t restore structural integrity.
Re-bond where appropriate
If the base layer is still firmly bonded, you may be able to re-glue. The correct approach depends on the flooring construction and the adhesive type the manufacturer specifies (pressure-sensitive vs moisture-curing vs epoxy systems). Generally, re-bonding requires:
– Clean, sound surfaces (no powdery or contaminated material at the glue line)
– The correct adhesive for that material pairing
– Controlled pressure/clamping while the adhesive cures
Because chevron layouts have repeating angles, even small re-bonding errors can show as unevenness that “catches” finish lighting later—so go slow and verify flatness.
Then re-surface
After the veneer is reattached, you still need to sand/level so the repaired area is flush. Then apply a finish that matches the existing system as closely as possible in both color and sheen. If the remaining finish is old and inconsistent, a larger blending zone may be required.
If chevron planks are lifting: re-adhere or replace
If the planks themselves are lifting or the chevron joints are raised, the direct answer is: treat this as an installation/adhesion problem, not a finish problem. You’ll only see lasting results if the subfloor moisture/movement and the adhesive bond are corrected—otherwise the same edges peel again.
“Raised joints in a patterned floor are consistent with adhesive failure or subfloor movement, which surface coatings can’t fix.”
“Re-adhesion is only appropriate when the subfloor is sound and dry and the flooring system permits re-lifting during repair.”
“Extensive lifting, warping, or recurring swelling typically points to replacement as the durable outcome.”
Check for subfloor problems first
Lift doesn’t happen in a vacuum. If lifting is triggered by moisture, movement, or a failing adhesive layer, patching the top may leave you with a “sealed-in” failure that worsens underfoot.
Re-adhere only when the base is sound
Where your flooring type and installation method allow it, you may lift only the necessary sections. Clean both mating surfaces, apply the manufacturer-approved adhesive, and re-secure with appropriate pressure during cure. Avoid improvising with adhesives meant for other materials—adhesion chemistry and surface prep requirements vary significantly.
Replace when needed
Replace is the durable option when you see:
– Warping or buckling
– Permanent separation
– Extensive chevron layout affected (pattern-wide instability)
– Signs of ongoing moisture that you can’t reliably stop
At that point, “repair” becomes a repeated cycle of lifting edges, sanding, and re-coating with diminishing returns.
Chevron Floor Peeling Diagnosis → Best Repair Path (Common Real-World Patterns)
| # | Visible symptom | Pattern clue | Most likely failing layer | First repair move | Best-for scope | Chance of a lasting repair |
|---|---|---|---|---|---|---|
| 1 | Clear coat flaking/feathered powdering | Blotches around traffic + edges | Top finish only | Scrape to stable coating + refinish | Localized/limited blend zone | ★★★★★ |
| 2 | Small bubbles under coating | Near a recent spill line | Finish adhesion loss | Remove loose finish + dry-out + refinish | Spot repair with sheen blending | ★★★★☆ |
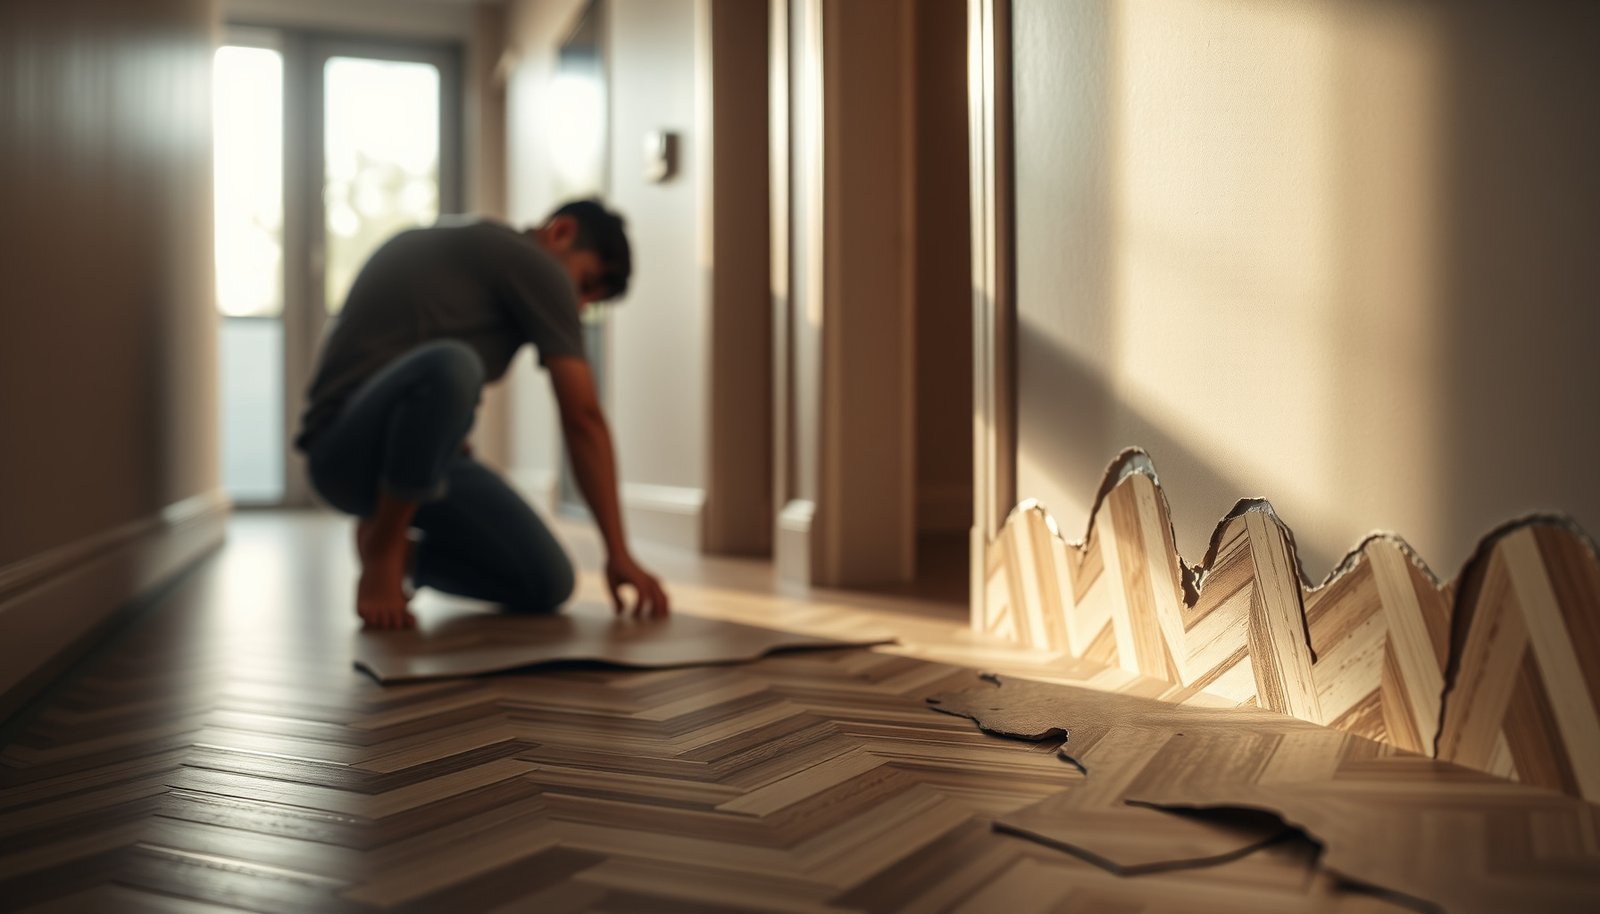
| 3 | “Wood” layer lifting with fuzzy edges | Runs along chevron arms | Veneer/laminate delamination | Re-bond glue line (correct adhesive) + resurface | Localized delam panels | ★★★☆☆ |
| 4 | Peeling at seams with exposed layers | At joint intersections | Adhesive/ply bond stress | Investigate moisture/leveling before re-bonding | Partial sections after diagnostics | ★★☆☆☆ |
| 5 | Planks lifted; edges catching underfoot | Pattern-wide at the chevron joints | Plank-to-subfloor adhesive failure | Check moisture + re-adhere per install system | Re-adhere only if base is sound | ★☆☆☆☆ |
| 6 | Raised chevron pattern with mild swelling | Multiple zones after humidity spikes | Moisture intrusion + bond breakdown | Moisture remediation + plan replacement | Often broader than spot repair | ★★☆☆☆ |
| 7 | Repeated peeling in same spots | Near entry mats or cleaning overflow | Root cause not resolved | Stop wetting + repair only after dry stabilizes | Repair plus habit/system correction | ★☆☆☆☆ |
What can go wrong (and when to stop)
Many repairs fail for predictable reasons: people treat the visible peeling while the underlying moisture or bond stress remains. The direct answer is to avoid “coat-over-loose” workflows and to stop if you see signs of substrate failure (movement, swelling, or widespread delamination).
Common mistakes
– Coating over loose/peeling edges: It may look fine briefly, then lifts again as soon as the coating contracts/expands.
– Skipping the real cause: Moisture and movement don’t care that you used a new top coat.
– Using the wrong adhesive or finish system: Adhesives and finishes are engineered for specific substrates and surface preps.
– Over-wetting during cleaning: Steam and soaked mops increase the odds of bond-line failure and swelling—especially on chevron joints.
Edge cases
– Unclear material type: Wood, engineered wood, laminate, and vinyl chevron floors can require different products and methods. If you can’t confirm the flooring type (or whether it’s approved for refinishing), you risk sanding into the wrong layer.
– Large areas of failure: If peeling is widespread, spot repair may never blend cleanly or last as long as a larger refinishing/replacement plan.
Verdict / tip (honest recommendation)
– Do this yourself if: peeling is localized, you can remove back to stable material, and you can confidently identify whether it’s a finish failure vs a bond/ply issue.
– Skip DIY / hire a pro if: planks are lifting, there’s likely subfloor moisture, the floor is swelling, the damage is extensive, or you can’t confirm the flooring type and required products.
– Downside to DIY: Even when the repair is technically correct, chevron floors can show patch lines due to sheen and color variation, and adhesives/finish systems can be sensitive to temperature, humidity, and prep quality. As of 2026, surface prep and system compatibility matter more than “brand choice” when you’re trying to blend a patterned repair.
Quick scan checklist (save this)
| What you’re seeing | Most likely cause | Best next move |
|---|---|---|
| Clear coat flaking / powdery spots | Top finish adhesion failure | Scrape back to stable coating + re-finish |
| “Wood” layer separating, fuzzy edges | Veneer/laminate bond failure | Re-bond with correct adhesive or replace |
| Seams/joints lifting, raised chevron pattern | Adhesive or subfloor issue | Check moisture/leveling + re-adhere/replace |
Before you start, confirm:
– [ ] What layer is peeling (finish vs veneer vs plank lift)?
– [ ] Was there a spill, humidity spike, or water exposure right before it started?
– [ ] Is the surrounding area firmly bonded (no loose edges)?
– [ ] Do you know your flooring type and what products the manufacturer approves?
Sources
– National Wood Flooring Association (NWFA) guidance on wood flooring moisture/acclimation and maintenance practices:
– ASTM standards relevant to floor adhesives/installation practices (if needed for your specific material):
Peeling on chevron floors is usually fixable when you (1) identify what’s peeling, (2) stop the moisture or bond problem first, and (3) repair only after scraping back to stable material. Start by determining whether it’s a failing finish or a failing veneer/plank bond—then choose refinish vs re-adhere vs replacement accordingly. If you’re unsure of the flooring type or the root cause, pause and get a flooring pro’s read before you spend time sanding or applying the wrong products.
Frequently Asked Questions
What causes chevron floor peeling and how can I tell what’s behind it?
Peeling on chevron floors is usually caused by moisture intrusion, failed adhesive or underlayment, or surface damage from improper cleaning and floor refinishing. Look for signs like lifting seams, bubbles, or flaking near water sources (bathrooms, sinks, exterior doors), which often points to moisture. If peeling happens across the whole chevron pattern after a recent installation, the subfloor prep or adhesive bond may be the issue. For best results, identify the material (engineered wood, vinyl, laminate, or real hardwood) before choosing a repair method.
How do I fix peeling chevron vinyl or laminate flooring safely?
Start by stopping the moisture source and removing any loose or peeling edges so the new bond can adhere to a clean surface. For vinyl or laminate, lift only the affected sections, scrape away old adhesive residue, and ensure the subfloor is dry, flat, and free of dust. Apply the manufacturer-recommended floor adhesive or use a compatible repair kit, then press the chevron floor down firmly and use weights or clamps while curing. Avoid walking on the repaired area until the adhesive fully sets to prevent re-peeling.
How do I repair peeling chevron hardwood or engineered wood planks?
For real hardwood or engineered chevron floors, peeling often means the finish failed, the plank bond weakened, or the surface is delaminating from moisture. Remove flaking finish back to solid material, sand lightly to smooth edges, and then clean thoroughly so the new filler and stain or finish bond properly. If the plank itself is lifting from the subfloor, you may need to reattach it with the correct wood adhesive and clamp it until cured. Once stable, refinish the area with matching stain and a proper topcoat designed for wood floors to blend the chevron pattern.
Which products are best for stopping peeling on chevron floors?
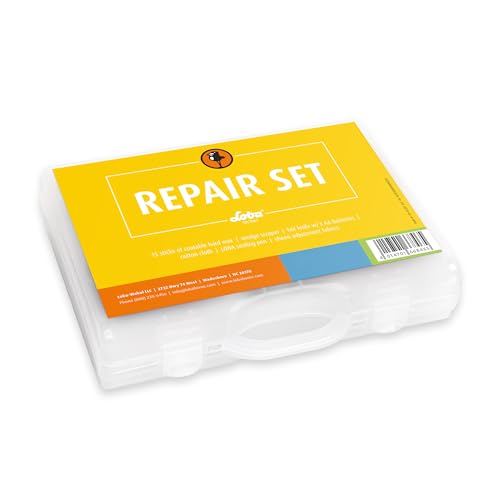
The best product depends on whether the issue is adhesive failure, finish failure, or moisture-related damage. For minor topcoat flaking on chevron wood floors, use a wood-floor repair kit that includes filler, compatible stain, and a durable finish (polyurethane or hardwax oil, depending on your floor system). For peeling caused by loose seams or lifting sections, choose a flooring adhesive recommended for your specific chevron floor type and subfloor material. If moisture is the root cause, addressing humidity control and subfloor dryness is essential—otherwise repairs will likely fail again.
Why does my chevron floor peel again after repairs, and what should I do to prevent it?
Peeling often returns when the underlying cause—like excess humidity, water leaks, high mopping water, or an uneven subfloor—has not been fully corrected. Use a moisture meter if you can, confirm the subfloor is level, and follow the manufacturer’s installation and maintenance guidance for your exact chevron flooring material. For prevention, clean with a damp (not wet) method, use pads under furniture, and maintain consistent indoor humidity to protect the adhesive and finish. If you keep seeing peeling at the same points, you may need a more comprehensive repair or even reinstallation rather than spot fixes.
📅 Last Updated: October 15, 2026 | Topic: How to fix peeling on chevron floors? | Content verified for accuracy and freshness.
References
- Wood finishing
- Wood flooring
- Parquet
- Veneer
- https://www.nps.gov/articles/preservation-brief-45-preserving-historic-wooden-floors.htm
- F1869 Standard Test Method for Measuring Moisture Vapor Emission Rate of Concrete Subfloor Using …
- F2170 Standard Test Method for Determining Relative Humidity in Concrete Floor Slabs Using in sit…
- https://scholar.google.com/scholar?q=peeling+hardwood+floor+finish+repair+causes+moisture+surface+prep Google Scholar
- https://scholar.google.com/scholar?q=parquet+floor+delamination+repair+veneer+lifting+sanding+refinishing Google Scholar
- https://scholar.google.com/scholar?q=resilient+flooring+tile+peeling+adhesive+failure+subfloor+moisture+repair Google Scholar