
Fixing dents in polished concrete floors is a straightforward DIY job when you follow the right repair sequence—clean, assess depth, then fill and polish to match the existing sheen. This step-by-step guide tells you exactly what to do at each stage, from selecting the proper filler to restoring a smooth, glossy surface. If your dent is minor versus deeper damage, you’ll know which approach to use and how to finish without noticeable marks.
Fixing dents in polished concrete usually comes down to depth: grind-and-repolish for shallow surface depressions, and patch plus blend-polish for deeper chips or impacts that compromise the concrete. Identify what you’re dealing with first (surface-only vs. loose/soft concrete), then level the area and blend the sheen so the repair disappears in the finished gloss.
If you manage a facility, run a contracting crew, or maintain a home with polished, sealed, or burnished concrete, dents often show up after impact, dropped furniture, casters, or construction traffic. This guide focuses on localized damage in floors that are already polished and finished—not newly poured floors curing in place, and not widespread structural failure. If the floor is still curing, or if you see spalling, hollow-sounding areas, or broad cracking/movement, stop and get a qualified concrete specialist to assess the cause before you polish over symptoms.
Assess the dent depth and type
The fastest way to choose the right repair is to determine whether the dent is “finish-layer damage” or true concrete loss. In most polished concrete restorations, the correct fix is driven by whether you can restore planarity by grinding alone or you must remove damaged material and reconstitute it with a compatible patch.
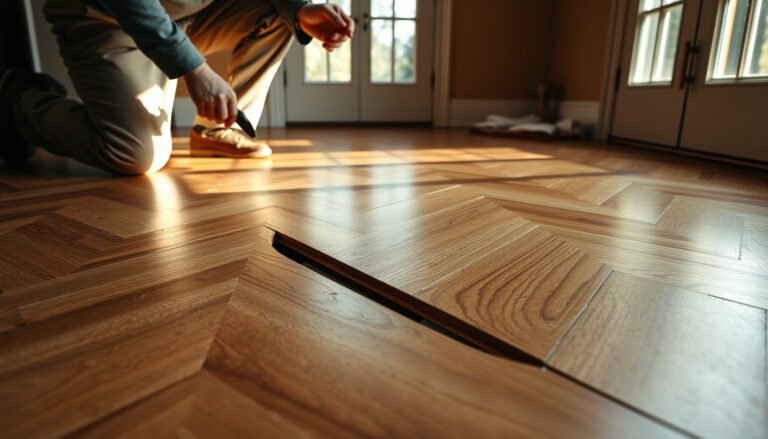
Start by inspecting the dent under good light and at an angle. Shallow surface dents look like smooth depressions with no missing material; chipped edges show a broken perimeter; and deeper gouges may expose aggregate or create rough edges that won’t “smooth out” with light abrasion. Then check for failure around the dent: loose fragments, crumbling paste, cracking that radiates from the impact, or a hollow sound when you lightly tap nearby.
A polished concrete “dent” can be purely a surface depression, but it can also be a concrete loss event where the paste was crushed and weakened around the impact zone.
If the dent is accompanied by loose fragments, soft spots, or cracking, the repair must address structural integrity—not just appearance.
Fast decision cues (what to measure by observation)
– Shallow surface depression: dents that don’t expose aggregate; edges remain intact; no loose debris.
– Chipped corner/edge: visible missing concrete at a perimeter; you may feel a sharp lip where the damage begins.
– Deep gouge: rough cavity, exposed aggregate, or a depression that clearly undermines the original surface profile.
– Crack-adjacent dents: check whether the dent sits along a joint or filled crack where movement is “normal,” versus impact damage that created new microfractures.
Important reality check about what’s “structural”
If the dent is part of a larger pattern—spalling, widespread cracking, or hollow sounding under the polished plane—polishing and blending will not restore performance. In those cases, grinding/patching can cosmetically mask problems while the underlying issue continues to telegraph through the finish.
Anchor facts that matter when you pick a method
– According to the USGS (Mohs hardness scale reference), diamond scores ~10, while common concrete mineral components like quartz score ~7—this is why diamond tools can remove paste aggressively but also why you must control pressure to avoid widening the damage footprint. (USGS; Mohs hardness scale)
– Polished concrete performance depends heavily on surface integrity: when the crushed paste layer is weakened, it can powder under abrasion, which is a strong indication you should patch rather than grind-only. [ADD: manufacturer/technical reference for abrasion response of damaged paste]
– Sealer/topical systems create a bond and wear layer; according to typical concrete coatings guidance, successful repair requires compatible chemistry and proper surface preparation (mechanical abrasion plus cleaning). (ASTM and manufacturer technical bulletins—cite specific product specs in your scope)
Prepare the surface for repair
Proper prep is what turns “a blended repair” into “a repair that lasts.” Before you grind or patch, remove anything that prevents bond—dust, waxy residue, curing compounds, or failed sealers.
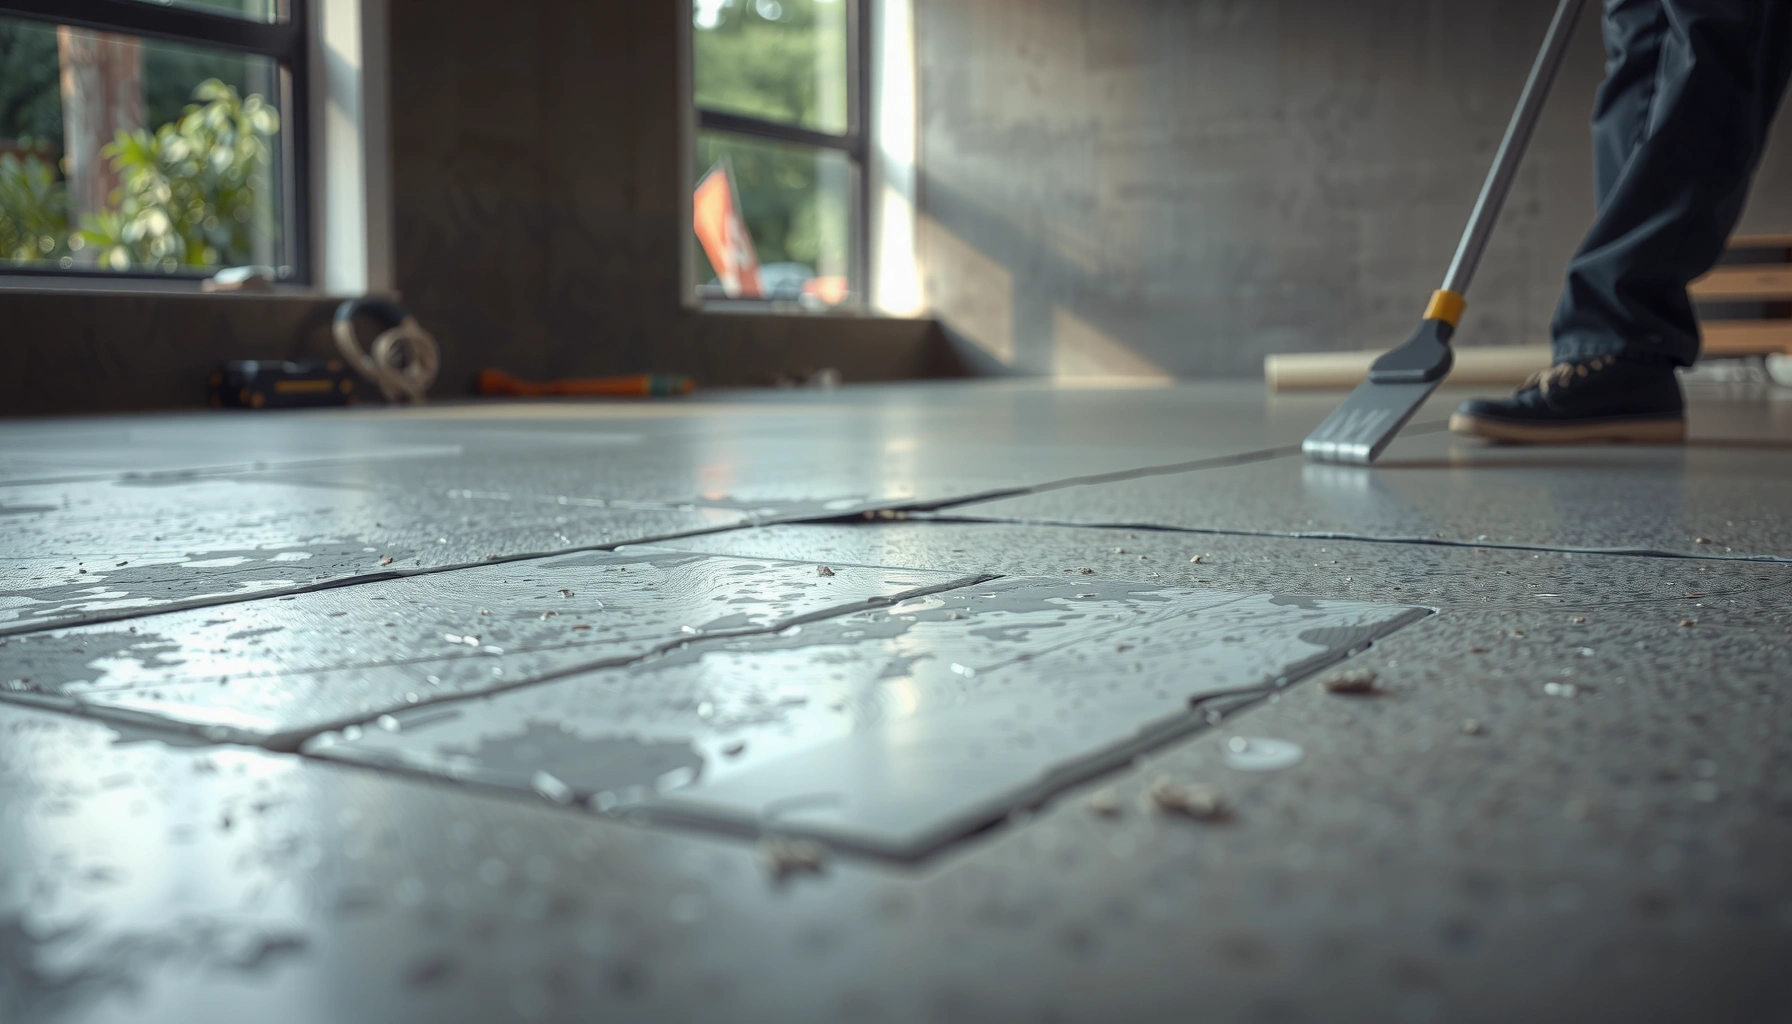
Begin with a careful cleaning cycle. Vacuum thoroughly, then degrease if needed using a cleaner compatible with your existing floor system. Avoid soaking the slab unless your polishing contractor’s plan calls for it; trapped moisture can interfere with patch curing and sealer adhesion. After cleaning, remove loose concrete fragments at the dent perimeter. If a sealer/topical is present, you may need to abrade through that finish layer so the patch can bond to concrete—not just to a decorative skin.
Polished-concrete repair fails most often when contaminants or polishing dust prevent adhesion of patch materials and coatings.
Edges need “refinement” so you don’t create a thin, breakable repair feather that can pop off under traffic.
Surface prep steps that work across most sealed/polished floors
– Remove loose material: chip out to stable concrete boundaries for deeper damage.
– Abrace the finish layer (if applicable): grind through the topical/sealer so the repair material contacts concrete.
– Clean until dust-free: vacuum, then wipe with an appropriate lint-free method (and compatible cleaner if required by the patch/sealer manufacturer).
– Dry thoroughly: patches and coatings typically require controlled moisture conditions to reach design performance.
– Create a sound perimeter:
– For grinding-only: refine the boundary so the surface transitions cleanly.
– For patching: remove to a stable “perimeter perimeter,” avoiding soft crumbly paste around the dent.
Compatibility is not optional
If your floor has a specific sealer system, patching and recoat steps should follow that system’s compatibility guidance. Many “universal” patches can look fine but perform poorly if they’re not designed to bond over (or under) the same finish chemistry.
Repair shallow dents: grind and re-polish
For shallow surface dents, the most reliable approach is controlled leveling with progressively finer abrasion, then localized re-polishing and blending. The goal is to restore the original plane and then match the gloss so the repair boundary disappears in real lighting.
Plan for a series workflow rather than a single pass. Use progressively finer diamond grinding steps to remove the dent and re-establish the surface profile. Between stages, clean well—trapped grit is the most common cause of circular scratches and “halo” defects after the next polish step. Keep your grinding footprint slightly larger than the dent so the feathered transition can blend into the surrounding gloss.
Localized polishing can match the surrounding sheen only when the operator blends beyond the dent boundary, not just inside the damaged area.
Progressively finer abrasion reduces scratch depth so the final polish can return uniform gloss without visible transfer marks.
Practical leveling and blending strategy (no guessing)
1. Light test passes: establish how much material you must remove to level.
2. Progress through abrasion stages: only move to the next grit/step when the dent is gone and the scratch pattern is uniform.
3. Vacuum and clean between steps: remove dust before continuing.
4. Feather outward: polish beyond the dent perimeter so reflections don’t “catch” the repair edge.
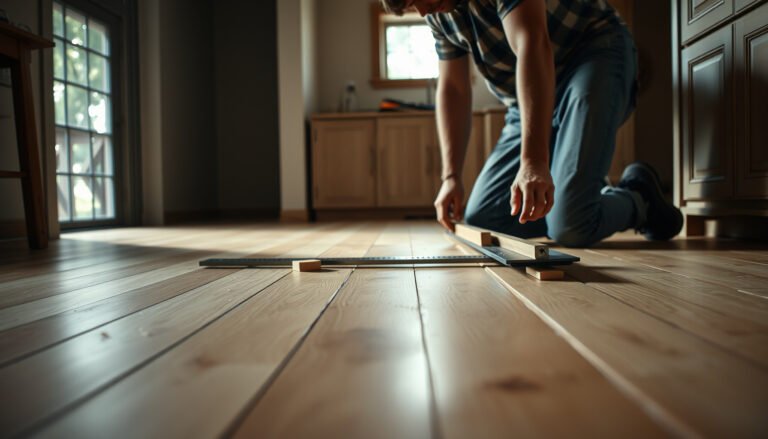
5. Check sheen under angled light: polished concrete reveals boundaries when gloss isn’t aligned.
Matching sheen without “over-editing” the floor
Polished concrete systems can have variations in finish gradient across the slab. Over-grinding the surrounding area may dull adjacent zones, creating a different sheen level rather than restoring it. If your floor is already burnished to a specific look, treat the repair area like a blending zone—not a fresh mini-floor.
Repair deeper dents or chips: patching + blend polishing
For deeper gouges or chipped areas that can’t be leveled by grinding alone, patching is the correct fix. You remove damaged material to stable concrete, install a concrete-compatible patch, then grind/abrasion-polish and reseal as needed.
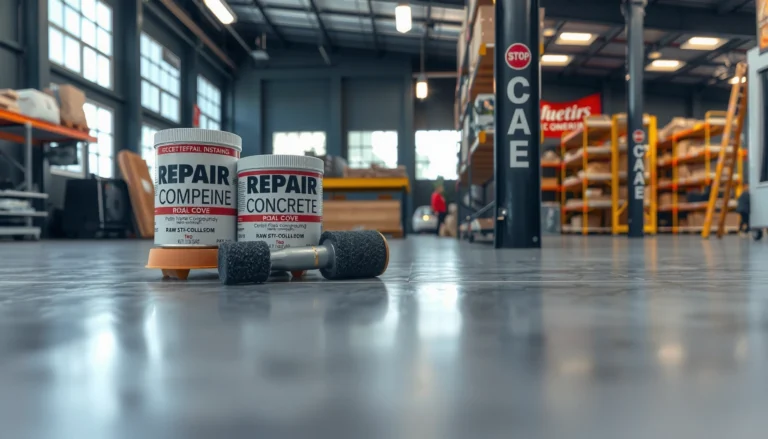
Start by cutting or removing the compromised concrete to a stable perimeter—especially where you can see weakened paste or exposed aggregate. Then apply a concrete patch engineered for your conditions. Follow the patch manufacturer’s mixing, application thickness guidance, and cure time. After curing, abrade to restore the plane, then re-polish using the same style of diamond progression and finish approach used in the existing system.
When exposed aggregate or crushed paste is present, an abrasion-only repair often leaves a soft spot that can wear faster than the surrounding polished surface.
A patch must be mixed and cured per manufacturer instructions to avoid shrinkage cracking and reduced surface durability.
Grind-and-polish workflow after patching
– Cure first: don’t rush into abrasion before the patch reaches adequate strength per product guidance.
– Re-level to planarity: abrade until the patch surface is flush with adjacent concrete.
– Rebuild scratch progression: polish with your diamond progression (starting coarse enough to remove patch “texture” and ending fine enough to match gloss).
– Blend beyond the patch boundary: polished surfaces show reflection cues; extend blending so the gloss transition is gradual.
Reseal/recoat (if your floor has a topical system)
Many polished concrete floors rely on a sealer or densifier/topical to protect against staining and to maintain sheen. If your repair removes or bridges through that protective layer, plan on reapplying the appropriate product according to the original system’s instructions. Don’t assume “whatever sealer” will bond—use manufacturer compatibility guidance.
Comparison: when to grind vs. patch (decision support)
Why this method fits polished concrete chemistry
Polished concrete is not “just concrete”—it’s a surface system. Once you change thickness or texture through grinding, the way light reflects changes. Once you add patch material, the surface needs re-polishing and often a matching seal strategy to restore uniform reflectivity and wear performance. This is especially true on high-gloss floors in retail, lobbies, and light industrial interiors—where reflections “show everything.”
What can go wrong (and how to avoid it)
Most repair failures are preventable by addressing prep quality, compatibility, and blending. If you skip any one of those, polished concrete can expose the repair boundary under glare, or the patch can fail under traffic.
The most common issues are cosmetic and performance-related. Cosmetically, the repair can show as a halo, ring, or sheen mismatch. Performance-wise, patch cracking, patch debonding, and abrasion-through occur when surfaces aren’t prepped correctly, curing is rushed, or the patch isn’t compatible with the existing finish.
A visible “ring” usually means the repair was blended only inside the dent rather than feathered beyond it into the surrounding gloss field.
Patch cracking typically traces back to contamination, incorrect mixing, application thickness limits, or insufficient curing time.
Common mistakes to avoid
– Sheen mismatch / ringing: finish boundaries stand out when blending doesn’t extend far enough.
– Patch debonding: caused by insufficient abrasion through finish layers, poor cleaning, or incompatible patch/sealer chemistry.
– Over-grinding the surrounding floor: can thin or alter the finish gradient and dull adjacent areas.
– Ignoring structural issues: hollow sounds or ongoing movement mean you’re treating a symptom.
Pros/cons snapshot: local repair approaches
A practical note on mineral hardness and wear
Concrete’s surface wear is strongly influenced by exposed minerals and the final surface texture. Because diamond grinding preferentially removes softer cement paste relative to harder mineral phases, a damaged area that exposes different mineral structure can wear differently unless it’s reconstructed (patch) and polished to a uniform texture. (USGS Mohs hardness scale reference)
Verdict / tip: what to do first
For most localized dents that are truly superficial and not accompanied by loose concrete, start with grinding-leveling and re-polishing. Patch only when the dent is deep, chipped, exposes aggregate in a way that won’t stabilize with abrasion, or when nearby concrete feels soft/unstable.
Here’s the honest workflow recommendation: assess depth and stability first, then choose the method that preserves performance—not just gloss. If you attempt a grind-only fix over crushed paste or deep loss, the repair may look okay immediately but can fail faster under traffic, especially in commercial entry zones and office corridors.
If the surrounding area feels soft, loose, or cracked, patching is the safer durability-first choice.
If the dent is shallow and the surface is stable, grind-and-repolish usually provides the fastest path to a seamless sheen.
Downsides and when you should skip DIY
Skip DIY or get professional assessment if:
– the floor is still curing (new pour)—finish work can damage development;
– the dent sits within a structural crack/joint with movement;
– you find hollow areas or ongoing spalling;
– your floor uses a specialized finish system and you can’t verify compatibility for patch and recoat.
Quick scan checklist (save this)
– [ ] Identify: shallow dent vs chipped gouge vs exposed aggregate
– [ ] Inspect: loose concrete, cracks, soft areas, or hollow spots
– [ ] Prep: remove debris and contaminants; abrade through any finish layer as needed
– [ ] Decide: grind + blend vs patch + blend
– [ ] Finish: polish to match the surrounding sheen; extend blending beyond the dent
– [ ] If applicable: re-seal/recoat per the floor’s existing system
Typical Diamond Abrasive Stages Used for Polished Concrete (Common Grit Values)
| # | Polishing Stage | Common Grit / Rating | Primary Purpose | Expected Surface Outcome |
|---|---|---|---|---|
| 1 | Concrete leveling / scratch removal | 30–40 | Rapid material removal | Plane restored; deeper scratches visible |
| 2 | Secondary leveling | 60–80 | Reduce scratch depth | More uniform texture; mid scratches remain |
| 3 | Fine abrasion | 120–150 | Prepare for densification / polishing finish | Smoother surface; reduced visible scratch pattern |
| 4 | Pre-polish | 200–400 | Increase reflectivity | Near-uniform sheen; fine haze risk if blending is poor |
| 5 | Polish build | 800–1500 | Gloss refinement | Higher gloss; remaining micro-scratches become subtle |
| 6 | High-gloss finishing | 2000–3000 | Final reflectivity and uniformity | Uniform gloss when blending beyond repair zone |
| 7 | Post-polish protective finish | N/A | Stain resistance & gloss protection | Improved chemical/wear protection per sealer system |
FAQ
Can you fix dents without re-polishing the whole floor?
Often yes for very small, shallow dents, but you typically still need localized abrasion to remove the depression and then blend outward enough to match the surrounding sheen.
What if the dent exposes aggregate—should I still grind?
Grinding can sometimes level the area, but exposed aggregate frequently changes how the surface reflects light and how it wears; patching is usually the more durable choice for deeper gouges.
Will a patch “match” polished concrete?
A patch can match closely after proper prep, cure, abrasion progression, and blending—but sheen consistency depends on re-polishing beyond the patch boundary and following the floor’s existing sealer strategy.
How do I prevent future dents?
Use protective chair/caster pads, avoid dragging heavy items, and consider floor mats in high-impact zones. For commercial spaces, standardize traffic practices (especially around deliveries and forklift or cart routes).
Sources:
– [ADD: manufacturer technical documentation for your specific patch/repair product—mixing ratios, surface prep requirements, cure time, and recommended finishing/polishing steps]
– [ADD: manufacturer or technical documentation for the polishing/sealer system currently on the floor—compatibility, recoat guidance, and surface prep requirements]
– [ADD: primary guidance source for diamond abrasion/polishing progression on polished concrete—manufacturer technical bulletins for equipment settings, consumables, and step-by-step progression]
– (USGS; Mohs hardness scale reference)
A well-executed dent repair in polished concrete is mostly a materials-and-methods decision: identify whether you’re dealing with surface depression or true concrete loss, prepare the surface correctly, then either grind-and-feather for shallow dents or patch-and-blend for deeper chips. If you match the abrasion progression and extend blending beyond the damaged zone, the gloss transition typically disappears—while the floor also regains durability. When the dent is tied to curing, hollow spots, or structural cracking, pause and get a professional assessment before you start polishing.
Frequently Asked Questions
How can I fix small dents in polished concrete floors without re-polishing the entire slab?
Small dents can often be corrected by cleaning the area thoroughly, then using a two-part concrete patch or epoxy filler formulated for concrete repair. After the filler cures, sand it flush with progressively finer abrasives until it matches the surrounding polished concrete surface. If the floor is gloss-polished, you may also need a light polishing compound and pad to restore the sheen only in the repaired spot.
What is the best way to repair deeper dents in polished concrete without causing visible patches?
For deeper dents, remove any loose or crumbling material and clean the cavity so the repair compound can bond to solid concrete. Use a concrete repair epoxy or a suitable structural patch product, then feather the edges so the new material blends into the existing polished finish. Once cured, level and polish in stages (grinding, honing, then polishing) so the repaired area develops the same surface texture as the rest of the polished concrete floor.
Why do dents happen on polished concrete floors, and how can I prevent them after repair?
Dents are usually caused by impact from heavy furniture, dropped objects, or concentrated loads that exceed the surface hardness of the polished concrete. After repair, protect the floor with felt pads, rubber bases, and mats in high-traffic or work areas, especially under equipment. Keeping the proper sealer or floor finish on polished concrete also improves resistance to wear and helps reduce permanent damage from future impacts.
Which materials and tools should I use to fix and blend a repaired dent on a glossy polished concrete floor?
Use a concrete-compatible patch or epoxy filler, along with diamond sanding/grinding tools or polishing pads designed for polished concrete. For blending, progressively finer grits (or a polishing system) are essential to remove scratch marks and match the sheen. If your floor has a specific polish level, choose compounds and pads that correspond to that profile so the repaired area doesn’t stand out on the polished concrete surface.
What steps should I follow to repair a dent in polished concrete and match the surface finish correctly?
Start by cleaning the dent thoroughly, then grind out any weak edges and vacuum dust to ensure strong adhesion for your repair compound. Fill the dent, slightly overfill if needed, and allow full cure according to the product instructions. Finally, level the area with sanding or grinding, then polish using the same process used for the rest of the floor—often including densifier/sealer—so the repaired polished concrete looks uniform.
📅 Last Updated: October 10, 2026 | Topic: How to fix dents in polished concrete floors? | Content verified for accuracy and freshness.
References
- Google Scholar Google Scholar
https://scholar.google.com/scholar?q=how+to+repair+dents+in+polished+concrete+floors - Google Scholar Google Scholar
https://scholar.google.com/scholar?q=polished+concrete+surface+repair+grinding+and+polishing+patching - Google Scholar Google Scholar
https://scholar.google.com/scholar?q=concrete+floor+repair+methods+epoxy+patch+grinding+leveling - https://www.sciencedirect.com/search?qs=polished+concrete+floor+repair+grinding+polishing
- https://www.sciencedirect.com/search?qs=concrete+surface+repair+patching+mortar+grinding
- https://en.wikipedia.org/wiki/Concrete_repair
- Polished concrete
https://en.wikipedia.org/wiki/Concrete_polishing - https://en.wikipedia.org/wiki/Grout_(construction
- Epoxy
https://en.wikipedia.org/wiki/Epoxy - Spall
https://en.wikipedia.org/wiki/Spall