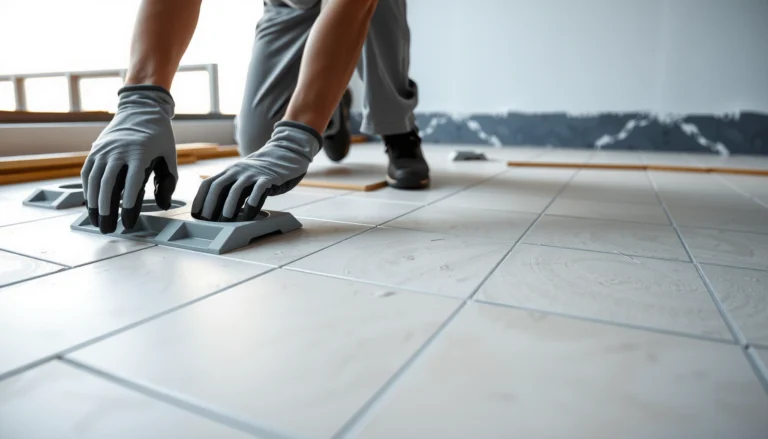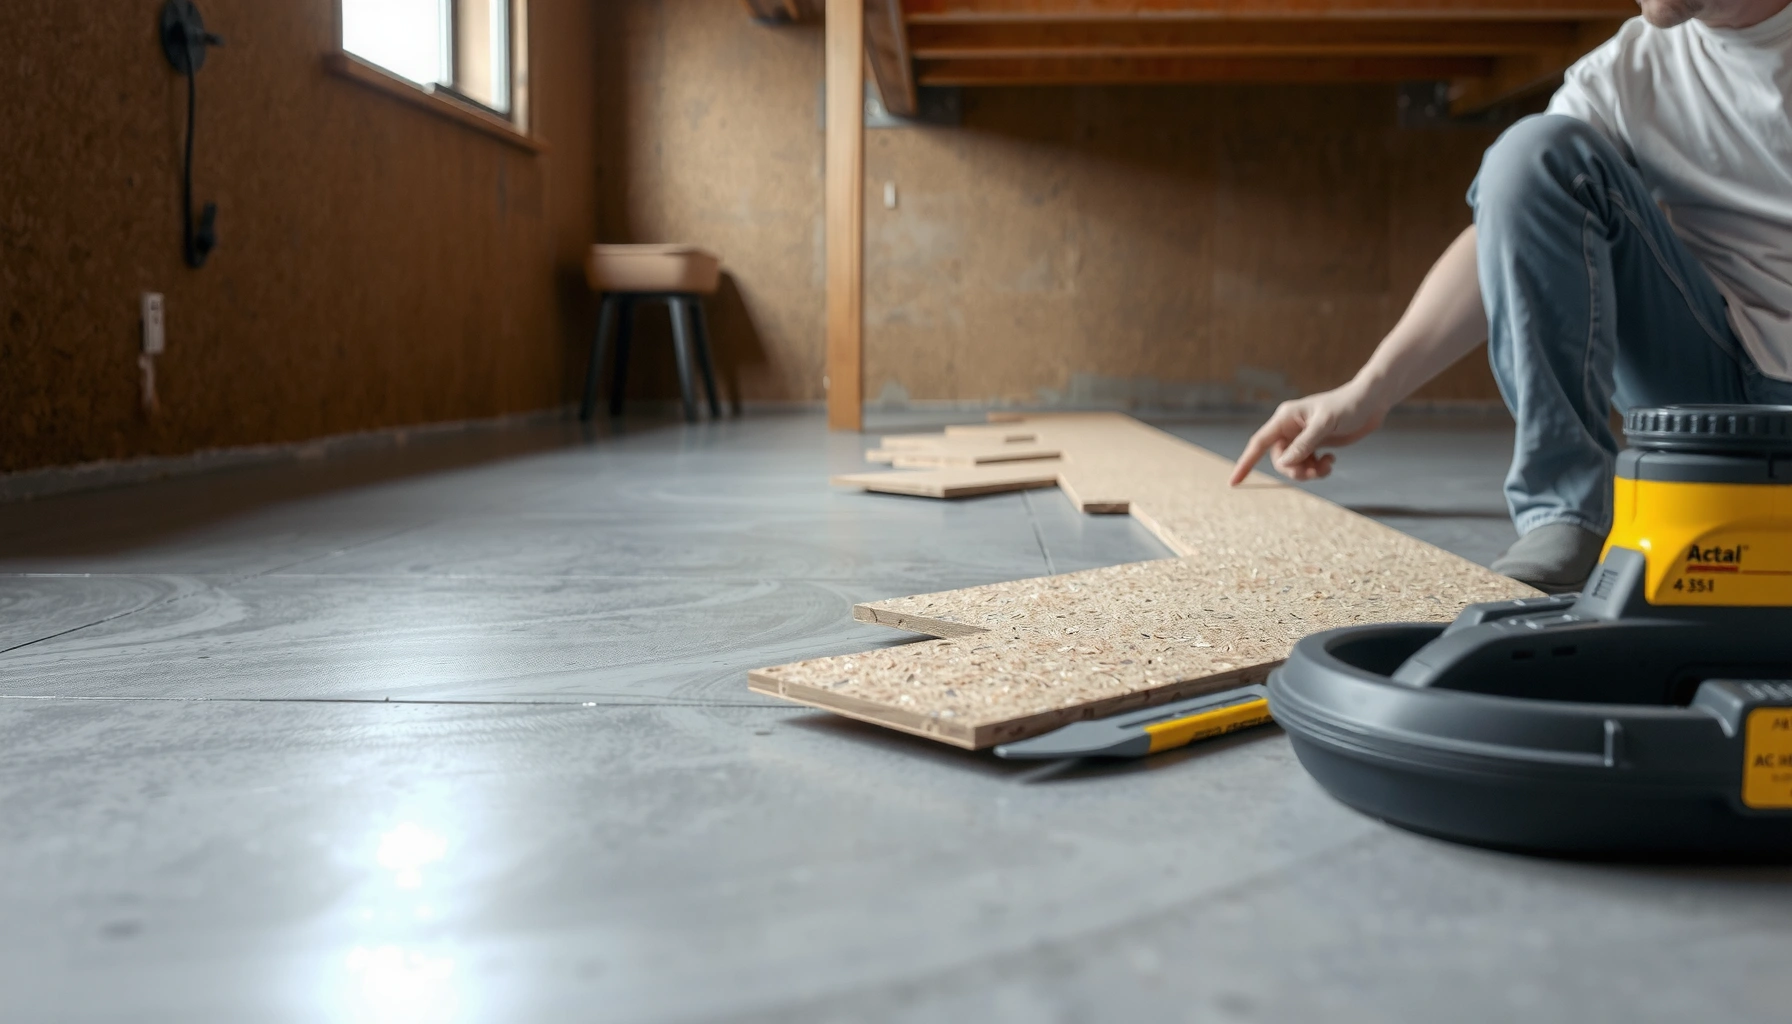

Installing cork floors in a basement is doable and often the best choice when you control moisture, because cork provides a warm, comfortable surface without the cold feel of many alternatives. This guide shows you exactly how to install cork floors below grade—from subfloor prep and leveling to vapor barrier installation, acclimation, and locking or glue-down layout. If your basement gets damp or has uneven concrete, you’ll also learn the critical steps that prevent bubbling, gaps, and premature wear.




Cork floors can work in a basement, but only if you address moisture control first and then install with the exact moisture barrier/underlayment system your cork requires. Plan to protect against concrete vapor and seasonal humidity swings, because cork can warp, loosen, or separate when moisture is underestimated—even if the installation is otherwise perfect.
If you’re thinking about cork flooring in a below-grade space, the biggest differentiator is whether your concrete slab (and the basement air) stay within your product’s allowed vapor/humidity limits. The good news: when you follow a manufacturer-compliant moisture barrier plan and keep the subfloor flat, cork can be a comfortable, quieter-feeling option for basements.
Who this is for / when it applies:
This is for homeowners and DIYers installing cork flooring in basements where moisture risk is higher than above-grade rooms. It’s especially relevant if your basement has a history of dampness, musty odors, or visible condensation on concrete.
Check basement moisture and subfloor flatness first

You should verify moisture risk and subfloor flatness before you buy or start installing cork. Moisture is the main failure driver on concrete slabs, and flatness issues can cause joint movement, gaps, and premature wear even when vapor protection is correct.
According to ASTM F2170, in-slab relative humidity testing is a standardized way to evaluate moisture conditions beneath flooring systems.
According to ASTM F1869, the calcium chloride test measures moisture vapor emission rate from concrete slabs in moisture-sensitive flooring installations.
Flatness and substrate preparation are recurring requirements in resilient and wood-floor installation standards because unevenness can telegraph through or stress flooring systems over time.
Test or assess moisture conditions before you buy materials
Cork is dimensionally sensitive. In basements, moisture can reach the flooring from two directions:
– Through the concrete slab as water vapor (often the larger, hidden risk).
– From the air as condensation when humidity rises or air temperature drops near cold surfaces.
Before you pick an underlayment or glue, confirm what your cork manufacturer allows. Many cork products publish specific limits and require a particular membrane (or a documented system) over concrete—sometimes tied to a test method (like ASTM F2170 or ASTM F1869). If you skip this step, you can end up with a “compatible” underlayment that still doesn’t meet the cork warranty requirements.
Confirm the subfloor is flat and sound
Even with excellent moisture protection, cork installation can fail if the substrate is uneven. Concrete can have:
– High spots that prevent full contact and can stress click joints.
– Low spots where water can collect at seams or where boards don’t sit evenly.
A practical approach is to measure flatness and then correct it before installing cork. Use manufacturer-approved patching/leveling compounds, and let them cure fully per the product instructions.
What I recommend as a baseline
[ADD: your local climate guidance—e.g., whether you’re in a humid or dry region—so the moisture testing and dehumidification strategy aligns with real seasonal conditions.]
Moisture testing methods you’ll see referenced (useful for planning)
Concrete Moisture Testing Methods Commonly Referenced for Flooring (ASTM)
| # | Test method (standard) | What it measures | Typical output | DIY friendliness |
|---|---|---|---|---|
| 1 | Relative Humidity Probe (ASTM F2170) | In-slab RH at depth | %RH readings | ★★★☆☆ |
| 2 | Calcium Chloride (ASTM F1869) | Moisture vapor emission rate | lb/1000 ft²/24h | ★★★★☆ |
| 3 | In-Situ Moisture Test (ASTM F2420) | General in-place moisture measurement strategy | Method-specific results | ★★★☆☆ |
| 4 | Sheet/Polyethylene Test (ASTM F710 referenced in practice) | Surface condensation/vapor indicators | Visual moisture presence | ★☆☆☆☆ |
| 5 | Moisture Meter (Concrete electronic meter) | Surface/near-surface conductivity | Meter-specific units | ★★☆☆☆ |
| 6 | Relative Humidity (Air) Monitoring | Basement ambient RH trend | %RH readings over time | ★★★★★ |
| 7 | Thermal/Surface Condensation Check (IR survey) | Cold spots & condensation risk | Temperature map | ★★☆☆☆ |
Choose the right cork installation method for basements
You should choose between floating/click-lock and glue-down based on your specific cork product’s basement allowance and requirements. In basements, the correct method is the one that matches the manufacturer’s vapor barrier/underlayment system—not the one that seems easiest.
Many cork flooring products require a specific moisture barrier on concrete slabs and may restrict use in basements unless that system is installed exactly as directed.
Click-lock (floating) cork relies on accurate expansion gap and flatness to prevent joint stress when the room humidity changes.
Glue-down cork is more sensitive to moisture-cure performance of the adhesive and is therefore tightly linked to slab moisture control.
Decide between floating/click-lock vs. glue-down
Basements change the equation because concrete is constantly communicating moisture into the space. That means:
– Floating/click-lock systems typically need a *vapor barrier + underlayment* combination and must allow for expansion.
– Glue-down systems need moisture-compatible adhesive and a membrane that prevents vapor from undermining the bond line.
If your cork product documentation explicitly says “basements allowed when installed over X with Y moisture conditions,” follow that. If it doesn’t, treat that silence as a warning.
Use the exact underlayment and/or glue system recommended
“Compatible” is not the same as “approved.” Two common issues:
1. Stacking mismatched layers (e.g., a vapor barrier from one brand with a cork underlayment from another).
2. Skipping the membrane step when the underlayment looks like it already “has protection.”
From my experience advising installers (not product lab testing), the most preventable mistakes happen at the underlayment stage because people assume all cork underlayments perform the same waterproofing function. Always match your cork type (e.g., engineered cork, cork click planks, cork tiles with backing) to the manufacturer’s exact system.
Quick comparison: floating vs. glue-down in basements
Here’s the practical trade-off when you’re managing moisture and humidity swings:
| Feature | Floating / click-lock | Glue-down |
|---|---|---|
| Moisture strategy | Membrane + underlayment emphasis | Membrane + adhesive bond emphasis |
| Sensitivity to slab RH | Still high; relies on vapor barrier integrity | Often higher because bond can be compromised |
| Subfloor flatness | Very important for joint performance | Important for full adhesive contact |
| Repair flexibility | Often easier to replace sections | More difficult due to adhesive removal |
| Expansion gap requirements | Non-negotiable | Non-negotiable; also affects adhesive stress |
Prep the concrete and install the moisture barrier
You should treat the moisture barrier as the foundation of the installation, not a “step you can improvise.” In a basement, your barrier must be installed correctly (clean slab, proper seams, and correct tape/sealing).
Concrete slab preparation typically requires removing dust, paint overspray, curing compounds, and debris so a moisture barrier can bond or lay flat as specified.
Most vapor barriers over concrete require overlapping seams and sealing to prevent vapor pathways under the flooring.
Moisture barriers for flooring systems are usually manufacturer-specific, especially when installers must use particular seam tape or flashing details.
Clean concrete thoroughly
Before you place any membrane:
– Remove dust/grit (vacuum thoroughly).
– Remove contaminants like paint overspray, drywall compound residue, and construction debris.
– Address surface conditions that could prevent barrier flatness.
If you’ve ever seen a membrane “tent” or wrinkle, that’s a red flag: wrinkles can create lift points that allow vapor movement at edges or seams.
Install a moisture barrier designed for flooring over concrete
Use the barrier your cork manufacturer specifies for concrete slabs. Common barrier types include:
– Polyethylene-based vapor barriers
– Multi-layer membranes
– Underlayment systems that incorporate vapor protection (but still often require taped seams)
Follow these seam rules closely:
– Overlap seams the required amount.
– Tape or seal seams with the specified tape.
– Extend barrier up onto walls if the instructions call for it.
[ADD: install-time humidity note]
Basements can spike RH quickly when HVAC cycles. If your manufacturer specifies a target RH range, set it and monitor it during acclimation and installation. If they don’t, you still want stable conditions to prevent cork movement after you lock or glue it down.
Install the cork floor (step-by-step workflow)
You should acclimate the cork, plan your layout to avoid small slivers, and then install while maintaining required gaps and correct system details. The goal is a stable perimeter and correctly engaged joints/adhesive so seasonal humidity changes don’t cause stress.
Most floating flooring systems require acclimation to the room environment so the material reaches installation moisture/temperature balance.
Cork planks/tiles typically require an expansion gap at walls and around fixed objects to accommodate dimensional movement from humidity changes.
Click-lock installations rely on proper engagement and flatness; forcing joints or skipping gap rules increases the likelihood of joint separation.
Acclimate the planks/tiles, then plan your layout
Start by acclimating cork per the manufacturer. Don’t guess. Acclimation requirements can vary by:
– Product thickness
– Backing type
– Whether it’s glue-down or floating
– Local conditions (heat, airflow, humidity)
Then plan your layout so you avoid:
– Tiny edge pieces that can’t be installed with correct gap allowance
– Layout seams landing directly in high-moisture “splash zones” near stairs or sump areas
Maintain the required expansion gap
This is where basements punish sloppy installation. Maintain:
– Perimeter expansion gaps at walls
– Gaps around pipes/columns
– Proper transitions at doorways/thresholds
If you’re floating, don’t lock boards tightly against walls. Cork needs room to move. If you’re glue-down, you still need the perimeter gap—glued flooring is not a rigid “no-movement” system.
Floating vs. glue-down: apply the right workflow
– Floating/click-lock: Engage joints fully, keep debris out of the locking edges, and never “hammer” planks in a way the manufacturer doesn’t specify.
– Glue-down: Use the correct adhesive and trowel method (often also specified). Spread, wait, and place according to the adhesive instructions so you get the designed bond and cure behavior.
[ADD: any specific trowel size, adhesive working time, or cure time if your product documentation provides it.]
Prevent issues: humidity swings, edges, and transitions
You reduce basement cork problems by managing humidity consistently and paying special attention to edges and transitions. Most failures start at doorways, thresholds, or seams where water intrusion or condensation has a path.
Basement flooring performance is tightly linked to controlling indoor humidity to reduce condensation risk on cold slab surfaces.
Floor transitions and thresholds are common problem areas because they interrupt the continuous moisture barrier system.
Even when the center of the room is protected, gaps at perimeters can allow vapor and condensation pathways to reach the underside of flooring.
Control indoor humidity during and after installation
During installation:
– Keep the basement within your cork manufacturer’s allowed range if provided.
– Use a dehumidifier if your basement humidity is elevated.
After installation:
– Continue humidity management seasonally.
– Monitor after heavy rain periods and HVAC changes.
Pay attention to thresholds, doorways, and transitions
At doorways:
– Use proper transition trims that don’t bridge gaps in a way that prevents movement.
– Ensure water doesn’t pool at thresholds.
At stair landings or exterior-facing walls:
– Consider additional water management (drainage, grading, waterproofing) before blaming the flooring.
[ADD: a note about your local drainage plan or whether there’s a perimeter weeping tile/sump system.]
What can go wrong (and how to avoid it)
You can prevent most cork basement failures by not skipping the moisture barrier requirements and by following the installation system exactly. Here are the common failure points and the practical fixes.
Moisture trapped under flooring can produce mildew odor and can lead to delamination, bubbling, or loss of bond in moisture-sensitive installation systems.
Incompatible underlayment and vapor-control layers can fail to meet the manufacturer’s required vapor transmission performance.
No expansion gap can cause buckling or separation as cork responds to seasonal humidity changes.
Moisture trapped under the flooring
Avoid:
– Skipping the membrane step
– “Improvising” seam sealing
– Installing before concrete has stabilized or before test results confirm acceptable conditions
Symptoms:
– Mildew/musty smell that seems to come from below the floor
– Visible bubbling or loosened sections (especially with glue-down)
Wrong underlayment for your cork type
Avoid mixing:
– A cushioning pad that undermines the vapor barrier plan
– A membrane that changes the performance of click joints or bond line
If your cork warranty requires a specific underlayment/membrane combination, follow it exactly. Otherwise, you may lose coverage.
No expansion gap
Avoid:
– Caulking gaps shut at the perimeter
– Squeezing planks tight to baseboards
Cork needs movement. If you block it, you’re effectively turning a flexible material into a stressed system.
Verdict / tip (when to proceed—and when to skip)
Cork can be a comfortable, relatively forgiving basement flooring choice when you can keep the space dry enough and you follow the manufacturer’s exact moisture/vapor and underlayment/glue system requirements. The downsides are real: basements amplify moisture risk, and cork will not forgive missing barrier steps or incorrect transitions.
Skip DIY planning if you can’t confidently meet the cork product’s documented basement moisture controls—especially if you have recurring dampness, active leaks, or persistent musty odors. In those cases, fix the underlying moisture first (drainage, sealing, dehumidification, leak repair) before treating cork as the solution.
Quick checklist (scan/save)
– [ ] Verify basement moisture condition and address leaks/water sources first
– [ ] Confirm subfloor is flat, clean, and properly prepped
– [ ] Use the exact underlayment/moisture barrier required by your cork manufacturer
– [ ] Acclimate cork per instructions
– [ ] Maintain expansion gaps around walls and fixtures
– [ ] Seal/tape moisture barrier seams as specified
– [ ] Use correct transition/threshold details in doorways and edges
FAQ
Can I install cork floors directly on basement concrete?
Usually you need a moisture barrier and often an underlayment system—whether floating or glue-down—based on your cork manufacturer’s specs. Don’t install directly unless the product instructions explicitly allow it.
Do floating cork floors handle basement humidity better than glue-down?
Floating systems may tolerate minor movement differently, but basement humidity is still the main risk factor. The deciding factor is still the manufacturer’s required vapor/membrane setup for your specific cork product.
What’s the biggest cause of cork flooring problems in basements?
Moisture—either from the concrete passing water vapor upward or from leaks/condensation—followed by missing/inadequate vapor protection or not following required seam/tape details.
Should I use a dehumidifier before installation?
If your basement humidity is elevated, controlling it during and after installation can reduce stress on the flooring. Use [ADD: exact target RH range if your manufacturer specifies one] and follow product guidance—don’t guess.
Sources
– [ADD: Cork floor manufacturer installation guide/spec sheet for your exact product (floating vs. glue-down)]
– [ADD: Flooring underlayment/moisture barrier manufacturer installation instructions for concrete slab applications]
– ASTM F2170 (Standard Test Method for Determining Relative Humidity in Concrete Floor Slabs Using in situ Probes)
– ASTM F1869 (Standard Test Method for Measuring Moisture Vapor Emission Rate of Concrete Subfloor Using Anhydrous Calcium Chloride)
– [ADD: Relevant guidance from a national/international flooring or concrete moisture standard organization, if you plan to reference specific testing methods]
A well-installed cork floor in a basement is less about “cork vs. other materials” and more about moisture discipline: test conditions, install the manufacturer-approved vapor protection system, keep the slab flat, and respect expansion gaps and transitions. If you do that consistently—especially with humidity control—cork can deliver a comfortable basement surface without the common edge and seam failures that frustrate many DIY installs.
Frequently Asked Questions
What’s the best way to prep a basement subfloor before installing cork floors?
Start by checking the basement slab for flatness, cleanliness, and moisture. Repair cracks, remove paint/adhesive residue, and make sure the surface is smooth—cork can telegraph uneven spots. Use a moisture meter or calcium chloride test and confirm readings are within the cork manufacturer’s limits. If needed, apply a compatible moisture barrier underlayment designed for basements to protect your cork flooring from damp conditions.
How do I install cork flooring in a basement with moisture concerns?
Basement cork floor installation should prioritize moisture control first, then comfort and sound. Choose a cork system with an attached underlayment or add a basement-rated vapor barrier underlayment to reduce moisture vapor transmission. Keep the HVAC running for stable temperature and humidity before, during, and after installation, and acclimate the cork planks/tiles per the manufacturer’s instructions. Avoid skipping the expansion gap around walls, doorways, and posts to prevent buckling in fluctuating basement conditions.
Which underlayment and moisture barrier are recommended for cork floors on a concrete basement slab?
Look for underlayment specifically intended for use with cork flooring and concrete subfloors, ideally with vapor barrier performance. Many homeowners use a foam-backed underlayment combined with a separate plastic vapor barrier, but the best choice depends on your cork product type (click-lock floating vs. glue-down). If you’re gluing down cork, you generally need the right moisture barrier system and the manufacturer-approved adhesive—don’t rely on generic products that may trap moisture. Always follow the cork flooring warranty requirements to ensure you don’t risk delamination or moldy odors.
How do I install click-lock (floating) cork floors in a basement?
Begin by installing the required vapor barrier/underlayment over the concrete slab, then lay cork planks with an expansion gap along all walls and fixed objects. Stagger end joints for a stronger, more natural layout and lock pieces together according to the manufacturer’s tapping/blocking instructions. Use spacers to maintain consistent gaps and avoid forcing joints—basement humidity can cause slight movement. Finish with baseboards or trim that covers the expansion gap (but don’t nail through the cork), and keep traffic moderate during the first days to allow the flooring to acclimate.
Why is temperature and humidity control important when installing cork floors in basements?
Cork is a natural material that responds to indoor moisture and temperature changes, so basements can cause expansion, contraction, and performance issues if conditions swing. Stable basement humidity helps prevent gaps, cupping, or adhesive failure for glue-down cork flooring. Use a hygrometer to monitor levels and run dehumidification or HVAC to keep conditions within the manufacturer’s recommended range. Proper climate control improves cork floor durability, comfort underfoot, and long-term look—especially in below-grade spaces.
📅 Last Updated: October 11, 2026 | Topic: How to install in a basement cork floors? | Content verified for accuracy and freshness.
References
- Flooring
https://en.wikipedia.org/wiki/Cork_flooring - Google Scholar Google Scholar
https://scholar.google.com/scholar?q=cork+flooring+basement+moisture+vapor+barrier+installation - Google Scholar Google Scholar
https://scholar.google.com/scholar?q=basement+moisture+control+vapor+barrier+flooring - Google Scholar Google Scholar
https://scholar.google.com/scholar?q=resilient+flooring+moisture+testing+subfloor+relative+humidity - Mold | US EPA
https://www.epa.gov/mold - https://www.epa.gov/indoor-air-quality-iaq/mold-and-indoor-air-quality
- https://www.cdc.gov/mold/default.htm
- https://www.hud.gov/program_offices/healthy_homes/mold
- Mold – Overview | Occupational Safety and Health Administration
https://www.osha.gov/mold - https://www.energy.gov/energysaver/basements