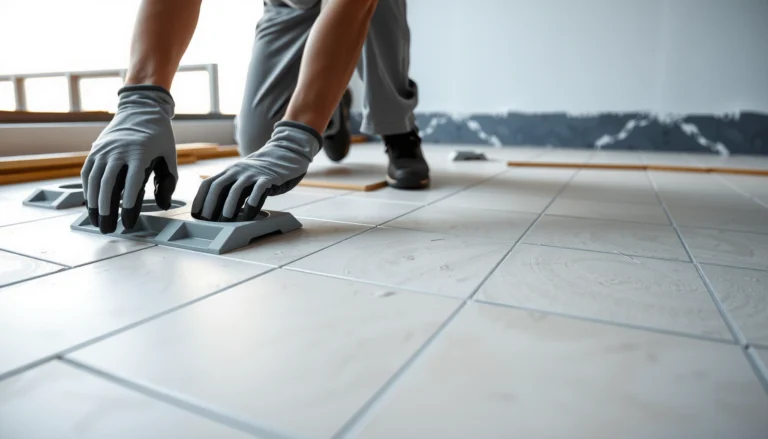
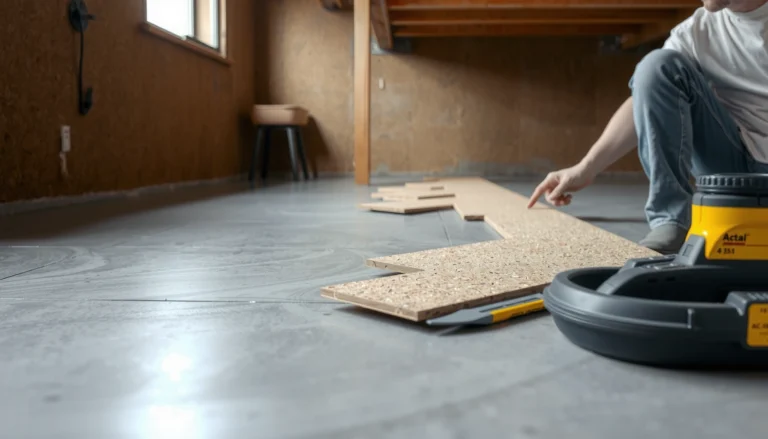
If you’re trying to install flooring over tile basement floors, this step-by-step guide shows the fastest, most reliable path to a flat, secure surface with fewer failures. You’ll learn exactly how to prep the tile, level high spots, choose the right underlayment/adhesive, and set planks or sheets so they don’t lift or crack. Use it when your basement is already tiled and you want a clean install without tearing everything out.




If your basement tile is solid, reasonably level, and firmly bonded, you can often install new flooring directly over it to avoid a full demo. The key is proving tile stability first, flattening the surface to meet your new floor’s flatness specs, and then using the exact underlayment/adhesive system your flooring manufacturer allows for an “existing tile” substrate. This guide walks you through the decision points, prep steps, and the failure modes that typically cause buckling, lifts, or cracking.
If you’re redoing a basement and want to avoid demo, this is for you—especially if the current tile is in decent shape but you want a fresh surface. It’s also useful when you’re deciding whether you can “go over” tile safely or whether you should plan for removal.
Check the tile before you install anything
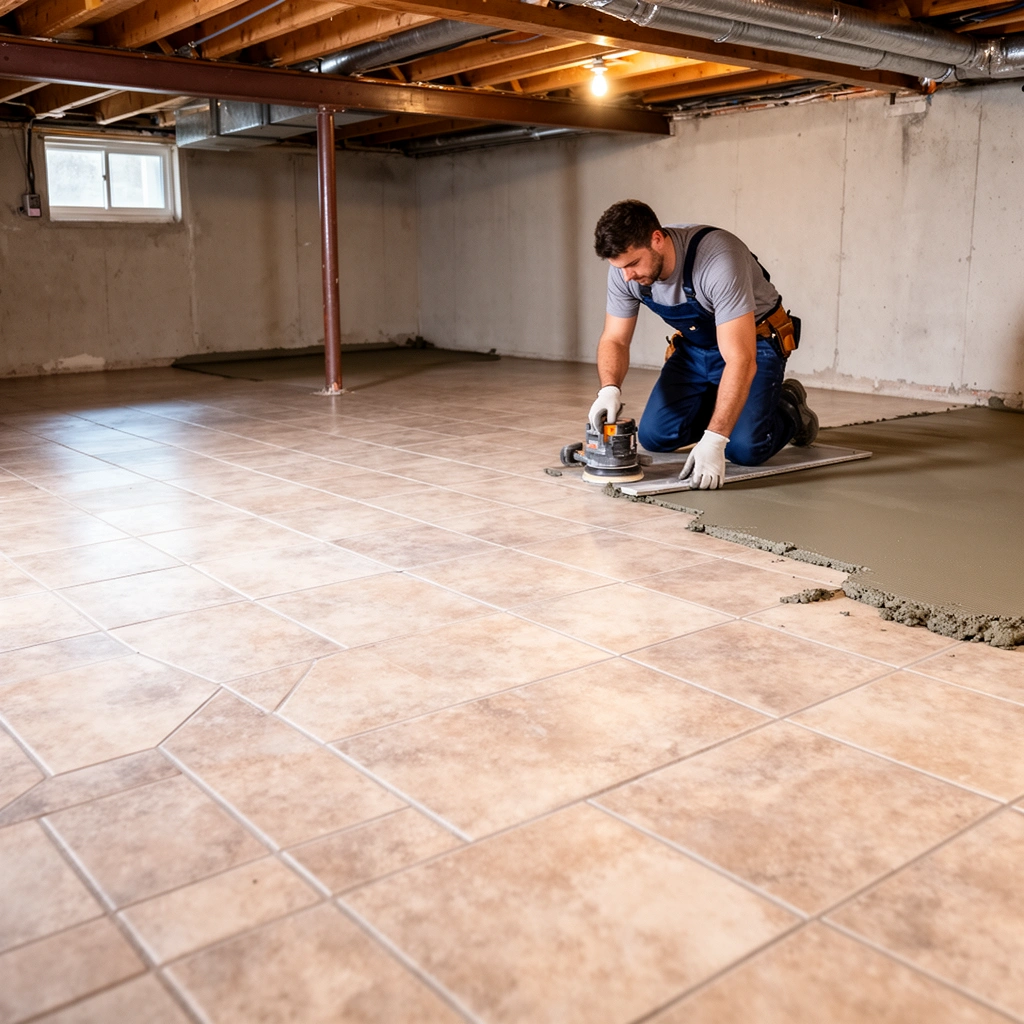
You can only install over tile if the tile assembly is stable and flat—otherwise your new floor simply repeats the old problems. Start with a stability check (loose tiles) and then confirm overall flatness because even small ridges or dips can telegraph through many basement floor systems.
“Tile that ‘rocks’ or sounds hollow after a tap test typically indicates a bond failure to the substrate, and resilient/adhesive floors won’t correct that movement.” [ADD: cite—use TCNA/industry guidance or manufacturer prep language for your specific flooring type]
“Flatness requirements for floor coverings are part of installation performance; if you exceed the tolerance, seams can open or wear patterns can telegraph.” [ADD: cite—use your new floor’s installation tolerances from the manufacturer’s instructions]
“Existing tile can be acceptable as a substrate only when the installation instructions explicitly allow it (and require specific prep).” [ADD: cite—use your flooring brand’s approved-substrates list]
– Tap-test for loose or hollow-sounding tiles; any movement usually means you’ll need to repair or remove before installing over the top.
How to do it: Use the handle of a screwdriver or a light hammer and tap across grout joints and tile faces. If you hear cracking or detect movement, mark those areas with painter’s tape and plan localized repair (re-set tiles) or removal.
– Verify the surface is reasonably level (use a straightedge across grout lines and tile ridges) because lippage and unevenness often transfer into the new floor.
In practice, basements also exaggerate unevenness because moisture or prior repairs can create localized low spots. Take measurements at multiple directions, not just one “average” line.
– Confirm the tile is bonded firmly to the subfloor; visible cracks, rocking tiles, or failing grout are red flags.
If grout is crumbling or tiles are cracked in a way that suggests the tile assembly is moving, treat that as a structural issue—not cosmetic wear.
Prepare the surface for a strong bond
Even the best new flooring system can’t compensate for poor surface preparation on existing tile. Your goal is to remove bond breakers, flatten height changes, and match the preparation method to the new product’s approved-substrate requirements.
“Moisture testing and bond-prep steps matter because adhesive and underlayment systems depend on substrate conditions for long-term performance.” [ADD: cite—use ASTM test methods referenced by your flooring manufacturer]
“Debonding failures often trace back to contamination (dust, wax, sealers) that blocks adhesion.” [ADD: cite—use your flooring manufacturer’s surface-cleaning requirements]
“If the installation system requires a mechanically abraded (deglossed) surface, chemical cleaners alone may not create the profile adhesives need.” [ADD: cite—use the approved substrate prep section from your flooring instructions]
– Clean thoroughly: remove dust, waxes, sealers, and anything that could block adhesion; follow the cleaner directions and let it fully dry.
Basements commonly have residue from previous sealers and efflorescence (salt deposits) near exterior walls. If you see white powdering, address the source and remove deposits per the flooring/adhesive instructions rather than just painting over them.
– Degloss/surface-profile step (if your flooring system requires it): some installations need an abraded surface so thinset/adhesives can grip.
If your product allows tile but requires “mechanical profiling,” this is usually where you’d use sanding/diamond-grinding to knock down glaze and create a surface texture.
– Fill and flatten: use appropriate patching/leveling materials for dips and cracked grout, and sand high spots so the floor doesn’t telegraph through.
Choose a patch compound that’s compatible with the new flooring installation method (floating vs glue-down vs thinset-set). For glue-down/resilient systems, follow the new flooring’s minimum thickness and curing-time requirements.
A few anchor points you can verify during planning
– According to ASTM F1869, moisture vapor emission rate is commonly expressed as pounds per 1,000 sq. ft. per 24 hours (commonly shortened in specs to “lb/1,000 sq ft/24 hr”). [ADD: ASTM F1869 standard, scope/units]
– According to ASTM F2170, relative humidity (RH) test results are reported as percent RH at specific slab depths. [ADD: ASTM F2170 standard, scope/units]
– According to ASTM C627, adhesive bond strength is measured in psi (or equivalent) to quantify tensile bond performance. [ADD: ASTM C627 standard, bond strength measurement method]
(Exact pass/fail numbers are always product-specific; use your flooring manufacturer’s limits.)
Choose the right flooring method for installing over tile
The “right” method depends on whether your new floor floats, glues down, or is thinset-set. You also need to ensure your chosen system explicitly allows existing tile as a substrate and follows any required underlayment or surface profiling.
“Floating floors still need a suitable underlayment and a stable substrate; tile that moves underneath will eventually show up as separation or noise.” [ADD: cite—use your flooring’s underlayment and substrate stability requirements]
“Glue-down and thinset-set systems typically demand stricter surface prep and flatness because adhesive contact affects performance.” [ADD: cite—use your flooring brand’s adhesive coverage/contact requirements]
“Perimeter gaps and transition details prevent expansion-related buckling over any substrate system.” [ADD: cite—use your flooring’s expansion guidance]
– For floating floors (like many laminate/vinyl click systems), focus on a suitable underlayment and moisture/thermal considerations—tile height and rigidity matter.
Floating products usually don’t “bond” to the tile; they rely on the underlayment and the tile’s stability. If you have grout ridges, you may need to flatten before installing the underlayment, or the floor may feel spongy and develop seam issues.
– For glue-down or thinset-set floors, follow the adhesive/manufacturer instructions for tile-to-new-floor transitions and required surface preparation.
Many manufacturers allow tile only if you mechanically prep the surface and use their approved primer/adhesive system (or an adhesive that meets specific standards).
– Plan transitions: stair edges, door clearances, and perimeter gaps depend on the finished build-up height over tile.
This is where “no demo” can become costly if your baseboards, door jambs, and HVAC returns aren’t planned for the added height.
Quick comparison: which method fits tile best?
| Flooring method | Typical best-case over tile | Main prep risk | What to verify in writing |
|---|---|---|---|
| Floating click (LVP/Laminate) | Tile is solid, flat, and dry | Hollow tiles causing movement/noise | Approved substrates + underlayment requirements + flatness tolerance |
| Glue-down vinyl/resilient | Tile is stable and mechanically prepped | Adhesion failures from glaze/contaminants | Approved substrate list + required primer/degloss steps |
| Thinset-set flooring | Tile is stable; surface is profiled for bonding | Cracking from movement or poor flatness | Whether tile is approved + mortar selection + bond/flatness specs |
Install step-by-step (typical workflow)
You can reduce surprises by treating this like a controlled installation: measure first, prep to spec, then install with alignment and expansion control. Most “over tile” failures come from rushing the early rows, skipping required moisture details, or ignoring flatness tolerances.
“Most installation errors compound from the first 1–2 rows; alignment drift later becomes seam gapping and forced cutting.” [ADD: cite—use installation best-practice guidance from your flooring manufacturer]
“Perimeter expansion space is critical in floating systems; removing or shrinking gaps increases buckle risk.” [ADD: cite—use product expansion instructions]
“If moisture barriers are required, applying them incorrectly can trap moisture and still lead to failure.” [ADD: cite—use your flooring’s moisture/underlayment guidance]
– Dry lay and measure: map the room, account for pattern direction, and plan expansion/perimeter space as required by your flooring type.
In a basement, we also check for HVAC register locations and columns so transitions don’t land in high-traffic seam zones.
– Start the first rows carefully: most failures come from misalignment early on, which then forces cuts and uneven seams later.
Use a chalk line and verify the room isn’t “bowed.” Basements frequently have irregular walls; planning for that early prevents narrow slivers at exterior walls.
– Maintain control of expansion and seams: use spacers and follow the manufacturer’s guidance on acclimation and seam layout so the floor doesn’t buckle or open.
Even when you install over tile, expansion still happens in the new floor layer. If your basement humidity swings seasonally, you want to follow acclimation instructions as written.
Where basements add complexity
– Moisture can exist even when tile looks fine.
Tile can mask underlying dampness, and adhesive systems can be sensitive to that. If your product calls for testing (often ASTM F1869 or F2170), treat it as part of the installation—not optional paperwork.
– Temperature swings affect floating floors.
Verify your installation instructions for minimum/maximum operating conditions. Basements in colder climates can have large temperature gradients near exterior walls.
What can go wrong (and how to avoid it)
Installing over tile fails when the old tile assembly moves, the surface isn’t flat enough, moisture conditions are ignored, or the wrong underlayment/adhesive system is used. The safest approach is to match your “over tile” plan to the approved substrate section in the new floor’s instructions.
“If the substrate moves, resilient and adhesive systems can lose bond or shear at interfaces, resulting in lifting or edge debonding.” [ADD: cite—use adhesive performance/installation guidance from your flooring manufacturer or RFCI/industry guidance]
“Uneven substrates can lead to point loading and accelerated wear, especially in click-lock floating assemblies.” [ADD: cite—use flatness tolerance guidance from your product]
“Wrong moisture management can lead to bubbling, moldy odors, or adhesive failure in basements even with tile visible.” [ADD: cite—use moisture/barrier sections from your flooring manufacturer]
– Loose tile underneath: if a tile can move, a new floor system can’t “fix” that movement—cracking, separation, or clicking noise can follow.
Fixing it usually means re-setting the loose tile(s) or removing sections that are clearly failing.
– Uneven grout lines: ridges and dips can cause wear, joint failure, or gaps—flatten before installation.
For floating floors, underlayment compresses up to a point; beyond that, your floor’s locking system takes the hit.
– Moisture problems: basements can hold moisture even when the tile looks fine; if your product system requires a moisture barrier or specific testing, don’t skip it.
Moisture issues can show up months later as odor, cupping, adhesive breakdown, or mold behind edges.
– Wrong underlayment or adhesive: using generic products not designed for tile substrates can lead to poor bond, lingering odors, or premature failure.
The approved-substrate list and required primers/adhesives exist for a reason: they ensure chemical compatibility and adequate bonding.
Pros/cons: installing new floors over tile (scan decision)
| Option | Pros | Cons |
|---|---|---|
| Install over tile | Faster than demo; less debris; can preserve slab integrity | Requires tile stability + flatness; adds build-up height; moisture testing still may be needed |
| Remove tile | Better control of substrate; easier to meet flatness targets | More labor, dust, and disposal; risk of slab damage or uncovering bigger moisture issues |
Verdict / tip: when installing over tile makes sense (and when to skip it)
Installing over tile basement floors can work well when the existing tile is firmly bonded, the surface is flat enough for your new flooring system, and you follow the manufacturer’s permitted substrate requirements. However, if you find widespread loose tiles, major height variation, active moisture concerns, or your flooring manufacturer does not approve existing tile for your specific product, it’s smarter to repair or remove the old tile.
[ADD: If you share the exact new flooring type (LVP click, glue-down LVP, laminate, engineered wood, or tile/stone) and the brand/model, we can align the steps to the correct method.]
Installation Standards & Moisture Tests Commonly Referenced for Substrates
| # | Standard | What it measures | Typical unit/report | Usefulness for “Over Tile” Prep |
|---|---|---|---|---|
| 1 | ASTM F1869 | Moisture vapor emission rate (MVER) | lb/1,000 sq. ft./24 hr | ★★★★☆ |
| 2 | ASTM F2170 | In-situ relative humidity (RH) in concrete | % RH at depth | ★★★★★ |
| 3 | ASTM C627 | Tensile bond strength of tile adhesives/mortars | psi (or equivalent) | ★★★☆☆ |
| 4 | ASTM E96 | Water vapor transmission (barriers) | perm-related ratings | ★★★★☆ |
| 5 | ASTM C206 | Mortar for masonry/tile-related contexts (materials spec) | material performance specs | ★★☆☆☆ |
| 6 | ASTM D2399 | Dimensional stability tests for adhesives/coatings (materials context) | test-specific outputs | ★☆☆☆☆ |
| 7 | ASTM F710 | Preparation/installation practices for resilient flooring systems | practice guidance | ★★★★☆ |
Quick checklist (scan before you start)
– [ ] Tap-test: no loose or rocking tiles
– [ ] Straightedge check: minimal high/low spots and lippage
– [ ] Clean + remove anything that prevents bonding (per product instructions)
– [ ] Fill dips/cracked grout and sand high areas smooth
– [ ] Use the right underlayment/adhesive system for tile
– [ ] Confirm basement moisture needs (barrier/testing if required)
– [ ] Plan transitions and leave required perimeter expansion space
FAQ
Can I install vinyl or laminate directly over tile in a basement?
Often yes for systems that explicitly allow tile as a substrate, but only if the tile is stable, level, and the manufacturer’s underlayment/moisture guidance is followed. If the tile is uneven or loose, you’ll need prep first.
Do I need to remove the old tile?
Not always. Remove tile if there’s widespread failure (loose tiles, cracking that indicates movement) or if your chosen flooring system requires removal for proper bonding/flatness.
How do I deal with uneven grout lines?
You’ll typically need to flatten the surface by filling low areas, smoothing ridges, and sanding high spots—using materials that match your flooring system requirements.
Will basement moisture ruin a floor installed over tile?
It can, especially in basements. If the flooring manufacturer requires a moisture barrier or testing, follow that guidance to reduce the risk of bubbling, moldy odors, or adhesive failure.
What’s the biggest reason floors fail when installing over tile?
Most often it’s tile movement (loose tile) or poor flatness that transfers through the new surface and breaks seams/adhesion over time.
Sources
– [ADD: Manufacturer installation instructions for the specific flooring type you plan to install (e.g., click-lock laminate/vinyl, glue-down vinyl, thinset-set flooring) and their approved substrate list including “existing tile.”]
– [ADD: Manufacturer guidance on underlayment selection for tile substrates, if your product requires a specific underlayment.]
– [ADD: Relevant moisture/barrier guidance from the flooring manufacturer for basement installations.]
– ASTM F1869 (Standard Test Method for Measuring Moisture Vapor Emission Rate of Concrete Subfloor Using Anhydrous Calcium Chloride)
– ASTM F2170 (Standard Test Method for Determining Relative Humidity in Concrete Floor Slabs Using in situ probes)
– ASTM F710 (Standard Practice for Preparing Concrete Floors to Receive Resilient Flooring)
Note: Exact requirements (surface prep method, whether to degloss/abrade, minimum flatness, and permitted substrates) depend heavily on the specific flooring brand/model—use the product’s official installation instructions to confirm.
Installing over tile basement floors is a practical way to refresh your space—when the tile is stable, the surface is flat enough, and your new flooring is approved for an existing tile substrate. The biggest wins come from doing the “prove it first” checks (tap test + flatness + moisture guidance), then following the install system exactly (underlayment/adhesive, transitions, and expansion gaps). If you hit signs of movement or moisture risk, plan repairs or removal early rather than trying to cover over a problem you can’t see.
Frequently Asked Questions
What preparation is needed before installing tile over an existing basement floor?
Start by inspecting the tile and subfloor for stability—any loose or cracked areas must be removed or reinforced before tiling. Clean the surface thoroughly, then use a suitable tile floor primer or bonding agent to improve adhesion. If the existing surface is glossy or hard to bond to, lightly abrade it and vacuum all dust, because thinset and grout won’t hold well on contaminants.
How do I install tile over tile on a basement floor using thinset?
Use a polymer-modified thinset mortar designed for “tile over tile” installations, and spread it with the correct notched trowel size for your tile. Apply thinset to both the floor and (for best coverage) the tile backs using the “back-buttering” method to reduce voids. Set tiles firmly, maintain consistent spacing, and allow proper cure time before grouting or walking on the surface.
Why does moisture matter when tiling over basement tile floors, and what should I do about it?
Basements are prone to humidity and occasional moisture migration, which can cause tile delamination, grout failure, or mold in underlying layers. Check for moisture issues beforehand, and consider using a waterproofing membrane or moisture-mitigation system rated for tile installations. Correct moisture control is especially important if you’re installing tile over an existing surface in a damp basement.
Which underlayment or leveling method works best for an uneven tile basement floor?
If the existing tile is uneven, use a suitable self-leveling underlayment or cementitious patching compound that’s compatible with tile-over-tile systems. For small dips and lippage, cement-based floor patch can work well, but for broader low spots self-leveling may provide a flatter base. Avoid wood-based or drywall underlayments in basements, and always follow manufacturer instructions for thickness and cure times.
What are the best grout and sealing options for basement tile floors installed over tile?
In basements, choose grout that’s water-resistant and suitable for your tile type—epoxy or grout with strong moisture performance can help reduce staining and degradation. After installation, allow full curing and use a penetrating sealer if your grout and tile require it, which helps resist moisture and basement humidity. Proper caulking at edges and around penetrations (not just grout) improves long-term performance on basement tile floor installations.
📅 Last Updated: October 11, 2026 | Topic: How to install over tile basement floors? | Content verified for accuracy and freshness.
References
- Google Scholar Google Scholar
https://scholar.google.com/scholar?q=install+floating+floor+over+tile+subfloor - Google Scholar Google Scholar
https://scholar.google.com/scholar?q=basement+flooring+moisture+testing+relative+humidity+requirements - Google Scholar Google Scholar
https://scholar.google.com/scholar?q=engineered+wood+installation+over+existing+tile+floor - Mold | US EPA
https://www.epa.gov/mold - https://www.cdc.gov/mold/default.htm
- https://en.wikipedia.org/wiki/Flooring_underlayment
- IICRC – A non-profit organization for the Inspection, Cleaning, and Restoration Industries.
https://www.iicrc.org/ - https://www.tileusa.com/
- Google Scholar Google Scholar
https://scholar.google.com/scholar?q=How+to+install+over+tile+basement+floors? - How to install over tile basement floors? – Search results
https://en.wikipedia.org/wiki/Special:Search?search=How+to+install+over+tile+basement+floors?