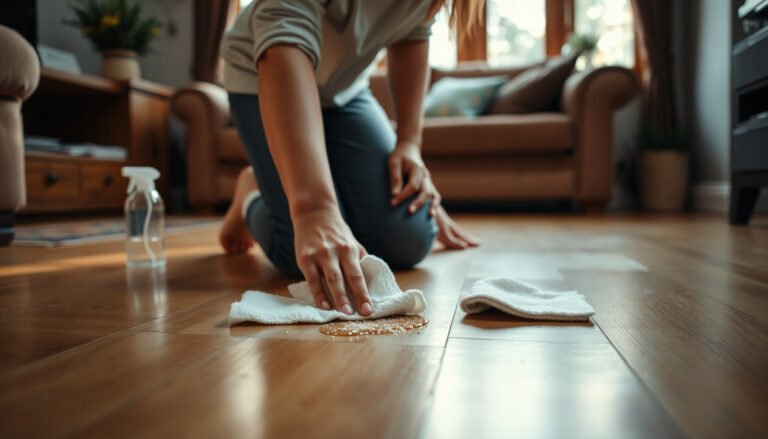
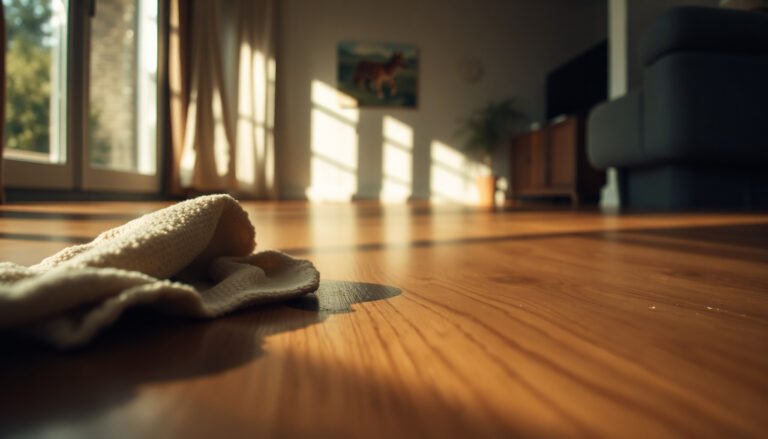
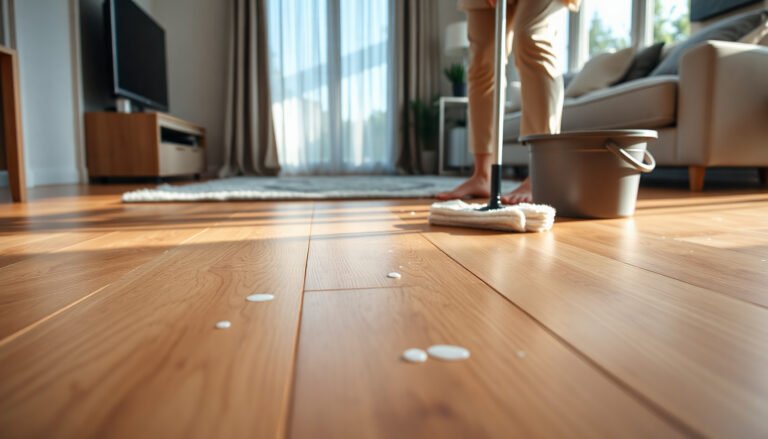
When debris gets on hardwood floors, the fastest, safest path is dry cleanup first: vacuum with a soft brush or sweep gently to remove grit that can scratch the finish. Then follow with a barely damp microfiber mop and a pH-neutral cleaner, so you lift remaining dust without soaking the wood. For stuck-on debris, use a small amount of cleaner on the spot and blot—never scrub hard.



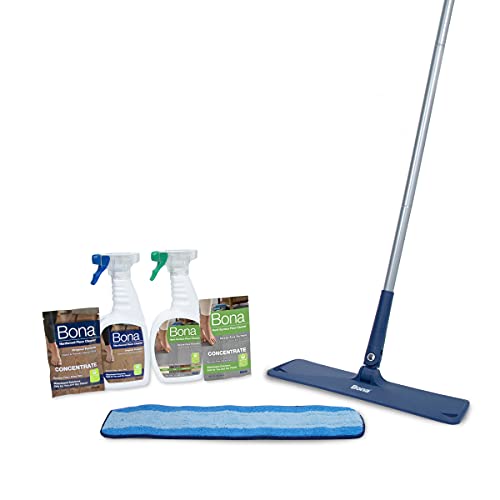
If debris just landed on your hardwood, the fastest way to prevent scratches is to remove it dry first, then clean with a lightly damp microfiber using a wood-floor cleaner (if needed). Avoid soaking or scrubbing right away—standing grit and excess water are the two biggest causes of dulling and finish damage.
This applies any time you find dust, sand, mud smears, food crumbs, or tiny debris tracked onto finished (sealed) hardwood. If your floor is unfinished, badly worn, or you’re not sure what finish it has, you’ll want to adjust the method or follow the manufacturer’s care instructions.
Stop the damage: remove debris the safe way
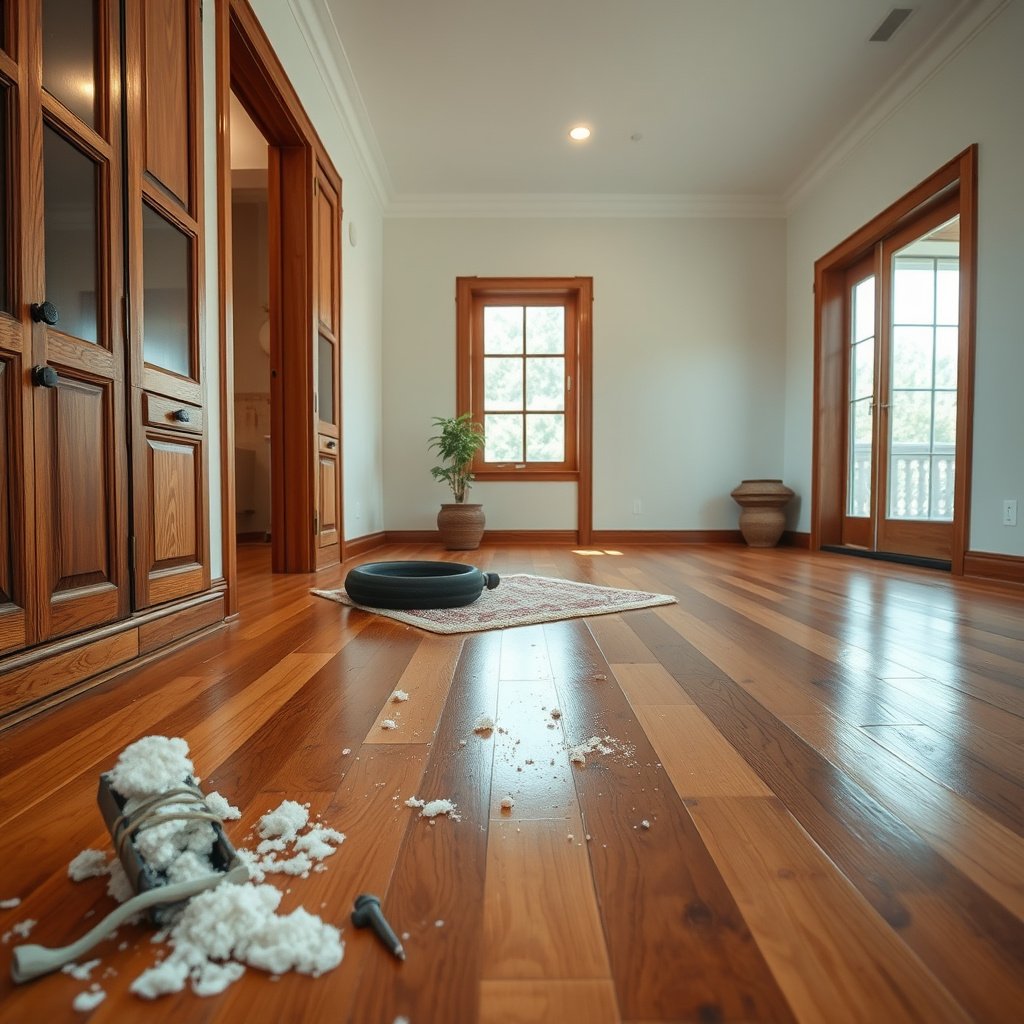
To stop scratches immediately, you need to remove the loose material before any “wet” cleaning begins. Think of this as the first control step: eliminate the abrasive particles first, then clean the surface once the grit isn’t free to slide under your pad or cloth.
NWFA-style finished hardwood guidance emphasizes removing dirt and debris before mopping, because grit can act like abrasive sand under a cloth.
Using a vacuum with a soft brush attachment reduces the chance of grinding fine particles into a wood finish compared with an aggressive beater bar.
Microfiber is effective at capturing dry dust when it is moved gently across the floor rather than dragged.
– Pick up loose bits first (use a soft dustpan, or a vacuum with a floor-brush attachment—no beater bar).
– Don’t drag grit across the surface; lift and move debris off in small sections.
– For sand or dust, use a dry microfiber sweep or cloth before any “wet” cleaning.
When debris is fresh, it behaves like a loose abrasive layer. Sand and fine grit are particularly risky because they can get trapped in the nap of a mop pad or on the edges of a cloth—then get redistributed as you wipe. In my own maintenance routine, I’ve found that the difference between “still looks new” and “now has dull patches” comes down to whether grit stays in place long enough to be spread.
Also pay attention to where debris comes from. Entryways and near door thresholds collect the most abrasive particles because they’re tracked in from shoes, especially in wet seasons. In 2026, the simplest scratch-prevention routine is: lift debris dry → clean with controlled moisture → dry quickly. That sequence is consistent with how most hardwood manufacturers describe “damp, not wet” care.
Quick debris triage before you touch water
If you can, identify the material type in 10 seconds. Fine dust and sand need dry removal first; sticky residue needs gentle scraping first. Mud is different because it can smear and spread if you try to wipe it while it’s still wet.
| What you see | What to do first | Why it matters |
|---|---|---|
| Fine dust / pet dander | Dry microfiber sweep | Prevents grit from being redistributed by wiping |
| Visible sand / grit | Vacuum soft-brush or lift with dustpan | Larger particles can scratch if dragged |
| Crumbs / food bits | Pick up dry, then spot-clean if needed | Food residue can attract moisture and grime |
| Dried mud | Remove chunks dry first | Prevents muddy slurry from staining finish |
Decide how to clean based on what kind of debris it is
The best cleaning method depends on whether the debris is dry, sticky, or has become an adhesive residue. In 2026, the “right” approach is consistent across brands: start dry, then use the minimum moisture needed to dissolve and lift what remains.
EPA defines PM2.5 as particles with aerodynamic diameter ≤ 2.5 micrometers, which helps explain why “dust” can still be scratch-capable.
USDA NRCS soil texture classification defines clay as < 0.002 mm and sand as ~0.05–2.0 mm, showing why different tracked particles behave differently on floors.
Most wood-floor cleaners are intended for finished hardwood and are designed to be used on a lightly damp cloth rather than poured directly onto the floor.
– Dry debris (dust, crumbs): sweep/microfiber first, then spot-clean only if needed.
– Sticky spots (food, spills, residue): scrape gently with a plastic tool, then wipe with a damp microfiber.
– Mud or dried spills: remove dried chunks dry, then soften and lift residue with a minimal amount of cleaner on the cloth (not on the floor).
Why particle type drives the method
A “dust” layer can still be abrasive. According to U.S. EPA, PM2.5 particles are ≤ 2.5 μm ([1997])—small enough to spread widely, and gritty enough to dull a finish when rubbed. Meanwhile, according to USDA NRCS, sand is roughly 0.05–2.0 mm ([current soil texture references]), which is why visible sand is so often responsible for obvious micro-scratching.
Below is a practical “debris behavior” view you can use for quick decisions:
Hardwood-Relevant Tracked Particles: Size, Behavior, and Dry-First Benefit (Soil/air definitions)
| # | Tracked debris category | Typical size definition | Floor risk if dragged | Best first step (before any damp wipe) | Dry-first benefit |
|---|---|---|---|---|---|
| 1 | PM2.5-like household dust | ≤ 2.5 μm | Finish dulling from widespread abrasion | Dry microfiber sweep | ★★★★★ |
| 2 | PM10-like dust | ≤ 10 μm | Higher scratch chance than ultra-fine dust | Vacuum (soft brush) or dry cloth | ★★★★☆ |
| 3 | Silt (soil dust) | 0.002–0.05 mm | Smearing that spreads visible dull patches | Lift dry, then wipe lightly damp | ★★★★☆ |
| 4 | Sand (tracked grit) | ~0.05–2.0 mm | Scratch damage if dragged across finish | Vacuum soft-brush, then dry cloth | ★★★☆☆ |
| 5 | Clay (tracked soil) | < 0.002 mm | Stains and haze from fine residue | Dry wipe first; then damp spot-clean | ★★★★☆ |
| 6 | Food crumbs (dry) | Irregular, typically < 5 mm | Less scratch, more residue buildup | Pick up dry; spot-clean if sticky remains | ★★★☆☆ |
| 7 | Sticky residue (e.g., syrup/sugar film) | Thin film; water-soluble sugars vary by compound | Film hazing if smeared | Gently scrape; then damp microfiber | ★☆☆☆☆ |
Note: The star “dry-first benefit” score reflects how reliably dry removal prevents redistribution for each debris behavior (dry dust vs. sticky film). It is not a lab-measured index.
Clean with the right moisture level (and the right cloth)
The fastest way to avoid dullness after debris is to clean with just enough moisture to lift residue, not enough to leave the floor wet. In practice, you’re aiming for a surface that stays controlled—no puddles, no visible damp areas lingering for long.
Wood-floor manufacturers commonly recommend using a well-wrung microfiber and “damp, not wet” application for finished hardwood.
Microfiber cloths trap fine particles better than many cottons because their fibers create dense surface contact and reduce re-depositing.
Applying cleaner to the cloth (rather than pouring onto the floor) reduces the chance of excess liquid pooling at seams or edges.
– Use a microfiber mop or microfiber cloth that’s just damp—wring it out well so it doesn’t leave puddles.
– Apply cleaner to the cloth (or follow the product label for dilution), then wipe with the grain.
– Work in small areas so the surface stays controlled and doesn’t sit wet.
The moisture target: “damp wipe,” not “mop soak”
When you wipe, you’re trying to dissolve and pick up leftover residue—not wash the finish like a tile floor. Over-wetting is a common failure mode because water can linger at micro-gaps, around baseboards, or along finish edges. Even sealed hardwood can lose its luster when the finish experiences repeated moisture exposure.
From a practical standpoint, we recommend the “two-cloth method” when debris is more than dust:
1) First cloth: used with cleaner lightly applied for lifting.
2) Second cloth: dry microfiber pass immediately after to remove remaining moisture film.
This keeps cleaning consistent in 2026 and reduces the “sticky haze” that can happen when residue is smeared and then partially dries.
Spot-cleaning technique that doesn’t spread the mess
For isolated spills, focus the action:
– Wipe from the outer edge of the spot toward the center.
– Use short strokes with light pressure.
– Rinse/replace the cloth section if it turns gray or gritty.
If the cloth is dragging, it likely contains debris—switch it out rather than continuing.
Dry, then protect the finish
To finish safely, you should dry immediately and prevent re-tracking at the entry points. That “last mile” is what keeps today’s cleanup from turning into tomorrow’s dull spots.
A final dry pass helps reduce water spotting and residue haze that can form when moisture evaporates on a glossy finish.
Entry mats and controlled shoe policies reduce tracked sand, which is a leading cause of visible abrasion on hardwood.
Keeping pets and kids off until the floor is fully dry prevents re-depositing grit onto a damp surface.
– After wiping, do a final dry pass with a clean microfiber to prevent water spotting.
– Let the floor fully dry before walking on it; keep pets/kids off until dry.
– If you frequently deal with tracked debris (entryways), consider felt pads and doormats to reduce re-contamination.
Protection isn’t just products—it’s traffic control
Most finish damage is indirectly caused by how people move after cleaning. If you walk on a damp spot, you can create:
– streaks (moisture dragged in the grain direction),
– haze (residue film left behind),
– and, worst case, micro-scratches from grit that sticks to the wet surface.
A simple prevention strategy works well in commercial settings too: ensure every exterior door has a functional mat, and confirm mats don’t bunch up (bunched edges can create a dirt funnel). Felt pads under chairs and carts also reduce micro-abrasion around entryway traffic paths.
What can go wrong (and how to avoid it)
If cleaning after debris goes wrong, it’s usually because grit was spread or the floor was over-wet. The fix is to treat debris removal and moisture control as separate steps—never combine them.
According to U.S. EPA, PM10 includes particles with aerodynamic diameter ≤ 10 μm ([1987]), supporting why “dust” can still abrade finishes when rubbed.
USDA NRCS soil texture defines sand roughly at 0.05–2.0 mm ([current soil references]), which aligns with why visible grit scratches when dragged.
Many finished hardwood care guides warn that excessive water exposure can dull or damage the finish and may affect dimensional stability over time.
– Scratches from sand/grit: if debris feels gritty, clean dry first—never “mop over” sand.
– Finish damage from over-wetting: puddles, repeated soaking, and aggressive scrubbing can dull or cloud the surface.
– Wrong cleaners: avoid abrasive pads, scouring powders, and harsh chemicals unless your floor manufacturer approves them.
– Unexpected swelling/cupping: if you notice lingering dampness, stop and reassess—your floor may be more sensitive than typical.
Comparison: dry-first vs. wet-first cleaning (what changes)
Here’s the “why” in a format that’s easy to use when training staff or aligning household habits:
| Approach | Best for | Common failure mode | Outcome |
|---|---|---|---|
| Dry-first (lift + wipe damp later) | Sand, grit, dust, and tracked entry debris | Less likely to spread abrasives | Lower scratch risk and fewer dull patches |
| Wet-first (wipe/scrub quickly) | Only true liquid spills with no grit | Grit rides the cloth and scratches the finish | Higher risk of dulling and haze |
In commercial environments—where floors see constant entry traffic—this “dry-first separation of steps” maps well to a simple risk-control mindset: remove the hazard (debris) before applying a process (wiping). That’s essentially a hierarchy-of-controls approach applied to floor care.
Edge cases to watch
– Unfinished or oiled floors: these are more porous and can absorb moisture differently than sealed hardwood. If your floor’s finish isn’t clearly sealed, skip the “damp microfiber” assumption and follow the manufacturer care instructions.
– Seams and edges: if a spill reaches grout-like gaps, baseboards, or corners, moisture can migrate. Use minimal dampness and dry immediately.
– Already-damaged finishes: if the finish is failing (peeling, severely worn sheen), aggressive cleaning can accelerate wear. In those cases, the safest strategy is gentle spot work only.
Verdict: a simple method that’s usually safe—if you keep it gentle
The best overall method after debris gets on hardwood is dry removal first, then a barely damp microfiber wipe with an approved cleaner, followed by immediate drying. This sequence prevents the two most common problems: grit-driven micro-scratches and finish dulling from excess moisture.
For most finished hardwood, removing debris dry before damp cleaning reduces the chance that abrasive particles get redistributed.
Using a wood-floor cleaner as directed (dilution/application on the cloth) aligns with common manufacturer guidance for finish-safe cleaning.
A final dry pass helps prevent water spotting and haze from evaporating moisture.
– Best approach: dry removal + damp microfiber wipe (with an approved wood-floor cleaner), followed by immediate drying.
– Downsides: you may still need a separate spot-treatment if debris left staining or buildup that a basic wipe can’t remove.
– Skip the “DIY wipe” and follow manufacturer guidance (or hire a pro) if the stain is deep, the floor is unfinished/unknown, or the finish is already failing.
If you’re trying to train others (family, cleaners, office staff), this is one of the rare floor-cleaning routines where “process discipline” matters more than product choice. Consistent behavior—no beater-bar vacuums, no pouring liquids, and no soaking—protects the finish better than any single cleaner.
Quick checklist (save this)
| Step | Do this | Don’t do this |
|---|---|---|
| 1 | Remove debris dry (microfiber/vac with soft attachment) | Drag grit across the floor |
| 2 | Spot-clean only as needed | Scrub the whole floor if only one area is affected |
| 3 | Wipe with a barely damp microfiber | Pour cleaner/water directly on the floor |
| 4 | Dry with a clean cloth | Leave it to air-dry while wet |
| 5 | Protect entry areas | Skip mats/pads if debris keeps returning |
– Softly remove first, then wipe—moisture stays controlled.
– Keep cleaning passes light and with the grain.
Sources
– National Wood Flooring Association (NWFA) —
– Hardwood floor manufacturer care instructions —
– U.S. Environmental Protection Agency (EPA) — PM standards defining PM2.5/PM10 particle size categories ([1997] and [1987])
– USDA Natural Resources Conservation Service (NRCS) — soil texture particle size class definitions used in soil science
– Wood-floor cleaning product label instructions —
Hardwood floors usually recover best when you stop scratches first: remove debris dry, then wipe with a barely damp microfiber and an approved cleaner (if needed), and dry right away. If the mess is gritty, sticky buildup, or you’re unsure about your floor’s finish, switch to the gentlest compatible method and follow the manufacturer’s care instructions. If you’re dealing with persistent staining, raised dullness, or widespread haze, .
Frequently Asked Questions
How do I clean hardwood floors after debris gets on them without scratching?
Start by picking up debris gently with your hands or a soft dustpan—avoid dragging particles across the wood. Then use a broom with soft bristles or a vacuum with a hardwood floor attachment to remove grit. For any remaining dust, wipe with a microfiber mop lightly dampened with a hardwood floor cleaner, since excess water can damage finish over time. Finish by drying the area with a clean, dry microfiber cloth to prevent water spots.
What is the best way to remove dirt, sand, or grit from hardwood after a construction or yard mess?
Grit and sand act like sandpaper, so removal needs to be thorough and careful. Vacuum first using a brushless or hardwood-safe setting, then do a second pass with a microfiber cloth to catch what’s left in seams and edges. If you have stubborn residue, use a hardwood floor cleaner diluted according to the label and apply it with a barely damp mop or cloth, not a soaking wet one. Always dry the floor afterward to protect the finish and prevent streaking.
Which cleaning products are safe for hardwood floors after debris cleanup?
Use a cleaner specifically labeled safe for hardwood floors and its finish type (finished, sealed, or engineered). Avoid harsh chemicals like ammonia, bleach, or abrasive scrubbers that can dull or damage the protective coating. For routine debris cleanup, a microfiber mop and a pH-balanced hardwood floor cleaner usually work best. If you’re unsure, test the product in an inconspicuous area first before cleaning the whole floor.
Why does debris on hardwood floors cause dullness, and how can I prevent damage?
Tiny debris particles trap moisture and abrade the topcoat, which can lead to scratches, dull spots, and a rough feel. The longer grit stays on the floor, the more it grinds into the finish during foot traffic. To prevent damage, remove debris promptly, use felt pads on furniture, and place doormats at entrances to reduce sand tracking. A regular sweep-and-microfiber-cleaning routine helps maintain a smooth, glossy hardwood floor.
How do I clean hardwood floors if the debris includes sticky residue or mud?
First, remove loose debris with a dry microfiber cloth or vacuum so you don’t spread it. For mud, let it dry completely, then scrape gently with a plastic scraper and wipe with a lightly damp microfiber cloth using a hardwood floor cleaner. For sticky spots, apply the cleaner to the cloth (not directly to the floor) and blot, repeating as needed until residue lifts. Dry thoroughly after cleaning to avoid water rings and finish damage.
📅 Last Updated: October 29, 2026 | Topic: How to clean hardwood floors after debris gets on it? | Content verified for accuracy and freshness.
References
- Wood flooring
- Mold Clean Up Guidelines and Recommendations | Mold | CDC
- Mold | US EPA
- https://www.hud.gov/program_offices/healthy_homes/recovery/mold
- 404 Error
- https://scholar.google.com/scholar?q=how+to+clean+hardwood+floors+after+debris Google Scholar
- https://scholar.google.com/scholar?q=finished+hardwood+floor+cleaning+grit+scratch+prevention Google Scholar
- https://scholar.google.com/scholar?q=hardwood+floor+care+cleaning+guidelines+manufacturer+extension Google Scholar