
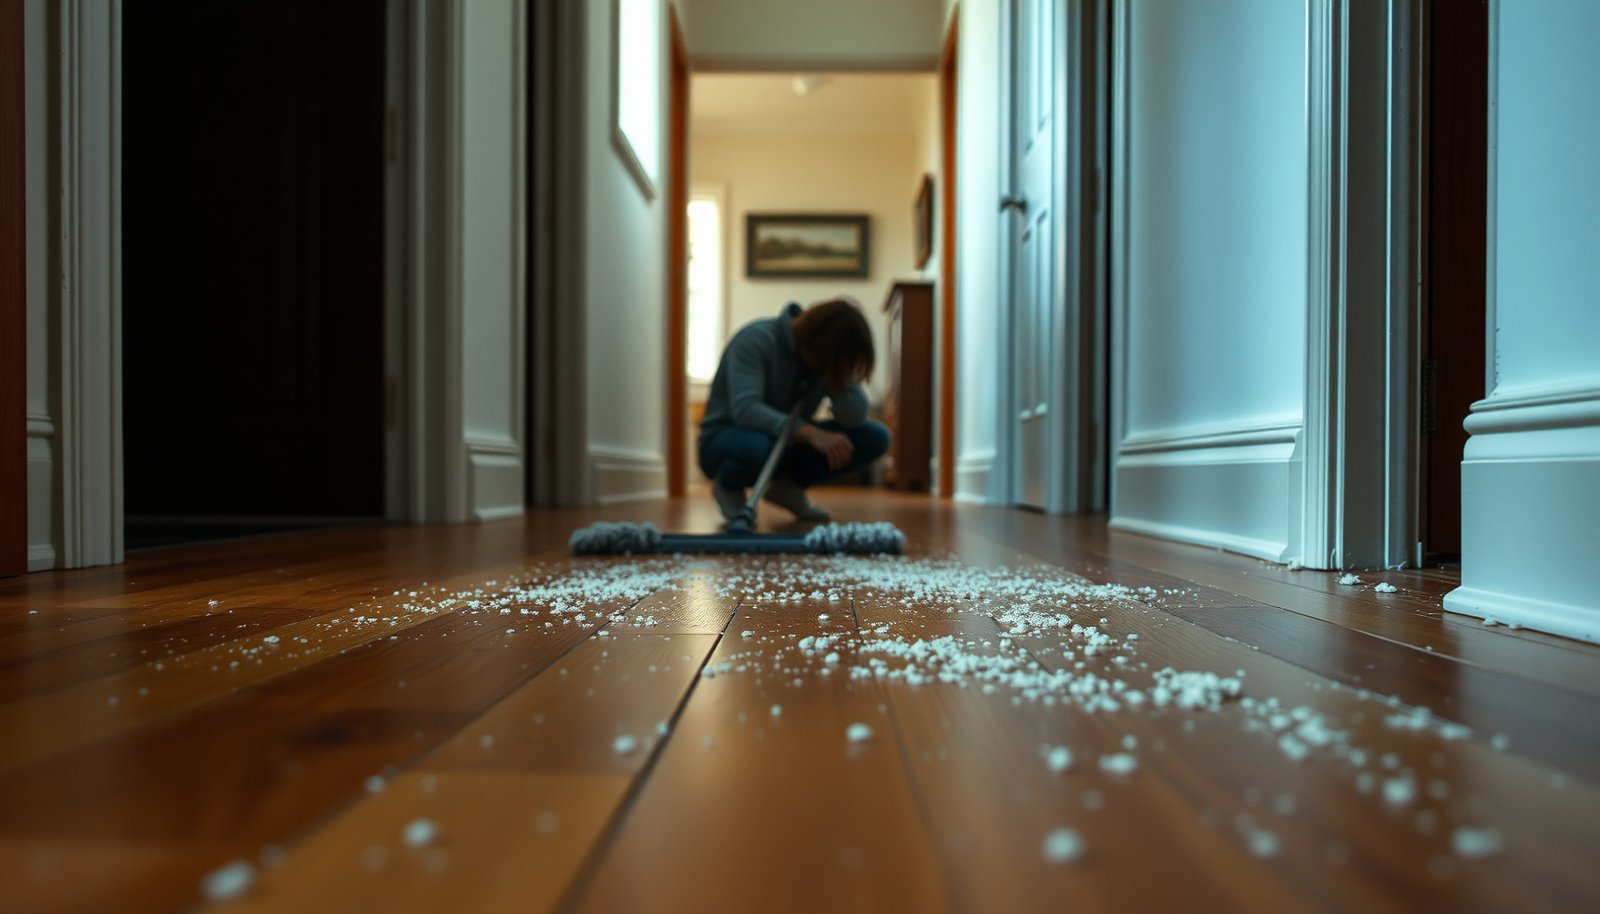

You can clean hardwood floors covered in debris without scratching the finish—just follow the right order of removal and cleaning. First, dry-sweep and vacuum using a soft brush to lift dirt and grit, then switch to a barely damp microfiber mop for the residue. This is the fastest, safest method that gets debris out while keeping your hardwood looking clean, not scuffed.




If your hardwood floors are covered in debris, clean in this order: dry-remove all grit first, then do a controlled damp-clean with a wood-safe cleaner. That sequence keeps sand-like particles from scratching the finish and helps prevent dulling and cloudiness—an especially important concern in 2026 as more floors use durable but moisture-sensitive topcoats.
This guide is for homeowners and renters dealing with dust, sand, drywall bits, or general mess on finished hardwood. It’s especially useful if you’re seeing dull spots, scuffs, or debris trapped in seams and want a safer order of steps.
Dry-Remove Debris Without Scratching
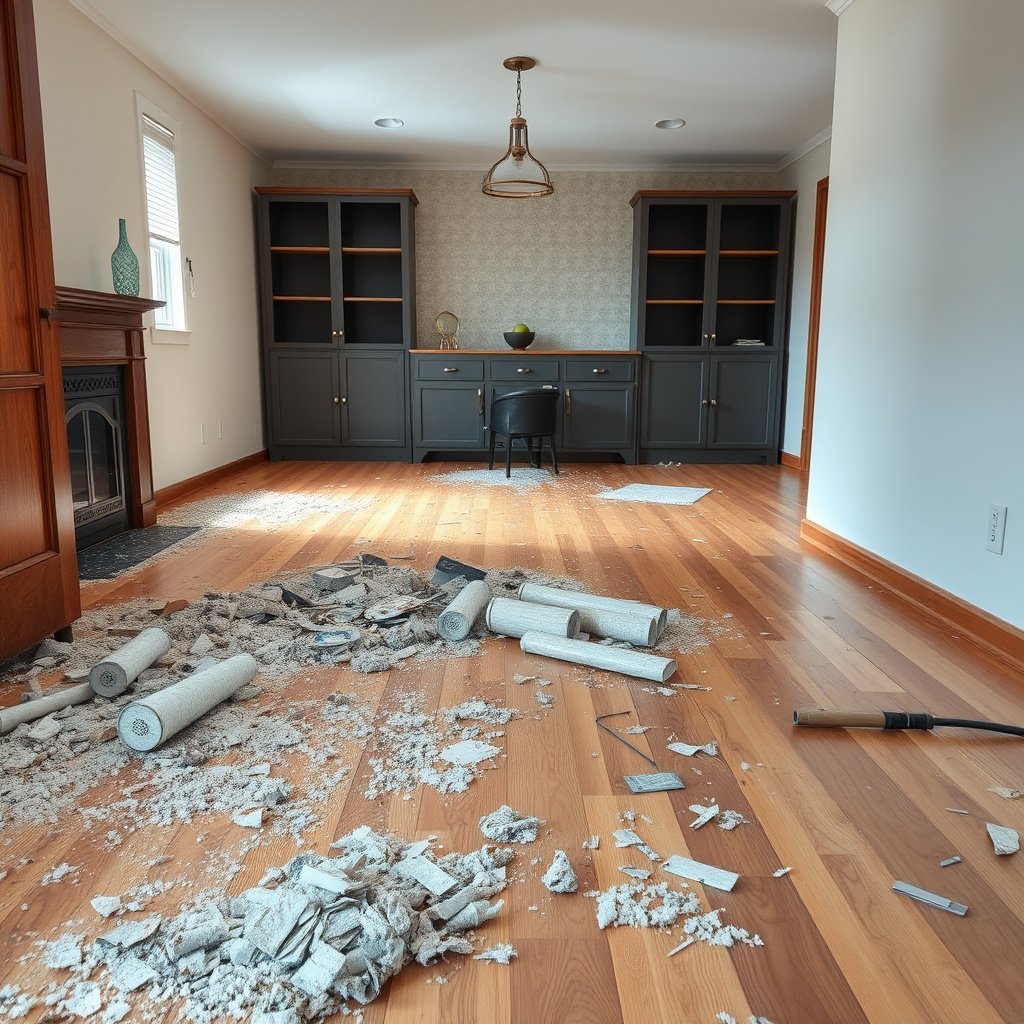
Dry removal first is the difference between “cleaning” and accidentally turning debris into sandpaper on your hardwood floors. The goal is to remove everything abrasive without dragging it across the surface, then you move to damp mopping only after the grit is gone.
Start by treating the floor like a “fine grit hazard zone” until the surface feels smooth.
“The safest way to clean debris from finished hardwood is to remove loose particles first, then use only the minimum moisture needed.”
“Microfiber and soft-bristle attachments lift dry particles without abrading many common polyurethane and oil-modified finishes.”
“A floor that still feels gritty should not be damp-mopped because residual grit can scratch.”
– Vacuum thoroughly using a hard-floor setting and a soft brush attachment (or use a microfiber dust mop if you don’t want to risk dragging).
– Pick up larger bits by hand with a soft tool (like a dustpan edge or clean plastic scraper), not a metal blade.
– Focus on edges, corners, and along baseboards where grit gathers.
The “feel test” that prevents finish damage
Once you’ve vacuumed, run the back of your knuckles lightly over the hardwood floors in problem areas. If you feel roughness, stop and dry-clean again. In my experience, the “cloudy spots” people notice often track to missed grit in seams—not to the cleaner itself—so redoing the dry step usually fixes the problem faster than trying to scrub with moisture.
How to vacuum without grinding debris in
Use the brush attachment gently and keep it flat. If your vacuum has a rotating brush, set it to “hard floors” or disable the beater bar (where supported). The objective is lifting, not buffing. For very fine drywall dust, a vacuum with a HEPA filter can reduce what resurfaces in the air while you clean. According to U.S. Department of Energy test standards, HEPA media is rated to capture 99.97% of particles at 0.3 microns under standard conditions (1997) DOE-STD-3020-97.
Why hardwood species matters (and why grit still wins)
Hardwood floors aren’t all equally scratch-resistant. Softer species can show dulling and micro-marring sooner when debris is present.
Janka Hardness of Common Hardwood Species (Scratch Resistance Signal)
| # | Hardwood species | Janka hardness (lbf) | Relative grit scratch resistance | Cleaning order priority |
|---|---|---|---|---|
| 1 | Hickory | 1950 | ★ ★ ★ ★ ★ | Highest |
| 2 | Hard Maple | 1450 | ★ ★ ★ ★ | High |
| 3 | White Oak | 1360 | ★ ★ ★ ★ | High |
| 4 | Red Oak | 1290 | ★ ★ ★ ★ | High |
| 5 | Birch | 1260 | ★ ★ ★ | Medium-high |
| 6 | Black Walnut | 1010 | ★ ★ | Medium |
| 7 | American Cherry | 995 | ★ ★ | Medium |
> Note: These Janka values are a scratch-resistance signal, but finish type and debris size still dominate real-world outcomes.
Use the Right Tools for a Safe Finish
The right tools prevent the two biggest failure modes—scratches and finish dulling—while you’re removing debris from hardwood floors. In 2026, the safest approach is soft contact (microfiber + soft brush) plus controlled airflow (vacuum) so you lift particles instead of abrading the surface.
Here’s what I recommend based on finish-care principles used across major manufacturers: choose non-abrasive materials, avoid “steam first,” and verify your vacuum attachment isn’t rough.
“Cleaning tools should be non-abrasive to avoid micro-scratches that make finish wear look more visible.”
“Steam cleaning can be risky on many finished hardwood floors because added heat and moisture may affect the finish and wood dimensional stability.”
– Choose microfiber pads/mops and lint-free cloths—avoid abrasive scrubbers that can wear the finish.
– Skip “steam first” approaches; moisture plus heat can damage finishes and raise grain on some hardwoods.
– If you’re using a vacuum, make sure wheels/brushes aren’t rough—damaged or very stiff attachments can scratch.
Tool selection comparison (what works, and why)
Use this table as a decision aid before you put anything down on the debris-covered hardwood floors.
| Tool/method | Abrasive risk | Moisture risk | Best debris stage |
|---|---|---|---|
| Vacuum + soft brush attachment | Low | None | Dry removal |
| Microfiber dust mop (dry) | Low–Medium | None | Fine dust & tracking |
| Microfiber cloth spot cleaning | Low | Low (controlled) | Sticky residue |
| Damp-mop with wood-floor cleaner (wrung out) | Low | Low–Medium | After grit is gone |
| Nylon detail brush (for seams) | Low (gentle pressure) | Low–Medium | Seam residue |
| Abrasive pads (scouring, rough sponges) | High | Variable | Avoid on finished floors |
| Steam cleaner (heat + moisture first) | Low (but can redistribute grime) | High | Avoid as a first step |
| Dry rags used to “buff grit away” | Medium (grit can embed) | None | Only after grit removal |
| Metal scrapers | High | None | Avoid—use plastic/soft tools |
| Puddling cleaners in place | Low | High | Avoid |
| Best For (summary) | Debris-covered hardwood floors: vacuum first, microfiber next, then controlled damp cleaning | ||
Damp Clean: What to Mop (and What to Avoid)
The safe rule for debris-covered hardwood floors is simple: mop only after the grit is fully removed, and keep the mop damp—not wet. This prevents trapped grit from scratching and reduces the risk of cloudy residue that comes from too much cleaner or excess moisture.
“Wood floors perform best when cleaned with the minimum moisture required; puddles and prolonged wetting are common causes of dullness.”
“Cloudy finish symptoms often correlate with cleaner film buildup or over-wetting rather than ‘dirty’ hardwood itself.”
– After the debris is gone, mop with a wood-floor cleaner that’s specifically labeled safe for hardwood finishes.
– Use the “damp, not wet” approach: wring out the mop until it feels lightly damp, then keep passes short and even.
– Avoid soaking in one spot and don’t leave puddles—standing water is a common cause of dullness and edge swelling.
How damp-mopping should feel
When you damp-mop debris-covered hardwood floors, you should see light cleaning action—not a glossy wet look. Work in sections and use overlapping passes so you’re distributing cleaner, not leaving it to sit.
If your indoor environment swings hard in 2026 (for example, very dry winters), wood movement increases. According to NWFA environmental guidance, maintaining indoor relative humidity around 35%–55% helps reduce seasonal dimensional change (2020) . That matters because excess moisture during mopping can magnify edge lift near seams.
Damp-first vs steam-first (quick reality check)
This table contrasts two cleaning philosophies that often lead to different results.
| Criterion | Dry-removal → damp-clean | Steam-first |
|---|---|---|
| Scratch risk with remaining grit | Low | Higher |
| Cleaner film likelihood | Lower | Higher |
| Moisture exposure control | High (wrung mop) | Lower (water/heat) |
| Effect on finish haze | More predictable | Can worsen haze |
| Seam/water intrusion risk | Reduced | Increased |
| Best for construction dust and drywall bits | Yes | Usually not first choice |
| Time to inspect after cleaning | Fast (visible grit test) | Slower (residue may hide) |
| Compatibility with most finished floors | Generally safer | Finish-dependent |
| Control of residue removal | Wipe + re-wipe | Harder to control |
| Operational simplicity for renters | Yes | No (equipment + risk) |
| Verdict | Choose dry-removal + controlled damp-clean for debris-covered hardwood floors. | Avoid steam as the first step unless your floor’s finish explicitly permits it. |
Deal With Stuck-On Bits and Seams
The best way to handle stuck-on debris on hardwood floors is to spot-clean with a damp microfiber cloth first, then loosen seams gently and vacuum again. This avoids grinding residue into the finish or pushing particles deeper into the grooves.
“When residue is present, spot-cleaning with minimal moisture is safer than scrubbing across the whole floor.”
“Detail brushing followed by vacuuming helps prevent debris from being redistributed across hardwood floors.”
– For residue (paint dust, sticky grime), spot-clean with a slightly damp microfiber cloth first—don’t start with heavy scrubbing.
– Work with the grain and use gentle pressure; re-wipe with a clean, damp cloth afterward to remove cleaner film.
– For seams, use a soft-bristle detail brush lightly, then vacuum again once loosened (to avoid pushing debris deeper).
Spot-cleaning sticky mess without haze
Drywall dust, joint compound, and renovation residue can be both gritty and sticky. That combination is what causes stubborn “dull patches” if you go straight to damp mopping.
Process for debris-covered hardwood floors:
1. Lightly dampen a microfiber cloth (not dripping).
2. Press and lift—don’t scrub hard in circles.
3. Re-wipe with a second lightly damp cloth to remove any cleaner film.
4. Only then move to damp mopping across the section.
Seams: treat them like a debris trap
Edges and seams are where gritty particles hide. Instead of forcing them outward with a mop, loosen them with a soft-bristle detail brush and then re-vacuum. That keeps your hardwood floors from turning into a track where sand is continuously redistributed.
What Can Go Wrong (And How to Prevent It)
Most damage comes from two shortcuts: leaving grit on the surface before mopping, or using too much water/cleaner. Preventing scratches and dullness on hardwood floors is mostly about control—how much moisture you apply, and whether residual particles remain.
“Scratches often originate from remaining particulates; if you can feel grit after dry cleaning, you’re still at risk for micro-abrasion.”
“Moisture-related haze and swelling are frequently linked to puddling, over-wetting, or slow drying after mopping.”
– Scratches from missed grit: if you still feel roughness with your hand after dry-cleaning, repeat the dry step before mopping.
– Cloudy finish: usually happens when too much cleaner or moisture is left behind—use fewer passes and ensure you’re using a wood-safe product.
– Warping or swelling near edges: caused by excess water—always damp-mop, and dry any damp areas immediately with a clean towel.
Common failure points to watch in 2026
1. Too much cleaner: Even wood-safe products can leave haze if you don’t use them sparingly and follow with a clean re-wipe where the manufacturer recommends it.
2. Soaking one spot: It’s tempting to hold a wet cloth on a sticky area. Don’t—work in short passes and lift rather than flood.
3. Walking on partially dry floors: Finish haze can set unevenly while water evaporates from different spots. Let hardwood floors fully dry before heavy foot traffic.
Practical Verdict: Best Order to Follow (With Limits)
Go with the dry-removal → damp spot clean → damp mopping workflow. It’s the safest general approach in 2026 because it stops abrasive debris from turning into sandpaper while you clean, and it reduces the chances of moisture-related dulling.
“For debris-covered hardwood, the priority order is remove particulate first, then use minimal moisture for cleaning.”
“If visible grit remains, continued damp cleaning can grind debris into the finish.”
Skip mopping entirely if the floor is still covered in visible grit (or if you suspect broken glass/metal fragments)—in that case, prioritize careful pickup and vacuuming first, or consider professional help if you can’t fully remove the debris.
When you should stop and escalate
– Broken glass or metal fragments: If you can’t fully confirm the absence of sharp particles, you risk scratching and unsafe contact.
– Unknown finish: If you don’t know whether the floor is polyurethane, waxed, oil-finished, or coated with an unclear system, follow your floor manufacturer’s cleaning spec.
– Widespread cupping/edge lift already present: More moisture can worsen the problem—pause and consult a flooring pro.
Quick Checklist (Scan & Save)
Use this as a repeatable “safe workflow” for debris-covered hardwood floors—especially after renovation messes and sand tracking.
– [ ] Dry-remove all loose debris (vacuum with brush attachment or microfiber dust mop)
– [ ] Remove larger bits by hand (no metal scraping)
– [ ] Spot-clean stuck residue with a damp microfiber cloth
– [ ] Damp-mop with a wood-safe cleaner (wrung out, not wet)
– [ ] Wipe up cleaner film and dry any damp spots
– [ ] Let floors fully dry before walking on them
“If the floor still feels gritty, repeat dry cleaning before any damp mopping.”
“Keep mops wrung out and avoid puddles to reduce dullness and edge swelling.”
Sources
– U.S. Department of Energy, DOE-STD-3020-97 (HEPA filtration efficiency standard used for particle capture ratings)
If you tell me your floor finish type (polyurethane, prefinished oil, waxed, or “unknown”) and the debris source (construction dust, pet sand, drywall compound, etc.), I can tighten the steps to match that scenario more precisely.
Frequently Asked Questions
What’s the safest way to remove debris from hardwood floors before cleaning?
Start by picking up large debris and grit using a soft broom, microfiber dust mop, or a vacuum with a hardwood floor brush attachment. Avoid using a regular upright vacuum without a brush cover, since rough agitation can scratch the finish. For stubborn particles, gently lift them with a plastic scraper or a piece of cardboard rather than dragging them across the wood.
How should I clean hardwood floors covered in debris without scratching?
Remove debris first, then clean using a barely damp microfiber mop to prevent excess water from seeping into joints. Use a hardwood floor cleaner recommended for your finish (polyurethane, sealed, or oil-finished) and follow the product’s dilution instructions. If the debris left sticky residue, spot-clean with a slightly damp cloth and cleaner, then immediately dry with a clean towel to protect the surface.
Why is it important to clean grit off hardwood floors quickly?
Dirt and grit act like sandpaper, so even small amounts can wear down the hardwood floor finish and dull the shine. When debris is ground into the surface, it can create micro-scratches that are difficult to remove later. Cleaning debris promptly reduces the risk of lasting damage and helps maintain the wood’s natural tone and finish.
Which cleaning method is best for heavy debris—vacuum, dry mopping, or damp mopping?
For heavy debris, the best approach is usually vacuuming and dry mopping first, because water can spread particles and increase scratching risk. Use a vacuum to capture dust and sand, then follow with a dry microfiber dust mop to catch remaining debris. Only after the surface is cleared should you damp mop with a hardwood floor cleaner, using minimal moisture and drying promptly.
How do I get rid of stuck-on debris or mud from hardwood floors covered in mess?
Let mud or debris soften slightly with a cleaner-approved, lightly damp microfiber cloth—don’t soak the area. Gently work from the outside of the spot toward the center, lifting residue without scrubbing aggressively. After removal, wipe with a clean damp cloth to remove cleaner residue, then dry thoroughly; if there’s discoloration left, you may need a specialized hardwood spot treatment.
📅 Last Updated: October 29, 2026 | Topic: How to clean hardwood floors covered in debris? | Content verified for accuracy and freshness.
References
- Wood flooring
- https://www.cdc.gov/disasters/cleanup/flood.html
- Floods | Ready.gov
- Mold Cleanup | US EPA
- 404 Error
- https://www.armstrongflooring.com/support/care-and-cleaning/hardwood.html
- https://scholar.google.com/scholar?q=how+to+clean+hardwood+floors+remove+debris Google Scholar
- https://scholar.google.com/scholar?q=hardwood+floor+cleaning+after+flood+debris Google Scholar
- https://scholar.google.com/scholar?q=wood+floor+care+vacuuming+dry+debris+moist+cleaning Google Scholar

