


Want to know how to clear debris from hardwood floors safely and fast? Follow this step-by-step method to remove grit, dust, and splinters without scratching the finish or grinding debris into the grain. You’ll get the exact tools to use, the right way to sweep or vacuum, and how to tackle stubborn particles so your floors look clean without damage.




If debris is on the surface, clear it first with a soft broom or vacuum attachment so you don’t grind grit into the finish. Then switch to a damp microfiber method for remaining dust and small particles, using cleaners that are safe for hardwood. This guide shows the safest order of operations and what to avoid so your floors stay scratch-free.
This is for homeowners and renters dealing with everyday debris (dust, crumbs, pet hair, sand) on finished hardwood floors. It’s especially useful if you’ve noticed dull spots or tiny scratches and want a careful routine that won’t damage the finish.
Gather the right tools
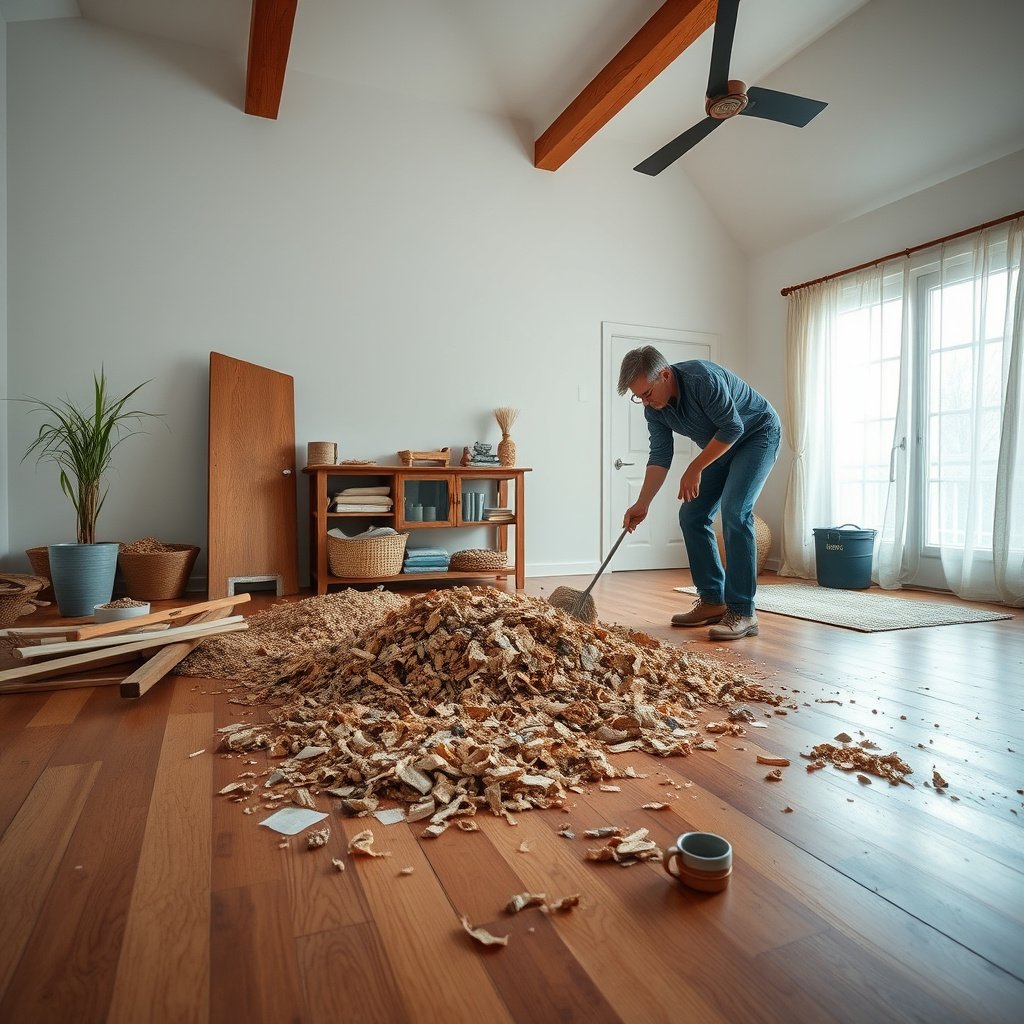
If you want scratch-free hardwood floor cleaning, use tools designed to lift debris instead of scrubbing it in. The right setup matters because the “finish” (the top protective coating) is what most debris scratches first.
A soft-bristle broom and a hardwood floor brush attachment remove grit without acting like sandpaper against a finished hardwood finish.
Microfiber cloths work best for hardwood because their split synthetic fibers lift fine dust rather than spreading it.
Cleaning products labeled safe for finished hardwood reduce the risk of dull film compared with waxy “all-purpose” cleaners.
– Use a soft-bristle broom, a vacuum with a hardwood/floor brush, and microfiber cloths (for dry + damp cleaning).
– Have painter’s tape or a small dustpan ready for tight corners where grit collects.
– Skip “regular” rough mops and abrasive scrub pads—debris removal can become damage if tools are too harsh.
To make the process easier, I recommend having two microfiber cloths (or two sides of the same cloth) ready: one for dry lifting and one for damp wiping. If you’re treating a high-traffic entryway, add a small, handheld tool (like a crevice vacuum nozzle) so you can remove debris between planks without dragging it.
As of 2026, many finish warranties still emphasize avoiding standing water and abrasive pads—so your goal with hardwood floor debris is removal first, solution second.
Remove loose debris without scratching
You’ll prevent most micro-scratches by removing loose debris dry (or with gentle suction) before you introduce any moisture. Think of this step as clearing abrasive particles from the surface so the finish never gets “ground” by your cleaning process.
Dry sweeping in the direction of the wood grain helps lift surface particles instead of pushing them into the grooves.
Slow, repeated vacuum passes reduce the chance that grit gets stirred up and dragged across a finished hardwood surface.
– Dry sweep in the direction of the wood grain to lift particles off the finish.
– Vacuum slowly using a hardwood-safe attachment; make multiple passes over high-debris zones (entryways, under chairs).
– For stubborn specks at edges, use a dry microfiber to dab or lift—don’t drag grit around.
Why the order matters: abrasive grit can be more damaging than the “dirt” you see. According to the USGS (Mohs mineral hardness scale), quartz is about 7 on the Mohs scale (1812), which helps explain why fine sand and soil can create dulling or tiny scratches when dragged across hardwood. USGS / Mohs hardness reference
How gritty particle size changes your risk
Different debris sizes behave differently on finished hardwood floors: larger grains behave more like sandpaper, while finer dust spreads and dulls over time.
Scratch Risk by Debris Particle Size (Wentworth Scale)
| # | Particle class | Typical size range (mm) | Size (µm) | Dry-first priority |
|---|---|---|---|---|
| 1 | Clay | < 0.004 | < 4 | ★★ |
| 2 | Silt | 0.004–0.0625 | 4–62.5 | ★★★ |
| 3 | Very fine sand | 0.0625–0.125 | 62.5–125 | ★★★★ |
| 4 | Fine sand | 0.125–0.25 | 125–250 | ★★★★ |
| 5 | Medium sand | 0.25–0.5 | 250–500 | ★★★★★ |
| 6 | Coarse sand | 0.5–1.0 | 500–1000 | ★★★★★ |
| 7 | Very coarse sand | 1.0–2.0 | 1000–2000 | ★★★★★ |
According to the Wentworth sediment size classification (1922), clay, silt, and sand categories cover particle sizes from under 0.004 mm up to 2.0 mm, which is exactly why your hardwood floor debris-removal sequence should treat visible grit as “abrasive,” even if it’s just a small amount. Wentworth sediment grain-size classification (1922)
Deep-clean remaining dust and tiny particles
After you remove loose grit, a lightly damp microfiber wipe clears remaining dust without turning it into a grinding paste. For finished hardwood floors, “damp” means the cloth is moist enough to capture dust—never wet enough to leave puddles.
A lightly damp microfiber wipe removes remaining dust more safely than a dry pass alone because it lifts fine particles without spreading them.
Changing microfiber folds often prevents you from re-depositing lifted debris onto a finished hardwood surface.
– Lightly dampen a microfiber cloth with clean water first; wipe with the grain to catch what’s left.
– If needed, use a hardwood floor cleaner labeled safe for your floor type/finish (avoid waxy “all-purpose” products unless your manufacturer says they’re okay).
– Change cloth sides/folds often so you’re not redistributing debris.
Here’s the practical logic for finished hardwood floors: after dry removal, the remaining film is mostly dust. Dust can still make floors look dull if it gets smeared—so the microfiber (with water only if needed) “captures” rather than “scrubs.”
If you choose a cleaner, match it to your finish type. As of 2026, many care guides distinguish between polyurethane-finished, oil-finished, and waxed floors—so “safe for hardwood” isn’t always universal.
Deal with stuck-on debris (without gouging)
When debris is sticky or stuck, you should soften and lift it carefully—without dragging grit or adding excess moisture to finished hardwood floors. This step is where homeowners most often switch from cleaning to damage, so proceed slowly.
For sticky residues, applying cleaner to the cloth (not onto the floor) reduces the risk of moisture seeping into seams.
A plastic scraper helps lift residue without cutting into the finish the way metal blades can.
– For sticky spots (food, residue), remove loosened material with a plastic scraper or a damp cloth—don’t use metal blades.
– Use minimal moisture: apply cleaner to the cloth, not directly onto the floor, and wipe immediately.
– If debris is actually sand or grit embedded in traffic areas, repeat the dry removal steps before doing any damp wiping.
Comparison at a glance (finished hardwood floors):
| Method | Best for | Main risk to avoid |
|---|---|---|
| Plastic scraper + cloth | Gummy food residue, dried spills, tacky spots | Over-scraping can dull or thin the finish if you press hard |
| Damp microfiber wipe | Remaining dust, fine residue film | Using a soaking-wet cloth can leave moisture at plank seams |
| Repeat dry lifting (vacuum + dab) | Embedded sand in entryways or under chairs | Skipping this risks grinding particles during damp wiping |
For stuck-on debris on finished hardwood floors, the safest test is tactile: if you can feel grit under a microfiber pass, stop damp cleaning and do another dry removal cycle.
What can go wrong (and how to prevent it)
The most common mistakes come from grinding grit into the finish, soaking seams, or using the wrong cleaner on finished hardwood floors. Fixing those three issues typically resolves the “dull spots” and “tiny scratches” people notice after repeated cleaning.
Scratches often start when grit wasn’t fully removed before any wet cleaning, so a dry pass must happen first on hardwood floors.
Excess water can cause swelling or haze near seams, so microfiber should be damp—not wet.
Using the wrong cleaner can leave dull film or break down coatings, so only approved hardwood floor cleaners should be used.
– Scratches from dragging grit: always do a dry pass (broom/vacuum) before any wet cleaning.
– Too much water: hardwood can swell or develop cloudiness near seams—use damp (not wet) cloths.
– Using the wrong cleaner: some products can leave dull film or break down finish; only use cleaners approved for finished hardwood.
– Wax buildup mistaken for “debris”: if the floor looks hazy and wiping doesn’t help, you may need to address residue with products specified for your finish.
A second, practical prevention step: manage the environment. According to the National Wood Flooring Association (NWFA), keeping indoor relative humidity around 35–55% helps reduce wood movement that can widen gaps where grit and moisture collect (). National Wood Flooring Association (NWFA) humidity guidance
Comparison: dry-first microfiber vs. wet-mop approach (finished hardwood floors)
| Feature | Dry-first + damp microfiber | Wet-mop / “always wet” approach |
|---|---|---|
| Grit risk while cleaning | Low—debris is removed before moisture | High—particles can spread and abrade the finish |
| Moisture at seams | Reduced—cloth is damp, not soaking | Increased—mop water can sit along plank edges |
| Finish dulling | Less likely when cleaners are approved | More likely from residue or over-wetting |
| Residue from “all-purpose” products | Avoided by using labeled hardwood cleaners | Common—some products leave films that attract dust |
| Edge/corner cleanup | Improved with tape/dustpan and dabbing | Often missed—grit accumulates and later scratches |
| Control while cleaning | High—small cloth area reduces mistakes | Lower—mop heads spread debris faster |
| Time to recover from hazing | Often easier—less residue to remove | Harder—film buildup may require finish-specific treatment |
| Damage likelihood from aggressive scrubbing | Lower with soft tools and microfiber | Higher if using rough pads |
| Consistency for routine maintenance | Repeatable for everyday debris (sand/pet hair/crumbs) | Less repeatable because mops push the floor into “wet cleaning” |
| Manufacturer alignment (typical) | Typically matches care instructions: dry lift + damp wipe | Often conflicts with “no wet mopping” guidance |
| Best For | Most finished hardwood floors and daily debris | Avoid—unless your manufacturer explicitly permits wet mopping |
Verdict: safest approach and who should skip
Use the two-step order—dry debris removal first, then damp microfiber second. This is the safest general method for most finished hardwood floors, and it reduces the chance of micro-scratches and finish damage.
Skip DIY damp cleaning (and check the floor manufacturer’s guidance instead) if your hardwood is unfinished, you’re unsure of the finish type, or the floor is already showing damage where water could worsen separation—.
In practical terms, if you notice dull spots after cleaning, the odds are high you’re either re-depositing dust (too little microfiber technique) or grinding grit (skipping dry removal). As of 2026, this is exactly the kind of maintenance workflow that aligns with how finished floor systems are designed to be preserved: protect the top coat by removing abrasives first.
The safest routine for finished hardwood floors is: lift grit dry, then wipe lightly damp—this prevents abrasion while still removing fine residue.
When a floor’s finish type is uncertain, manufacturer instructions should drive cleaning method selection to avoid irreversible dulling.
Quick checklist (save this)
Use this sequence as your repeatable “default” for hardwood floor debris removal—especially in entryways and under furniture where sand and crumbs build up.
– [ ] Dry sweep/vacuum with hardwood-safe attachment (grain direction)
– [ ] Use microfiber to lift corner debris (don’t drag)
– [ ] Damp microfiber wipe (minimal moisture, grain direction)
– [ ] Sticky spots: plastic scraper + cloth method (no metal)
– [ ] Stop and reassess if you see hazing, separation, or finish breakdown
If you can feel grit after cleaning, repeat the dry removal cycle before using any damp method on finished hardwood floors.
Use damp microfiber for remaining dust; standing water increases the risk of plank seam issues and cloudiness.
Sources
A careful debris-removal routine keeps finished hardwood floors looking even and prevents the micro-scratches that dull the sheen. If you follow the safest order—dry lift first, damp microfiber second—and avoid metal blades, rough pads, and wet-mop first cleaning, you’ll reliably clear everyday grit without damaging the finish.
Frequently Asked Questions
How do I clear debris from hardwood floors without scratching them?
Start by removing loose particles with a soft-bristle broom or a vacuum using a hardwood floor attachment. Avoid using stiff brushes or metal tools that can grind grit into the finish. For remaining dust, use a microfiber mop lightly dampened with clean water or a hardwood-safe cleaner, wiping with the grain. Always test any product in an inconspicuous spot first.
What’s the safest way to clean tiny debris and dust from hardwood floors?
Use a vacuum with a brush roller turned off or a suction-only hardwood setting to pick up fine debris. If you don’t have a vacuum, gently sweep with a microfiber broom to avoid lifting grit. Then follow with a microfiber cloth or mop to capture the remaining dust, since dry sweeping can leave particles behind. This helps prevent micro-scratches and dullness over time.
Which tools are best for removing pet hair and crumbs from hardwood floors?
A vacuum with a hardwood-safe floor head is one of the best options for pet hair and crumbs, especially if it has strong suction and non-scratching bristles. For stubborn spots, use a lint roller or a slightly damp microfiber cloth to lift hair and stuck debris. Keep a soft dustpan handy for crumbs, and avoid soaking the floor because excess moisture can damage hardwood. Finish by wiping dry if any cleaner or water was used.
Why should I avoid wet mopping when clearing debris from hardwood floors?
Hardwood floors are sensitive to excess moisture, which can cause swelling, warping, or finish breakdown. Wet mopping can also spread debris into a wider film that’s harder to remove and may leave streaks. Instead, clear loose material dry first, then spot-clean with a hardwood floor cleaner applied to the cloth (not directly on the floor). This approach reduces risk while still removing debris effectively.
How do I remove grit from hardwood floors after a remodel or heavy foot traffic?
Begin with a thorough vacuum using a hardwood attachment, making multiple passes in different directions to lift embedded grit. If grit remains in corners or along baseboards, use a soft brush with gentle pressure and collect with a dustpan. Avoid steam cleaners and aggressive scrubbing that can damage the finish—especially on older floors. After debris removal, lightly dampen a microfiber mop and follow with a dry pass to ensure the hardwood floor stays clean and protected.
📅 Last Updated: October 29, 2026 | Topic: How to clear debris from hardwood floors? | Content verified for accuracy and freshness.
References
- Wood flooring
- https://www.cdc.gov/coronavirus/2019-ncov/community/organizations/cleaning-disinfection.html
- https://www.who.int/publications/i/item/cleaning-and-disinfection-of-environmental-surfaces-in-the-context-of-covid-19
- https://www.epa.gov/coronavirus/cleaning-and-disinfecting
- https://pubmed.ncbi.nlm.nih.gov/?term=hardwood+floor+cleaning+vacuum
- https://pubmed.ncbi.nlm.nih.gov/?term=vacuuming+floor+dust+allergens+HEPA
- https://www.sciencedirect.com/search?qs=hardwood%20floor%20cleaning%20vacuuming
- https://scholar.google.com/scholar?q=how+to+remove+debris+from+hardwood+floors+vacuum+sweep Google Scholar
- https://scholar.google.com/scholar?q=hardwood+floor+cleaning+methods+vacuuming+microfiber+dirt+removal Google Scholar
- https://scholar.google.com/scholar?q=hardwood+floor+dust+removal+HEPA+vacuuming+study Google Scholar

