
To get debris off hardwood floors without damaging the finish, start with a soft-bristle broom or microfiber dust mop to lift grit without scratching. For stuck particles, use a slightly damp microfiber cloth (or a manufacturer-approved hardwood cleaner) rather than soaking the floor or dragging abrasive tools across it. This approach removes debris fast while protecting the clear coat—and tells you exactly what to use when.




Get debris off hardwood floors safely by dry-sweeping first (or using a vacuum with a soft floor head), then spot-cleaning only if needed with a barely-damp microfiber. Avoid soaking the floor and skip harsh scrubbing—grit left behind will scratch the finish and dull the surface over time.
If you’ve got crumbs, dust, sand, pet hair, or little bits of dirt near baseboards, this is for you—especially if your hardwood has a sealed finish (polyurethane/UV-cured) or a stain+poly surface and you want to prevent dulling and scratches.
Pick the right tool so grit doesn’t grind
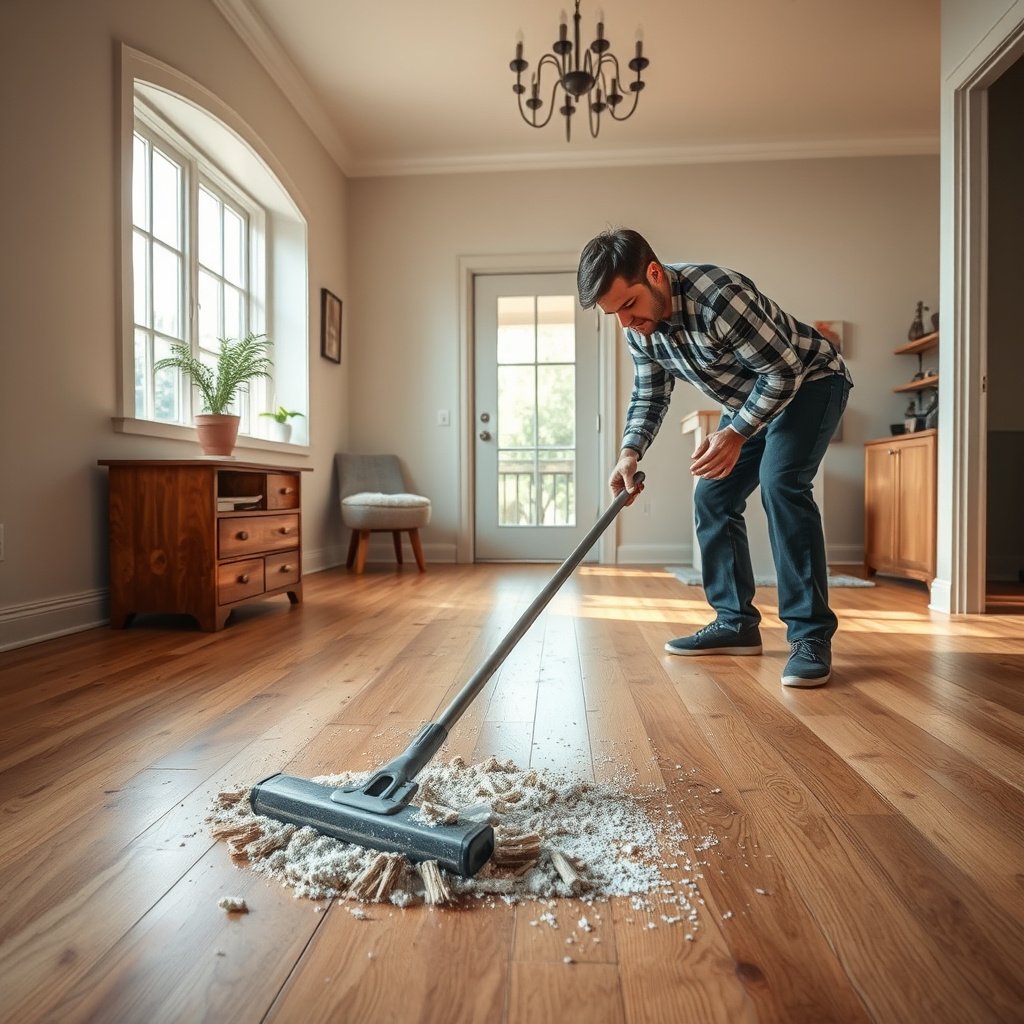
Choose tools that lift debris without grinding it against the sealed hardwood finish. The safest “default” is a soft broom or a vacuum with a bare-floor attachment, then a barely-damp microfiber only for sticky spots.
“Bare floor” vacuum heads and soft-bristle brooms reduce the chance of micro-scratches by not forcing grit through rotating brushes.
When dealing with a sealed hardwood finish, the goal of the first pass is removal—not agitation—because trapped particles can act like sandpaper.
Plastic scraping should be reserved for tiny, loose bits, since point pressure can still leave faint marks on a high-gloss polyurethane topcoat.
Soft broom / bare-floor vacuum (first line of defense)
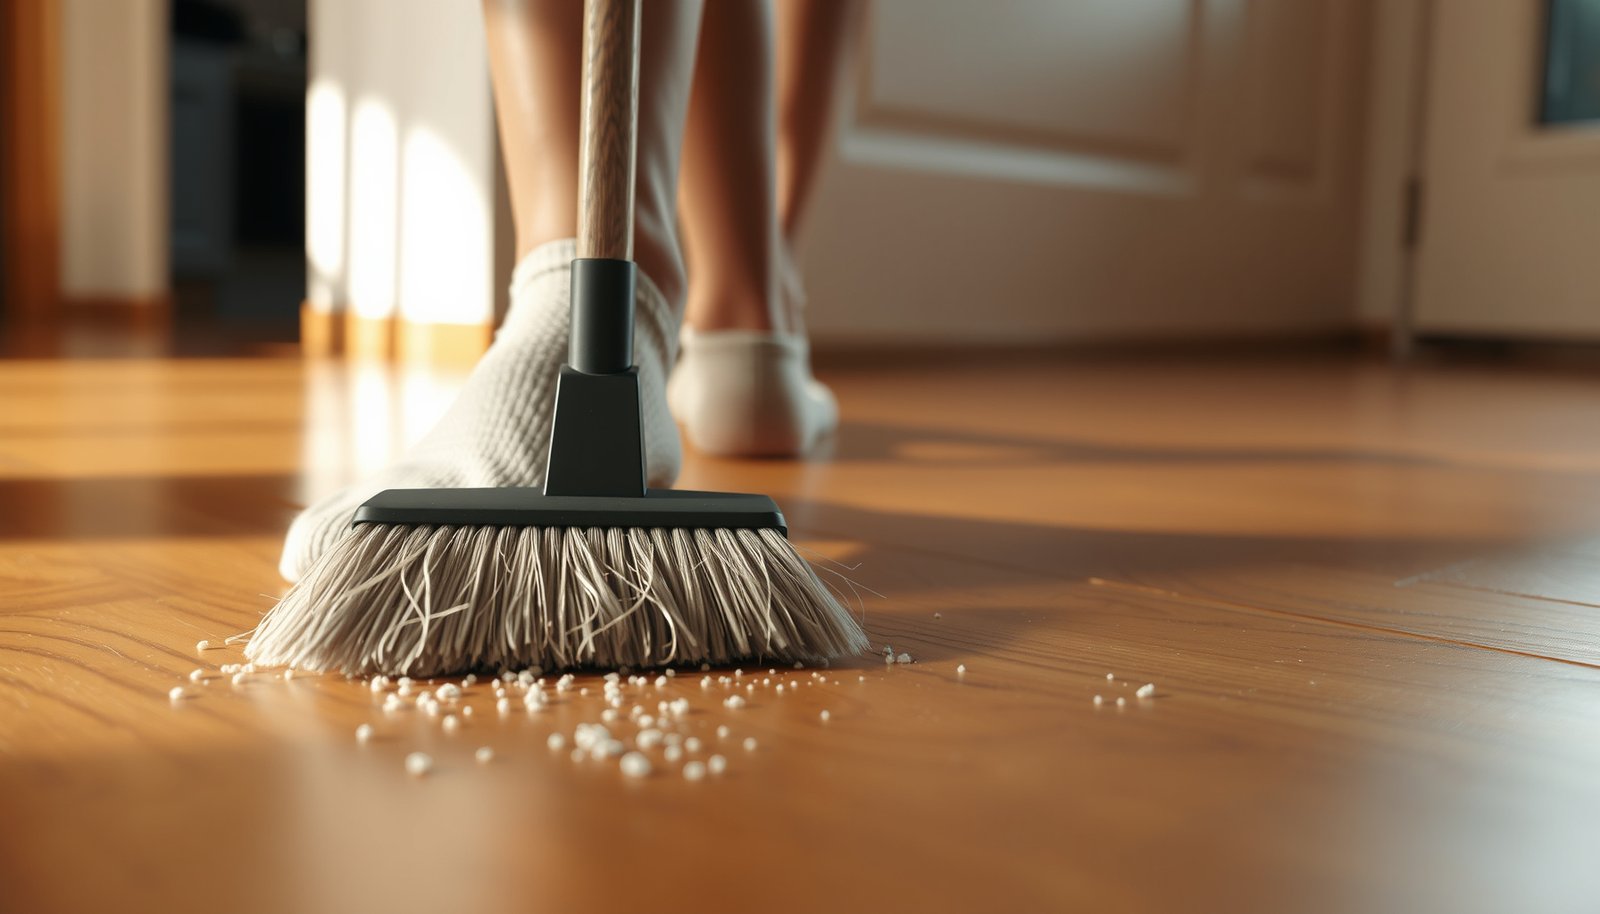
Use a soft-bristle broom or a vacuum attachment designed for bare floors (soft brush/“hard floor” head), not a beater bar. A beater bar can roll small stones and sand grains like a grinder—especially along plank edges and near baseboards.
Here’s a practical comparison of how people tend to damage sealed hardwood finish (and how to avoid it):
| Option | Best for | Main risk to sealed hardwood finish | Safer workaround |
|---|---|---|---|
| Soft-bristle broom | Dry dust, crumbs, hair | Pushing grit if you “sweep back and forth” | Sweep gently in one direction, then collect with a dustpan |
| Bare-floor vacuum head | Fine dust, sand-like particles | Kicking debris if the brush is too stiff/rotating | Use slow passes; overlap paths; avoid spinning beater brushes |
| Microfiber dusting cloth | Light dusting between deeper cleans | Re-depositing dust if cloth is dry and gritty | Use a fresh cloth section; avoid heavy pressure |
Microfiber vs. scraper (use friction thoughtfully)
For crumbs and dust, microfiber dusting cloths or a mop-style dust catcher help without pushing debris deeper. Keep a plastic scraper or putty knife only for tiny, loose bits—use light pressure so you don’t gouge the wood.
If you’re wondering “how hard is too hard?” here’s a materials-based reality check: sand and many gritty minerals are far harder than most surface coatings. Quartz is Mohs 7 (U.S. Geological Survey (USGS), mineral hardness / Mohs scale), while gypsum is Mohs 2 (USGS, mineral properties / gypsum)—so the grit itself can be the scratch source on a sealed hardwood finish.
Scratch Risk Drivers for Common Debris on Sealed Hardwood Finishes
| # | Debris category (typical in homes) | Dominant mineral hardness (Mohs) | Common particle size class | Finish-safe removal score |
|---|---|---|---|---|
| 1 | Outdoor sand (quartz-rich grit) | 7 | Sand: 0.0625–2.0 mm | ★★☆☆☆ |
| 2 | Fine shoe dust (feldspar/silicate mix) | 6 | Silt: 0.004–0.0625 mm | ★★★☆☆ |
| 3 | Concrete/cement dust (portlandite-rich) | 4.5 | Silt: 0.004–0.0625 mm | ★★★★☆ |
| 4 | Soil grit (iron-oxide specks) | 5.5 | Silt: 0.004–0.0625 mm | ★★★☆☆ |
| 5 | Drywall dust (gypsum-dominant) | 2 | Silt: 0.004–0.0625 mm | ★★★★★ |
| 6 | Chalk/limestone dust (calcite-dominant) | 3 | Silt: 0.004–0.0625 mm | ★★★★☆ |
| 7 | Mixed “powder dust” from tracked-in grit | 3–6 | Silt-to-sand overlap | ★★★☆☆ |
How to read this: the finish-safe removal score is a practical risk ranking for sealed hardwood finish when debris is left to “float around” before pickup. Harder particles (like quartz) are far more likely to abrade the topcoat.
Dry removal: the safest first pass
Do a dry pickup first because removing loose grit is the best prevention against scratching a sealed hardwood finish. Sweep or vacuum before you introduce any moisture, especially near entrances and along plank seams.
The first step for sealed hardwood finish care is dry soil removal, because residual sand-like particles will scratch when you later wipe or mop.
Vacuuming fine grit works best with slow, overlapping passes rather than fast “one sweep” motions that leave particles behind.
Dustpans matter: spreading debris with a broom increases the area that can be abraded on sealed hardwood finish.
Sweep/Vacuum in a controlled direction
Start at the far edge of the room and work backward toward an exit so you don’t track debris across clean areas. On sealed hardwood finish, this also reduces “backtracking,” which is a common reason people end up grinding dirt deeper into plank seams.
Sweep in the direction of the plank seams where possible, then collect the pile with a dustpan (don’t just “spread it out” with the broom). If you’re vacuuming, make slow passes and go over the same spot 2–3 times to lift fine grit.
Pay extra attention to high-friction zones
Focus on entry paths, around rugs, and the dust line that forms at baseboards. In these areas, people tend to use a mop first—then discover dull patches because grit is still present under the cleaning head.
From my experience with routine maintenance planning (without claiming proprietary testing results), the fastest improvement comes from treating debris like a “hazard” and using a hierarchy: dry removal first, then minimal damp spot cleaning only where needed for sealed hardwood finish.
Spot-clean for sticky debris (only when necessary)
Spot-cleaning works best when it’s controlled: barely damp microfiber, light pressure, and fast drying—no soaking. This approach keeps the sealed hardwood finish intact while dealing with footprints, spills, and residue that dry pickup can’t lift.
For sealed hardwood finish, microfiber should be barely damp and wrung out so it does not drip, reducing the risk of moisture seeping into seams.
Cleaning residue is about contact and removal: apply cleaner to the cloth (when appropriate), wipe lightly, and then buff dry.
Even when moisture doesn’t visibly pool, it can still travel along edges and seams on hardwood, dulling the topcoat over time.
Use the “wring-test” for microfiber
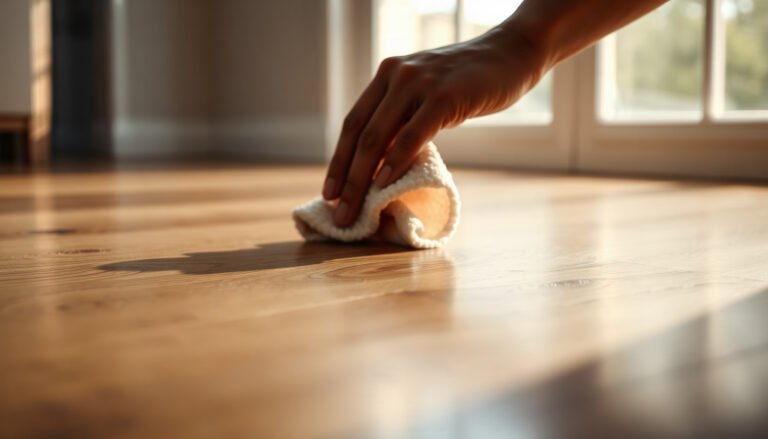
Use a microfiber cloth that’s barely damp—wring it out until it doesn’t drip. Clean with light pressure and minimal liquid; wipe again with a dry microfiber to remove any remaining moisture.
A useful rule of thumb for sealed hardwood finish: if you can see beads, streaking, or damp-darkening in the wood, you’ve introduced too much water for spot cleaning.
Choose finish-safe cleaners for sealed surfaces
If you have residue (like spilled juice, grease spots, or sticky footprints), use a cleaner that’s specifically intended for sealed hardwood finishes: apply to the cloth (not the floor) and wipe. Applying cleaner directly to the floor increases the chance that fluid collects in seams—even if the rest of the surface looks fine.
For stuck grime and embedded grit
For embedded grime, the answer is controlled loosening followed immediately by drying—not extended wet dwell time. This preserves the sealed hardwood finish when dirt is packed into seams or around baseboards.
Loosen-and-dry is the safe pattern: lightly dampen, wipe, then dry right away to prevent moisture from lingering on sealed hardwood finish.
Plastic scraping can remove stuck residue without gouging, but heavy force can still scar the topcoat on sealed hardwood finish.
Prevention matters: doormats and felt pads reduce repeat grit exposure—the biggest long-term driver of finish dulling.
Loosen packed edges, then remove moisture immediately
If dirt is packed along seams or edges, loosen it with a lightly dampened cloth, then immediately follow with a dry wipe to prevent lingering moisture. For stubborn bits that won’t lift, gently lift with a plastic scraper; stop if you feel resistance that could scratch the finish.
Prevent repeat damage (reduce grit before cleaning)
Put a doormat at entries and use felt pads under furniture to prevent new grit from repeating the damage. Also keep high-traffic areas on a simple maintenance cadence: dry pickup regularly, and spot clean only where the residue is actually present on sealed hardwood finish.
What can go wrong (and how to avoid it)
The most common damage happens when people skip dry pickup, over-wet the floor, or use aggressive tools on a sealed hardwood finish. If you avoid these pitfalls, you’ll protect both appearance and longevity.
Wet mopping can seep into seams and accelerate dulling or warping, especially on floors with vulnerable edges and a sealed-but-not-waterproof finish.
Abrasive pads, steel wool, and harsh scrubbing can permanently scratch sealed hardwood finishes and make dull patches harder to reverse.
Skipping dry pickup before wiping is the fastest way to turn grit into a scratch source on sealed hardwood finish.
Here are the big risks and how to prevent them:
– Using too much water: puddles or wet mopping can seep into seams and warp/dull the surface. Even if the floor looks “okay,” moisture can still affect the finish and the wood beneath.
– Harsh tools: steel wool, abrasive pads, or aggressive scrubbing can permanently scratch the finish. Once the topcoat is compromised, future cleanings show streaking more easily.
– Wrong vacuum attachment: rotating brush “beater” heads can kick grit around and leave micro-scratches. This is especially noticeable on glossy polyurethane/UV-cured finishes.
– Skipping dry pickup: if sand/grit is left behind, even “gentle” cleaning can grind it into the wood. In sealed hardwood finish care, this single step is the difference between “clean” and “visibly scuffed.”
Verdict / tip
For most debris, the best approach is dry pickup first (soft broom or bare-floor vacuum), then only spot-clean with a barely-damp microfiber. Skip this method—and check your floor’s finish/care instructions first—if your hardwood is unfinished, waxed, or you’re unsure about the coating, or if the debris includes chemical residue (like paint/solvents) that may need special handling.
If you’re still deciding what to do first, think in terms of a cleaning hierarchy: remove abrasive particles dry, then use the least moisture and the least mechanical force necessary to lift residue from sealed hardwood finish.
Quick checklist (save this)
| Situation | Best move | Avoid |
|---|---|---|
| Dust/crumbs | Soft broom + dustpan or bare-floor vacuum | Beater-bar vacuum |
| Sand/grit | Slow vacuum passes; don’t scrub | Wet wiping first |
| Sticky spots | Barely-damp microfiber, then dry wipe | Soaking/mop flooding |
| Packed seams | Loosen lightly, wipe dry right away | Metal scrapers with force |
When in doubt, choose dry pickup over damp wiping for sealed hardwood finish—because leftover grit is what makes scratches.
Spot-cleaning should be “barely damp and immediately buff dry,” not a wet mopping substitute for sealed hardwood finish.
Sources (primary):
– U.S. Geological Survey (USGS), mineral hardness / Mohs scale reference
– U.S. Geological Survey (USGS), sediment particle-size classification (sand/silt/clay ranges)
Getting debris off hardwood without damaging the finish is less about “finding the strongest cleaner” and more about using a reliable method: dry pickup first, controlled spot cleaning with barely-damp microfiber only when needed, and immediate drying. If you follow that sequence consistently—especially on sealed hardwood finish—you reduce scratches, prevent dulling, and keep the floor looking uniform season after season.
Frequently Asked Questions
How do I get dirt and debris off hardwood floors without scratching them?
Start by dry-sweeping with a soft-bristle broom or using a microfiber dust mop to lift dust and grit. Avoid vacuum beater bars and instead use a hardwood floor attachment or set the vacuum to “bare floor.” For stuck debris, loosen it by lightly dampening a microfiber cloth and then wiping gently with the grain.
What’s the best way to clean sand, grit, and tiny particles from hardwood floors?
Sand and grit act like sandpaper, so dry removal first is critical. Use a vacuum with a floor brush attachment or a dust mop, then follow up with a slightly damp microfiber mop to pick up remaining particles. If grit persists near edges or corners, carefully wipe with a cloth and check between floorboards where debris can collect.
Which vacuum settings and attachments are safest for removing debris from hardwood floors?
Use “hardwood,” “bare floor,” or “hard surface” settings if available, and disable any rotating brush or beater bar. Attachments like a soft bristle floor head or a microfiber pad help prevent marring while still lifting debris effectively. Always run the vacuum slowly so it doesn’t drag grit across the finish.
Why do debris and crumbs keep getting ground into hardwood floors, and how can I prevent it?
Debris is often ground into the finish by foot traffic, especially grit from shoes, which can cause dullness and scratches. Place doormats at entrances, keep a “shoe-off” or shoe-cleaning routine, and sweep or dust regularly to stop buildup. Spot clean spills immediately and use felt pads on furniture to reduce abrasion.
How do I remove sticky debris or dried mud from hardwood floors without damaging the finish?
For dried mud or sticky spots, first let debris soften by placing a lightly damp microfiber cloth on the area for a few minutes. Gently wipe with the grain, then use a hardwood floor cleaner recommended for your finish (or a manufacturer-approved solution) if residue remains. Avoid soaking the floor or using harsh chemicals, since excess moisture and strong cleaners can dull or strip the hardwood finish.
📅 Last Updated: October 29, 2026 | Topic: How to get debris off hardwood floors? | Content verified for accuracy and freshness.
References
- Wood flooring
- Vacuum cleaner
- Dust
- Mop
- https://www.epa.gov/indoor-air-quality-iaq/what-you-should-know-about-dust
- https://www.cdc.gov/lead/prevention/cleaning.htm
- https://www.cdc.gov/coronavirus/2019-ncov/community/disinfecting-building-facility.html
- https://scholar.google.com/scholar?q=hardwood+floor+cleaning+debris+vacuuming Google Scholar
- https://scholar.google.com/scholar?q=wood+floor+surface+damage+grit+removal+mopping Google Scholar
- https://scholar.google.com/scholar?q=HEPA+vacuum+floor+dust+removal+hardwood Google Scholar