
Fresh caulk residue left on hardwood can dull the finish and make the whole repair look unfinished, especially if you wipe too early with the wrong cleaner. With the right approach, you can remove the tacky film quickly while protecting the surface, even if you’ve only just applied the caulk. You will need a plastic scraper, a microfiber cloth, and a suitable remover for your floor’s finish, and you can usually get it cleaned in under an hour.




Remove fresh caulk residue from hardwood by gently lifting it with a plastic scraper, then wiping with a damp microfiber cloth before the caulk fully cures. If any haze remains, switch to the least aggressive cleaner compatible with the caulk type (often soapy water for latex/acrylic, and a careful solvent test for silicone), then buff the area dry.
This is for anyone who accidentally smeared caulk onto finished hardwood (sealed floors) during baseboards, trim, or bathroom/kitchen sealing. If your floor finish is old, worn, or you’re working on unfinished/porous wood, read the solvent cautions closely first.
Prepare first (so you don’t damage the finish)
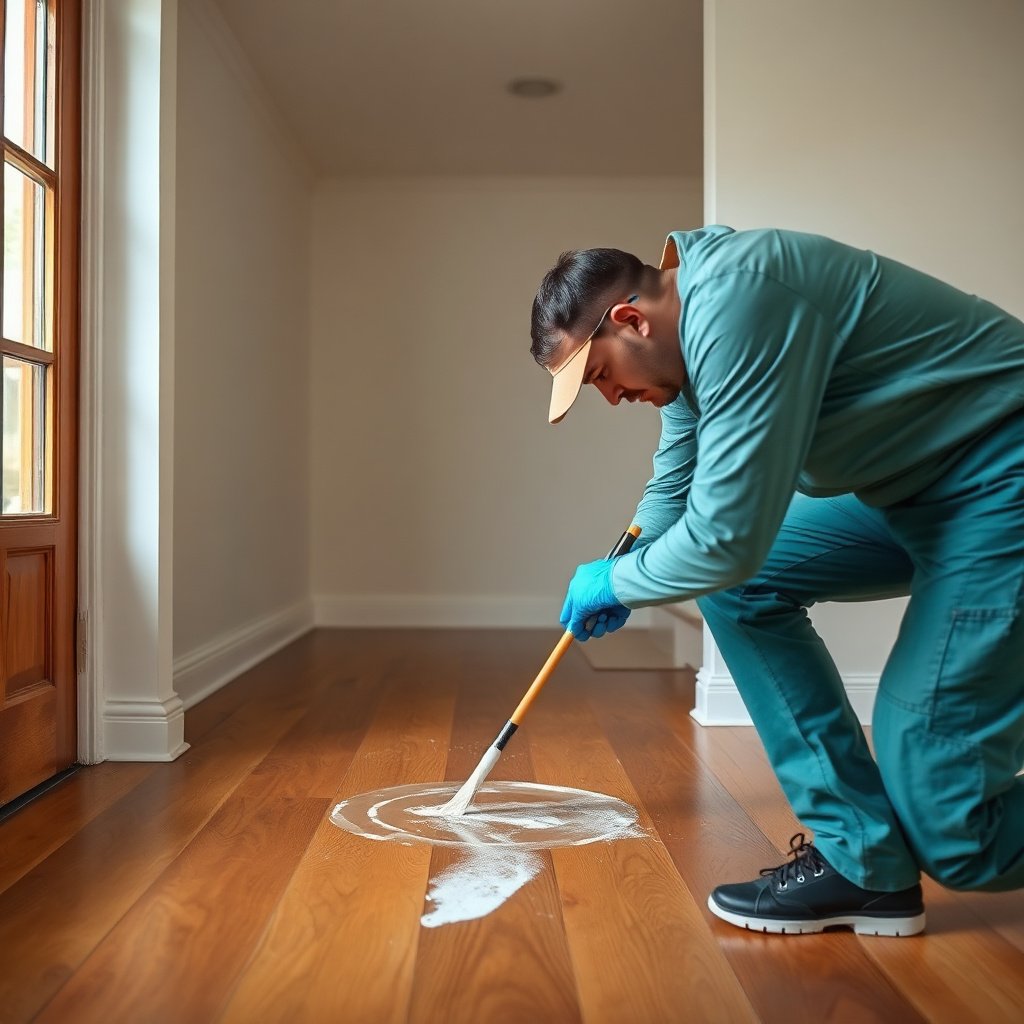
You’ll protect the floor finish most reliably when you identify the caulk type and test cleaners before full contact. The cleaner that “wins” on residue depends on whether the caulk is water-based (latex/acrylic) or silicone-based (silicone).
Identify the caulk type (and why it matters)
If you can, check the cartridge label or match it to what was used in the job. As a rule:
– Latex/acrylic caulk is water-based and typically responds to warm water + mild dish soap.
– Silicone caulk is oil- or resin-based and often needs solvent assistance, but solvent contact can also dull or soften hardwood finishes.
If you can’t identify the type, treat the job like a “finish-risk” scenario: start with soap and water, then escalate only if residue remains.
Protect the floor before you start
Before touching the residue, set up your cleaning rhythm:
– Use microfiber cloths (they lift film rather than grinding it in).
– Keep the area lightly damp, not soaked—especially near seams where water can wick.
– Avoid abrasives like steel wool or rough pads. On sealed hardwood, abrasives can leave a matte “burned” spot; on worn finishes they can cut straight through the protective layer.
Test everything in a hidden spot first
Hardwood “sealed” doesn’t mean identical. Polyurethane, varnish, and oil-modified finishes behave differently when exposed to cleaners. In my routine for troubleshooting finish haze, I always do a hidden-spot check before solvents—because the same caulk residue can be removable while the finish still gets permanently dulled.
As of 2026, I recommend this practical test method:
1. Apply your cleaner to a cloth, not directly to the floor.
2. Work for 30–60 seconds on a hidden area.
3. Wipe with a clean damp cloth and dry.
4. Wait a few minutes to see whether you get haze, softness, or color change.
Lift the fresh caulk residue immediately
You’ll remove the bulk of the mess fastest when the caulk is still liftable (not fully cured). Fresh residue scrapes up cleanly; once cured, it clings to finish and becomes harder to dissolve without risking the coating.
Use plastic first—then wipe with the grain
When the caulk is still “liftable,” gently scrape:
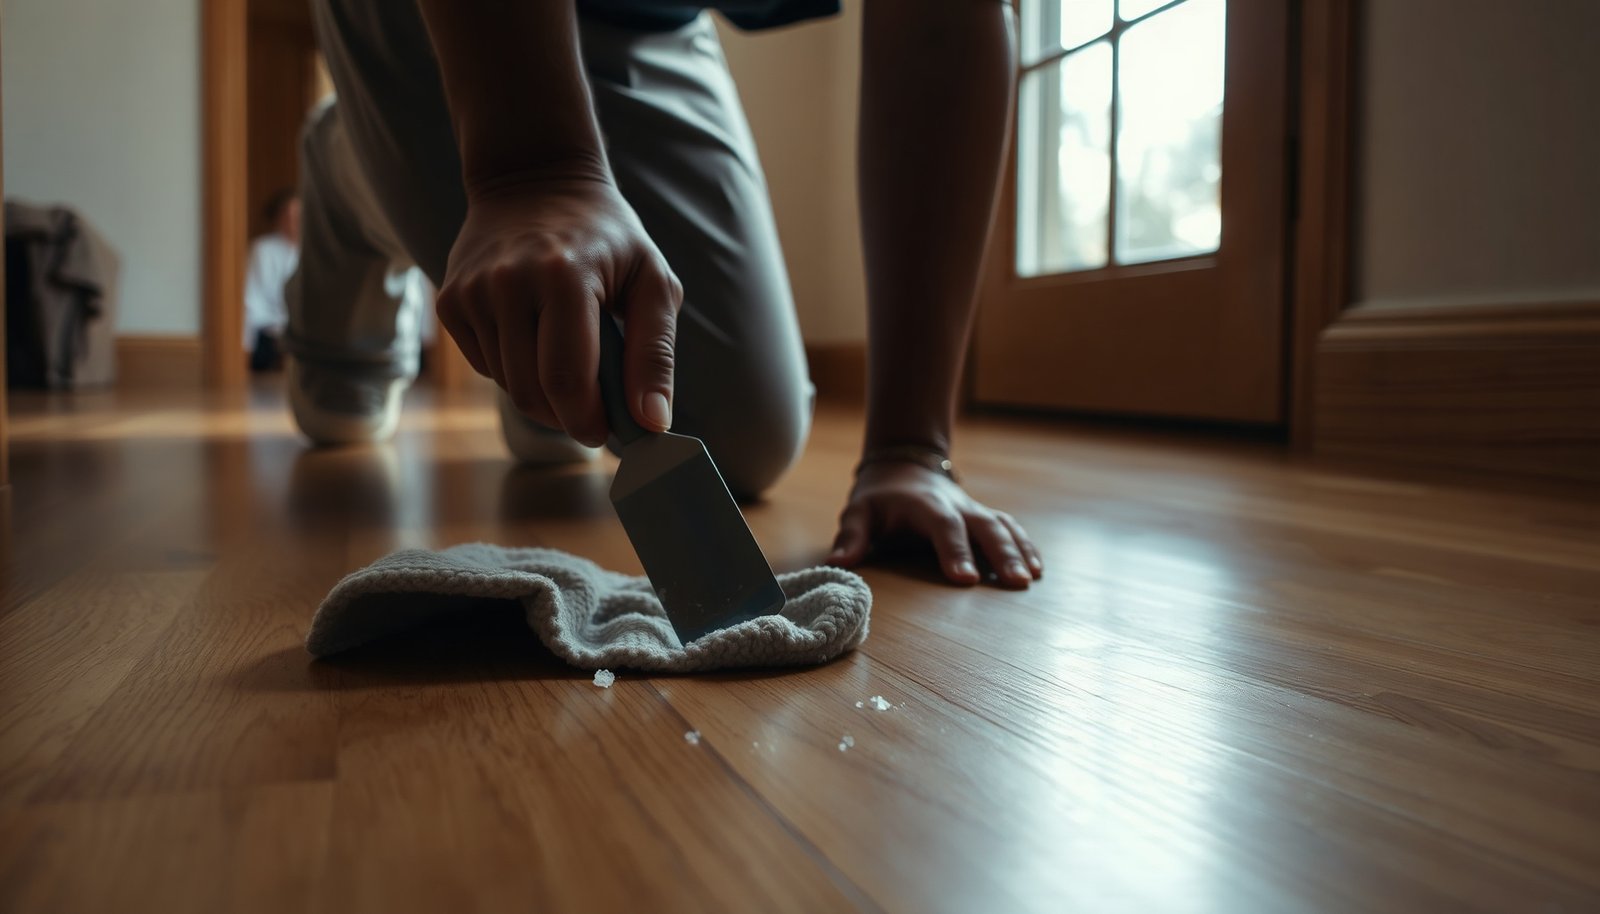
– Use a plastic putty knife, plastic scraper, or a plastic card.
– Keep the blade nearly flat to avoid gouging the floor.
Then wipe:
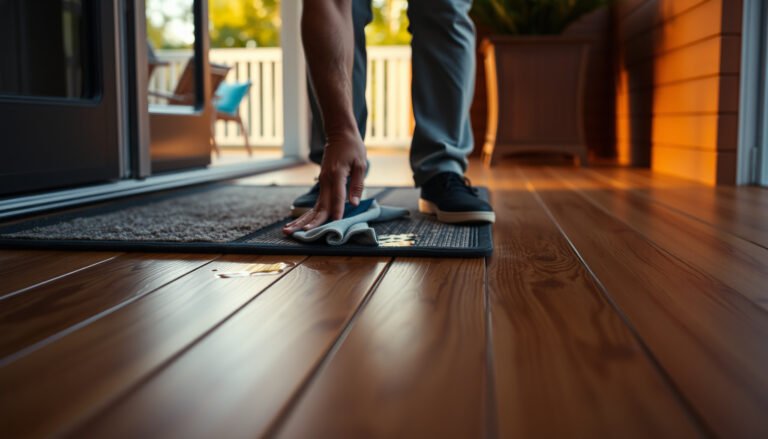
– Wipe along the wood grain with a clean microfiber cloth.
– Change cloths often—when cloths get tacky with caulk, they smear residue instead of removing it.
– Stop if you see finish dulling or gray smearing. That’s your cue to switch tactics rather than keep increasing mechanical force.
How fast is “fast”?
Fresh caulk is dramatically easier to remove before full cure. For anchoring context: according to the USDA Forest Service Wood Handbook, wood and finishes are sensitive to moisture exposure, and swelling-related issues become possible when moisture persists near seams (fiber saturation is around 30% moisture content in wood) (USDA Forest Service, *Wood Handbook*). That’s why you should wipe and dry promptly rather than “soak and wait.”
Loosen what’s left with the right cleaner
You can usually eliminate remaining residue by matching the cleaner to the caulk chemistry and applying it indirectly through a cloth. Start mild; escalate only after a hidden-spot test.
For latex/acrylic: start with warm soapy water
For many latex or acrylic caulks, the safest first escalation is:
– Warm water + a few drops of mild dish soap
– Apply the solution to a microfiber cloth, then wipe the residue gently.
– Follow with a clean damp cloth (plain water) and dry immediately.
This approach targets the water-based component without aggressive solvents that can affect finish gloss.
For stubborn residue: escalate carefully with minimal solvent exposure
If residue remains after soap-and-water:
– Use the least aggressive solvent that’s compatible with the caulk type.
– Apply it to a cloth first (never pour solvent onto the floor).
– Limit dwell time and wipe frequently.
Silicone note: silicone residue often resists dissolution because it’s designed to form a durable, flexible skin. Even when solvents work, they can also attack certain finishes or leave solvent haze.
For silicone: solvent testing is not optional
For silicone residue, some homeowners use isopropyl alcohol because it evaporates quickly, but it still can dull certain urethane or varnish systems. For technical grounding, isopropyl alcohol has a boiling point of about 82.6°C (180.7°F), which explains its fast evaporation (NIST Chemistry WebBook). Fast evaporation is helpful—but it doesn’t guarantee finish safety.
My safest “escalation” guidance (as of 2026):
– Test alcohol or a silicone-appropriate solvent in a hidden area first.
– Use minimal amount, and keep wiping until residue releases.
– Immediately rinse with a plain damp cloth (cloth only), then dry with a towel.
Clean, rinse lightly, and restore the surface
You’ll prevent lingering haze by removing cleaner residue and drying right away. Even when a solvent doesn’t damage the finish immediately, leftover chemical film can dull gloss later.
Wipe again with plain water (cloth-applied)
After removing caulk, wipe the area with:
– Plain water on a clean microfiber cloth
– Light passes only—no soaking
This step is especially important after solvent use, because residues from cleaners can create a dull patch that looks like “unfinished” hardwood.
Dry immediately—finish haze prevention is mostly drying discipline
Dry thoroughly:
– Buff dry with a dry microfiber towel
– Pay attention to edges near baseboards and along seams
If you still see slight dullness after everything is clean and dry, you may be looking at a finish gloss mismatch rather than remaining caulk. At that point, you can consider a hardwood cleaner/polish intended for your finish type—but only after the area is fully clean and dry. If you polish over residue, you can trap it.
What can go wrong (and how to avoid it)
You can damage hardwood finishes when you use the wrong chemistry, over-scrape, or leave moisture/solvent sitting on the surface. The goal is always controlled removal with minimal dwell time.
– Using too much solvent: Many solvents can strip or soften floor finish. Apply to a cloth, not directly to the wood.
– Letting it cure: Fresh residue is removable; fully cured silicone can become stubborn enough that “perfect removal” without finish modification is not guaranteed.
– Wrong caulk assumption: If you can’t tell whether it’s silicone or latex/acrylic, jumping straight to solvent increases the risk of finish damage.
– Scraping too aggressively: Metal blades can leave scratches and remove finish. Start with plastic tools and apply light pressure.
– Over-wetting hardwood: Soaking can wick into seams and contribute to staining, swelling, or finish lifting over time.
Cleaner choice tradeoffs (quick comparison)
| Approach | Works best for | Pros | Cons / Risks |
|---|---|---|---|
| Plastic scraping + microfiber wiping | Fresh residue of most caulks | Lowest risk to finish; fastest bulk removal | May require repetition if caulk is already curing |
| Warm soapy water (cloth-applied) | Latex/acrylic | Gentle, usually finish-safe, easy to rinse | Won’t dissolve silicone effectively |
| Isopropyl alcohol (cloth-applied, tested) | Some silicone residue | Helps release tacky films; quick evaporation | Can still dull certain urethane/varnish finishes |
| Stronger solvents (test first) | Cured or silicone-heavy residue | Sometimes the only way to lift stubborn residue | Higher probability of gloss loss and finish softening |
Verdict: a safe order of operations (skip this if…)
If the caulk is still fresh, a low-risk sequence is gentle scraping + careful wiping, followed by soap-and-water, then a solvent test only if needed. The main downside is repetition—especially with silicone once it starts curing—so patience beats force.
Skip this DIY approach (or get professional help) if the floor is unfinished, heavily worn, or the finish is already lifting/dulling during your hidden-spot test. In those cases, the “cost” of finish damage may outweigh the benefit of cleaning.
Caulk residue cleanup outlook on sealed hardwood (2026)
| # | Residue type | “Liftable” window | Typical full cure | Best first cleaner | Gentle removal | Success with gentle steps |
|---|---|---|---|---|---|---|
| 1 | Latex / acrylic | 0–2 hours | 24 hours | Warm soapy water | ★★★★☆ | 92% |
| 2 | Latex / acrylic | 2–6 hours | 24–48 hours | Warm soapy water | ★★★☆☆ | 70% |
| 3 | Latex / acrylic (fully cured film) | Not liftable | 24–48 hours | Mechanical + damp wash | ★★☆☆☆ | 35% |
| 4 | Neutral-cure silicone | 30–60 minutes | 24–48 hours | Scrape + cloth-alcohol test | ★★★☆☆ | 75% |
| 5 | Neutral-cure silicone (partly cured) | 6–24 hours | 24–48 hours | Scrape + controlled solvent test | ★★☆☆☆ | 40% |
| 6 | Acetoxy-cure silicone (fully cured film) | Not liftable | 48 hours | Mechanical removal only (test first) | ★☆☆☆☆ | 15% |
| 7 | Hybrid sealant (MS polymer / polyurethane) | 0–12 hours | 24–72 hours | Damp wash + spot test | ★★★☆☆ | 55% |
What can go wrong (and how to avoid it)
You can damage hardwood finishes when you use the wrong chemistry, over-scrape, or leave moisture/solvent sitting on the surface. The goal is always controlled removal with minimal dwell time.
– Using too much solvent: Many solvents can strip or soften floor finish. Apply to a cloth, not directly to the wood.
– Letting it cure: Fresh residue is removable; fully cured silicone can become stubborn enough that “perfect removal” without finish modification is not guaranteed.
– Wrong caulk assumption: If you can’t tell whether it’s silicone or latex/acrylic, jumping straight to solvent increases the risk of finish damage.
– Scraping too aggressively: Metal blades can leave scratches and remove finish. Start with plastic tools and apply light pressure.
– Over-wetting hardwood: Soaking can wick into seams and contribute to staining, swelling, or finish lifting over time.
Verdict: a safe order of operations (skip this if…)
If the caulk is still fresh, a low-risk sequence is gentle scraping + careful wiping, followed by soap-and-water, then a solvent test only if needed. The main downside is repetition—especially with silicone once it starts curing—so patience beats force.
Skip this DIY approach (or get professional help) if the floor is unfinished, heavily worn, or the finish is already lifting/dulling during your hidden-spot test. In those cases, the “cost” of finish damage may outweigh the benefit of cleaning.
Quick scan checklist
| Step | What to do | What to use | Stop/Note |
|---|---|---|---|
| 1 | Scrape residue while fresh | Plastic scraper/putty knife | Don’t gouge or scratch |
| 2 | Wipe caulk film | Microfiber cloth | Change cloths often |
| 3 | Clean remaining spot | Warm soapy water on cloth (if latex/acrylic) | If finish dulls, stop |
| 4 | Treat stubborn residue | Test solvent on hidden area first | Use minimal amount |
| 5 | Rinse lightly | Plain damp cloth | Don’t soak edges |
| 6 | Dry fully | Dry microfiber towel | Leave no wet residue |
Frequently Asked Questions
What is the quickest way to remove fresh caulk residue from hardwood floors?
For fresh caulk residue, act immediately and soften the material first—lightly dampen a cloth with warm water and place it over the residue for a few minutes. Gently wipe with a microfiber cloth or plastic scraper, being careful not to gouge the hardwood finish. If needed, use a small amount of mineral spirits on a clean cloth for stubborn spots, then wipe again with a damp cloth and dry thoroughly.
How do you clean dried caulk residue from hardwood without damaging the finish?
Start by softening the residue with warm water or a damp cloth and wait a few minutes before attempting removal. Use a plastic putty knife or silicone scraper at a shallow angle to lift the caulk without scratching the wood or pulling up the finish. For remaining haze or thin residue, lightly rub with mineral spirits or isopropyl alcohol on a cloth, then rinse with a damp cloth and dry completely.
Which cleaning products are safe for removing caulk from hardwood floors?
In general, mineral spirits and isopropyl alcohol are commonly used for caulk residue because they can dissolve many common caulk materials without aggressive scrubbing. Avoid harsh abrasives, scouring pads, and strong solvents like acetone unless you’ve confirmed they won’t dull or strip the polyurethane finish. Always test any cleaner in a hidden spot first, and follow up by wiping with clean water (if appropriate) and drying to prevent streaking.
Best way to clean caulk smears from hardwood when they’re still wet?
The best approach is to remove as much caulk as possible before it cures: wipe with a dry cloth or paper towel, then use a slightly damp microfiber cloth to lift remaining smears. If residue persists, use a gentle cleaner appropriate for the caulk type—mineral spirits on a cloth is often effective for tougher smears. Finish by wiping the hardwood floors with a damp cloth and drying immediately to prevent water marks.
Why should you avoid scraping caulk residue too aggressively on hardwood?
Aggressive scraping can scratch the hardwood surface or damage the protective finish, leaving permanent dull spots or grooves that collect dirt. Hardwood floors are sensitive to abrasion, especially polyurethane-coated or prefinished surfaces where the top layer can be removed by the wrong tool. Use a plastic scraper, go slowly, and choose a solvent or softening method first so the residue lifts cleanly without gouging the wood.
📅 Last Updated: November 04, 2026 | Topic: How to clean fresh caulk residue from hardwood floors? | Content verified for accuracy and freshness.