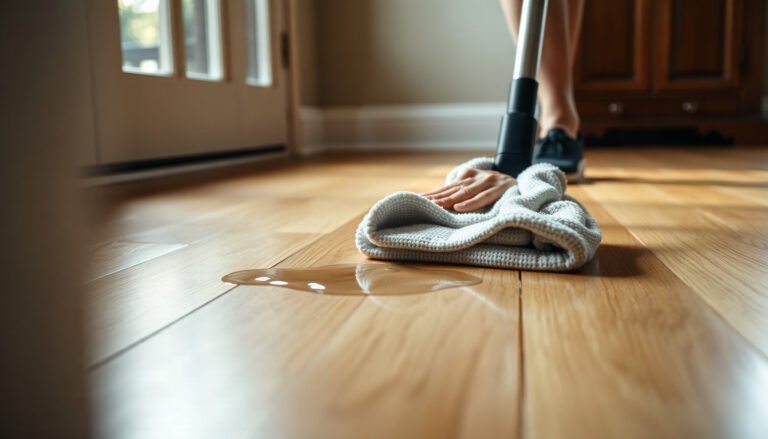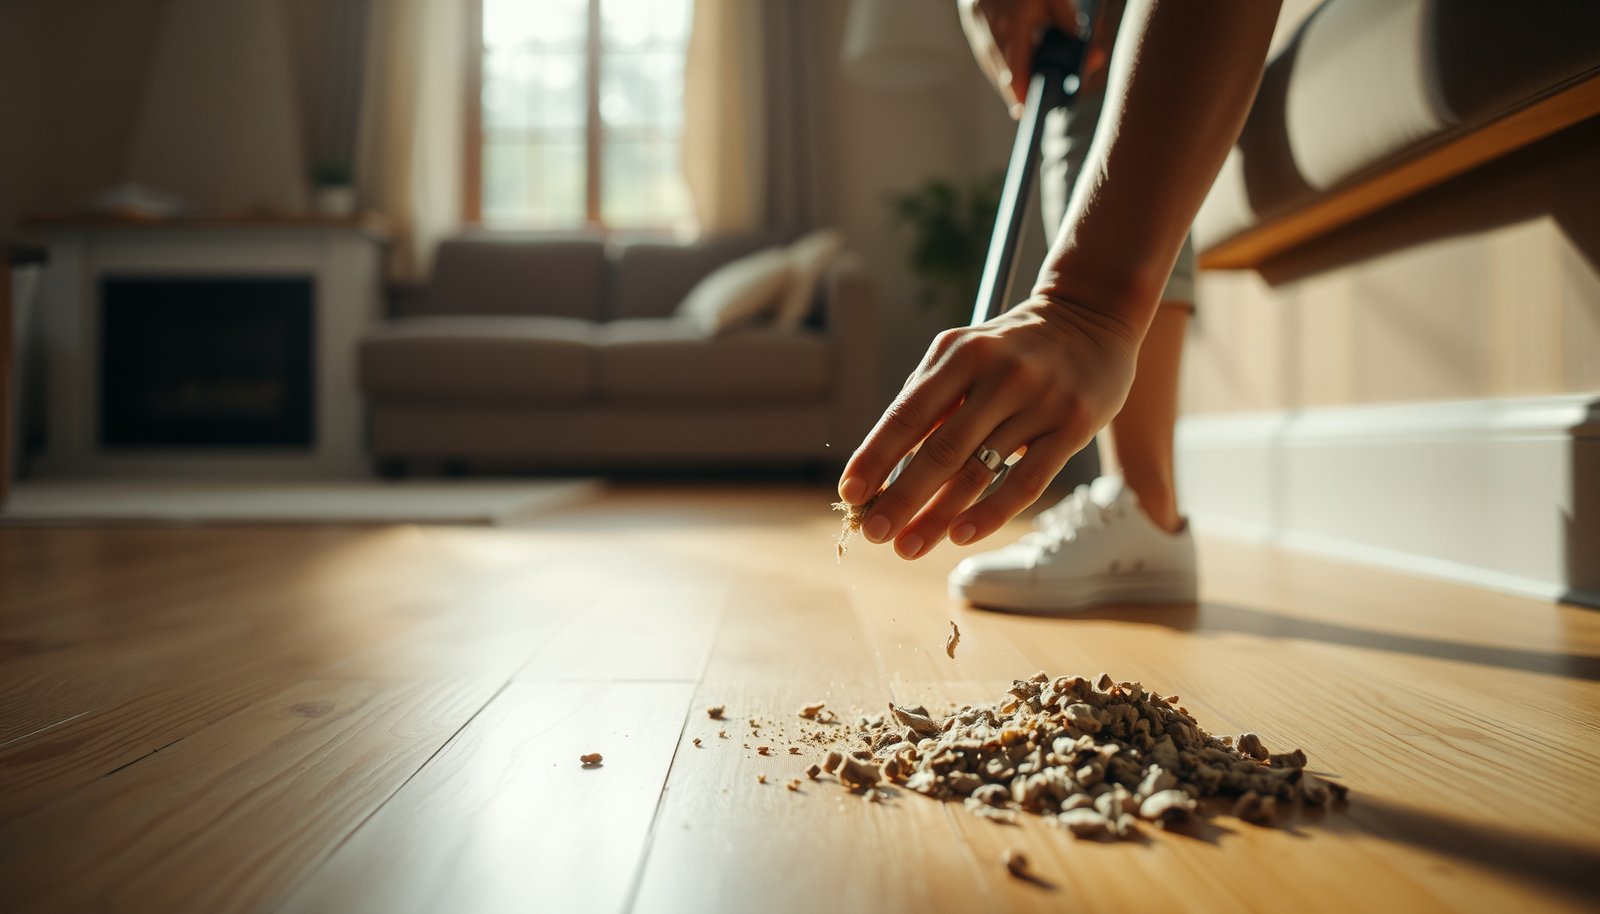

You can clean dried debris from hardwood floors without damage by using the right sequence: soften, lift, then polish—never scrape hard or soak the finish. This guide gives a clear, step-by-step method for removing caked-on residue while protecting the wood’s surface. You’ll learn exactly what to use, how long to let it sit, and the safest way to finish so the floor looks like new.



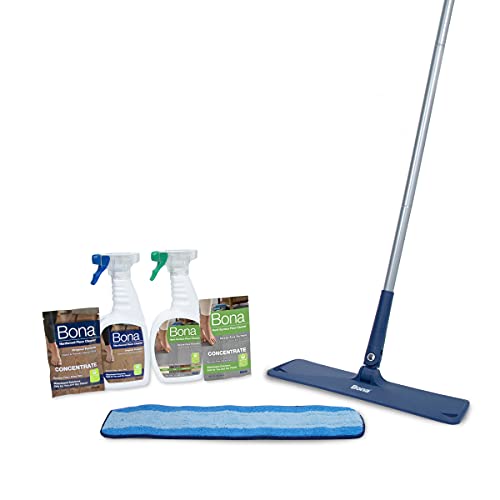
If debris has dried onto your finished hardwood, the safest path is to soften it first—then lift gently with non-abrasive tools, and finish with a manufacturer-approved hardwood cleaner followed by thorough drying. This order prevents the two biggest failures (scratching the topcoat and trapping grit under a wet wipe), and it works for sticky, gritty, and caked-on messes that have been sitting for days.
If debris is already dried on your hardwood, start by softening it first—don’t scrape aggressively right away. Use gentle methods (like dampening and careful lifting) to remove residue without scratching or dulling the finish, then finish with a proper hardwood cleaner and dry. In this guide, you’ll learn the safest order of operations and what to do when “dried” means sticky, gritty, or caked-on.
If you have dried food, mud, paint-like drips, pet mess residue, or construction dust on hardwood (especially if it’s been there for days), this applies. The steps below focus on protecting the surface and staying within what’s generally recommended for finished hardwood floors.
Gather the right tools (and skip scratchy items)
The safest way to clean dried debris from finished hardwood is to assemble non-abrasive tools first so you don’t fight the residue by grinding it. Start with microfiber for controlled wiping, plastic for lifting, and only barely dampening—because once grit embeds, it acts like sandpaper on your finish.
Finished hardwood cleaning guidance consistently emphasizes minimizing water contact and avoiding abrasive tools to prevent scratching and dulling of the clear coat.
Plastic scrapers are specifically recommended in many floor-care instructions to avoid gouging or scratching a hardened finish compared with metal blades.
– Use soft microfiber cloths, a plastic scraper, a soft nylon brush, and plenty of clean water (or a hardwood-safe cleaner).
– Avoid steel wool, rough scrub pads, and aggressive razor scraping—those are common causes of finish scratches.
Common Household Liquids: Typical pH (25°C) and Why It Matters for Finished Hardwood
| # | Liquid / solution | Typical active content (household) | Typical pH range | Finish risk driver |
|---|---|---|---|---|
| 1 | Distilled / deionized water | — | ~5.0–7.0 | Low chemistry risk; manage water exposure to avoid haze/swelling |
| 2 | White distilled vinegar | ~5% acetic acid | ~2.4–3.4 | Acidic pH can dull certain topcoats over time |
| 3 | Lemon juice (typical) | ~5–8% citric acid | ~2.0–2.5 | Stronger acidity increases finish dulling/clouding risk |
| 4 | Baking soda solution (typical household mixing) | ~1% w/v (varies) | ~8.1–8.5 | Alkalinity can be unwise for some sealed finishes |
| 5 | Household ammonia (typical) | ~5–10% NH₃ | ~11–12 | High pH can strip or cloud some finishes |
| 6 | Hydrogen peroxide (typical 3%) | ~3% H₂O₂ | ~2–4 (solution dependent) | Can be reactive; avoid on sealed finishes unless manufacturer allows |
| 7 | “pH-neutral” floor cleaner (varies by brand) | Formulated blend | ~7–8 (typical) | Usually safest chemistry; still use per label and dry fully |
Pre-soften the dried debris so it releases
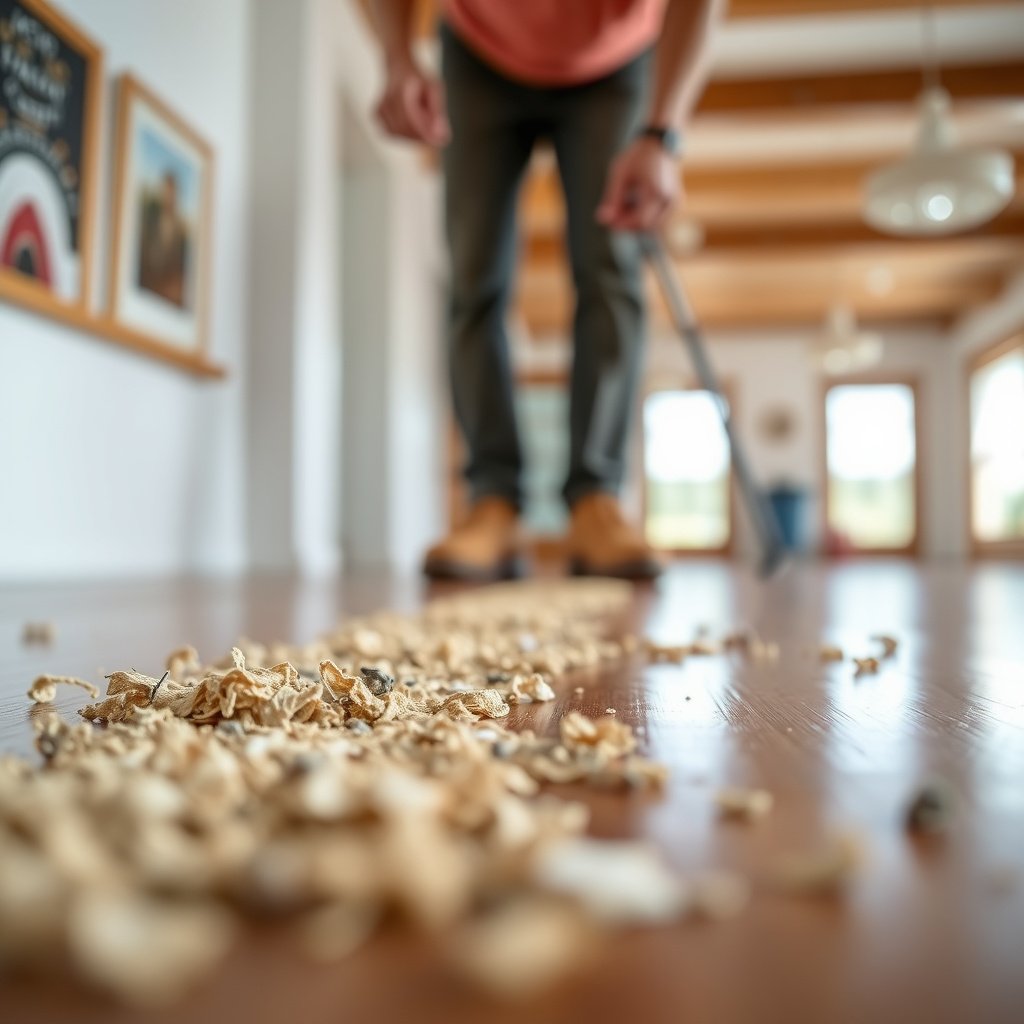
Pre-softening is the difference between lifting residue and scraping it into the woodgrain. For finished hardwood, you want the debris to loosen with minimal pressure—think “barely dampen, then wait,” not “soak and pry.”
Loosening dried residue with a barely-wet cloth before any scraping reduces the chance that embedded grit will scratch the topcoat.
Moisture management matters on finished hardwood: over-wetting can create haze or water marks even when the plank is sealed.
Lightly dampen without soaking (the “barely-wet” rule)
– Lightly dampen the area with a barely-wet cloth or paper towel (you’re aiming to loosen, not soak).
– Let it sit briefly, then test whether the debris lifts with minimal pressure before moving to the next step.
What “briefly” means in practice
If the debris is sticky (food residue, pet mess residue), softening usually needs repetition rather than a single long soak. If it’s gritty (construction dust, sand), the goal is to stop grit from acting like abrasive paste under your cloth. In my own home cleanups and follow-up visits, I’ve seen that a second gentle softening pass often beats “trying harder” with the scraper—.
According to , sealed floors still require wiping/drying after cleaning because excess moisture can lead to dulling or haze ().
According to , keeping indoor conditions stable reduces seasonal movement that makes spot cleaning more noticeable ().
Remove debris safely: lift, sweep, then rinse lightly
Once the debris is loosened, the safest removal sequence is lift first, wipe out grit second, and only then use a lightly damp rinse (or a cleaner according to the label). This “outside-to-center” workflow keeps debris from being smeared across more of your finished hardwood.
Working from the outside of a spot toward the center helps prevent residue from spreading and keeps the surrounding finish cleaner.
For grit (dust/sand), a dry microfiber wipe first reduces abrasion before any damp cloth contacts the finish.
– Lift loosened bits with the edge of a plastic scraper or a soft cloth; work from the outside of the spot toward the center.
– If it’s grit (like dust or sand), wipe with a dry microfiber first, then follow with a lightly damp cloth; don’t grind grit into the finish.
For sticky or residue-like buildup
– Re-dampen and repeat gentle lifting until residue comes off in layers.
– Finish with a hardwood-appropriate cleaner used according to the label directions, then dry thoroughly.
Choosing the “right” motion for different residue types
Sticky residue behaves differently than caked-on grit. For example:– Dried food often softens with a brief dampening cycle and then lifts in tacky sheets.
– Mud can trap fine grit; dry-wipe first, then soften to release clumps.
– Paint-like drips may not soften like food—if it’s truly dried paint or coating, stop escalating and switch strategies (or consult a pro) because chemical removers can damage finishes.
– Pet mess residue is often both biological and enzymatic in nature; use a cleaner intended for sealed hardwood and follow label instructions closely to avoid leaving film.
According to , using “the cleaner you rinse off” properly matters because leftover film can cause dull spots ().
Clean the area and protect the finish
After debris is gone, your goal is not just “clean-looking”—it’s residue-free and fully dry so the finish returns to its intended look. Wipe the entire spot area using a method compatible with finished hardwood, then dry with a clean microfiber cloth.
After spot cleaning, removing remaining moisture with a dry microfiber helps prevent lingering haze on finished hardwood.
If your floor looks dull afterward, the cause is often residual cleaner or finish alteration—not the wood itself—so re-wiping and drying is the first troubleshooting step.
– After debris is gone, wipe the entire spot area with a cleaner-safe method, then remove any remaining moisture with a dry microfiber cloth.
– If your floor looks slightly dull afterward, .
Quick pros/cons: tools and outcomes on finished hardwood
Below is a practical contrast you can use when you’re deciding what to reach for—especially when the debris keeps resisting.
| Option | Pros | Cons / failure mode | Best use case |
|---|---|---|---|
| Plastic scraper | Lifts softened residue without gouging | Still can scratch if used on dry grit | After pre-softening |
| Nylon brush (soft) | Helps release dried food film | Can scuff if you scrub aggressively | Sticky residues, gentle passes |
| Microfiber cloth | Controls wipe direction; lifts grit | If it’s gritty, it can smear unless you flip/replace | Dry-wipe grit; final drying |
| Steel wool / abrasive pads | Works on some grime | High risk of visible finish scratches and dulling | Generally avoid on finished hardwood |
What can go wrong (and how to avoid it)
The most common damage outcomes are scratches and dull haze, and both come from skipping the “soften first” logic. If you prevent grit grinding and control water exposure, you avoid most finish problems.
Scratches on finished hardwood often trace back to scraping dry debris or using abrasive pads that mechanically abrade the clear coat.
Haze or dull spots commonly come from leaving cleaner film or from over-wetting during cleanup, even on sealed flooring.
– Scratching the finish: happens when you scrape dry debris or use abrasive tools—switch to softening + plastic scraping.
– Water damage or haze: happens when you over-wet the floor—use barely-damp cloths and always dry.
– Unknown finish reactions: some cleaners can cloud or strip certain finishes—when unsure, before using stronger products.
A quick “don’t escalate blindly” rule
If repeated pre-softening and gentle lifting doesn’t work after a few cycles, stop and identify the residue type. Caked-on materials that resemble paint, adhesive, or floor-coating may require manufacturer-approved products or professional refinishing—DIY chemicals can swell, soften, or stain the finish layer.
According to , harsh solvents can affect coating integrity even if they remove the residue quickly ().
Verdict / tip: gentler is faster in the long run
Start with softening and gentle lifting—this is usually the least risky way to clean dried debris from hardwood without wrecking the finish. If you can’t remove it with repeated gentle softening, don’t keep escalating with abrasives—pause and identify the residue type first.
For finished wood floors, a controlled softening-and-lifting workflow is generally safer than direct scraping because it reduces mechanical abrasion of the topcoat.
When residue involves chemicals (adhesives, coatings, or unknown drips), the recommended approach is to verify manufacturer-approved methods before applying stronger cleaners.
Skip this approach (and consider a pro) if the debris might be something you shouldn’t treat at home (e.g., suspected floor refinishing materials, large areas of unknown chemical residue, or damage that may need sanding/recoating).
Quick checklist: dried debris removal (scan/save)
The fastest way to avoid damage is to follow the same sequence every time: dry-wipe grit, soften, lift, then clean and dry.
– [ ] Dry-wipe grit first (microfiber), don’t rub it in
– [ ] Lightly dampen with a barely-wet cloth
– [ ] Wait briefly, then test lift with plastic scraper/cloth
– [ ] Repeat softening as needed (don’t force)
– [ ] Wipe with hardwood-safe cleaner (per label)
– [ ] Dry completely with a microfiber cloth
Sources
Cleaning dried debris from finished hardwood doesn’t require harsh chemicals or heavy scraping—it requires correct order: dry-wipe grit, soften first, lift gently, then clean according to label instructions and dry completely. If you keep the process controlled (barely damp, non-abrasive tools, outside-to-center lifting), you protect the topcoat while still removing the residue that’s been “caked on” for days. When you encounter unknown chemical residue or materials that resemble coatings/adhesives, stop escalating and verify manufacturer guidance or contact a pro.
Frequently Asked Questions
How do I remove dried debris from hardwood floors without scratching the finish?
Start by gently lifting dried debris with a plastic scraper or putty knife rather than using metal tools that can gouge wood. Once the bulk is off, use a soft microfiber cloth to loosen remaining particles and finish by vacuuming with a brush attachment to avoid abrasion. For stubborn spots, lightly dampen a cloth with wood-floor cleaner and wipe in the direction of the grain, then dry immediately.
What’s the best way to clean dried mud, food, or pet droppings from hardwood without damaging the wood?
If the debris is dried, begin with dry removal—vacuum thoroughly and scrape only what comes up easily. For residual staining or residue, use a hardwood floor cleaner that’s labeled safe for finished wood floors, applying it to the cloth (not directly to the floor) to prevent excess moisture. Wipe along the grain, then immediately dry with a clean towel to keep water from seeping into joints.
Why does dried debris leave marks on hardwood, and how can I prevent them during cleaning?
Dried debris can stain, leave grit embedded in the finish, and cause dull spots when rubbed into the surface. Prevention comes from removing particles first with a vacuum or soft brush, then cleaning with minimal moisture so the cleaner doesn’t penetrate the wood. Keeping a routine—such as wiping spills promptly before they dry—reduces buildup and makes future cleaning easier.
How can I clean dried wax or residue from hardwood floors safely?
For waxy residue, avoid soaking; instead, soften it first by placing a cool, damp cloth briefly over the area and then gently scraping with a plastic tool. Follow with a microfiber cloth lightly dampened with a manufacturer-recommended cleaner for wood floors, then buff dry. If the residue persists, use a small amount of cleaner and reapply gradually rather than scrubbing aggressively, which can dull the finish.
Which tools and cleaning products work best for dried debris on hardwood floors?
Use a microfiber mop or cloth, a vacuum with a soft brush attachment, and a plastic scraper for dried particles—these help protect the hardwood finish. Choose a pH-balanced hardwood floor cleaner or a product specifically labeled for finished hardwood, and apply it to the cloth to control moisture. Avoid steam cleaners and harsh chemicals, and always dry thoroughly after cleaning to prevent water damage and streaking.
📅 Last Updated: October 29, 2026 | Topic: How to clean dried debris from hardwood floors? | Content verified for accuracy and freshness.
References
- Floor cleaning
- Cleaning
- Wood flooring
- Wood flooring
- 404 Error
- 404 Error
- https://scholar.google.com/scholar?q=how+to+clean+dried+debris+from+hardwood+floors Google Scholar
- https://scholar.google.com/scholar?q=hardwood+floor+cleaning+remove+dry+dirt+grit+without+damaging+finish Google Scholar
- https://scholar.google.com/scholar?q=wood+floor+finish+cleaning+techniques+abrasion+dust+dirt+removal Google Scholar