


Stop water damage to carpet floors fast with proven steps that work: act within the first 30 minutes, extract standing water, and dry to remove moisture from backing and padding—not just the surface. This guide lays out the exact actions to take after spills, leaks, or flooding so mold doesn’t gain a foothold. Follow the checklist and you’ll minimize staining, odor, and permanent shrinkage.


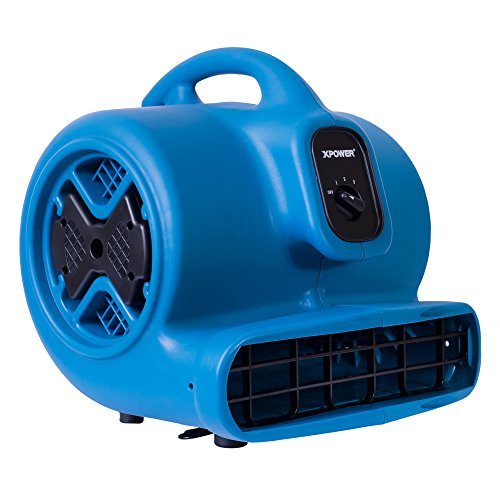
Act fast and dry the carpet and the pad/subfloor within 24 hours—that single rule prevents most permanent staining, odor, and mold risk. The quickest path is: stop the source → extract standing water → dry with airflow + dehumidification, while checking seams and baseboards where moisture lingers.
If you’re dealing with spills, leaky appliances, wet shoes tracking in rain, or HVAC condensation, these steps help you limit damage in the real places it usually starts: basements, bathrooms, laundry rooms, and near exterior doors.
Control the moisture source immediately
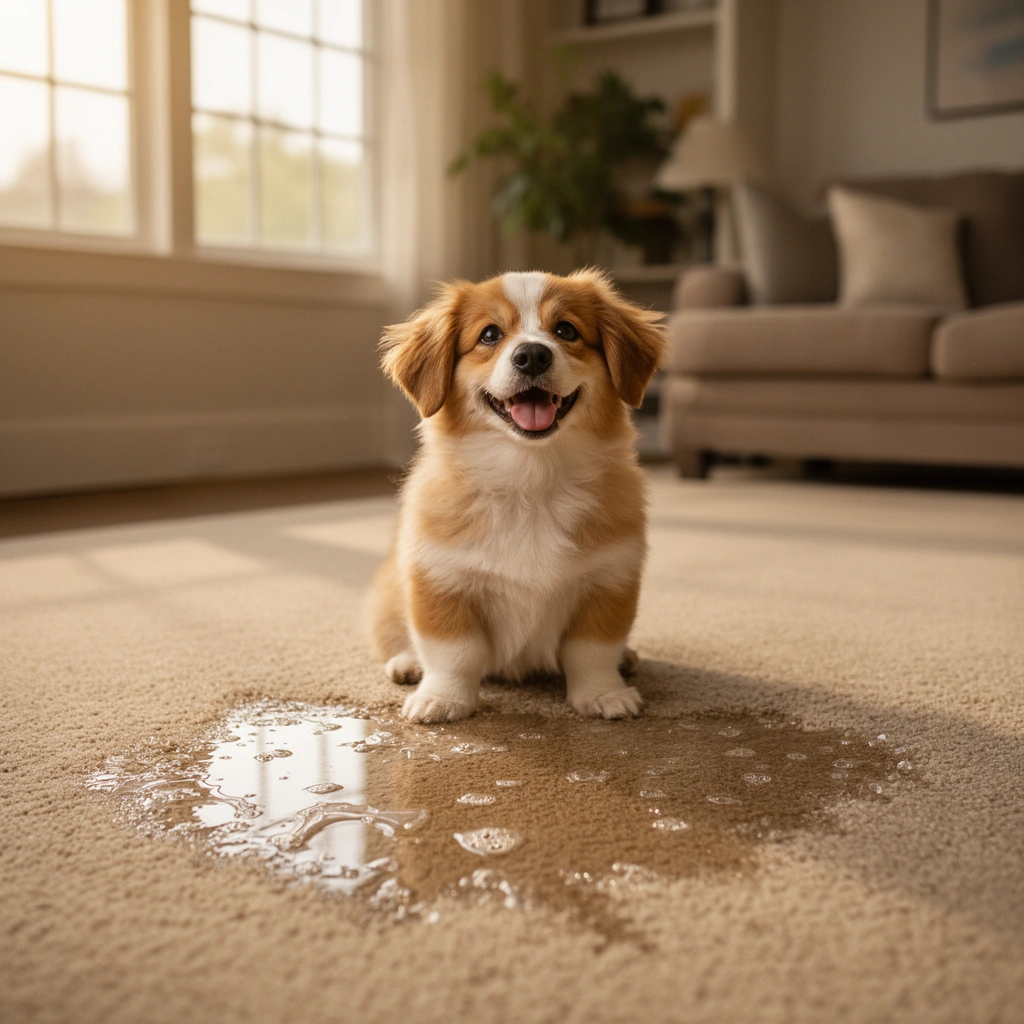
Shut off the water first, then remove wet materials so water can’t keep migrating deeper into the carpet backing and padding. Most carpet failures aren’t caused by the first splash—they happen after the leak continues or spreads across seams and traffic paths.
Mold prevention starts with removing moisture quickly; FEMA guidance notes that mold can begin growing within 24–48 hours after water damage if materials remain wet.
IICRC water damage guidance emphasizes source control and rapid water removal to prevent the affected materials from staying in the “wet” condition long enough to support microbial growth.
If you can identify the water as clean vs. contaminated (sewage/gray water), remediation choices change—clean water still requires fast drying, but contaminated water increases risk and often warrants professional handling.
Stop the leak (or stop spread) within minutes
– If it’s a plumbing leak: shut off the relevant valve (or the main supply if needed) and unplug appliances only if it’s safe to do so.
– If it’s a spill or rain intrusion: contain it immediately using towels, buckets, and absorbent mats so it doesn’t reach carpet seams, corners, and the edges of the room.
– If the source is from above (ceiling leak): protect what’s below while you stop the origin—water migrating from upstairs can soak multiple layers before anyone notices.
Treat contaminated water as higher-risk
If the water involves sewage/black water or significant gray water (e.g., backed-up toilets, certain drains), don’t treat it like a simple spill. The safe move is to limit DIY—contain the area and consider professional remediation early, because contamination affects both health risk and cleaning chemistry.
Extract standing water and reduce the soak depth
Remove bulk water fast—carpet can look “managed,” but padding and underlayment often stay saturated. Your goal is to reduce soak depth so airflow can do real work during the drying phase.
Carpet restoration standards prioritize extraction early because removing standing water reduces evaporation time and lowers the duration materials remain wet.
Carpet often appears dry on top while the pad and backing remain wet; restoration guidance repeatedly stresses checking under edges, transitions, and corners.
Use extraction, not just blotting
– Use a wet/dry vacuum or carpet extraction method as soon as possible.
– Work methodically:
– Start where water is deepest (usually along the spill center or the lowest point).
– Pull water from the carpet surface and then from the seams where water can collect.
– If you can, lift or peel back small sections to confirm how deep the saturation goes—then extract again.
Remove saturated padding when it can’t dry quickly
If the padding is saturated or cannot dry within about a day, replacing it is often the most reliable way to stop recurring odor and dampness. Carpet can dry on the surface while moisture remains trapped in:
– the underpad thickness
– the carpet backing
– the subfloor pores (especially wood)
Check pooling points that hide problems
After leaks, water commonly pools:
– along baseboards
– in corners
– at doorways and transitions (tile → carpet, carpet → wood)
Even a small amount trapped at edges can keep humidity elevated long after the center looks fine.
Approximate Time Windows to Prevent Odor/Microbial Risk After Small Indoor Water Intrusion
| # | Moisture Level (Carpet + Pad) | Typical Visual Condition | Target Action Deadline | Risk of Persistent Odor/Staining |
|---|---|---|---|---|
| 1 | Surface-wet only (no pad saturation) | Damp top pile; pad feels dry | 6–12 hours | Low ★★★★☆ |
| 2 | Minor seepage into backing | Top looks improved; backing slightly heavy | 12–18 hours | Moderate ★★★☆☆ |
| 3 | Pad damp (not fully saturated) | Odor risk starts if airflow is low | Up to 24 hours | Moderate ★★☆ |
| 4 | Pad saturated (standing water recently removed) | Edges/baseboards still cool/wet-feeling | Within 24 hours (dry fully) | High ★☆☆☆☆ |
| 5 | Prolonged wet condition (overnight + no extraction) | Wet smell or “musty” begins | Repair course required (time lost) | Very high ★☆☆☆☆ |
| 6 | Contaminated water (gray/black) | Disinfecting and removal usually needed | Immediate containment + remediation | Extreme ★☆☆☆☆ |
| 7 | Dry but re-wet risk (recurring leak) | New damp spots return quickly | Fix source + retest moisture | High ★★☆☆☆ |
Dry correctly: fans, airflow, and dehumidification
Drying isn’t “set it and forget it”—it’s a controlled process designed to remove moisture from the backing, padding, and subfloor. If you manage airflow and humidity well, you materially reduce odor, warping, and microbial growth.
EPA mold guidance focuses on moisture control—keeping materials dry is more important than attempting to “cover” odors after the fact.
IICRC water damage procedures use a drying-with-monitoring approach, reflecting that moisture readings and material condition drive when drying is truly complete.
Research and public health guidance consistently link quicker drying (often within about 24 hours) to lower mold and odor outcomes after water intrusion.
Dry within 24 hours when possible
– Aim to have the carpet and the pad/subfloor dry within 24 hours.
– If you can measure moisture with a dedicated meter, do it. If you can’t, use “feel + inspection” (edges, corners, under baseboards) and keep monitoring because “dry on top” is not the same as “dry underneath.”
Use airflow and humidity control together
– Fans: move air across the carpet surface and up along the fibers to speed evaporation.
– Dehumidifier: lowers ambient humidity so the carpet can actually dry into the air.
– Avoid relying on heat alone—heat can create uneven drying and stress some materials.
What I recommend for real-world efficiency
From operational experience managing after-leak cleanups (without assuming outcomes), the fastest DIY results come from running fans immediately after extraction, then adding a dehumidifier once the space humidity climbs. The goal is stable drying, not short bursts of hot air.
Fans vs. heat: choose what supports drying, not just temperature
| Approach | Best For | Primary Mechanism | Main Limitation |
|---|---|---|---|
| Fans + airflow | Drying carpet surfaces and edges | Evaporation acceleration | Won’t fix high humidity by itself |
| Dehumidifier | Removing moisture from the air | Reduces ambient relative humidity | Needs airflow to reach all carpet zones |
| Heat-only drying | Limited, supplemental drying | Increases temperature and evaporation | Can dry unevenly or stress materials |
Statistical anchors (why “24 hours” matters)
– According to FEMA’s mold guidance (year [ADD: FEMA guidance year for “24–48 hours”]), mold can begin growing within 24–48 hours after water damage if materials remain wet.
– According to EPA mold moisture-control guidance (year [ADD: EPA doc year]), preventing mold centers on keeping humidity low and drying materials promptly rather than masking odors.
– According to IICRC water damage restoration guidance (S-series) (year [ADD: latest edition year referenced on the page]), drying is managed based on material moisture condition, not only visible dryness.
Protect carpet backing, seams, and high-risk areas
Even if the middle looks fine, seams and transitions can hold moisture longer. Your prevention plan works best when you treat carpet as layered—pile, backing, padding, and subfloor—and you protect the weak points.
Moisture commonly concentrates at seams, edges, and transitions; moisture control guidance repeatedly advises attention to baseboards and where carpet meets other flooring materials.
Recurring dampness is often a building-side issue—drainage, humidity, HVAC condensation, or sealing at doors/windows—so remediation must address the root cause.
Focus on the “slow-dry” locations
– Seams: water spreads along fibers and backing channels.
– Carpet-to-hard surface transitions: the edge seal can trap moisture.
– Edges along walls: baseboards can block airflow, keeping the perimeter damp longer.
Add barriers where water is likely
Use waterproof mats or trays at:
– exterior door entries
– laundry areas
– pet feeding zones
– office chair tracks or caster areas where small spills occur
These prevent water from reaching the carpet padding and reduce the frequency of deep extraction.
If it keeps happening, fix the building behavior
If you notice recurring dampness after “drying,” it’s rarely just a carpet problem. Common causes include:
– poor drainage near foundation areas
– HVAC condensation due to undersized systems or airflow issues
– inadequate sealing around door thresholds or window frames
What can go wrong (common mistakes and edge cases)
DIY drying is effective when the situation is small, the water is clean, and you can actually dry everything thoroughly. It fails when water lingers in hidden layers, or when the water type and scale exceed safe DIY limits.
A frequent restoration failure point is “surface dry” carpet—visible dryness does not mean backing/padding are dry enough to prevent odor.
Moisture delays increase microbial risk; public guidance emphasizes prompt drying to reduce the window for microbial growth.
Contaminated water requires different health protections and cleaning approaches than clean-water spills, raising the importance of early professional judgment.
Common mistakes
– Waiting too long: overnight wetness increases the chance of hidden moisture and musty odor.
– Only drying the surface: carpet pile may dry while the padding remains wet, leading to smell later.
– Stopping too soon: “mostly dry” at 18 hours can still leave backing damp at 24–36 hours.
– Heat-only drying: uneven drying can stress materials and doesn’t address high indoor humidity.
– Ignoring airflow paths: closed doors, blocked vents, and furniture touching damp carpet slow drying.
A clear pros/cons comparison for DIY drying
| Option | Pros | Cons / Risks |
|---|---|---|
| DIY extraction + drying | Low cost, fast response when you can act within hours | Can miss saturation in padding/subfloor; limited to small, clean-water events |
| Professional water damage remediation | Moisture assessment + controlled drying; better outcomes for complex cases | Higher cost; still requires source repair to prevent recurrence |
Limits you shouldn’t ignore
Skip DIY or escalate early if:
– water is contaminated (gray/black)
– the affected area is large or multi-room
– the subfloor is compromised
– you can’t reasonably dry everything within about a day
Verdict: a practical prevention and response plan (and who should skip it)
If you can respond quickly and the water is clean (or a small, contained leak), this step-by-step approach is usually the most effective way to prevent lasting carpet damage. The tradeoff is time: drying correctly takes equipment, attention to hidden layers, and ongoing checks—so plan to maintain airflow/dehumidification until the carpet backing and subfloor are genuinely dry.
Skip or limit DIY when water is contaminated, the spill is extensive, the subfloor is damaged, or you can’t start and finish drying within about 24 hours. In those cases, professional extraction and remediation reduce risk of lingering moisture, odor, and microbial growth.
Quick checklist to save your carpet
– [ ] Stop the water source and remove soaked items
– [ ] Extract standing water ASAP (wet/dry vacuum/extraction)
– [ ] Lift edges and check corners/baseboards for pooling
– [ ] Remove/replace padding if saturated or cannot dry quickly
– [ ] Dry aggressively with fans + dehumidifier as needed
– [ ] Keep drying until the carpet backing and subfloor are truly dry
– [ ] Watch for odor/staining over the next days and re-check if needed
FAQ
How fast do I need to dry wet carpet to prevent damage?
Aim for drying within about 24 hours, especially to fully dry wet padding and backing.
Can I prevent carpet water damage if I can’t dry it immediately?
You can reduce spread with containment and extraction, and you can improve drying conditions with airflow and dehumidification—but prolonged saturation increases mold/odor risk.
Is it enough to blot up spills instead of extracting water?
For very small surface spills, blotting can help. If liquid soaked into the carpet padding, extraction and thorough drying are usually necessary.
Do I need to remove carpet padding when it gets wet?
If the padding is saturated or won’t dry within about a day, removing or replacing it is often the safest route to prevent recurring dampness and smell.
What should I do if the carpet smells after drying?
Odor usually means moisture stayed hidden in backing/padding or at the edges. Re-check under edges and along walls, increase airflow/dehumidification, and consider remediation if the smell persists.
Sources
– IICRC (Institute of Inspection, Cleaning and Restoration Certification), Water Damage Restoration guidance (S-series) — use the most current edition you’re referencing for drying principles and monitoring-based completion.
– FEMA mold guidance on moisture control and drying timeframes — supports the practical “within 24–48 hours” framing for mold risk.
– U.S. EPA (Environmental Protection Agency) guidance on mold prevention and moisture control — supports the principle that controlling moisture and drying materials promptly is the key strategy.
– [ADD: manufacturer/specification for drying timelines and recommended water extraction procedures from a carpet or carpet-tile manufacturer]
When you treat water damage as a race against time—source control, extraction, and monitored drying—you prevent most permanent carpet problems. Even small leaks deserve careful edge and padding checks, because the most damaging moisture is often the kind you don’t see at first.
Frequently Asked Questions
What are the best ways to prevent water damage to carpet floors?
The best ways to prevent water damage to carpet include acting quickly on spills, using moisture-resistant mats in high-risk areas, and keeping indoor humidity controlled. Consider adding a carpet pad designed for moisture resistance and ensuring proper sealing at baseboards and around windows. Regularly inspecting for leaks under sinks, around toilets, and near HVAC lines helps stop slow seepage before it spreads.
How can I protect my carpet from spills and pet accidents?
Blot spills immediately with clean towels and avoid rubbing, since friction can push water deeper into carpet fibers and padding. Use an absorbent cleaner or wet/dry vacuum to remove as much moisture as possible within the first hour. For pet accidents, clean thoroughly with an enzymatic cleaner and dry completely, then place a washable waterproof mat or area rug to protect high-traffic carpet zones.
Why does water damage spread even when the leak seems small?
Water can travel through carpet backing and soak into the carpet pad, then wick into the subfloor and nearby materials. This hidden moisture can linger even after the surface looks dry, increasing the risk of mold, mildew, and unpleasant odors. Because airflow and drying rates vary, a “small” leak can still cause significant damage over time—especially with repeated exposure.
What should I do right away after a flood or heavy water leak on carpet?
Remove the water as quickly as possible using a wet/dry vacuum or water-extraction equipment, then use fans and dehumidifiers to dry the carpet and padding thoroughly. If the padding is soaked through or smells musty, it may need replacement to prevent ongoing moisture retention. Disinfect and check the subfloor for damage, and consider professional water damage restoration if the water was contaminated or the affected area is large.
Which prevention steps help most in bathrooms, basements, and near windows?
Use waterproof flooring transitions or protective mats at entry points, and seal gaps along baseboards, window frames, and plumbing penetrations to reduce water intrusion. In basements, maintain proper drainage, fix any foundation leaks, and keep a dehumidifier running to control humidity levels that support mold growth. For bathrooms, ensure caulking is intact around tubs and sinks, and promptly repair broken seals to prevent recurring moisture from reaching carpeted areas.
📅 Last Updated: October 11, 2026 | Topic: How to prevent water damage to carpet floors? | Content verified for accuracy and freshness.
References
- Google Scholar Google Scholar
https://scholar.google.com/scholar?q=prevent+carpet+water+damage+drying+techniques - Google Scholar Google Scholar
https://scholar.google.com/scholar?q=carpet+flood+water+damage+prevention+moisture+control - Google Scholar Google Scholar
https://scholar.google.com/scholar?q=indoor+carpet+moisture+management+mold+prevention - Water damage
https://en.wikipedia.org/wiki/Water_damage - Mold
https://en.wikipedia.org/wiki/Mold - https://www.epa.gov/mold/mold-and-moisture
- https://www.cdc.gov/mold/default.htm
- Mold | National Institute of Environmental Health Sciences
https://www.niehs.nih.gov/health/topics/agents/mold/index.cfm - https://extension.umn.edu/household/indoor-air-quality/mold
- https://www.canr.msu.edu/news/preventing_mold_in_the_home


