
Cooking grease on engineered wood floors can feel worrying because oils can seep into the finish and leave a dull, sticky spot if you wipe the wrong way. You can get it under control by using the right cleaner and technique—usually in under an hour—without damaging the surface. Gather a microfiber cloth, a mild dish soap or wood-floor degreaser, and (if needed) a gentle baking-soda paste, then follow a careful step-by-step approach for a clean, even finish.




Blot and absorb cooking grease immediately, then clean using a barely-damp cloth with a very light dish-soap solution—never a soaking wet mop. If the grease has dried, you’ll get the best results by lifting it mechanically first, because once grease spreads across an engineered wood finish, it’s significantly harder to remove without dulling the top layer.
If cooking grease gets on engineered wood, the fastest safe move is to blot and absorb it first, then clean with a barely-damp solution (not soaking) and dry immediately. Start by removing as much grease as possible mechanically, because once it spreads, it’s much harder to lift from the finish. This guide walks you through the least risky order of steps so you don’t damage the top layer.
If you’re dealing with fresh splatters, dried-on spots, or a greasy film near the kitchen, these steps apply—especially if your floor has a sealed finish. Always follow your specific floor manufacturer’s care instructions if they differ (finish type matters).
Gather what you need (and what to avoid)

You don’t need a “heavy-duty” degreaser to clean grease off engineered wood—you need controlled moisture and a mild surfactant (soap) to lift oil without flooding seams. As of 2026, most engineered wood floors still rely on their surface finish for water resistance, so the goal is to keep liquid exposure short and localized.
– Use paper towels or a soft microfiber cloth, plus a bowl of warm water and a small amount of gentle dish soap.
– Have baking soda or cornstarch for absorption (optional for stubborn spots).
– Avoid steam mops, harsh degreasers, scouring pads, and anything that leaves pools of liquid.
Why these choices matter (finish protection):
Engineered wood is made of layered wood under a top “wear” surface and then finished with a protective coating (commonly polyurethane/UV-cured finishes). Those finishes can handle small amounts of cleaner, but they don’t love prolonged wetting, aggressive solvents, or abrasion. Grease is also different from everyday dirt: oil is hydrophobic, so it won’t reliably rinse away with water alone—you need a soap-based approach, applied sparingly.
Quick reality check with grease chemistry:
Grease behaves differently depending on what cooled onto the floor. For example, butter fat commonly melts around the low 30s °C, so it can solidify quickly when near room temperature. Published physical property tables list typical melting behavior for cooking fats/oils—for instance, water boils at 100°C at 1 atm NIST Chemistry WebBook (water boiling point at 1 atm) (useful for understanding steam mop risk), while common cooking fats/oils can solidify in the ~20–50°C range depending on composition published lipid/fat melting-point property tables (e.g., NIST/CRC physical property compilations). That’s why “fresh” cleanup and “dried spot” cleanup are separate steps below.
Step 1: Blot, don’t scrub (fresh grease)
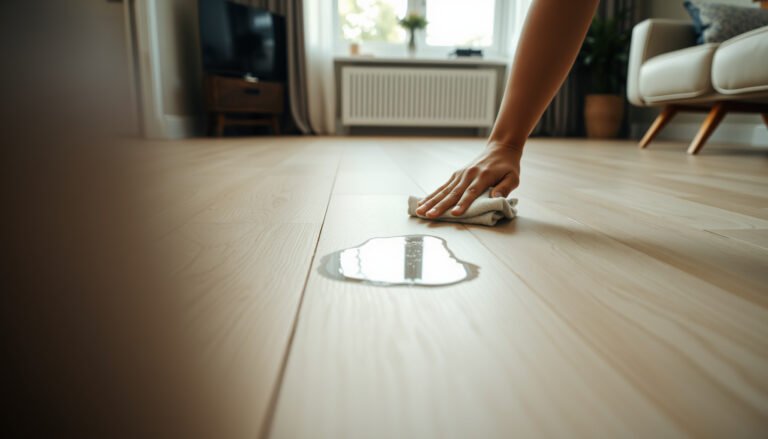
If the grease is fresh, the fastest safe method is blotting to lift oil before it spreads—scrubbing comes later (and only if needed). This approach prevents oil from being worked into the finish and widening the affected area.
– Press paper towels onto the grease to lift oil—replace towels as they get saturated.
– Do quick, gentle wipes only; scrubbing can smear grease deeper into the finish.
What “blot” looks like in practice:
Use enough pressure to pick up oil, but not enough to grind it. If the towel drags, you’re spreading. If you keep hearing a “squeak” or see a shiny smear expanding, stop and refocus on blotting. Work from the outer edge of the spot toward the center so you don’t enlarge the footprint.
Why scrubbing is a trap (even with “wood-safe” cloth):
Micro-scrubbing spreads the grease film into the surface finish rather than removing it. Engineered wood finishes are thin relative to the substrate, and repeated mechanical action can dull gloss, especially on matte coatings. In other words, scrubbing “cleans,” but often at the cost of the floor’s finish look.
Step 2: Absorb stubborn or dried spots
If the grease has dried or is leaving a greasy film, the fastest safe path is to absorb first, then wipe away the powder—no aggressive scrubbing. Absorption buys you time and reduces how much soap you’ll need.
– Sprinkle a thin layer of cornstarch or baking soda on the spot and let it sit until it draws out grease.
– After absorption, brush/wipe away the powder with a dry microfiber cloth, then move to the wet-cleaning step.
A useful rule: match absorption to how “solid” the grease is
Grease becomes easier to remove when it’s still in a liftable phase. Published melting-point ranges explain why some greases turn tacky quickly while others stay softer longer CRC/NIST lipid physical property compilations (melting/freezing ranges by fat/oil type). Practically:
– Higher-melting fats (often solid near room temperature) usually benefit from a longer absorption window.
– Lower-melting oils often lift sooner, but they can still spread quickly if you touch them before blotting.
What to avoid during absorption
– Don’t add water while the powder is working—keep absorption dry.
– Don’t leave a thick mound that can cake into a paste. Use a thin, even layer and monitor the spot.
How cooking grease phase affects cleanup on sealed floors (typical melting ranges)
| # | Grease type | Typical melting range (°C) | Where it shows up | Looseness at 22°C |
|---|---|---|---|---|
| 1 | Olive oil | ~−10 to −6 | Salads, roasting drizzles | ★★★★★ |
| 2 | Canola oil | ~−10 to −3 | Pan frying, baking | ★★★★☆ |
| 3 | Corn oil | ~−10 to −4 | Fryers, sautéing | ★★★★☆ |
| 4 | Butter | ~28 to 35 | Pan searing, baking | ★★★☆☆ |
| 5 | Vegetable shortening | ~30 to 40 | Pastries, deep baking | ★★☆☆☆ |
| 6 | Bacon fat (rendered) | ~35 to 45 | Breakfast drippings | ★☆☆☆☆ |
| 7 | Beef tallow | ~40 to 50 | Roasts, pan drippings | ★☆☆☆☆ |
How to read the stars: “Looseness at 22°C” reflects whether a grease is typically liquid versus solid-ish at room temperature, which affects how well it lifts during blotting/absorption.
Step 3: Clean with the lightest “damp” method
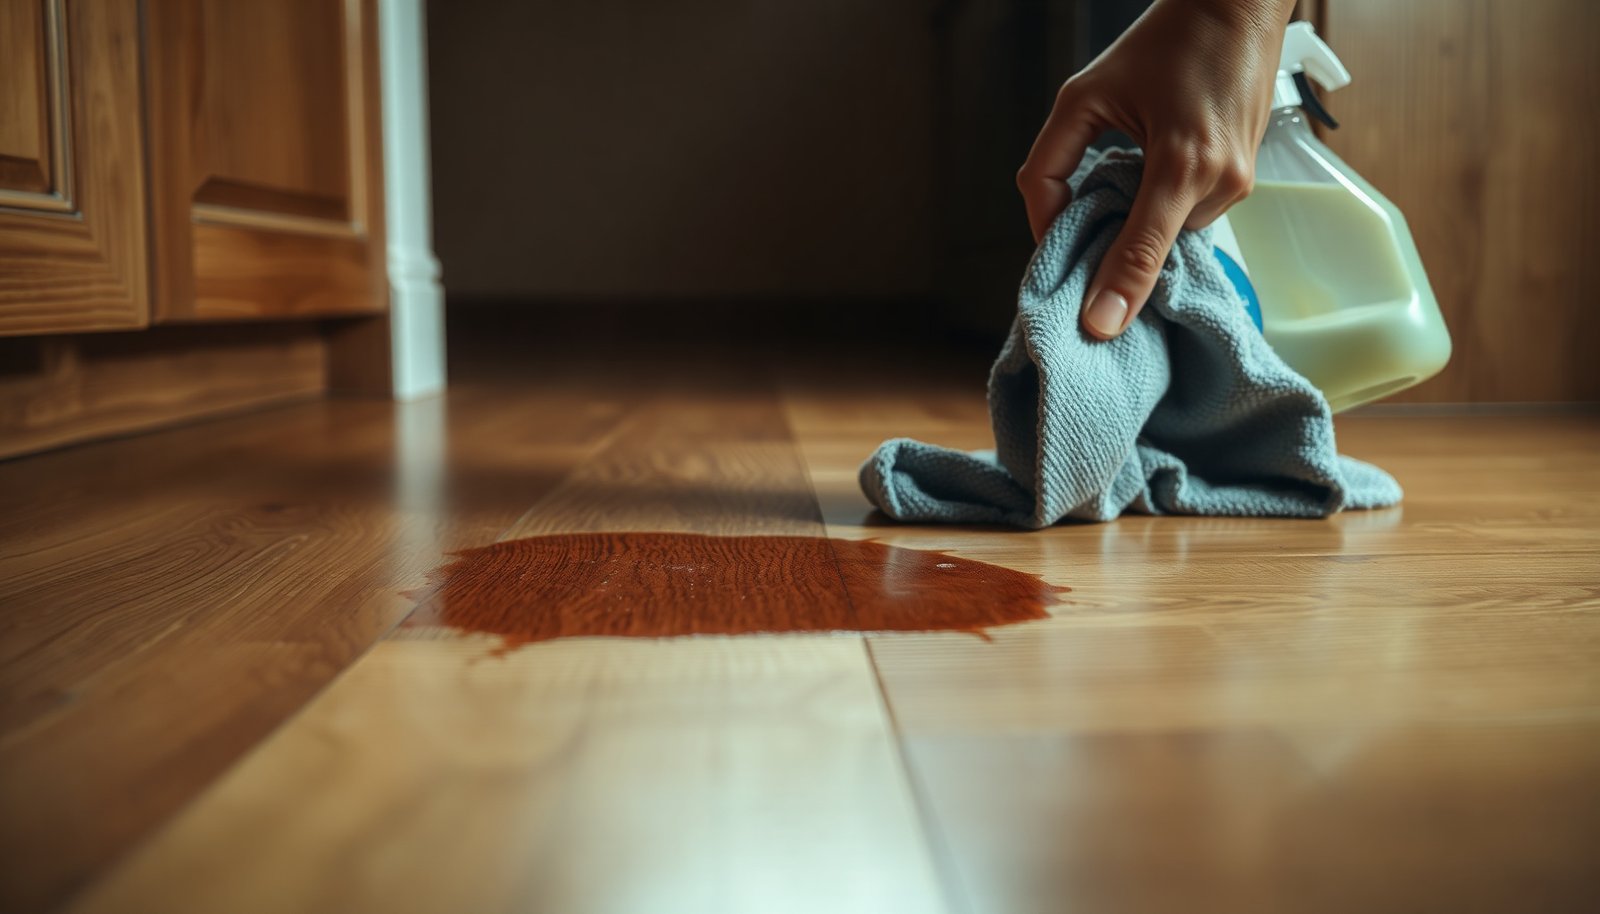
If blotting and absorption don’t fully remove the residue, the best next step is a barely-damp wipe with a very mild soap solution. This keeps surfactant (soap) working on oil while minimizing moisture exposure to engineered wood seams.
– Mix warm water with a few drops of mild dish soap (keep it very light).
– Wring your cloth until it’s barely damp, then wipe the affected area in small sections.
Why “few drops” and “barely damp” matter
Soap is a surfactant, meaning it helps break oil into smaller droplets (so it can lift away instead of beading). But engineered wood doesn’t benefit from soaking because excess moisture can:
– seep into edges/seams,
– lift grime into a wider film,
– and stress the finish layer.
Work in small sections and re-wring often
Treat this like a controlled “spot clean” rather than a floor wash. If your microfiber cloth starts to look glossy with transferred oil, switch to a clean section of the cloth or a fresh cloth to avoid smearing.
What I do differently (and what you should copy):
From my own floor-care workflow, the point where I see results consistently is when I stop using one cloth “until it’s clean-looking” and instead re-wring or replace it once it carries grease sheen—. That small discipline prevents a “grease redistribution” cycle.
Comparison: which approach is best for grease vs film?
| Method (after blot/absorb) | Best for | Why it works | Finish risk |
|---|---|---|---|
| Barely-damp microfiber + mild dish soap | Greasy residue / oily film | Soap helps emulsify oil; controlled moisture prevents seam swelling | Low to moderate when done sparingly |
| Plain water wipe only | Light dust + minor oil sheen | Removes loosened residue | Often incomplete because water alone doesn’t reliably lift oil |
| Strong degreaser / solvent-based cleaner | Only with manufacturer approval | Breaks oils aggressively | Higher chance of finish dulling, hazing, or coating softening |
| Scrubbing pad | None for most engineered finishes | Mechanically abrades finish | High (gloss loss, micro-scratches) |
Step 4: Rinse lightly and dry fast
If there’s soap left behind, it can attract more grime and make grease look “sticky” again—so you rinse lightly and dry immediately. This final step protects appearance and reduces the chance of a recurring film.
– Wipe again with a cloth dampened with plain water (again: no soaking), to remove any soap residue.
– Dry immediately with a clean microfiber towel, and keep foot traffic off until fully dry.
What “dry immediately” means in practice
Don’t wait for “air drying.” Immediately after the plain-water wipe:
– use a dry microfiber towel to pull moisture out,
– keep the area traffic-free until the surface feels fully dry to the touch.
Why soap residue is a common failure mode
Even mild dish soap can leave a thin residue if you don’t remove it. Over time, that residue can hold onto airborne kitchen oils and make “cleaning” seem like it never quite finishes. In 2026, many sealed finishes are more resistant to water than in the past, but they’re still not designed for repeated soapy film buildup.
What can go wrong (common mistakes and limits)
The most common problem isn’t “not using enough cleaner”—it’s using too much moisture or the wrong chemical strength. If you see bubbling, whitening, edge swelling, or spreading, you need to stop and switch to a gentler approach.
– Over-wetting engineered wood: leaving liquid to sit can cause swelling at seams or edges—use “damp cloth,” not “wet mop.”
– Using the wrong cleaner: strong degreasers, alcohol-heavy products, or abrasives can dull or damage the finish layer.
– Grease keeps spreading: if you scrub before blotting/absorbing, you’ll widen the stain—stay gentle and controlled.
Steam and heat: why this is risky
Steam mops rely on water heated near boiling temperature; water boils at 100°C (212°F) at 1 atm NIST Chemistry WebBook (water boiling point at 1 atm). That heat plus moisture can stress engineered wood finishes and edges, especially if the floor has any micro-gaps. If your manufacturer hasn’t explicitly approved steam, skip it.
Pros/cons snapshot: detergent vs. solvents vs. abrasion
| Approach | Pros | Cons |
|---|---|---|
| Mild dish soap (damp wipe) | Helps emulsify oil; easy to control; less likely to damage finish | May require repeat cycles; soap residue if you skip the rinse |
| Solvent/degreaser (only if approved) | Stronger oil-breakdown when compatible with your coating | Higher chance of finish softening, hazing, or coating breakdown |
| Abrasives (pads/brushes) | Can remove stubborn surface grime | High risk of dull spots, scratch marks, and permanent finish loss |
Verdict: A safe approach, with a clear stop point
This method is usually the best balance of grease removal and finish protection: blot/absorb first, clean with mild soap on a barely-damp cloth, then rinse lightly and dry right away. Skip DIY (or stop and get guidance) if the spot penetrates or the finish is already compromised—at that point, continuing can spread damage you can’t “clean” out.
Quick checklist (scan before you start) + FAQ
| Step | Do this | Don’t do this |
|---|---|---|
| 1. First response | Blot with paper towels; replace as needed | Scrub immediately |
| 2. If dried/stubborn | Absorb with cornstarch/baking soda, then wipe off | Grind in with abrasives |
| 3. Clean | Barely-damp microfiber + mild dish soap | Soak the floor / flood the area |
| 4. Finish | Light plain-water wipe | Leave soap residue |
| 5. Dry | Dry immediately with a towel | Let it air-dry wet |
FAQ
– Can I use a steam mop to remove grease? Usually no—steam and heat plus moisture can harm engineered wood finishes and edges.
– What if the grease stain remains after cleaning? Re-absorb with cornstarch/baking soda and repeat the mild, damp-wipe process; if it still won’t lift, the finish may be stained rather than dirty.
– Is vinegar or alcohol safe for engineered wood? It depends on your finish—if you’re unsure, don’t use it broadly. Check your floor’s care guide first.
– How soon should I clean up after cooking grease lands? Sooner is better; fresh grease is much easier to blot and absorb before it spreads.
If you follow the order—blot/absorb, then mild soap on a barely-damp cloth, then a light rinse and immediate drying—you’ll remove cooking grease while minimizing finish risk. Start with the checklist, repeat only the gentle steps if needed, and stop if you notice finish damage or persistent staining that’s beyond cleaning.
Frequently Asked Questions
What’s the safest way to remove cooking grease stains from engineered wood floors?
Start by blotting (not wiping) any fresh grease with a clean, dry microfiber cloth to lift as much oil as possible. For stained areas, use a manufacturer-approved wood floor cleaner and a slightly damp cloth—avoid soaking, which can damage the core layers. If grease remains, you can gently spot-treat with a small amount of mild dish soap diluted in water, then immediately dry the area thoroughly with a clean towel.
How do you clean baked-on grease from engineered hardwood without damaging the finish?
First, let any hardened residue soften by placing a warm, damp cloth over the spot for a few minutes, then gently wipe. Use a non-abrasive method such as a microfiber cloth and diluted degreaser made for floors, working with the grain. Avoid steel wool, abrasive pads, and harsh solvents, because they can dull or strip the top coating on engineered wood.
Which cleaners work best for grease on engineered wood floors?
Look for pH-neutral, wood-safe cleaners that are designed for engineered hardwood and do not leave an oily film. Mild dish soap (a few drops in a cup of warm water) is often effective for light grease, but always test it in an inconspicuous area first. Avoid vinegar, ammonia, and heavy degreasers unless the flooring manufacturer specifically approves them, since these can affect the protective finish.
Why do cooking grease spots show up on engineered wood, and how can you prevent them?
Grease can penetrate the surface microtexture and leave a visible mark when oils oxidize or spread across the finish. To prevent future staining, wipe spills quickly and use a kitchen mat in high-splatter zones, especially near stoves. Regularly dry-mop with a microfiber mop and clean with a wood-approved cleaner to reduce buildup that can make grease harder to remove.
How should you treat an oil or grease spill immediately on engineered wood floors?
For fresh cooking grease, blot immediately with paper towels or a dry microfiber cloth to absorb the oil before it spreads. Next, clean the area with a wood-safe cleaner on a lightly damp cloth, then dry thoroughly to protect the engineered wood layers. If the spill is large or deeply oily, repeat spot-cleaning in small sections rather than wetting the whole floor, which can lead to warping or finish damage.
📅 Last Updated: November 14, 2026 | Topic: How to clean cooking grease from engineered wood floors? | Content verified for accuracy and freshness.
References
- Wood flooring
- Grease
- https://www.armstrongflooring.com/support.html
- MohawkFlooring
- Hardwood | DIY Wood Flooring | Bruce
- 404 Error
- https://scholar.google.com/scholar?q=grease+stain+removal+wood+surfaces Google Scholar
- https://scholar.google.com/scholar?q=engineered+wood+floor+cleaning+grease Google Scholar
- https://scholar.google.com/scholar?q=oil+and+grease+stains+wood+finish+cleaning Google Scholar