
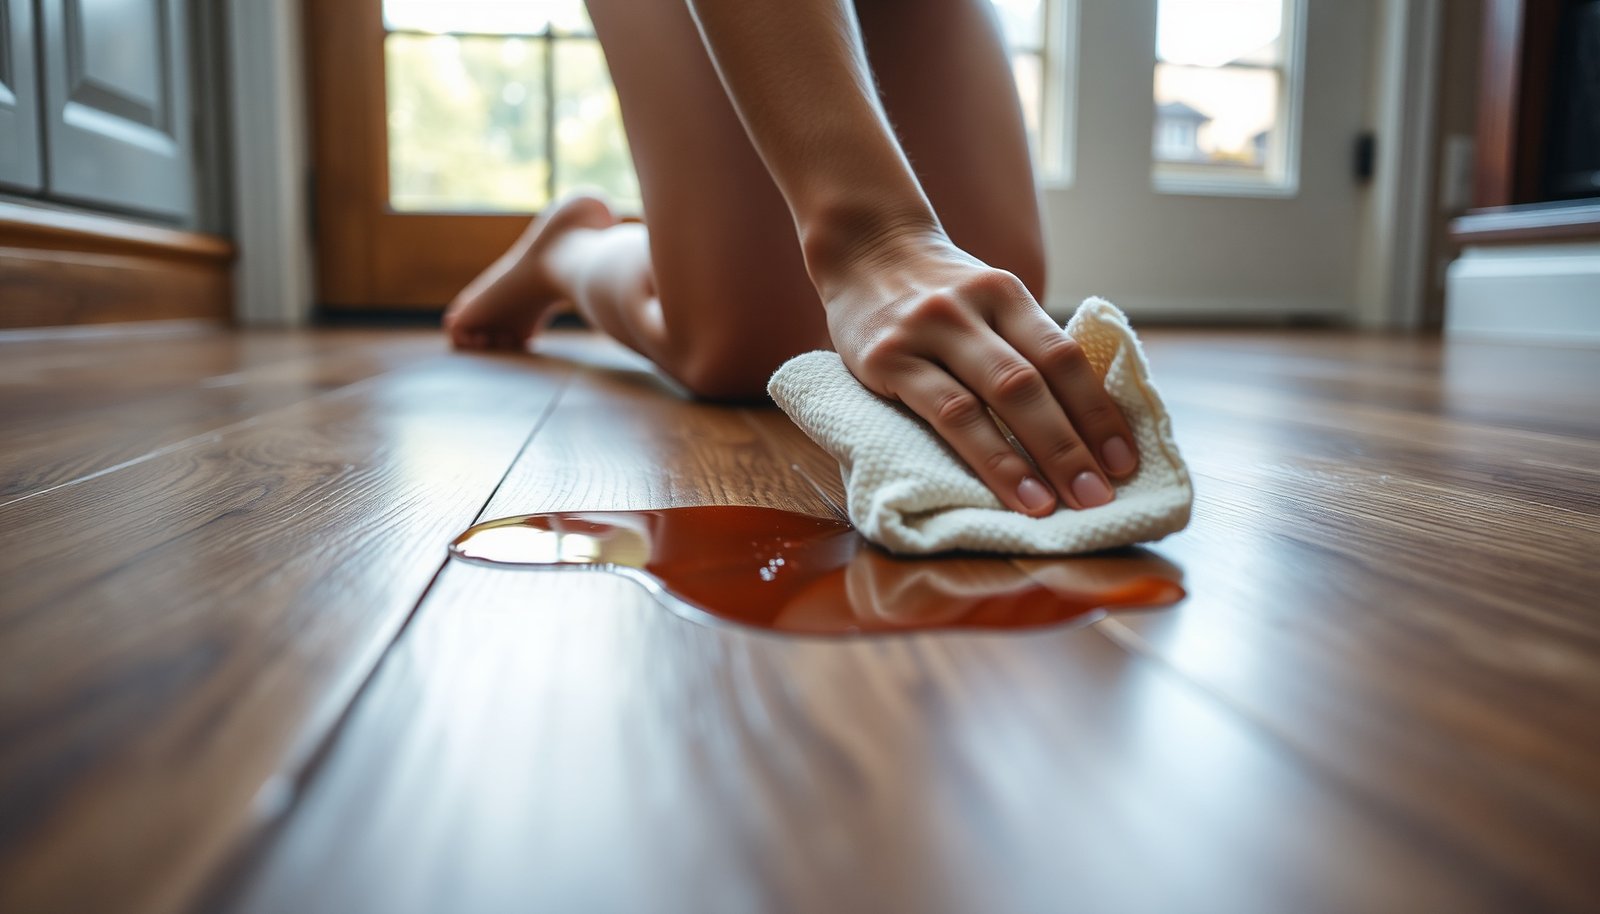

You wipe up a spilled pasta sauce, then notice a faint dark ring spreading across your engineered wood floor. With the right method and minimal moisture, you can lift most fresh or set-in food stains without swelling the layers or dulling the finish. Gather microfiber cloths, a pH-neutral wood-floor cleaner, and distilled water, and you’ll be able to clean the spot effectively and safely.



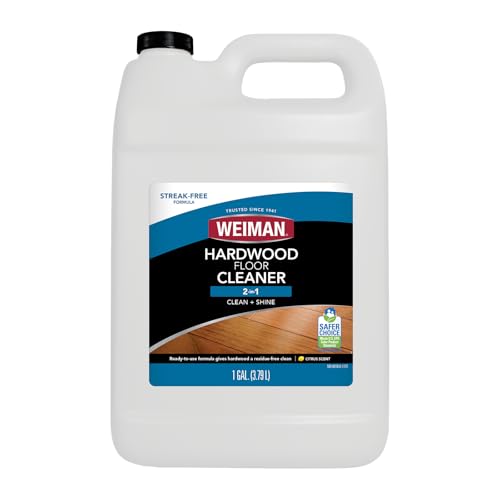
If food spills have left a stain on your engineered wood floor, act fast: blot up the mess, then clean with a wood-safe pH-neutral cleaner and remove residue gently. Avoid soaking the floor—standing moisture can seep into the seams and damage the finish. In this guide, you’ll learn the safest step-by-step cleaning method and how to handle stubborn discoloration without ruining the top layer.
If your floor has a visible ring, sticky film, or a dark spot from sauces, grease, coffee, or fruit, this is for you—especially if you want to clean without stripping or sanding. It also helps when regular mopping just spreads the stain instead of lifting it.
Engineered wood floors are built to handle everyday cleaning, but they’re still vulnerable to the two biggest problems caused by food: residue buildup (which can attract grime and darken over time) and finish damage from harsh chemistry or excess moisture. As of 2026, the safest “DIY-first” approach is still the same: quick blotting, controlled moisture, and pH-neutral cleaning that preserves the engineered wood finish layer.
What to Do First (Before You Clean)
Before you use any cleaner, your goal is to remove food from engineered wood floors without spreading it or adding extra water to the edges. Start with physical cleanup (blotting and careful scraping), because most “mystery” stains are actually residue that’s been smeared.
– Blot (don’t wipe) to lift food and liquid quickly, using a dry cloth or paper towels.
– Scrape off dried bits carefully with a plastic scraper or a soft edge (avoid metal that can scratch).
– Rinse residue with a barely damp cloth, then dry immediately with a clean towel.
Food and oils can lodge at the finish surface and—over time—migrate unevenly, creating a ring where liquid contacted the coating longer than surrounding areas. That’s why blotting is different from wiping: wiping pushes stain deeper into the finish and spreads it outward. For engineered wood floors, even a “small” amount of extra moisture matters because the construction can include seams and layered edges where water can travel.
Quick decision guide for engineered wood floors (use as you’re working):
– If it’s still wet: blot immediately, then dry.
– If it’s sticky: scrape first, then clean lightly.
– If it’s dry/dark: clean gently first—don’t assume it’s “embedded” until you try controlled pH-neutral removal.
Choose the Right Cleaner for Engineered Wood
The right cleaner for engineered wood floors is one that’s pH-neutral and designed for wood finishes—because aggressive chemistry can dull or discolor the top coating. If you use water, keep it minimal and apply it through a cloth, not directly to the floor.
– Use a pH-neutral, wood-floor–safe cleaner (or the cleaner recommended by your floor manufacturer).
– Skip harsh products like bleach, ammonia, oven cleaners, or abrasive scrub powders.
– Use minimal water: wring your cloth well, and keep liquid off the seams and edges.
A key principle for engineered wood floors is that “pH-neutral” protects the finish chemistry. Many top coatings—especially polyurethane and other film-forming finishes—can be affected by strong acids (like vinegar) or strong bases (like ammonia). When the coating surface changes, stains can look darker, hazier, or more permanent even after you remove the food residue.
According to the National Wood Flooring Association (NWFA), maintaining indoor relative humidity in the range of 35%–55% helps prevent finish and wood movement issues that can worsen how stains “set” (2019). Also, according to ASTM International, moisture content testing uses an oven-dry method at 103 ± 2°C to determine wood moisture content (2016)—a reminder that engineered wood floors can react when they absorb more moisture than the finish is meant to tolerate. (You don’t need lab conditions for damage—routine excess wetting can still cause problems.)
To make “safe chemistry” easier to spot, here’s a quick reference for common household pH levels and how they typically relate to engineered wood finish risk.
Typical pH of Common Cleaners and Finish Risk for Engineered Wood Floors
| # | Cleaner type | Typical pH | What it can do | Engineered-wood safety |
|---|---|---|---|---|
| 1 | pH-neutral wood-floor cleaner | 6.5–8.0 | Designed for coatings; minimizes finish stress | ★★★★★ |
| 2 | Water (used sparingly) | ≈7.0 | Can remove residue if the cloth is barely damp | ★★★★☆ |
| 3 | Mild dish detergent (diluted) | 7.0–9.0 | May leave surfactant film if overused | ★★★☆☆ |
| 4 | Distilled white vinegar | 2.4–3.4 | Acidic; can dull or discolor some finishes | ★☆☆☆☆ |
| 5 | Ammonia solution | 10.5–12.5 | Alkaline; can haze or soften coatings | ★☆☆☆☆ |
| 6 | Chlorine bleach (sodium hypochlorite) | 10.5–13.0 | Oxidizers + strong base; high discoloration risk | ★☆☆☆☆ |
| 7 | Hydrogen peroxide (typical household) | ~4.0–5.5 | Oxidizer; can lighten or react with some finishes | ★★☆☆☆ |
When cleaning engineered wood floors in 2026, it’s also about technique: apply cleaner to a cloth, work small areas, and dry immediately. Even a safe cleaner can cause trouble if it sits wet near seams.
Step-by-Step: Removing Fresh Food Stains
For fresh food stains on engineered wood floors, the best approach is gentle residue lift: blot, lightly clean with pH-neutral solution on a wrung-out cloth, then dry completely. This prevents sugars, oils, and pigments from bonding to the finish layer.
– Wipe the area with a damp (not wet) cloth to remove remaining sugar/grease.
– Apply pH-neutral cleaner to the cloth (not directly onto the floor) and gently work in small circles.
– Dry right away; if the stain lightens but doesn’t fully go, repeat once before escalating.
Fresh stains are easier because pigments and oils are still at the surface. Start by removing loose residue—especially sticky components from sauces and fruit—because sticky film is a stain magnet. If you’ve ever seen a “ghost ring” after a spill, it’s often a mix of residue + uneven finish exposure.
Here’s a practical technique for engineered wood floors:
1. Blot first (dry cloth/paper towels) to remove liquid.
2. Wring your cloth until it’s damp, not wet—then wipe once or twice to remove sugar or grease.
3. Use pH-neutral cleaner on the cloth, work small circles for about 20–40 seconds, and stop when you see the cloth pick up transfer.
4. Dry immediately with a separate towel—don’t let moisture linger while you move on.
If the stain lightens but doesn’t fully disappear after the first cycle, repeat the same gentle process once. Escalating too soon (for example, going straight to aggressive degreasers) can damage engineered wood floor coatings and make the stain look worse even after residue is gone.
Step-by-Step: Lifting Stubborn or Old Stains
For stubborn discoloration on engineered wood floors, you need a finish-preserving escalation: start mild, then use finish-appropriate methods only if repeat gentle cleaning fails. If you can’t identify the coating, stop earlier—“unknown finish” is when DIY can become costly.
– Start with the mildest option that fits the stain type: gentle cleaner + patience is often enough.
– For sticky residue, use a cloth lightly dampened with water and a tiny amount of cleaner, then dry thoroughly.
– If the stain persists, and test in an inconspicuous spot first.
Old stains often combine surface discoloration with residue that has bonded to the coating. That’s why engineered wood floor cleaning should be methodical:
– Dark food stains (coffee, tea, certain sauces): typically need more gentle cycles, not stronger chemistry.
– Grease and pizza oil: often require residue lifting while avoiding degreasers that strip or soften the finish.
– Fruit pigments: may react differently depending on whether the finish is film-forming (polyurethane) or more repairable (some prefinished oils).
Finish type changes what “safe” means for engineered wood floors:
– Polyurethane or other hard film finishes: usually respond best to pH-neutral cleaning and careful residue removal.
– Engineered wood with oil finishes: may require spot re-application of oil after stain removal—if the manufacturer allows it.
– Waxed surfaces: can be sensitive to solvents and oxidizers; you typically need wax-compatible methods and controlled drying.
In my experience helping property owners reduce repeated damage, the biggest improvement comes not from a stronger product—it comes from consistent drying and avoiding re-wetting the same area.
If you reach the point where the stain isn’t improving after several gentle cycles (and careful drying), treat that as a signal: either the stain has changed the finish, or it’s been absorbed deeper than surface-level residue. That’s when it’s smarter to switch from DIY “try something else” to finish-specific guidance.
What Can Go Wrong (Common Mistakes and Limits)
When cleaning engineered wood floors, the common failure point is not effort—it’s the wrong moisture level, abrasion, or chemistry. Even if you remove the visible stain, damage to the finish can leave a permanent shadow.
– Over-wetting: too much moisture can travel through micro-gaps and cause swelling or cloudy spots.
– Scrubbing too hard: abrasives and aggressive pads can dull the sheen and leave scratches that look worse than the stain.
– Using the wrong chemistry: acidic cleaners (vinegar/lemon) or bleach can discolor finishes, especially on engineered wood layers with coatings.
– “Fixing” it with heat: steam cleaners can drive moisture into seams and lift finishes.
Here’s how the problems show up on engineered wood floors:
– Cloudy patch or haze: often indicates finish surfacing has been affected by repeated wetting or imperfect drying.
– Widening ring: suggests the spill was smeared outward before residue was fully removed.
– Sticky-looking film after cleaning: can happen when residue isn’t rinsed/dried properly or when surfactants from dish soap are left behind.
Also, steam is a frequent temptation. The issue is moisture movement: engineered wood floors aren’t designed to be “steam saturated” on seams or edges. Heat can also soften certain coatings, turning a surface stain into a finish-level change.
Pros/cons snapshot for engineered wood floors (DIY-first cleaning):
– Pros
– pH-neutral cleaners usually preserve coatings when used sparingly
– blotting + drying prevents ring formation in most fresh spills
– repeated gentle steps are safer than one aggressive attempt
– Cons
– old stains may require finish-specific spot repair
– if the coating layer is failing, DIY may not restore uniform color
– some “harmless” kitchen cleaners (like vinegar) can still discolor the engineered wood finish
Verdict: A Safe Approach That Works for Most Food Stains
For most spills on engineered wood floors, the best results come from quick blotting, pH-neutral cleaning, and immediate drying—without flooding the floor. If your stain is old, deeply set, or you’re dealing with an unknown finish, you may need a finish-specific approach or a professional refinishing consult—skip DIY if the surface coating is already failing or if the stain appears to be penetrating beyond the finish.
A safe rule of thumb for engineered wood floors in 2026: treat the floor like it has a “protective skin.” Your job is to remove residue from the skin surface, not to attack the skin itself. If you don’t see progress after several gentle attempts—and you can’t confirm finish type—stopping early can prevent a small spot from becoming a larger coating repair.
Quick Checklist (Save This)
– ☐ Blot up food/liquid right away
– ☐ Scrape dried bits gently (plastic only)
– ☐ Clean with pH-neutral, wood-floor–safe cleaner on a barely damp cloth
– ☐ Dry immediately and fully
– ☐ Repeat mild cleaning before trying anything stronger
– ☐ Avoid bleach/ammonia/abrasives/steam
– ☐ Test first in an inconspicuous spot if stain remains
Frequently Asked Questions
How do I clear food stains from engineered wood floors without damaging the finish?
First, blot (don’t rub) the food spill with a clean, dry microfiber cloth to remove as much residue as possible. Then use a slightly damp cloth with warm water and a small amount of mild dish soap, wiping gently along the grain of the engineered wood. Dry the area immediately with a separate towel to prevent moisture from seeping into seams or the core.
What’s the best way to remove greasy food stains (like pizza or cooking oil) from engineered wood?
Greasy stains usually respond best to a low-residue cleaner: wipe the area with a microfiber cloth lightly dampened with warm water and a few drops of degreasing dish soap. After lifting the grease, rinse by wiping with a cloth dampened with plain water, then dry thoroughly. Avoid harsh degreasers or soaking, since engineered wood floors can be sensitive to strong chemicals and excess moisture.
Which household cleaner is safest for tough food stains on engineered wood flooring?
For most food stains—such as sauces, sugar, or beverage marks—use a mild dish soap solution (a few drops in warm water) and a soft microfiber cloth. If the stain remains, try a 50/50 mix of white vinegar and water only on the affected spot, then wipe again with plain water and dry. Always test any cleaner in an inconspicuous area first to protect the top finish.
Why do food stains sometimes leave discoloration on engineered wood floors even after cleaning?
Some food spills contain pigments or sugars that can penetrate the finish or sit long enough to stain the surface layers. If residue dries before it’s removed, it can become harder to lift and may attract dust, making the mark more visible. Moisture that lingers can also dull the finish or affect the appearance around seams and edges, so quick blotting and drying matter.
How can I remove dried or old food stains from engineered wood without scratching?
Start by softening the dried residue with a lightly damp microfiber cloth (don’t soak), letting it sit for a minute before gently wiping. For sticky spots, use a plastic scraper or credit card edge held flat to avoid scratching the wood’s wear layer, then clean with mild dish soap and water. If you still see a faint discoloration, repeat gentle cleaning and thorough drying rather than using abrasives or steel wool.
📅 Last Updated: November 14, 2026 | Topic: How to clear food stains from engineered wood floors? | Content verified for accuracy and freshness.
References
- Wood flooring
- https://www.armstrongfloors.com/flooring-care.html
- MohawkFlooring
- https://www.epa.gov/coronavirus/cleaning-and-disinfecting-your-home
- https://scholar.google.com/scholar?q=how+to+remove+food+stains+from+engineered+wood+floors Google Scholar
- https://scholar.google.com/scholar?q=engineered+wood+floor+cleaning+stain+removal+coffee+wine+grease Google Scholar
- https://scholar.google.com/scholar?q=hardwood+floor+finish+cleaning+water+stains+care+maintenance Google Scholar
[…] with a damp microfiber and a pH-neutral (or mild dish-soap) solution—don’t soak the planks. For stubborn discoloration, spot-test a gentle stain method (like diluted hydrogen peroxide or a light baking-soda paste) and […]
[…] step onto your engineered wood floor and see a dried food stain that won’t come up with a quick wipe. A careful deep-clean can usually […]