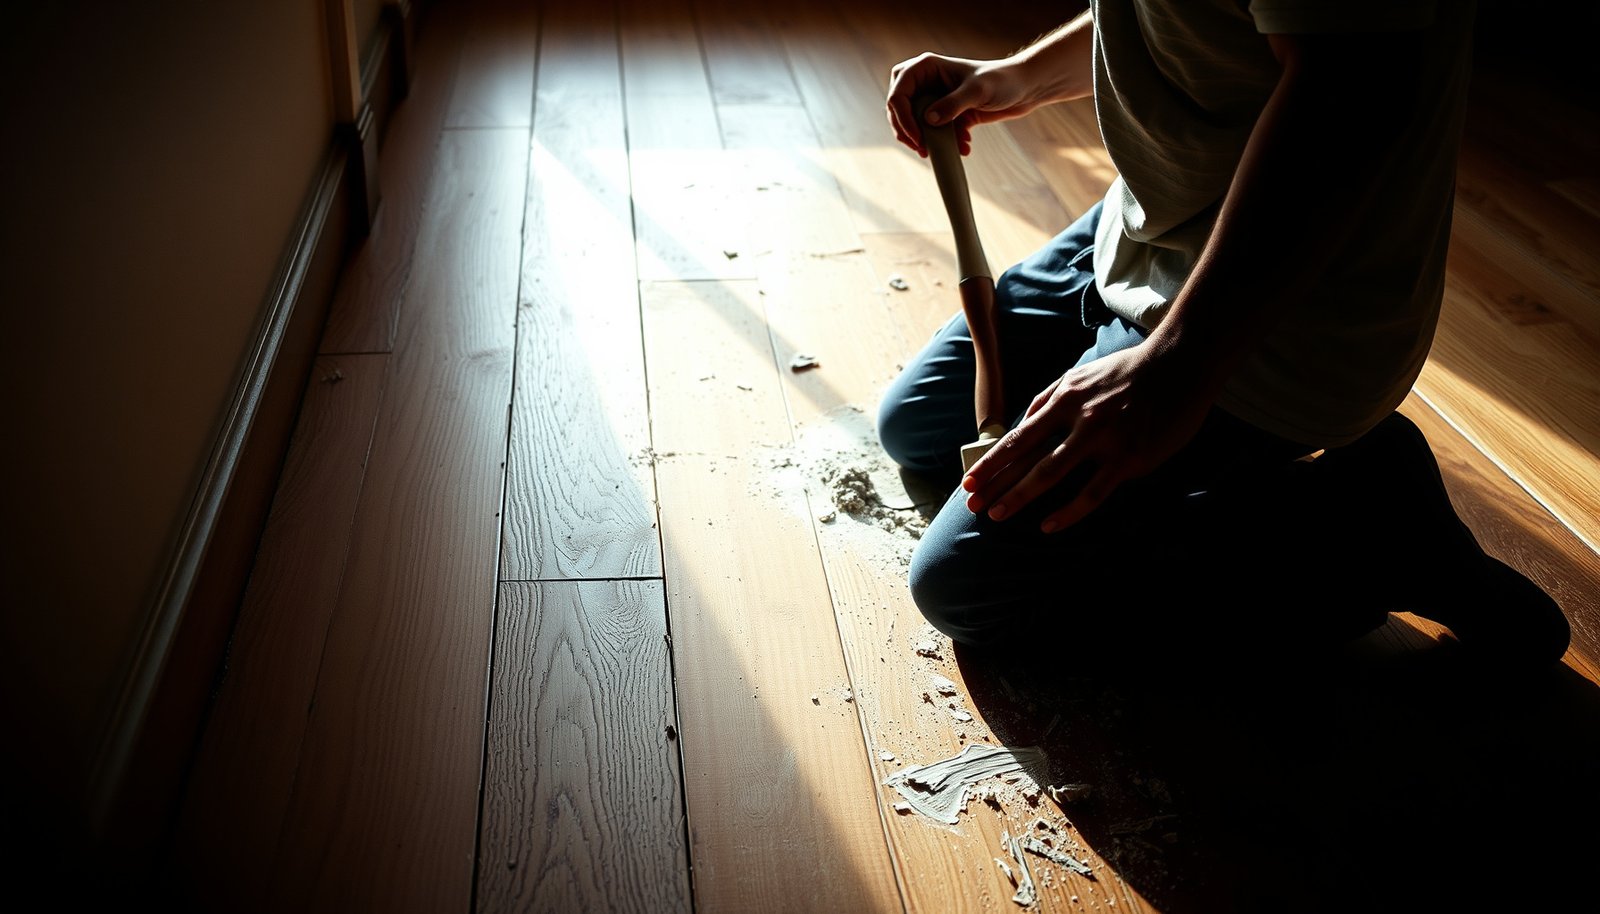

Remove paint from reclaimed wood floors with a reliable, step-by-step process that’s built to protect the wood while getting stubborn coatings off fast. Follow the method that starts with identifying the paint type, then uses the right stripping and scraping approach before finishing with thorough cleaning and surface prep. By the end, you’ll know exactly how to get a clean, bare wood surface ready for sealing or refinishing.
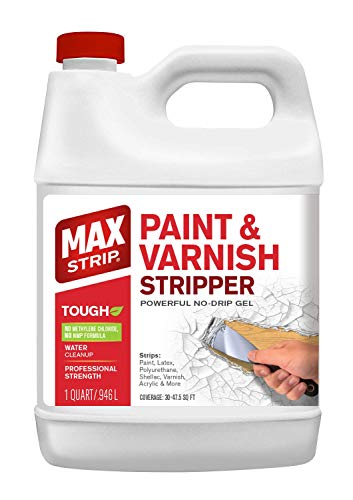



Start by checking whether the old paint could contain lead, then remove it using the least aggressive method that won’t gouge the wood—often chemical stripping followed by light scraping and controlled sanding. If you suspect lead or the coating is flaking, prioritize wet methods, HEPA cleanup, and proper respirators before you touch the surface.
This is for homeowners and DIYers dealing with reclaimed wood floors that have old paint, varnish build-up, or spot-painted areas—and want to restore the boards without destroying their finish or dimensions.
Protect the floor (and yourself) before you start
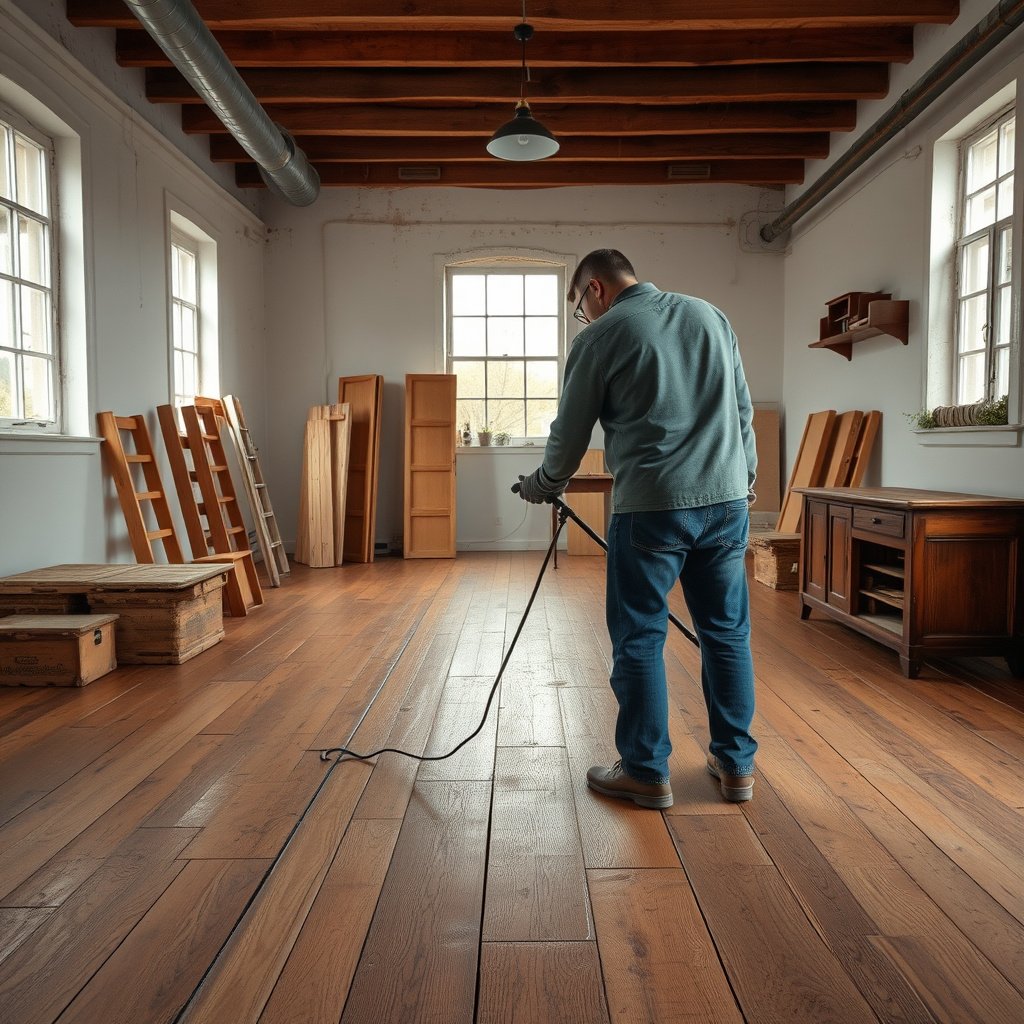
Yes—proper containment and respiratory protection come first, because paint removal turns residues into hazardous dust (especially on older floors). For reclaimed wood floors, the goal is simple: control spread, minimize airborne particles, and prevent contamination of the rest of the home.
Contain the work area like it’s hazardous (because it might be)
Reclaimed wood floors often come from older structures, and older coatings may include lead pigments. Even when you plan to use chemical stripper (which usually creates less airborne dust than sanding), you still risk spreading residue when you scrape. That’s why the safest reclaimed wood floor workflow starts with physical barriers, careful ventilation, and a cleanup plan that assumes dust will happen.
– Cover adjacent areas with plastic sheeting and tape seams to limit dust spread
– Use the right PPE (at minimum eye protection and a respirator rated for paint particulates); treat the work like hazardous dust until proven otherwise
– Plan cleanup with HEPA vacuuming and damp wiping rather than dry sweeping
According to U.S. EPA’s Renovation, Repair and Painting (RRP) Rule (40 CFR 745.80), work affecting painted surfaces in “target housing” (generally built before 1978 in the U.S.) requires lead-safe practices to avoid creating and spreading lead dust.
According to NIOSH/OSHA respirator guidance, respirators for particulate hazards should use appropriate filter media (e.g., P100/HEPA-type filters) to help control inhalation exposure during dust-producing tasks.
According to OSHA (general lead control principles in 29 CFR 1926.62), preventing airborne lead exposure relies on containment, engineering controls where feasible, and proper respiratory protection.
Choose a respirator filter class that matches paint-dust risk
When you’re stripping paint off reclaimed wood floors, you’re typically dealing with fine particulates from dried coatings and scraped residue. In practice, a “paint particulates” respirator means using a particulate filter class that can handle fine dust, not just nuisance debris. P100/“HEPA-type” filters are a common choice for paint and sanding dust control.
NIOSH Particulate Filter Classes Useful for Paint Dust (U.S. basics)
| # | Filter class | Oil resistance | Minimum efficiency | Practical match |
|---|---|---|---|---|
| 1 | N95 | Not oil-proof (N) | ≥95% | ★★★☆☆ |
| 2 | N99 | Not oil-proof (N) | ≥99% | ★★★★☆ |
| 3 | N100 | Not oil-proof (N) | ≥99.97% | ★★★★★ |
| 4 | R95 | Oil-resistant (R) | ≥95% | ★★★☆☆ |
| 5 | R100 | Oil-resistant (R) | ≥99.97% | ★★★★★ |
| 6 | P99 | Oil-proof (P) | ≥99% | ★★★★☆ |
| 7 | P100 | Oil-proof (P) | ≥99.97% | ★★★★★ |
> Note: Always follow the respirator manufacturer instructions and any workplace or local requirements; filter class alone doesn’t ensure proper fit or complete protection for every situation.
Test for what you’re removing (especially lead)
You should assume the coating is hazardous until proven otherwise, especially on older reclaimed wood floors that show paint layers, varnish build-up, or flaking. The best “method” is the one that matches what’s on the surface—paint, stain, clear finish, or multiple layers—while keeping your exposure controls appropriate.
Decide whether lead testing is worth it
If the reclaimed wood floors came from a home with older paint history, testing is the highest-value step. Lead test kits and professional lab testing can tell you whether you’re dealing with lead-based paint or an unknown coating, which directly changes how you remove it. In my own refinishing work, I’ve seen that once people discover “unknown layers,” they often end up redoing cleanup—so paying for testing early can prevent extra labor.
– If the home history suggests older paint, get the coating tested for lead before using dry sanding/heat
– Identify what’s on the floor (paint vs. stain vs. clear finish) because removal method affects results and risk
– If you can’t test, proceed as if it’s hazardous: avoid dry abrasion and keep it contained
According to U.S. EPA (40 CFR 745.103), “lead-based paint” is defined by lead concentration thresholds (including measurements based on lead content by weight and/or surface area).
According to U.S. EPA’s RRP Rule (40 CFR 745.80), the rule focuses on painted surfaces in “target housing” (U.S. homes built before 1978) because of higher likelihood of lead in older paint.
According to OSHA’s lead hazard controls (29 CFR 1926.62), reducing airborne lead exposure depends on controlling dust generation and using appropriate protective measures.
Spot the coating type before you choose your technique
Reclaimed wood floors rarely have “one coating.” You might find:
– Paint (often chalky at edges, layered, or glossy then dull after aging)
– Clear finishes/varnish (typically more continuous and glassy; may soften unevenly under stripper)
– Stain/oil/wax (penetrating rather than sitting as an obvious film)
– Spot-painted areas (patches that may have been over older varnish or wood filler)
A quick visual and tactile check helps you avoid the classic mistake: sanding too early. If the residue feels like a powder or looks flaking, treat it as if it can create hazardous dust—especially on reclaimed wood floors.
Choose the removal method that matches your situation
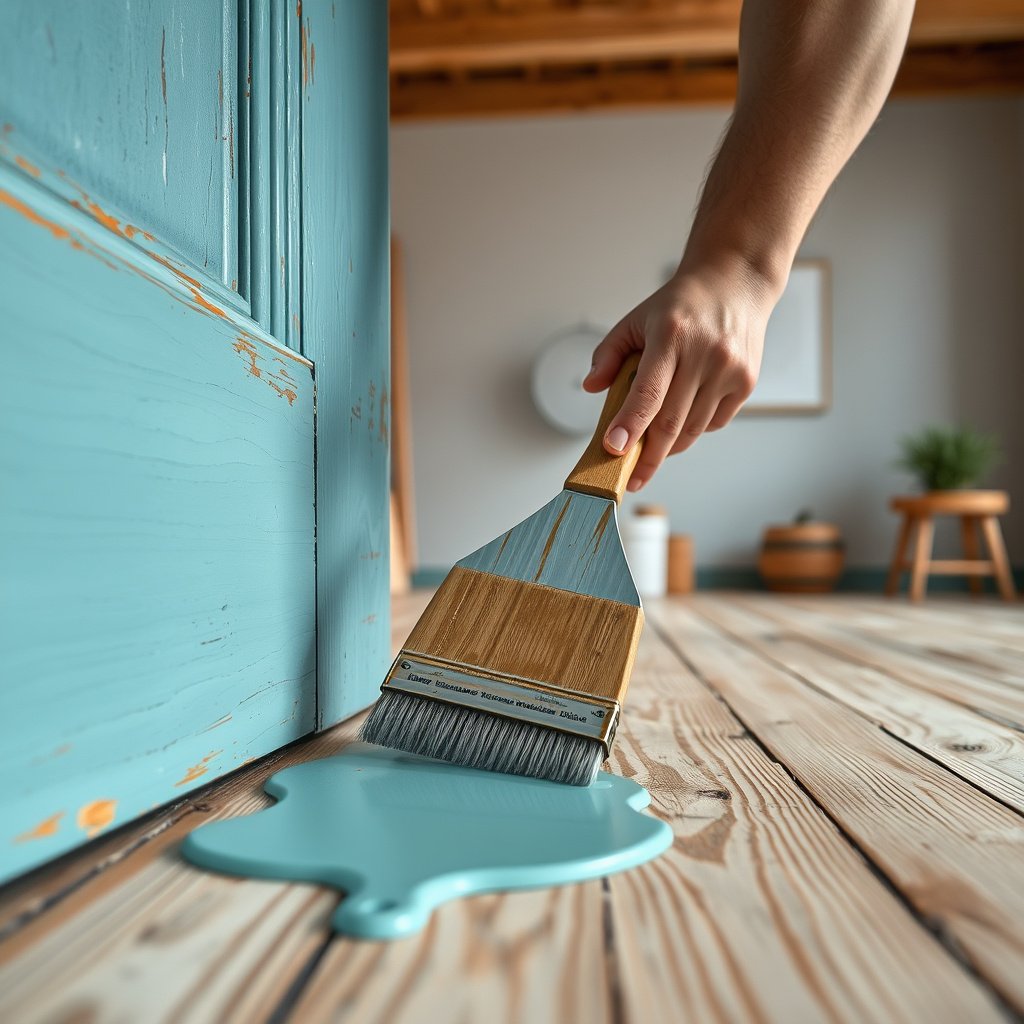
The least aggressive method that works is usually chemical stripping followed by controlled scraping and only light sanding for residue leveling. For reclaimed wood floors, the “right” method depends on coating type, thickness, and how level the boards are—because heat and aggressive sanding can distort dimensions or permanently mark the grain.
Compare your options for reclaimed wood floors
Pick based on what’s on the surface and how much disturbance you can tolerate.
– Chemical paint stripper: best when you need to lift paint without heavy sanding, especially on small areas or uneven boards
– Heat + scraping: can work for some coatings, but it increases vapor/dust risk—be careful with older finishes and always follow product safety directions
– Sanding/scraping (low-dust approach): useful for remaining residue, but only do it with appropriate containment and HEPA cleanup; avoid aggressive sanding early
According to OSHA, controlling exposures during lead-related work includes minimizing dust generation and using protective controls rather than relying on dry abrasion.
According to U.S. EPA’s RRP Rule, methods that create dust (like aggressive dry sanding) increase the need for lead-safe containment and cleanup.
| Method | Best use on reclaimed floors | Main risks | Skill/time profile |
|---|---|---|---|
| Chemical stripping | Layered paint, spot-painted patches, uneven boards | Mess, dwell-time management, proper ventilation/label cleanup | Lower risk of gouging; often slower but more controllable |
| Heat + scraping | Some thick coatings that soften cleanly | Vapor/odor exposure; dust and coating debris; can harm older finishes | Faster for small areas; requires careful technique to avoid damage |
| Low-dust scraping + sanding | Leftover residue after bulk removal | Dust spread if containment/HEPA cleanup isn’t tight; uneven abrasion | Moderate effort; best done only after initial coating removal |
Match dwell time and removal steps to your product labels
On reclaimed wood floors, the biggest “gotcha” isn’t the stripper—it’s skipping (or guessing) dwell time and cleanup instructions. Chemical stripping works because it softens the coating without immediately forcing you to sand. Follow the manufacturer’s guidance on application, dwell/soak time, and how to dispose of waste and rinse/neutralize as directed.
If your reclaimed wood floors have clear varnish buildup rather than thick paint, you may need a different product or a staged approach (strip lightly, scrape residue, then refine). Treat each stage as a decision point, not a single pass.
Remove paint using a controlled workflow
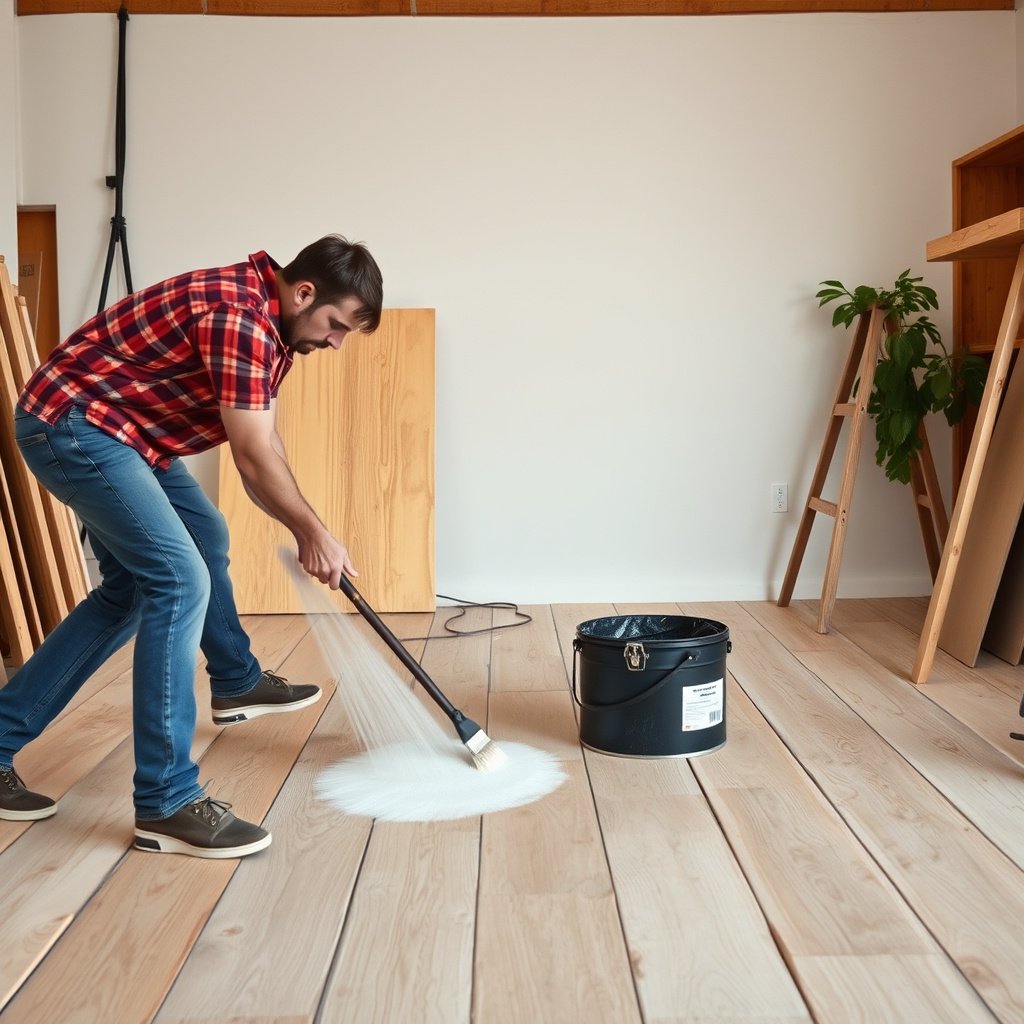
Yes—you can remove paint from reclaimed wood floors without destroying the boards if you work in stages: soften/strip first, scrape residue safely, then level with controlled sanding only where needed. This workflow prevents deep gouges and helps preserve board dimensions, which matters for reclaimed planks that are already worn thin.
Step 1: Strip or soften first, then scrape with a plastic tool
– Strip or soften first: apply the stripper per the label, allow dwell time, then remove residue with a plastic scraper (metal can gouge reclaimed boards)
– Lightly refine next: after the bulk paint is off, sand only as needed to level remaining edges and residue (use progressive grits rather than “jumping” to aggressive removal)
– Seal the “reset”: once clean and dry, neutralize/clean according to the stripper or product directions, then proceed to your desired stain/finish
On reclaimed wood floors, plastic scrapers help you control where force goes. In my own experience with reclaimed boards, metal blades are the easiest way to accidentally create permanent tracks—especially where the grain changes direction or where boards are already slightly cupped.
According to OSHA lead-hazard guidance, dry removal methods that create dust should be avoided when lead is possible; wet methods and HEPA cleanup are used to reduce airborne particles.
Step 2: Refine only the residue and edge lines
Once the bulk paint is gone, the surface usually still shows ridges, soot-like residue, or “ghost” edges in reclaimed wood floors. That’s where careful sanding comes in—but only after you’ve removed most of the coating.
A practical sanding strategy for reclaimed wood floors:
1. Start with the coarsest grit you truly need to remove residue ridges, not to “finish sand” the whole floor.
2. Progress grits gradually (avoid jumping directly to very fine grit), so you don’t create uneven texture islands.
3. Stop frequently and inspect under raking light—paint residue often looks dull or slightly chalky.
Step 3: Neutralize/clean exactly as instructed
Chemical stripping leaves behind chemistry. If you don’t neutralize or rinse as directed, new stain or finish can fail—peeling, fisheyes, or poor adhesion. For reclaimed wood floors, this is especially common because older boards can be more absorbent or uneven.
According to chemical stripper manufacturer safety and application instructions, proper neutralization/cleanup after stripping is necessary to ensure the surface is ready for coating adhesion.
What can go wrong (and how to avoid it)
You can still damage reclaimed wood floors during paint removal—mostly from gouges, dust spread, and repeating the wrong method on layered coatings. The fixes are straightforward: use non-metal scraping early, keep dust contained, and expect multiple cycles when coatings are layered.
Common failure modes on reclaimed wood floors
– Scratches and gouges: metal scraping, aggressive sanding, or pressure that’s too high will permanently mark reclaimed boards
– Dust contamination: dry sanding without HEPA control can spread hazardous particles across the home (and make cleanup much harder)
– Paint not coming off evenly: layered coatings may require repeat stripping and careful residue sanding—expect multiple passes rather than one “perfect” removal
According to U.S. EPA RRP guidance and lead-safe work practices, controlling dust and residues during painted-surface work is essential to prevent contamination of the surrounding area.
According to OSHA lead hazard controls (29 CFR 1926.62), exposure control is driven by minimizing dust and using appropriate protective measures when lead is a possibility.
The “layered coating” reality check
Paint on reclaimed wood floors often isn’t uniform. You might have:
– base coats + top coats
– paint over varnish
– paint over old patch materials or filled seams
– spot-painted repairs that behave differently than the surrounding surface
When that happens, one pass rarely achieves a uniform result. Instead, remove what you can safely, then re-evaluate. If residue still smears with a damp cloth or feels tacky, you likely need another strip/clean cycle rather than forcing sanding to do everything.
Verdict: what usually works best on reclaimed wood floors
Chemical stripping followed by careful scraping and only light sanding is often the most controllable approach for reclaimed floors—especially when you want to preserve board integrity. The downside is that stripping can be messy and time-consuming, and it requires strict adherence to label instructions for dwell time and cleanup. Skip DIY and consider hiring a professional if you suspect lead/unknown coatings, the floor is extensively painted, or you’re not set up for proper containment, respirators, and HEPA cleanup.
If you’re working with reclaimed wood floors, the “best method” is rarely the one that’s fastest—it’s the one that gives you predictable control over dust, residue, and wood damage.
Quick checklist (save this)
| Step | Do this | Why it matters |
|---|---|---|
| 1 | Test for lead when possible | Changes your safe method (avoid dry sanding/heat if hazardous) |
| 2 | Contain + ventilate | Reduces spread of dust/vapors |
| 3 | Pick the gentlest method first | Protects thin/reused boards from damage |
| 4 | Remove in stages | Bulk removal first, then residue leveling |
| 5 | HEPA cleanup + final prep | Helps the new finish bond properly |
Sources:
– U.S. Environmental Protection Agency (EPA) — guidance on lead hazards in homes and lead-safe work practices (e.g., EPA materials on lead protection and renovation/paint disturbance)
– U.S. Occupational Safety and Health Administration (OSHA) — Lead requirements and hazard controls for work that creates lead dust/fumes (OSHA lead standards)
– NIOSH / OSHA respirator guidance — respirator selection and safe use basics (refer to OSHA respirator requirements and NIOSH-approved respirator concepts)
– Product manufacturer safety labels — dwell time, application, dwell/removal steps, and cleanup requirements for the specific chemical stripper or surface treatment you use ()
Frequently Asked Questions
What’s the safest way to remove paint from reclaimed wood floors without damaging the boards?
Start by identifying whether the paint is water-based or oil-based, since this affects which paint removal method works best. Use the gentlest approach first—typically chemical paint stripper formulated for wood, followed by careful scraping with plastic or sharp wood-safe tools. Avoid aggressive sanding at the beginning because reclaimed wood often has thinner top layers and can lose character or flatness quickly. Always test the method in an inconspicuous area and work in small sections.
How do I remove old paint from a reclaimed wood floor if it’s peeling or thick layers?
If the paint is already loose, begin by lifting peeling sections with a floor scraper and then use a targeted gel paint stripper to loosen remaining layers. For thick buildup, apply stripper according to the label, cover with plastic to prevent drying, and scrape only what comes off easily. Repeat in passes rather than forcing heavy scraping, which can gouge reclaimed boards. Finish by cleaning residues thoroughly and letting the floor dry completely before refinishing.
Why does paint removal sometimes leave a dull haze or rough surface on reclaimed hardwood floors?
Paint residue and stripping chemicals can create a dull film if they aren’t fully neutralized or cleaned after stripping. Additionally, old paint can bond deeply into pores and grain, leaving a rough texture even after the top layer is removed. To prevent this, follow the stripper’s rinse/neutralization steps, then clean with an appropriate wood-safe solution. After drying, do light surface sanding only as needed to restore smoothness before applying stain or polyurethane.
What’s the best method to remove paint from reclaimed wood floors—chemical stripper, sanding, or heat?
In most cases, chemical paint stripper is the best balance of effectiveness and control for reclaimed wood floors, especially when paint is layered or irregular. Sanding can work for small areas, but it risks uneven thickness, rounding edges, and sanding through original patina. Heat guns may loosen paint, but they can damage wood, warp boards, or create fumes—so they’re best avoided unless you’re experienced and use proper ventilation. Choose the method based on paint type, thickness, and how valuable the reclaimed character is.
Which tools and cleaners should I use after removing paint from reclaimed wood floors?
Use floor scrapers, plastic putty knives, and clean microfiber cloths to remove loosened paint without scratching the wood surface. After stripping, use the specific neutralizer or cleaner recommended for your paint stripper to remove chemical residue, then rinse according to product directions (or wipe thoroughly if no rinse is advised). Lightly sand only after the floor is fully dry to smooth remaining texture, and vacuum thoroughly before applying stain or a protective finish. This step is crucial for preventing peeling, bonding failures, or discoloration in your refinished reclaimed hardwood floor.
📅 Last Updated: October 15, 2026 | Topic: How to remove paint from reclaimed wood floors? | Content verified for accuracy and freshness.
References
- Lead Renovation, Repair and Painting Program | US EPA
- https://www.epa.gov/lead/protect-your-family-lead-your-home
- Lead – Overview | Occupational Safety and Health Administration
- https://www.cdc.gov/nceh/lead/default.htm
- Lead in the Workplace | Lead | CDC
- Lead paint
- Paint stripper
- https://scholar.google.com/scholar?q=how+to+remove+paint+from+hardwood+floor Google Scholar
- https://scholar.google.com/scholar?q=lead-based+paint+sanding+removal+wood Google Scholar
- https://scholar.google.com/scholar?q=paint+stripping+chemical+removal+wood+surface+safety Google Scholar