
You step onto your engineered wood floor and see a dried food stain that won’t come up with a quick wipe. A careful deep-clean can usually lift it in about 30–60 minutes, as long as you work gently, avoid soaking, and use the right products. Gather a pH-neutral wood-floor cleaner, a microfiber cloth and soft brush, and fresh water for damp rinsing, then follow a blot–clean–dry process to restore the surface without damaging the finish.



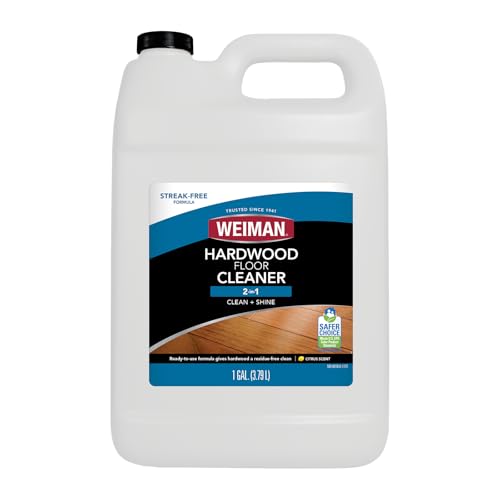
Deep clean engineered wood floors safely by blotting food spills fast, then cleaning with a pH-neutral cleaner applied to a microfiber (not the floor) and immediately drying. For stubborn food stains, lift residue with careful spot-cleaning and only use finish-compatible stain treatments you’ve tested in a hidden area first—so you remove the mark without warping planks or dulling the wear layer.
If your floors are already showing dried-on food spots, rings, or greasy smears, this is for you. It’s especially useful when regular mopping won’t budge the mark and you want a method that won’t damage the protective wear layer. As of 2026, the biggest difference between “works” and “causes new problems” is moisture control plus chemistry compatibility: engineered wood is stable by design, but it still responds to water and certain cleaners.
What you need to know before cleaning
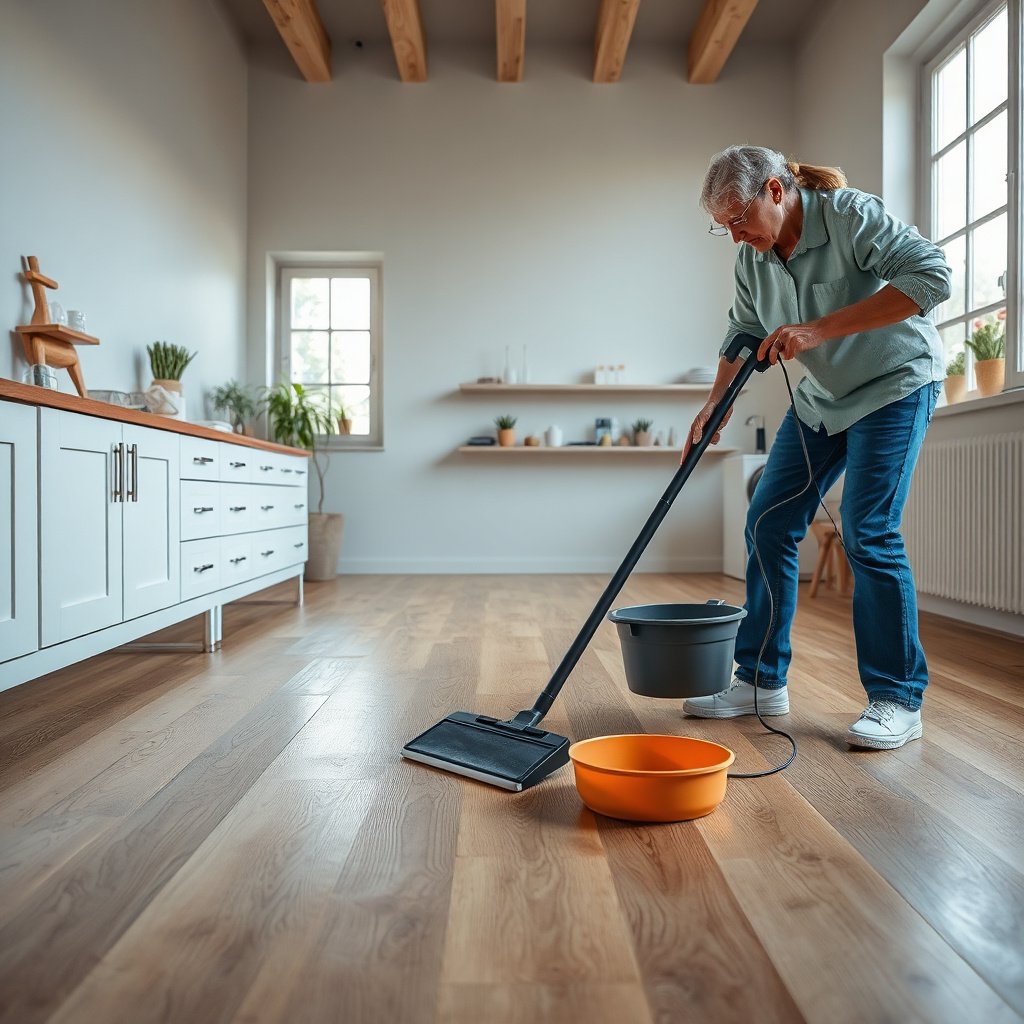
Deep cleaning engineered wood floors works only when you treat moisture like a risk factor, not a convenience. Engineered wood is dimensionally stable compared with solid hardwood, but it’s still sensitive to excess water, especially at seams and edges.
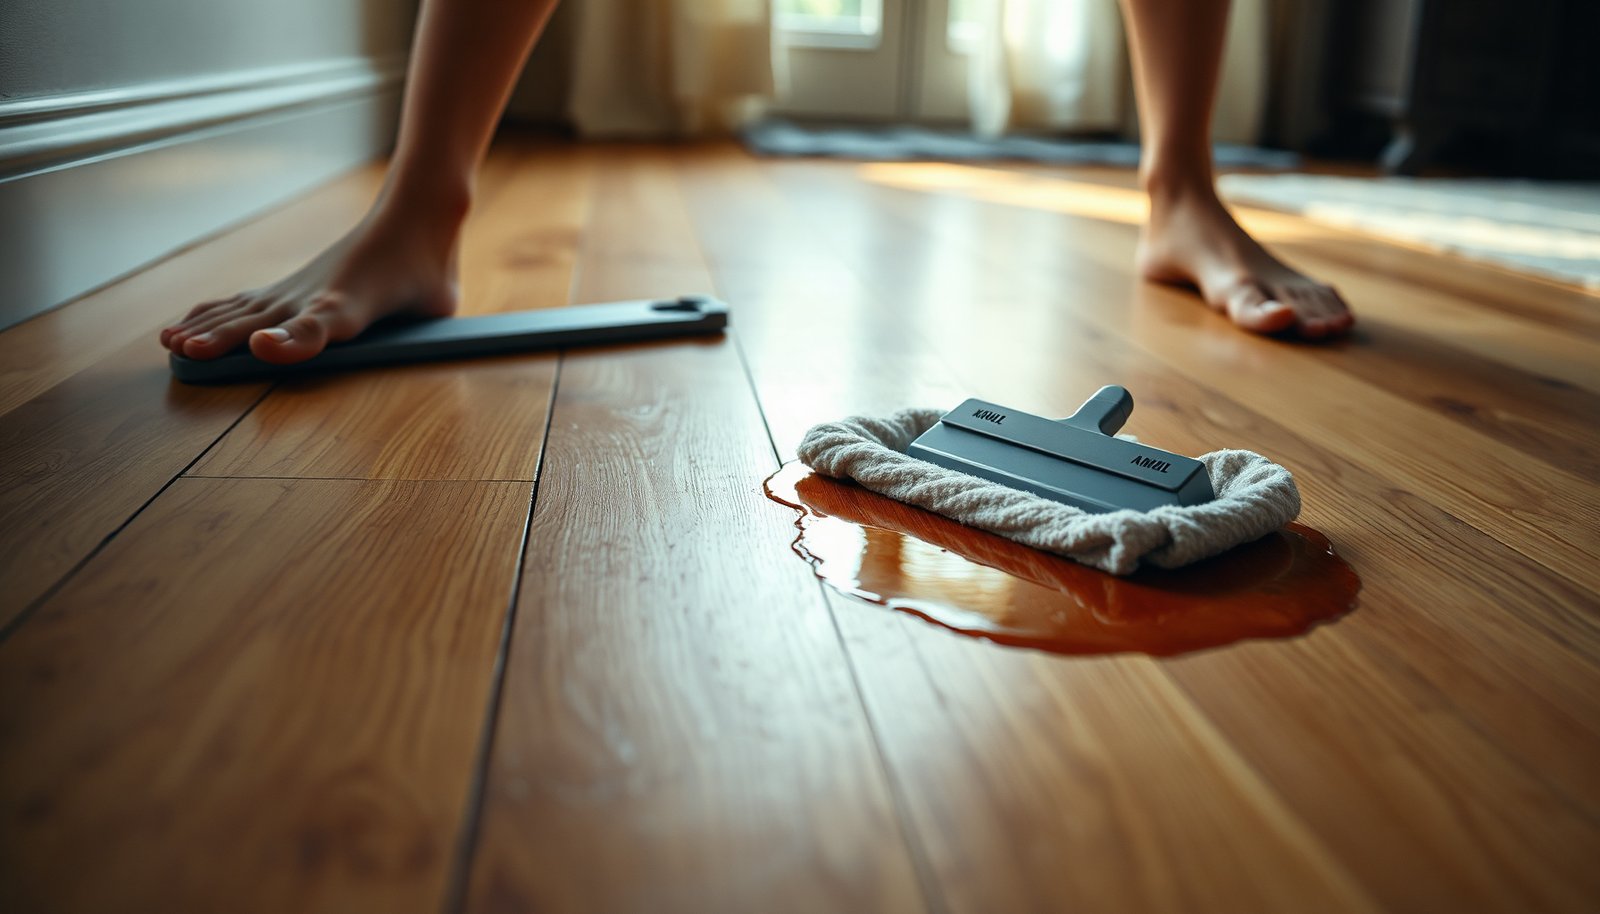
– Engineered wood is still sensitive to excess water—avoid soaking, standing puddles, and “steam-and-wring” tools. Moisture can migrate through the finish or into the core and show up later as dull patches or seam gaps.
– Most stains come from residue (grease/sauce), color transfer (coffee/wine), or moisture rings, so the cleaner choice matters. Grease behaves differently than pigment.
– Check your floor’s finish/cleaner guidance in the manufacturer’s care instructions (and if you don’t have them, look for the brand/model on the original paperwork or floor tag) — check for wording such as “use pH-neutral cleaner,” “no steam,” “no wax,” and “spot clean only for stains.”
For context, wood flooring guidance often ties stable indoor conditions to dimensional movement. According to the National Wood Flooring Association, target indoor relative humidity around 35–55% (2026) NWFA guidance (accessed 2026). When humidity swings—or when you add water during cleaning—movement is more likely to reveal itself around stained areas.
Gather supplies for a safe deep clean
The right tools make deep cleaning engineered wood floors repeatable and low-risk. Gather microfiber and gentle, non-scratch materials first, then add finish-safe stain treatments only as escalation.
– Cleaning tools: microfiber mop pads, soft microfiber cloths, a soft nylon brush or sponge (non-scratch), and two buckets/bowls.
– Cleaner options: a pH-neutral wood floor cleaner and a separate spot treatment (see next sections for what to use for stains).
– Protect your finish: painter’s tape for masking edges during spot work, and a towel for fast blotting.
A pH-neutral cleaner is the safest baseline because it’s less likely to attack common finish chemistries. “Neutral” typically means around pH 7, but always follow the product label and your engineered wood’s care instructions—finish compatibility matters more than the label alone.
Step-by-step: deep clean engineered wood floors (food-stain focused)
Deep clean engineered wood floors by controlling where liquid goes and how long it stays wet. The goal is residue removal, not saturation.
– Sweep/vacuum first using a soft-brush attachment; remove grit so you don’t grind residue into the finish. Food residue plus dust is the recipe for permanent-looking haze.
– Pre-treat the stained areas: apply cleaner to a cloth (not directly to the floor), gently work in small circles, then blot clean with a dry microfiber. Keep the surface visibly damp for seconds, not minutes.
– Do a full-floor pass: lightly dampen the microfiber with your pH-neutral cleaner, mop in sections, and immediately dry with a clean cloth where needed to prevent moisture buildup.
Moisture timing is the difference between “lifted stain” and “new ring.” Water boils at 100°C / 212°F at standard atmospheric pressure NIST (accessed 2026), which is why steam mops can be risky for engineered wood finishes: they add heat and moisture at once, often longer than the finish can tolerate.
Comparison: cloth-applied pH-neutral cleaning vs. aggressive stain removers
This quick comparison helps you decide when to escalate (and when not to).
| Approach | Best for | Key risk |
|---|---|---|
| pH-neutral cleaner applied to a microfiber | Oily film, light-to-moderate residue, general food haze | Not strong enough for deeply absorbed pigment |
| Finish-safe spot treatment (tested first) | Dried-on marks, rings, set-in color transfer | May dull or react with your wear-layer finish if incompatible |
| Abrasives/strong solvents not approved by the floor maker | (Usually) none for finish-protected engineered wood | Micro-scratches and finish stripping increase future staining |
Treat common food stains without damaging the finish
Deep clean engineered wood stains by matching the treatment to the stain’s chemistry: grease needs de-greasing action; coffee/wine needs pigment lifting; acids require extra caution. Work slowly, blot repeatedly, and always verify results in a hidden area.
– Grease or oily marks (pizza/sauce/peanut butter): use a degreasing approach by loosening with a pH-neutral cleaner on a cloth first; if needed, escalate to a finish-safe spot remover approved by your floor’s care label. If your care guide allows only pH-neutral products, don’t improvise—seek the brand-approved option.
– Coffee/tea/cocoa rings: lift color transfer with gentle spot-cleaning; avoid harsh abrasives and strong solvents unless your floor instructions explicitly approve them. Pigment can “bloom” if you spread it—small, controlled circles beat wide scrubbing.
– Wine/tomato-based stains: treat as color transfer—work slowly with light cleaner application and repeated blotting rather than aggressive scrubbing. Tomato and wine can leave both color and a slightly sticky residue that attracts dust.
📊 DATA
Typical pH of Common Food Liquids That Stain Floors (Representative Values)
| # | Food/liquid | Typical pH | Stain pattern | pH-neutral cleaning fit |
|---|---|---|---|---|
| 1 | Cola (carbonated soft drink) | 2.5 | High-contrast rings | ★ ★ |
| 2 | Red wine | 3.3 | Color transfer + haze | ★ ★ ★ |
| 3 | Tomato sauce | 4.1 | Red-brown set stains | ★ ★ ★ |
| 4 | Coffee (black) | 4.9 | Ring + brown transfer | ★ ★ ★ ★ |
| 5 | Soy sauce | 4.8 | Brown-grease blend | ★ ★ ★ ★ |
| 6 | Black tea | 5.3 | Tannin rings | ★ ★ ★ ★ |
| 7 | Orange juice | 3.5 | Acid + pigment spots | ★ ★ ★ |
Note: pH-neutral cleaning fit is a practical guide for how often you can expect a pH-neutral cleaner to help without finish risk—not a guarantee. If the care label restricts chemicals, follow that first.
What can go wrong (and how to avoid it)
Deep cleaning engineered wood floors goes wrong mainly when water sits, when chemistry clashes with the wear layer, or when you abrade the surface. If you see new dullness or spreading marks, stop and adjust—don’t keep forcing it.
– Over-wetting: engineered wood can show dull patches, separation around seams, or edge swelling—always use “cloth-applied,” not “pour-and-hope.” If a section feels cool or wet, dry it immediately.
– Using the wrong chemistry: ammonia, bleach, and many “strong degreasers” can cloud or strip certain finishes. In general, don’t use cleaners that your floor manufacturer doesn’t approve, especially if your finish type is unknown.
– Scrubbing too hard: abrasive pads and steel wool can leave micro-scratches that make stains easier to reappear. Once micro-scratches create a higher-grip surface, future food residue adheres more strongly.
Also watch humidity-driven movement. According to NWFA guidance, wood can move when moisture conditions change; keeping indoor relative humidity near 35–55% reduces gapping and swelling effects (2026) NWFA guidance (accessed 2026). That means your cleaning schedule in 2026 should be consistent—cleaning more aggressively isn’t the same as cleaning effectively.
Verdict: best overall approach—and who should skip deep-spot work
The best way to deep clean engineered wood floors is the cautious route: blot residue, use pH-neutral cleaner on microfiber, then address stubborn stains with finish-safe spot steps you can test in a hidden area first. This method prioritizes wear-layer protection while still removing food residue and pigment transfer.
Go ahead if your issue is localized—single spots, rings, or greasy smears that persist after mopping. Skip DIY deep-spot work if you see significant cupping, lifted edges, widespread finish wear, or the entire floor has a hazy film; in those cases, professional cleaning or refinishing may be safer than repeating chemical attempts. If you’re unsure what finish your engineered wood has, stick to the pH-neutral process and stop before trying stronger chemicals—especially in 2026, when many newer coatings vary in compatibility.
Quick checklist (save this)
| Task | Do | Avoid |
|---|---|---|
| Spills | Blot immediately with a dry microfiber | Let liquid sit or spread |
| Pre-clean | Sweep/vacuum grit first | Scrub over debris |
| Cleaner use | Apply to cloth, then wipe/blot | Pour directly onto boards |
| Spot treatment | Test in a hidden spot | Harsh abrasives/bleach/ammonia |
| Drying | Dry high-risk areas promptly | Leaving damp patches overnight |
Frequently Asked Questions
What’s the safest way to deep clean engineered wood floors after food spills?
Start by blotting up the food stain and any residue immediately with a clean, dry cloth, then use a slightly damp microfiber mop or cloth with warm water only. Avoid soaking the floor because engineered wood can be damaged by excess moisture at seams and edges. If the stain remains, use a manufacturer-approved wood floor cleaner and always test it in an inconspicuous area first.
How do I remove stubborn food stains from engineered wood without damaging the finish?
First, identify whether the stain is surface-level (often from sauces or oils) or has darkened the wood beneath. For surface stains, gently clean with a wood-safe cleaner and a microfiber cloth, working from the outside of the stain inward. If it’s oily, use a cleaner formulated for wood floors rather than harsh degreasers, and never use steel wool or abrasive pads that can strip the protective finish.
Why do food stains show up on engineered wood even after quick wiping?
Many food stains contain dyes, sugars, or oils that can penetrate the finish and settle into micro-scratches or the top wear layer. If the spill dried, it can become harder to lift and may darken over time, especially near seams or high-traffic areas. Deep cleaning requires careful, moisture-controlled techniques to remove both residue and discoloration without warping the flooring.
Which cleaning products are best for deep cleaning engineered wood floors to remove food stains?
Look for pH-neutral, “safe for engineered wood floors” cleaners, ideally those recommended by your flooring manufacturer. For sticky residue, use a cleaner designed for wood finishes rather than general-purpose household chemicals. Avoid steam cleaners, vinegar-based solutions, and ammonia or bleach, as these can dull or degrade the finish and make stains more difficult to remove later.
How can I deep clean engineered wood floors using a step-by-step method for food-stain removal?
Begin with dry removal—scrape gently (no gouging) and blot any remaining moisture with a microfiber cloth. Next, wipe with a lightly damp cloth using a wood floor cleaner, then rinse with a barely damp cloth if the product instructions recommend it, and dry immediately with towels. Finally, check the stain under bright light; repeat targeted cleaning as needed, and avoid saturating the area—consistent, controlled steps are key to successful stain removal.
📅 Last Updated: November 14, 2026 | Topic: How to deep clean engineered wood floors to remove food stains? | Content verified for accuracy and freshness.
References
- Engineered wood
- Wood flooring
- https://www.cdc.gov/household/cleaning/disinfecting.html
- https://www.fsis.usda.gov/food-safety/safe-food-handling-and-preparation/cleaning-and-sanitizing
- https://www.woodflooring.org/maintenance/cleaning/
- https://www.americanwoodcouncil.org/wood-floor-care-and-maintenance/
- 404 Error
- https://scholar.google.com/scholar?q=deep+clean+engineered+wood+floors+food+stains Google Scholar
- https://scholar.google.com/scholar?q=engineered+wood+floor+stain+removal+techniques Google Scholar
- https://scholar.google.com/scholar?q=hardwood+floor+cleaning+guidelines+water+damage+staining Google Scholar