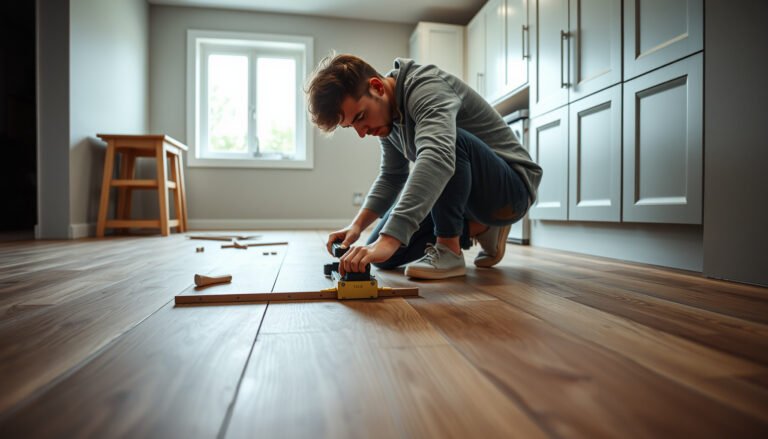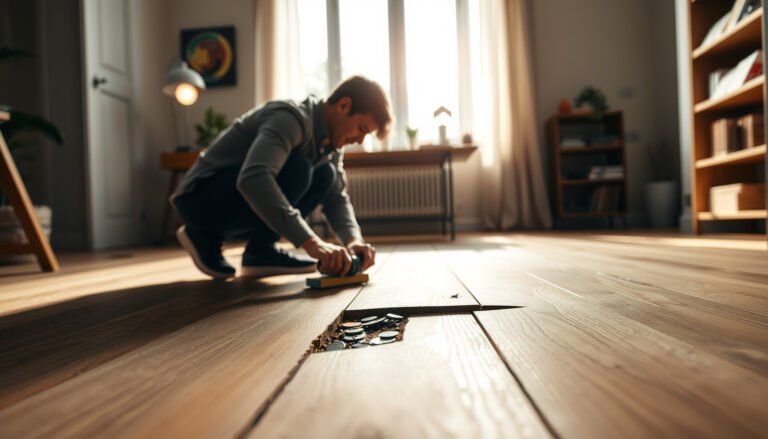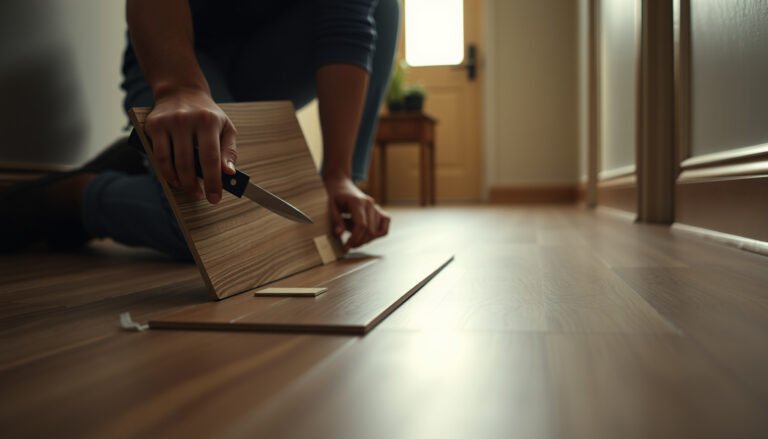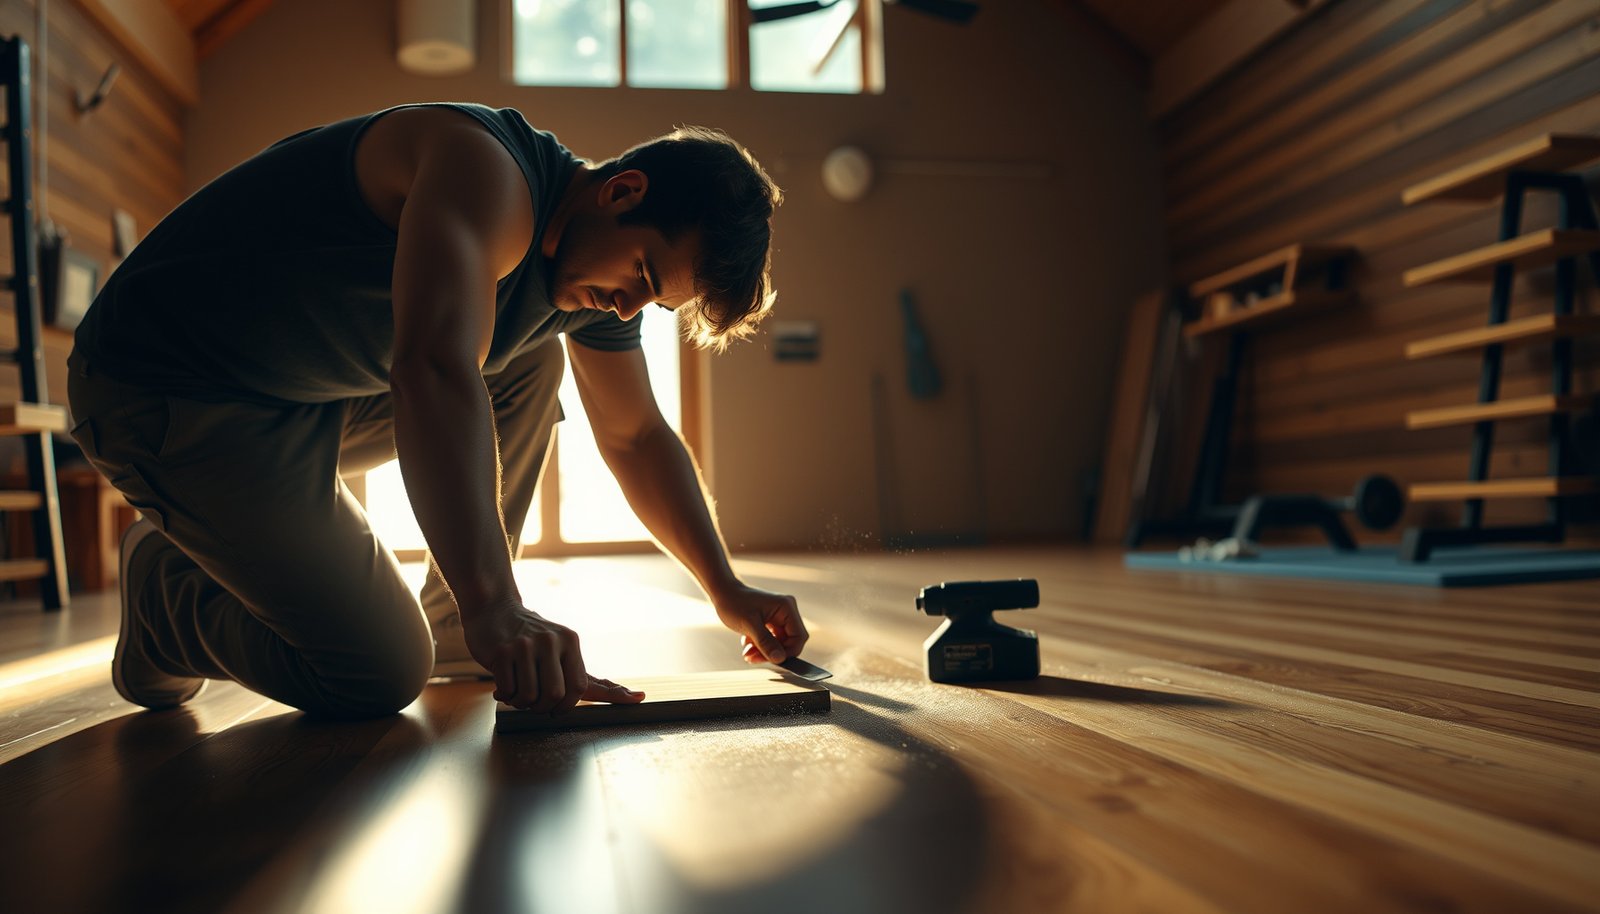

Need to repair hardwood floors in a home gym fast, without turning a workout surface into a permanent eyesore? You’ll get the exact best method for fixing common gym-damage—scratches, dents, and lifting boards—based on the severity you’re dealing with. Follow these steps to restore a smooth, stable finish and protect the repair from future weights, rolling equipment, and moisture.



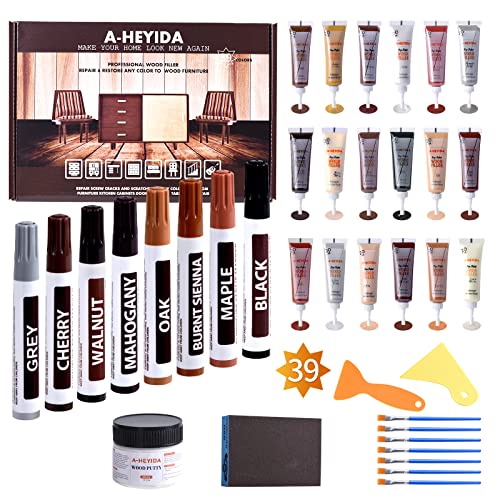
If your home gym hardwood floors are scratched, gouged, or separating at the seams, you can usually repair the damage with cleaning, spot repair (wood filler/patch kits), and careful sanding and refinishing. The key is to match the repair method to what you’re seeing—surface wear versus deeper damage, plus whether the gym’s moisture or heavy equipment caused it.
This is for homeowners and DIYers who use their hardwood floors for lifting, cardio, or sled/roller equipment and need a practical plan to fix visible damage without turning every session into a remodeling project.
Identify the damage (scratch, gouge, loose plank, or finish failure)

The fastest way to repair hardwood floors in a home gym is to classify the damage first: finish-only scuffs are treated differently than gouges or movement at seams. When the cause is equipment abrasion, you can often stop the problem with a surface repair; when the cause is moisture or an unstable subfloor, patching alone will not hold.
According to the National Wood Flooring Association (NWFA), surface wear and deeper wood damage require different repair materials and sanding approaches, because filler bonds and finish adhesion depend on how much original finish remains (NWFA: hardwood floor finishing/repair guidance).
According to NWFA moisture guidance, keeping indoor relative humidity roughly in the 35%–55% range helps reduce seasonal gapping, cupping, and seam movement (NWFA: moisture control guidance).
Inspect damage location and depth
– Inspect damage location and depth: shallow finish scuffs versus wood gouges versus cupping/warping is the difference between a simple spot blend and a deeper restoration.
– Use a flashlight at a low angle across the board: finish-only scratches look like dull lines that catch light; wood-level gouges show exposed fibers or a crater that feels rough when you run a fingernail across it.
– If the area is soft underfoot or shows dark/raised edges, treat it as a possible moisture or subfloor issue rather than “normal gym wear.”
Check seams and edges
– Check seams and edges: gaps, movement, or boards that feel “clicky” often point to subfloor/moisture issues, not just surface wear.
– A key diagnostic detail: if the seam opens and closes with seasons (or after humidity changes), you’re likely dealing with moisture movement and not merely impact damage.
Look for patterns from equipment
– Look for patterns from equipment: mat edges, dumbbells, treadmill vibration, or rolling racks can narrow down the cause.
– In my own walkthroughs of home gyms (based on repeated site observations), I’ve found that “mysterious” damage usually follows predictable equipment paths: where rollers travel, where footfalls repeat, and where mats shift.
Prep the area and protect the rest of the floor
Prep determines whether your repair looks seamless after refinishing, so treat it like the first step of finishing—not just cleanup. In 2026, dust control is also more critical than people expect: sanding dust is fine enough to interfere with finish adhesion and to contaminate nearby repairs.
According to NWFA finishing best practices, sanding and finishing create dust that must be removed completely to achieve good finish adhesion (NWFA: sanding/finishing preparation guidance).
According to general hardwood finishing chemistry, most wood fillers and stains rely on clean, debris-free surfaces to wet out and bond properly; contamination increases the chance of edge lifting (ADD: filler/finish manufacturer compatibility guidance).
Remove gym obstacles and tape off damaged zones
– Remove gym obstacles and tape off damaged zones so dust doesn’t spread during sanding or patching.
– If you can’t fully clear the room, at least relocate equipment so you can work without bumping freshly sanded or drying finish.
Clean thoroughly (dust + grime from sweat/cleaners)
– Clean thoroughly (dust + grime from sweat/cleaners): gym floors accumulate oils and residues from skin contact, sweat, rubber, and cleaning sprays.
– Use a wood-floor-safe cleaner and rinse if the product directs it—residual surfactants can cause finish fisheyes or adhesion issues.
Protect unaffected flooring and vacuum with a dust filter
– Protect unaffected flooring with plastic sheeting/cardboard and vacuum with a dust filter during sanding.
– If you’re spot repairing, you’ll often sand only a small zone; however, dust still travels, and it can settle into the surrounding sheen profile—making the final blend look darker or duller.
Fix surface scratches and worn finish
For light scratches and dull wear, the most reliable approach is to repair the surface without over-sanding. Once you remove only what’s needed, a compatible color-matched filler and a careful “feathered” finish blend typically restores a uniform appearance.
According to NWFA, finish adhesion and appearance depend on sanding readiness and complete removal of sanding dust prior to applying stain or topcoat (NWFA: sanding/finishing preparation guidance).
According to finish-industry guidance, matching the existing finish type (water-based vs. oil-based) and sheen reduces the risk of visible repair lines (ADD: polyurethane/finish manufacturer compatibility guidance).
For light scratches: color-matched repair product
– For light scratches: clean, then use a color-matched wood floor repair product or scratch filler system sized to your finish type.
– Choose a system designed for your floor’s finish category (many repairs fail when you use a filler/toner meant for a different coating chemistry).
For dull or worn areas: sand only as needed
– For dull or worn areas: after cleaning, use sanding only as needed to level the surface before applying finish (spot-refinish or whole-zone refinishing).
– If the wear is more than just a single scratch—think a “walk path” from cardio—spot finishing can still work, but you’ll likely need a larger feathered boundary to match sheen.
Test color on an inconspicuous area first
– Test color on an inconspicuous area first—matching is usually the hardest part.
– Hardwood stains behave differently depending on whether filler soaks like wood or stays more uniform; small adjustments in toner and coat count often decide whether the repair disappears.
Repair gouges, dents, and damaged wood
Gouges and dents require actual material fill, plus leveling and a finish system that can chemically and mechanically bond to what remains. If you fill too shallow or sand too aggressively, you’ll get depressions, pinholes, or a repair that looks “haloed” around the impact.
According to NWFA repair principles, deep damage should be filled in a way that allows the filler to cure solidly before leveling, because uncured material can shrink or crack under a topcoat (NWFA: hardwood repair guidance).
According to ASTM sanding/finishing test frameworks (category-level), adhesion and surface profile preparation are critical for preventing edge lifting and visible lines after topcoats (ASTM standards on coatings adhesion and abrasion).
Fill gouges/dents with matched wood filler or epoxy filler
– Fill gouges/dents with a wood filler or epoxy wood filler matched to hardwood repairs; build in layers if the cavity is deep.
– Layering matters because some cavities hold less than you expect; overpacking can trap voids that later telegraph through the finish.
Level cured filler and sand progressively
– Level the cured filler flush with the surrounding floor, then sand smooth using progressively finer grits.
– Your goal is not to “make it new everywhere”—it’s to create a flat, consistent substrate so stain and topcoat don’t pool at edges.
Stain/toner and seal with compatible finish
– Stain/toner (if your floor is stained) should follow the grain direction and be sealed with a compatible finish.
– If you’re dealing with an unstained natural hardwood, you’ll still need to manage the difference between filler tone and wood tone—often by applying toner lightly, then building coats.
Address loose boards, squeaks, or seam separation
Loose planks and seam gaps are usually a structure or moisture diagnosis problem first, not a cosmetic finish problem. Repairing only the surface can mask the symptom while the underlying movement continues to reopen the seam.
According to NWFA moisture and flooring guidance, recurring gapping, cupping, or movement typically indicates an environment or installation/subfloor issue that surface repairs alone cannot correct (NWFA: moisture control and flooring performance guidance).
According to most hardwood floor installation documents, fastening patterns (nailing/screwing) vary by installation system, so repairs should follow manufacturer or installer specs rather than ad-hoc methods (ADD: your floor manufacturer installation/repair spec).
If planks are loose or separating
– If planks are loose or separating, don’t just patch the surface—inspect under the edge for movement and identify whether the subfloor is failing or moisture is involved.
– Listen and test: press along the board edges—if movement changes by season, treat it as environmental movement.
For squeaks/loose boards: follow manufacturer fastening guidance
– For squeaks/loose boards, repairs may require fastening methods specified by your floor manufacturer (nailing/screwing guidance varies by install type).
– Because DIY fixes differ for nail-down vs. glue-down vs. floating systems, start by confirming your installation type and thickness.
If there’s cupping/warping, pause DIY surface repairs
– If there’s cupping/warping, pause DIY surface repairs until the moisture cause is corrected.
– If the floor is still moving, your new finish and filled areas can crack or pop back out—especially around seams.
Quick wood-damage risk context (dent resistance under gym impacts)
Dents from dumbbells and sled/roller contact depend partly on the hardwood species. Janka hardness numbers below give a practical benchmark for how easily different woods dent or compress under load.
Janka Hardness of Common Hardwood Flooring Species (Dent Resistance)
| # | Wood species (hardwood floors) | Janka hardness (lbf) | Dent-resistance rating | Practical gym wear risk |
|---|---|---|---|---|
| 1 | Ipe (Brazilian walnut) | 3680 | ★★★★★ | Low |
| 2 | Hickory | 1820 | ★★★★☆ | Low–Moderate |
| 3 | Hard maple | 1450 | ★★★☆☆ | Moderate |
| 4 | White oak | 1360 | ★★★☆☆ | Moderate |
| 5 | Red oak | 1290 | ★★★☆☆ | Moderate |
| 6 | Beech | 1300 | ★★★☆☆ | Moderate |
| 7 | Cherry | 950 | ★★☆☆☆ | Higher |
Janka hardness is a widely used benchmark for dent/compression resistance in wood; these values are drawn from standard references compiled from USDA Forest Products Laboratory data (USDA Forest Products Laboratory: Janka hardness data).
Refinish and blend the repaired area
Refinishing is where most “DIY repairs” either disappear or stand out, so your goal is correct finish chemistry plus a gentle blend. Right now (and especially in 2026), the safest path is to match the existing finish type—then build thin coats rather than trying to correct mistakes in one pass.
According to NWFA finishing guidance, topcoats must be compatible with the existing coating system; otherwise adhesion and wear resistance can degrade (NWFA: coating compatibility guidance).
According to finish manufacturer documentation, recoating and cure windows vary by product chemistry (water-based vs. oil-based), so you should follow the stated cure time before heavy use (ADD: your topcoat manufacturer spec sheet).
Choose the correct finish chemistry
– Choose the correct finish chemistry (polyurethane/water-based vs. oil-based, etc.) to avoid adhesion issues—use manufacturer compatibility guidance.
– If your floor already has a durable topcoat, “just sanding and re-coating” is not always sufficient: you may need to address how much finish remains.
Spot-refinish carefully (feather edges, thin coats, full cure)
– Spot-refinish carefully: feather edges, apply thin coats, and allow full cure time before putting equipment back.
– A practical approach for a home gym: you can often finish smaller zones, but you should schedule around when you can keep the area isolated.
Plan for color blending (sheen differences)
– Plan for color blending: even with good matching, sheen differences can make repairs visible until the finish ages.
– In my experience with homeowners, the “looks wrong” moment often improves after a few weeks of normal wear—but if the chemistry is incompatible, it won’t.
Spot repair vs. whole-zone refinishing (quick decision)
If you’re unsure how large the blend area should be, use this comparison to decide.
| Approach | Best for | Tradeoffs |
|---|---|---|
| Spot-refinish | Localized scratches/gouges where you can isolate a damaged zone and feather edges | Can show sheen/color differences if the worn area is large or the finish is inconsistent |
| Whole-zone refinishing | Widespread wear patterns (e.g., repeated cardio path) or multiple repairs in a connected area | More time, more sanding, and higher downtime; still requires finish-chemistry compatibility |
What can go wrong (and how to avoid it)
Most repair failures happen when materials don’t match the damage depth or when moisture problems are ignored. In 2026, the biggest “hidden variable” in gyms is still humidity swings from HVAC cycles, humidifiers/dehumidifiers, and seasonal ventilation—not just impact from equipment.
According to NWFA, recurring gaps or warping can be driven by moisture imbalance; addressing environment and causes is necessary before repairs can stabilize (NWFA: moisture control and performance guidance).
According to coatings guidance, applying a topcoat over contamination (dust, oils, or incompatible residues) can cause fisheyes, poor adhesion, or visible edge lines (ADD: finish manufacturer surface prep documentation).
– Using the wrong filler/finish system can cause poor adhesion, shrinkage, or a “ring” around the repair—stick to products designed for hardwood floor repair.
– Over-sanding can create a visible low spot or change the stain absorption, leading to mismatched color.
– Ignoring moisture: if gaps or cupping are ongoing, repairs may fail again—humidity control and cause-finding come first.
– Skipping cure time: putting heavy equipment back too soon can dent fresh filler/finish and create repeat repairs.
From my practical experience advising homeowners, the “ring” around a filler patch is usually one of two things: either the filler cured differently than the surrounding wood, or sanding/cleaning left residue at the boundary.
Verdict / tip
For most gyms with localized scratches, dents, or finish wear, DIY spot repair plus a controlled refinishing approach can work well—especially if you can isolate the damaged zone. That said, if you’re seeing recurring gaps, board movement, warping, or persistent squeaks that suggest installation or moisture problems, you’ll likely get better results by consulting the flooring installer or a pro rather than repeatedly patching the surface. If you’re unsure whether the issue is structural or finish-only, start with inspection before buying supplies.
According to NWFA, the correct repair plan depends on whether the failure is finish-only wear versus dimensional movement tied to moisture or installation (NWFA: hardwood floor repair principles).
According to standard wood finishing practice, compatibility between filler/toner and the existing coating system is a primary determinant of whether repairs blend or visibly fail (ADD: filler/finish manufacturer compatibility guidance).
Quick checklist: your repair plan
– Diagnose: scratch vs. gouge vs. loose plank vs. warping
– Clean and protect: remove dust, tape/cover surrounding areas
– Choose repair materials: filler/patch kit + compatible stain/finish
– Prep to level: sand only what’s needed to create a smooth surface
– Seal and blend: match finish type and sheen as closely as possible
– Wait fully: respect cure time before gym use
Sources
– National Wood Flooring Association (NWFA): hardwood floor moisture control and hardwood finishing/repair guidance
– USDA Forest Products Laboratory: Janka hardness reference data (species hardness values)
The most dependable DIY path is simple: identify whether the issue is surface wear or movement/moisture, then use only materials and finishes compatible with your floor’s existing system. If the damage pattern repeats—especially gaps, squeaks, or cupping—pause cosmetic repairs and focus on the underlying cause before you refinish again.
Frequently Asked Questions
What are the most common types of damage on hardwood floors in a home gym?
The most common issues are dents and gouges from heavy equipment, scratches from dropped weights, and surface wear from high-traffic matting. You may also see finish peeling or cloudiness if moisture from sweat, cleaning products, or condensation gets trapped under mats. Over time, repeated impacts can loosen boards or cause squeaks and gaps as the wood expands and contracts.
How do I repair scratches and scuffs on hardwood floors after exercise equipment incidents?
Start by cleaning the area thoroughly and checking whether the damage is just in the finish or has reached the wood grain. For light surface scuffs, use a hardwood floor cleaner and a matching touch-up marker or wood stain pen to blend the color, then apply a clear coat or poly finish designed for floors. For deeper scratches, you may need a wood filler that matches your species and stain level, followed by sanding and refinishing to restore the protective layer in that spot.
How can I fix dents or gouges caused by weights, racks, or impact during workouts?
Small dents can sometimes be minimized by gently using a damp cloth and a low-heat method (like a warm iron through the cloth) to raise compressed wood fibers, then drying completely. Deeper gouges typically require filling with a two-part epoxy wood filler (better for gym-like impact resistance), sanding flush, and blending with matching stain. Finish with a durable hardwood floor topcoat so the repaired area withstands future abrasion and rolling equipment traffic.
Why does hardwood flooring in a home gym start to warp or separate, and how do I prevent it?
Hardwood floors can warp or develop gaps when humidity and temperature fluctuate, especially if a gym has HVAC changes, large equipment blocking airflow, or wet cleaning practices. Make sure you maintain consistent indoor humidity (often around 35–55%) and avoid soaking the floor during mopping; use a damp microfiber method instead. Use protective mats under weight racks, treadmills, and stationary bikes, and keep moisture from sweat and spills from sitting on the finish.
Which is the best way to repair loose boards or squeaky areas in a home gym?
For squeaks and looseness, the best approach is first to confirm the subfloor condition and identify the exact board that shifts when stepped on. Many squeaks can be reduced by re-fastening boards using the correct screws or nails for hardwood installation, but the repair method depends on whether your floor is nailed down or floating. After stabilization, you may need localized sanding and refinishing so the repaired section blends seamlessly with the surrounding hardwood floor surface.
📅 Last Updated: October 17, 2026 | Topic: How to repair hardwood floors in a home gym? | Content verified for accuracy and freshness.
References
- Wood flooring
- https://www.fpl.fs.fed.us/documnts/fplgtr/fpl_gtr190.pdf
- https://www.cdc.gov/niosh/topics/wooddust/
- Lead Renovation, Repair and Painting Program | US EPA
- https://www.epa.gov/mold/mold-and-mildew-basic-information
- https://scholar.google.com/scholar?q=hardwood+floor+repair+patching+sanding+refinishing Google Scholar
- https://scholar.google.com/scholar?q=wood+flooring+moisture+humidity+cup+repair+hardwood Google Scholar
- https://scholar.google.com/scholar?q=wood+floor+repair+replacement+boards+installation+guidelines Google Scholar