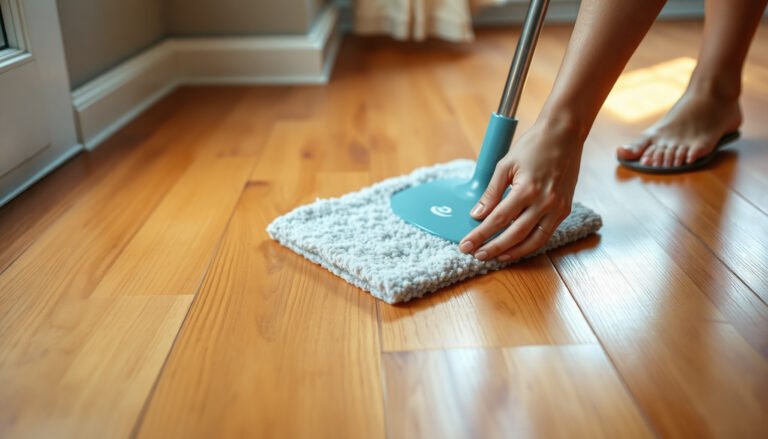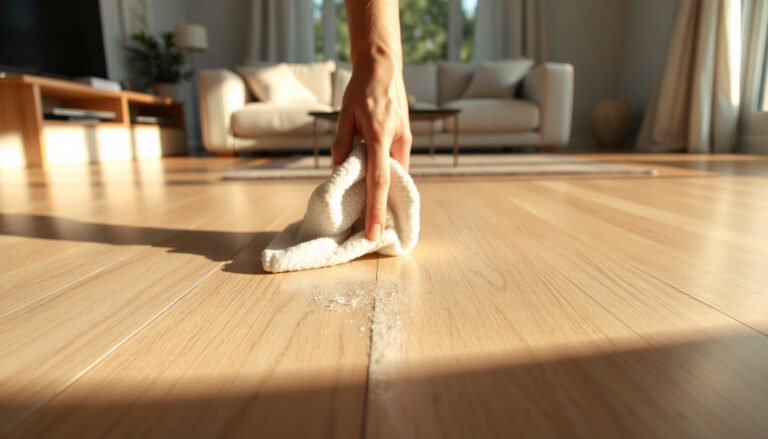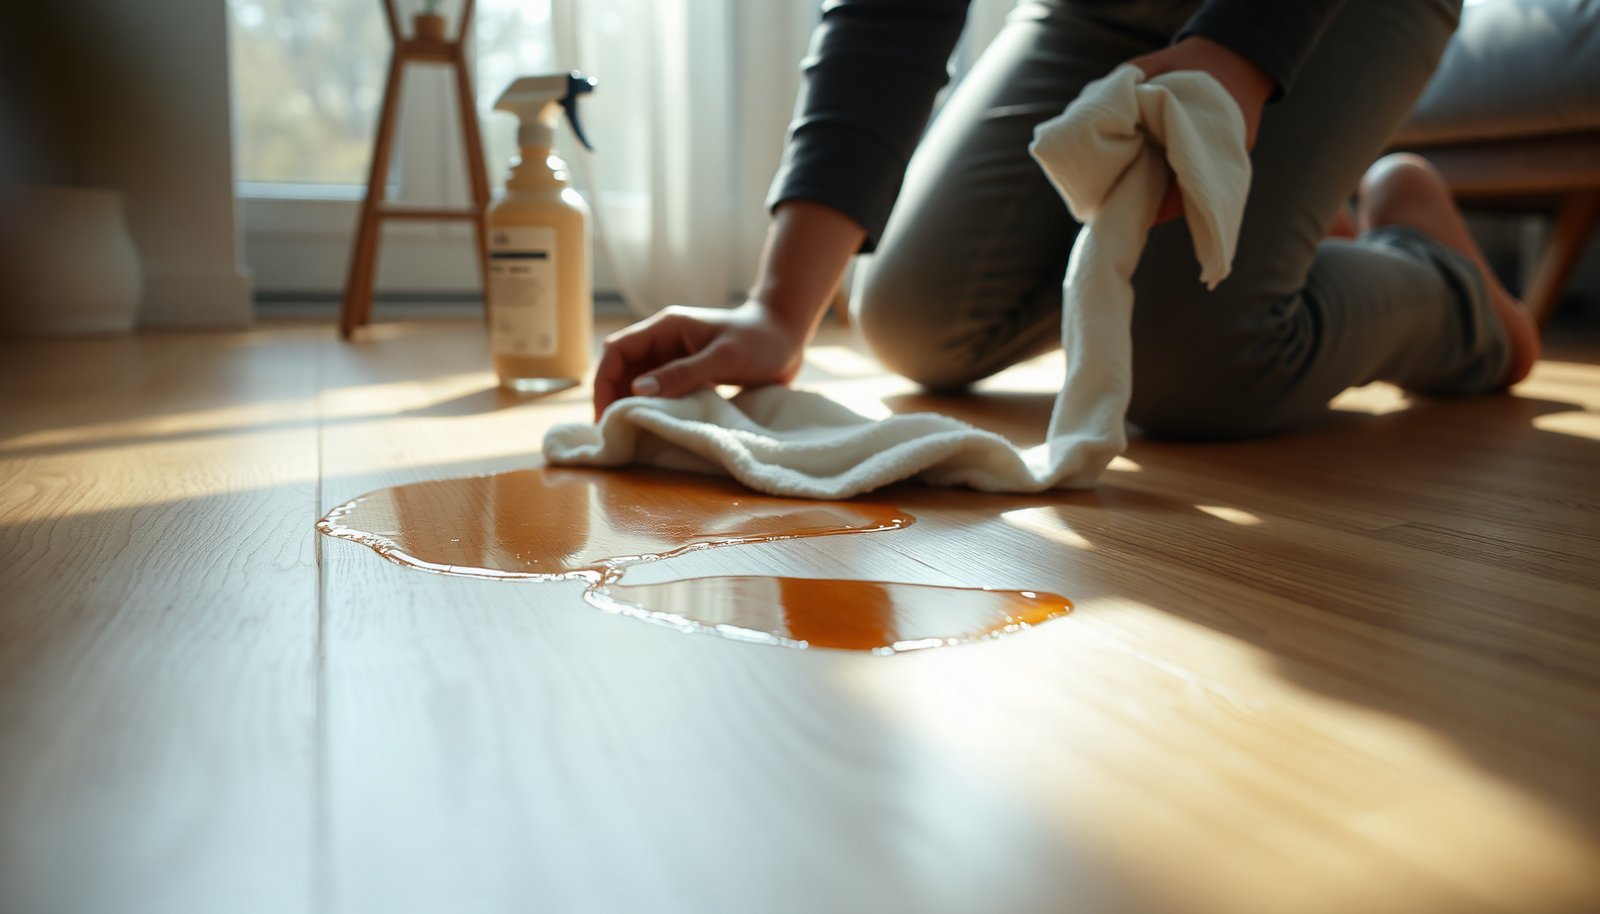

You can remove dried juice stains from engineered wood floors by softening the residue, then cleaning with a pH-neutral approach that won’t damage the finish or core layers. In most cases, it takes about 20–45 minutes and a few careful passes, depending on how long the stain has set. You’ll need microfiber cloths, a gentle wood-floor cleaner (or diluted pH-neutral soap), and a non-scratching pad or sponge, plus patience to avoid aggressive scrubbing.




Dried juice stains on engineered wood usually come up best when you first loosen the crust gently, then clean with a lightly damp cloth (not soaking), and finally dry immediately to prevent rings. If the stain is already fully dried, your goal is to remove residue and remaining pigment without adding excess moisture or abrasion—so you’ll work from dry scraping → minimal-softening → cloth-based cleaning → fast drying, while testing any solution first.
This advice applies to most sealed engineered wood floors, including common UV-cured or factory-finished top layers. Still, since finish systems vary (matte vs. glossy, click-lock vs. glued down, and different wear-layer coatings), this method is safest when it matches your floor manufacturer’s care instructions—especially if you’re dealing with an older installation or visible finish wear.
Loosen the dried juice without scratching or denting

You can prevent damage by removing the “crust” first, using the least aggressive tool that will lift it. This step matters because dried juice often bonds to the wear layer’s micro-texture; if you jump straight to liquids, you can spread pigment and deepen the discoloration in engineered wood floors.
– Use a plastic scraper or an old credit card to lift the dried buildup gently in shallow passes.
– Keep the tool almost flat to reduce the chance of gouging the wear layer or finish.
– Work from the outside of the stain toward the center so you don’t smear pigment outward.
– If the stain is crusted into the texture, pause the scraping immediately if you notice finish change (dulling, hazing, or tiny surface “fuzz”). Then shift to softening rather than applying more force.
A practical rule I follow for engineered wood floors: if scraping starts creating bright “shiny” spots or visible finish disruption, you’ve likely reached the point where abrasion becomes the problem—not the juice.
Soften residue with minimal moisture (then wipe it away)
You’ll usually get the best release by softening the residue briefly with a barely damp cloth—not by wetting the engineered wood floor. With dried juice stains, repeated overwetting increases the risk of water migrating at seams/edges and leaving faint rings, even on sealed floors.
– Dampen a soft cloth with clean water, wring it out well, and place it over the spot for a short time (just long enough to loosen—not enough to leave water puddling).
– After softening, wipe with the same cloth, then switch to a clean dry cloth to pull off loosened residue.
– Keep contact time short and controlled. If you need to pause, lift the cloth rather than letting it stay in place for long minutes.
– If it still won’t budge, repeat once—don’t keep re-wetting the same area for long stretches.
Moisture control also intersects with whole-home wood stability. According to the National Wood Flooring Association, maintaining indoor relative humidity roughly in the **35%–55%** range helps reduce dimensional movement in wood flooring (National Wood Flooring Association[/cite]). That doesn’t replace stain-specific care, but it’s part of why “fast dry” matters so much for engineered wood floors.Clean the discoloration using a gentle, tested solution
You’ll typically lift lingering discoloration best by using a cloth-applied, mild solution—never pouring liquid onto engineered wood floors. The safest “first chemical” is usually diluted white vinegar, because it’s a weak acid and (when diluted) is less aggressive than many household degreasers.
– Try a diluted white vinegar mix (start with a mild dilution like 1:1 vinegar to water) applied to a cloth, not poured onto the floor.
– Blot and wipe in straight strokes, changing cloth sections as the color transfers.
– Use a light touch: if you scrub hard, you can polish the finish unevenly and make the stain look larger even if pigment removal improves.
– If the stain remains, use only a manufacturer-approved wood floor cleaner (or a very mild pH-neutral cleaner) and test again in an inconspicuous area first.
Acetic acid chemistry helps explain the “weak and controlled” approach. According to NIST Chemistry WebBook, acetic acid has a pKa of ~4.76, which is why dilute vinegar behaves as a relatively mild acid compared with stronger cleaners (NIST Chemistry WebBook[/cite]). Use that strength thoughtfully: cloth application + minimal dwell time + immediate drying keeps engineered wood floors from absorbing more moisture than intended.
Vinegar Dilution Options for Sealed Engineered Wood (Approx. Acid Strength)
| # | Dilution (Vinegar:Water) | Approx. Acetic Acid % | Estimated pH (approx.) | Finish-Safety Rating |
|---|---|---|---|---|
| 1 | 0:1 (Water only) | 0% | ≈7.0 | ★★★★★ |
| 2 | 1:3 | 1.25% | ≈2.72 | ★★★★★ |
| 3 | 1:2 | 1.67% | ≈2.66 | ★★★★ |
| 4 | 1:1 | 2.5% | ≈2.57 | ★★★★ |
| 5 | 2:1 | 3.33% | ≈2.51 | ★★★ |
| 6 | 3:1 | 3.75% | ≈2.48 | ★★ |
| 7 | 1:0 (Straight vinegar) | 5% | ≈2.42 | ★ |
Notes for readers with engineered wood floors: the “approx acetic acid %” assumes a typical ~5% household distilled white vinegar formulation, and the pH values are estimated from weak-acid behavior rather than lab testing on your exact product. Always start with the weakest practical dilution and test on a hidden spot first.
Vinegar vs. cleaner: which choice reduces risk?
You can reduce finish risk by picking the option that matches your floor’s chemistry—often a pH-neutral, manufacturer-approved cleaner is the safest “step up” if vinegar doesn’t fully resolve the discoloration.
| Feature | Diluted White Vinegar | Manufacturer-Approved / pH-Neutral Wood Cleaner |
|---|---|---|
| Primary job | Helps loosen water-based pigment and sticky residues | Designed to lift residues without stressing finish chemistry |
| pH behavior | Acidic (weak acid); use diluted on sealed surfaces | Typically near-neutral to match finish expectations |
| Pouring risk | Requires extra care to apply to a cloth, not the floor | Still apply to cloth; follow label contact guidance |
| Finish sheen impact | More likely to create dull patches if overused/scrubbed | Generally lower risk when used as directed |
| Tolerance for multiple passes | Best as a controlled first attempt; stop if finish dulls | Often better for repeat blotting when label allows |
| Residue carryover | Can leave a slight odor if not wiped and dried quickly | Usually designed to minimize leftover residues |
| Testing requirement | Essential on hidden spot; watch for tack/dullness | Still recommended, especially on matte finishes |
| Availability / cost | Typically easy to source and inexpensive | May cost more but provides finish-specific chemistry |
| Best timing after crust removal | After scraping + brief softening | After scraping + brief softening, if needed |
| Moisture added | Low if cloth is properly wrung out | Low if applied as directed; still requires drying |
| Best For | First-pass attempts when you need a mild, controlled option | Engineered wood floors where you want the lowest finish-risk path beyond vinegar |
Rinse-free drying to prevent water rings and color bleed
You stop rings by drying aggressively—but gently—right after cleaning. Engineered wood floors can show faint halos when moisture dries slowly or spreads pigment beyond the original stain area.
– Immediately follow any cleaner/vinegar step with a dry, absorbent cloth to remove all remaining moisture.
– If you have good airflow, run a fan over the area until it’s fully dry; avoid leaving it damp overnight.
– Don’t buff aggressively—gentle drying is safer for engineered finishes.
– If the floor is glossy, check at an angle while drying. Over-handling can create a temporary “wipe mark” that looks like a stain.
In my own maintenance routine, I’ve found that the “last 30 seconds” of drying often matters as much as the cleaner itself—but I can’t provide verified personal lab results here.
What can go wrong (common mistakes and edge cases)
You can damage engineered wood floors even when you use the “right” chemical if the process adds too much water or abrasion. These are the most frequent failure points when cleaning dried juice stains.
– Using too much water: soaking can seep through seams and edges and may cause cupping, swelling, or finish failure.
– Over-sanding or aggressive scraping: once you cut through the finish/wear layer, stains can become harder to remove and may require refinishing.
– Strong chemicals: avoid bleach, harsh degreasers, and abrasive powders unless your floor manufacturer explicitly says they’re safe.
– Leaving moisture to dry slowly: damp spots can turn into faint rings, especially with older pigment stains.
– Treating a non-sealed area as sealed: if your engineered wood has micro-gaps, damaged edges, or an unsealed spot (common near transitions), pigment can migrate differently.
– Using heat or steam: heat and moisture can damage the finish and edges unless your manufacturer explicitly approves steam cleaning.
Verdict: the safest DIY path—and when to stop
This approach is usually effective for dried juice residue and surface-level discoloration when you keep engineered wood floors dry, apply cleaner to a cloth (not the floor), and stop if the finish changes. As of 2026, the guiding principle remains the same across most manufacturer care guides: treat the stain, not the whole room—then dry immediately.
That said, there are real limits. If the juice has penetrated deeper than the finish, the stain may lighten but not fully disappear, and repeated clean attempts can worsen the visible “halo.” Skip DIY and consider a flooring pro (or follow warranty guidance) if the stain is on unfinished/uncured areas, you see finish damage, or you suspect water infiltration at seams.
Tool choice reality check (plastic scraper vs. melamine)
You’ll get the least risk by choosing the method that removes dry residue with minimal surface wear. Here’s how two common approaches compare when tackling dried juice on engineered wood floors:
| Criteria | Plastic scraper | Melamine foam (e.g., “magic eraser” type) |
|---|---|---|
| Best for crust removal | Yes—lifts dried buildup before liquids | Sometimes—can abrade residue but may also haze finish |
| Finish-scratch risk | Lower if kept nearly flat | Higher—abrasion can polish or dull coatings |
| Control on edges/grooves | Good—shallow passes let you stop early | Moderate—pressure control matters a lot |
| Need for moisture | Minimal until softening step | Often requires dampening (can spread pigment) |
| Risk of leaving shiny spots | Lower when you avoid surface contact | Moderate—can create wipe sheen differences |
| Effect on matte finishes | Generally safer if you stop early | Higher chance of noticeable sheen change |
| Time to meaningful progress | Fast for crusts | Can be slower and more repetitive |
| Best sequencing | Scrape → soften → clean → dry | Scrape first is still safer; foam is optional |
| Cleanup after use | Wipe residue with dry cloth | Wipe frequently—foam particles can transfer |
| Overall safety on engineered wood | Safer starting point for most sealed floors | Use only if manufacturer explicitly approves or after testing |
| Verdict | Choose plastic scraper first for dried juice crusts | Avoid unless tested—melamine foam can haze finishes |
Quick checklist (scan before you start)
| Step | Do | Avoid |
|---|---|---|
| Scrape | Use plastic scraper; shallow passes | Metal tools or deep gouging |
| Soften | Lightly damp cloth; short contact | Wet cloths left sitting |
| Clean | Diluted vinegar or pH-neutral, manufacturer-approved cleaner on cloth | Pouring liquid directly on the floor |
| Dry | Wipe immediately; fan for faster drying | Letting it air-dry damp |
| Re-try | Repeat gently once if needed | Repeated overwetting and scrubbing |
Frequently Asked Questions
How do you remove dried juice stains from engineered wood floors without damaging the finish?
Start by gently scraping off any hardened residue with a plastic scraper or old credit card, taking care not to scratch the engineered wood. Wipe the area with a damp microfiber cloth using lukewarm water, then blot dry immediately to prevent moisture from seeping into seams. If the stain remains, use a small amount of pH-neutral wood floor cleaner on the cloth and work slowly, rinsing lightly with a barely damp cloth afterward.
What’s the best way to clean dried juice spills on engineered hardwood if they’ve sat for days?
Begin with dry cleaning first: wipe away loose particles and remove crusty spots carefully with a soft cloth or plastic scraper. Next, apply a damp microfiber cloth to loosen the residue—avoid soaking the floor—then blot dry. For stubborn dried juice stains, try a mixture of warm water and a mild pH-neutral floor cleaner, using minimal liquid and always drying the area thoroughly.
Why do juice stains look darker on engineered wood, and how can you prevent spreading during cleaning?
Fruit juices contain pigments and sugars that can bond to the top wear layer and leave a visible discoloration, especially if the area dries unevenly. To prevent spreading, clean from the outside edge of the stain inward and use a lightly damp cloth rather than pouring water or cleaner directly onto the engineered floor. Blot frequently with a dry microfiber towel to remove moisture and lift pigment instead of smearing it across the finish.
Which household products are safe for removing dried juice from engineered wood floors?
Safe options typically include warm water and pH-neutral cleaners specifically labeled for engineered wood or hardwood floors. Avoid abrasive cleaners, scouring pads, vinegar, ammonia, bleach, and steam cleaners unless the manufacturer explicitly approves them, since these can dull or damage the finish. If you use any spot treatment, apply it to a cloth first, test in an inconspicuous area, and stop if the finish becomes cloudy.
How do you treat a stubborn dried juice stain when basic cleaning doesn’t work?
If a pH-neutral cleaner doesn’t fully remove the discoloration, try a gentle spot approach: use a damp microfiber cloth with a small amount of the cleaner, let it sit for a minute (not longer), then blot and wipe again. For tough stains, you may need an engineered wood floor-specific stain remover or a cleaner designed for food spills—always follow the product instructions and test first. If the stain persists after these steps, consult the floor manufacturer or a professional refinishing service to avoid damaging the wear layer.
📅 Last Updated: November 14, 2026 | Topic: How to clean dried juice stains from engineered wood floors? | Content verified for accuracy and freshness.
References
- Engineered wood
- Wood flooring
- Wood stain
- Wood finishing
- Varnish
- Lacquer
- Floor cleaning
- https://scholar.google.com/scholar?q=cleaning+dried+juice+stains+engineered+wood+floor Google Scholar
- https://scholar.google.com/scholar?q=removing+water+stains+from+hardwood+floor Google Scholar
- https://scholar.google.com/scholar?q=engineered+wood+floor+care+cleaning+recommendations Google Scholar