


Juice stains on engineered wood floors can be lifted and the surface brought back to an even, natural look when you treat the finish gently and act promptly. This process is straightforward—typically 30 to 60 minutes—and relies on a few simple supplies like microfiber cloths, pH-neutral cleaner, and a carefully diluted vinegar solution if needed. Follow the approach here to avoid warping, clouding, or stripping the top layer.




Blot the juice right away, then wipe with a lightly damp, pH-neutral cloth-cleaner approach—don’t flood the floor. If a ring or discoloration remains, repeat gentle, finish-safe spot treatment after testing in a hidden area so you don’t dull or alter the engineered wood wear layer.
If your engineered wood is factory-finished (most are), you’re working with a sealed top wear layer designed to handle normal cleaning—not soaking. As of 2026, the safest strategy is still low-moisture, pH-neutral cleaning, because engineered wood can show haze, color ghosting, and edge issues when excess liquid penetrates seams or sits too long.
Gather supplies and check the finish

Use safe, finish-compatible tools first—this prevents scratches and reduces the chance you’ll drive pigment deeper. Before you apply any cleaner, confirm what your floor’s finish can tolerate, because “engineered wood” includes multiple top-coat systems (urethane, aluminum oxide, and others), each reacting differently to chemicals and water.
– Use soft, clean cloths/paper towels; avoid abrasive pads that can scratch the wear layer.
– Look for your floor’s care instructions (manufacturer website/label) to confirm what cleaners are safe for the finish.
– If you’re unsure, spot-test every cleaner in an inconspicuous spot first (under a cabinet/closet edge).
pH Compatibility Snapshot for Finished Engineered Wood (2026)
| # | Cleaner / Solution Type | Approx. pH | Finish-Safe Likelihood | Impact Risk |
|---|---|---|---|---|
| 1 | Distilled / clean water (for rinsing) | 7.0 | ★★★★★ | Low |
| 2 | pH-neutral floor cleaner (label range commonly centered near 7) | 7.0 (target) | ★★★★★ | Low |
| 3 | Baking soda solution (mildly basic) | 8.3 | ★★★★☆ | Moderate |
| 4 | 3% hydrogen peroxide (weak oxidizer) | ~3.0 | ★★☆☆☆ | Higher |
| 5 | Household vinegar (about 5% acetic acid) | 2.4 | ★☆☆☆☆ | Higher |
| 6 | Lemon juice (typical acidity) | ~2.1 | ★☆☆☆☆ | Higher |
| 7 | Household bleach (sodium hypochlorite products) | ~11.5 | ★☆☆☆☆ | Highest |
This table reflects the practical “pH logic” used in most wood-floor care guidance: the safest category is pH-neutral cleaning because it minimizes chemical stress on sealed finishes. pH itself is logarithmic (so small pH shifts mean large chemistry changes), which is why acidic kitchen ingredients can be risky on some finishes. According to IUPAC definitions, pH is a logarithmic measure of hydrogen ion activity (IUPAC Compendium of Chemical Terminology, 2019).
Clean fresh juice stains first
If the juice is still fresh, you usually prevent permanent pigment staining with blotting and a pH-neutral, minimal-moisture wipe sequence. This approach works because engineered wood is top-sealed, but the stain’s sugar/pigment needs to be removed before it has time to spread, dry, or leave behind a visible ring.
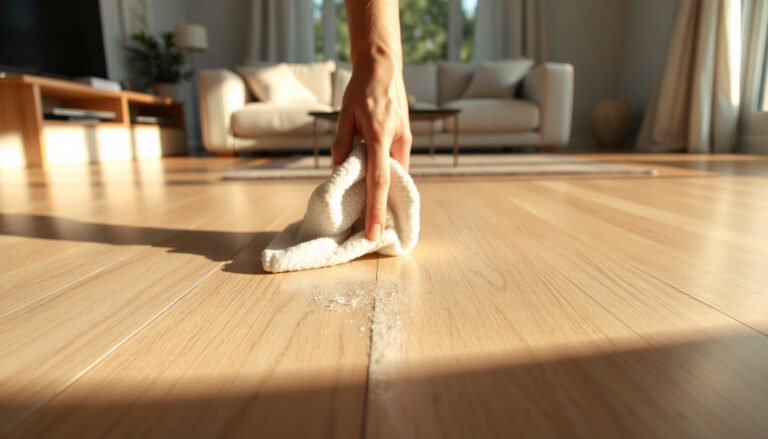
– Blot (don’t rub) until no more liquid transfers to the cloth.
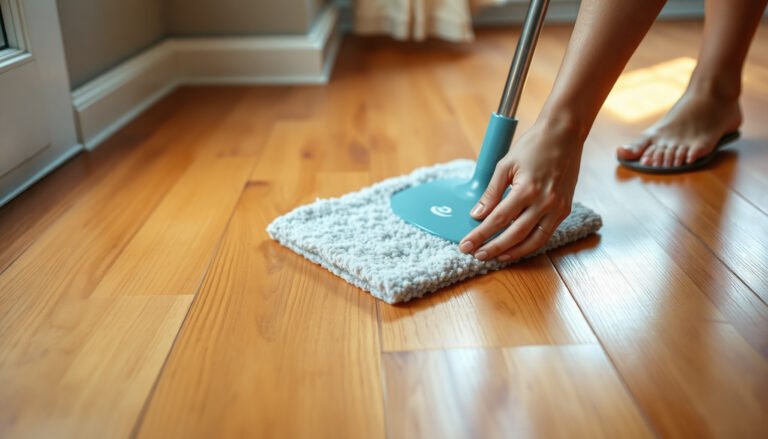
– Wipe with a cloth dampened with water mixed with a small amount of pH-neutral cleaner, then wipe again with a separate cloth dampened with plain water to remove soap residue.
– Dry immediately with a clean, dry towel and let air-circulate (no wet mopping).
Why the “two-cloth” step matters: even a correct cleaner can leave a residue film. That film can trap pigment you thought you removed and create haze (a dull or cloudy look) in the cleared area. Also, avoid wet mopping—engineered wood can respond to prolonged moisture with swelling at vulnerable edges and seam areas when liquid sits long enough. Wood science describes moisture behavior in terms of fiber saturation: above a critical moisture level (often cited around ~30% moisture content, depending on species and measurement), cell walls are saturated and further free water becomes a swelling/warping risk (Wood Handbook—Wood as an Engineering Material (Forest Products Laboratory, 2010)).
Practical technique: how to wipe without spreading pigment
Use a “press-and-lift” motion rather than scrubbing. If the juice has created a visible wet footprint, treat the outer edges first so you don’t drag pigment outward. Replace cloths often: once they’re saturated with juice, you’ll redistribute sugars and color rather than lifting them.
What “lightly damp” actually means
You want the cloth wet enough to pick up residue, not so wet that water beads on the floor or runs toward seams. In practice, that means wringing the cloth until it’s damp, not dripping.
Remove set-in juice stains safely
If the juice has already dried or you see a lingering ring after the first clean, you’re past “quick rescue” and into finish-safe spot correction. The goal shifts from removing liquid to removing pigment and any finish haze—using gentle, repeated passes rather than harsh chemistry or soaking.
– If discoloration remains after the initial clean, re-clean gently with the same pH-neutral approach (slow, repeated passes beat one aggressive scrubbing).
– Try a manufacturer-approved “spot remover” for finished wood floors, or a very mild paste approach (for example, baking soda mixed into a thick paste) only after spot-testing.
– For persistent rings, use the gentlest method first: apply to the cloth (not directly onto the floor), work lightly, then wipe clean and dry.
Start with the least invasive method (repeat passes)
Re-cleaning with a pH-neutral cloth method is often more effective than escalating immediately. Many stains on sealed engineered wood behave like surface contamination plus residual film; small, repeated cleanings can gradually lift pigment without chemically stressing the finish.
If you consider baking soda, treat it like a spot tool—not a scrub paste
Baking soda is mildly basic, which is why many floor-care guides still prefer it only as an ultra-gentle, spot-tested option. If you do use it, make a thick paste (so it doesn’t migrate like a liquid), apply to the cloth, and work the stain with minimal pressure. Rinse by wiping with a cloth dampened with plain water, then dry thoroughly.
When a “ring” is really finish haze
A ring can be two different problems:
1) pigment left behind in the wear layer’s top coating; or
2) hazing from leftover cleaner or disturbed surface finish.
To distinguish them, look closely under angled light. If the stain color seems gone but the area looks cloudy/dull, the likely culprit is haze residue rather than pigment.
Method comparison (what to try first and why)
| Option | Best for | Pros | Watch-outs |
|---|---|---|---|
| pH-neutral damp cloth + rinse wipe | Fresh stains and light rings | Finish-safe when used correctly; minimal moisture | Needs patience—residue haze can remain if you skip the rinse |
| Manufacturer-approved spot remover | Dried pigment on sealed surfaces | Designed to work with the finish type | Only use product categories your manufacturer explicitly approves |
| Baking soda thick paste (spot-tested) | Persistent surface discoloration | Gentler than acids/solvents; can lift some residue | Can still affect gloss; always apply to cloth and rinse + dry |
Protect the floor after stain removal
Once the stain looks cleared, your job isn’t finished—you need to remove leftover cleaner, then protect the finish while it dries. As of 2026, many “mystery rings” come from rinsing shortcuts or lingering moisture at seams, so the final steps matter just as much as the stain-removal steps.
– Remove any leftover cleaner with a damp cloth, then dry thoroughly to prevent haze or water marks.
– Avoid steam cleaners and harsh solvents (they can soften or cloud the finish).
– If your floor looks slightly dull afterward, use the finish-care method recommended by the manufacturer (some floors benefit from a restorative product; others don’t).
Why drying immediately is a finishing step
Even if the floor feels dry on top, moisture can remain along edges where liquids gather. Drying fast (towel + airflow, not heat blasting) reduces the chance of water marks and helps the wear layer return to its intended appearance.
Don’t rely on “natural” acids
Vinegar and lemon are popular on the internet, but acids can react with some finishes or degrade gloss. If you’re trying a “natural” alternative, make it subordinate to your manufacturer’s care instructions and always do a hidden-area test first.
What can go wrong (common mistakes and edge cases)
Stains often “fail” because of technique errors or because moisture/pigment behavior changes once the spill sets. These are the issues that most frequently lead to permanent discoloration, dull finish patches, or edge swelling on engineered wood floors.
– Rubbing can spread the stain and can also dull the finish—always blot and wipe gently.
– Over-wetting engineered wood can cause edge swelling or cupping in vulnerable areas, especially if the spill sat longer than expected.
– Color differences can happen: juice can leave pigment behind, and overly strong cleaners may lighten or “ghost” the area rather than fully removing it.
– If the stain is actually mold/mildew from prolonged moisture exposure, cleaning methods for pigment stains may not be enough—address moisture source first.
Common edge case: what if the juice soaked into seams?
Engineered wood isn’t immune to liquid penetration. If the spill sat long enough to reach seams or between planks, the stain might not be purely surface pigment anymore—so even perfect cleaning can’t fully reverse changes. In that situation, drying and moisture-source correction are priority, and cosmetic patching/refinishing may be necessary depending on floor construction and the severity of finish breakdown.
Another edge case: “stain gone, but it’s still not uniform”
If color is removed but gloss isn’t uniform, you’re dealing with finish haze. At that point, repeated over-cleaning can make things worse. Stop escalating and follow your manufacturer’s finish-care direction (or consider a pro for a finish-level correction).
Verdict / tip: DIY carefully—or stop and call a pro
If the juice stain is fresh, you can usually fix it with blotting + pH-neutral cleaning and thorough drying. For older or stubborn discoloration, DIY is still possible, but only if you stick to finish-safe, spot-tested methods—over-aggressive stain removers can do more harm than good, especially on high-gloss or hardwax-oil-adjacent finishes.
If you see cupping, lifting edges, or worsening haze after gentle attempts, pause and consult a flooring professional. Also skip further DIY if your manufacturer documentation requires specific products only (some finishes have narrow compatibility windows).
Quick checklist (save this):
– [ ] Blot immediately (no rubbing)
– [ ] Clean with pH-neutral cleaner (damp cloth only)
– [ ] Wipe with plain water to remove residue
– [ ] Dry fully and fast
– [ ] Spot-test any stain treatment in a hidden area first
– [ ] Avoid steam, soaking, and harsh solvents
Frequently Asked Questions
What’s the safest way to remove juice stains from engineered wood floors?
Start by blotting the juice immediately with a clean, dry microfiber cloth—don’t rub, since rubbing can spread the stain and push liquid into seams. Use a slightly damp cloth with plain water to lift residue, then follow with a wood-floor-safe cleaner recommended for engineered wood. Dry the area thoroughly with a towel and allow full air-drying to prevent moisture from affecting the top veneer or edges.
How do I clean a fresh juice spill on engineered hardwood without damaging the finish?
Blot up as much liquid as possible, then wipe with a damp cloth (water only) to remove sticky sugars. If the stain remains, lightly dab the spot with a cleaner labeled safe for engineered wood floors, using minimal moisture. Keep the cleaning water off the surrounding area and finish by drying completely—especially near joints and seams.
Why do juice stains leave marks on engineered wood, and how can I prevent permanent discoloration?
Juice often contains pigments and sugars that can discolor the finish and, if moisture seeps through the protective layer, can affect the wood beneath. The longer the juice sits, the deeper the staining can penetrate the top surface. To prevent permanent damage, clean spills right away, avoid excess water, and immediately dry the area after cleaning.
What’s the best method to remove dried juice stains from engineered wood floors?
Begin by softening the dried residue with a barely damp cloth—avoid soaking—then gently lift with repeated wipes. For stubborn discoloration, use a manufacturer-approved wood floor cleaner and a microfiber cloth, applying only enough to clean the spot. Never use harsh chemicals or steam; after cleaning, dry the area thoroughly and monitor for any remaining shadowing.
Which household cleaners are safe for juice stains on engineered wood floors?
In most cases, plain water for first-pass cleaning and wood-floor-specific cleaners are the safest options for engineered hardwood stain removal. Avoid ammonia, bleach, and vinegar-based solutions unless your floor manufacturer explicitly approves them, as these can dull or degrade the protective finish. If you try any product, test it in a hidden area first and keep the application light to prevent moisture buildup.
📅 Last Updated: November 14, 2026 | Topic: How to clear juice stains from engineered wood floors? | Content verified for accuracy and freshness.
References
- Engineered wood
- Wood flooring
- 404 Error
- https://www.armstrongflooring.com/support/care-maintenance/cleaning.html
- MohawkFlooring
- https://scholar.google.com/scholar?q=how+to+remove+juice+stains+from+wood+floors Google Scholar
- https://scholar.google.com/scholar?q=engineered+wood+floor+stain+removal+cleaning+water+damage Google Scholar
- https://scholar.google.com/scholar?q=hardwood+floor+stain+removal+oxidation+water+ring+techniques Google Scholar
[…] dull the surface and spread the discoloration. With the right approach and basic supplies like a pH-neutral cleaner, microfiber cloths, and careful blotting, you can lift the stain effectively—often within a short […]