
Pet urine, vomit, or other accidents can soak into hardwood and linger as odor because people often scrub with too much water or harsh cleaners that damage the finish. You can safely remove the smell by using the right cleaning approach and an enzyme-based product that targets the source, not just the surface. With a few basic tools like absorbent cloths, pH-neutral cleaner, and microfiber, most spots can be handled in about an hour.




If you want pet smells off hardwood without damaging the finish, clean immediately with damp (not wet) wiping, then neutralize what’s left using an enzyme-based odor treatment. The key is to remove urine residue at the surface while letting chemistry do the odor work—without flooding seams, edges, or board ends.
If pet urine or other mess soaked into hardwood, the safest approach is to clean the surface right away, then neutralize the odor with the right chemistry—without soaking the floor. Start with gentle blotting and a hardwood-safe cleaner, then use an enzyme-based odor neutralizer and let it fully dry before walking on it. This helps remove both the stain-causing residue and the smell that lingers after a simple mop.
This guide is for homeowners with hardwood (sealed or finished) who notice lingering pet odors—especially after prior cleanups. If you’re dealing with old odors, seepage into seams, or unknown finish type, you’ll also learn what to avoid so you don’t warp boards or make the smell worse.
Quick actions: what to do immediately (and what not to)
Act fast: the fastest path to odor removal on hardwood is blotting and controlled cleaning while the mess is still wet. The goal is to prevent urine from traveling into finish micro-cracks, seams, and board edges—areas where water and chemicals can do damage in 2026 just as quickly as they did in 2016.
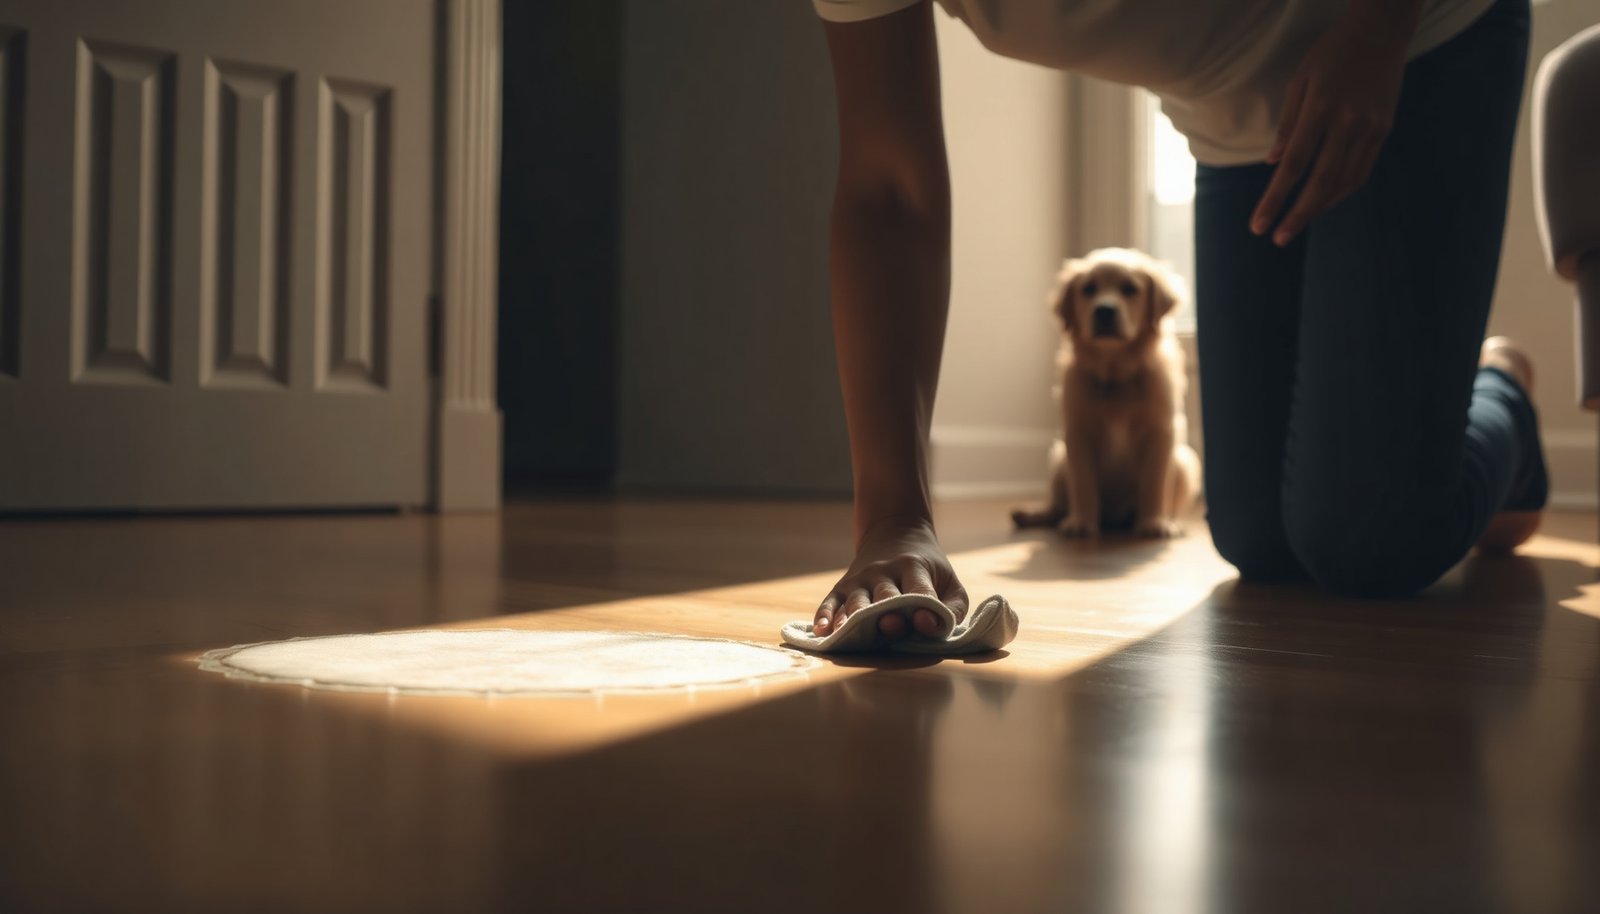
– Blot up liquid fast with paper towels or a clean cloth—don’t scrub, which pushes odor deeper.
– Avoid soaking: never flood the floor with water or cleaner (especially along joints and edges).
– If the mess is fresh, keep pets away until the area is fully dry.
What “blotting” should look like: press down firmly, hold for a few seconds, lift straight up, and repeat with fresh towels. Scrubbing matters because urine is partly absorbed and partly moved around mechanically—especially on textured floors. Also, once liquid reaches seams, cupping and odor rebound become much more likely, particularly in humid months when indoor relative humidity stays elevated.
Step-by-step safe cleaning for hardwood
Use a gentle, hardwood-appropriate cleaner first—then dry thoroughly before you apply any odor chemistry. This order matters: if you trap urine residue under a treatment layer without removing surface contamination, you often end up with a stronger smell rebound after drying.
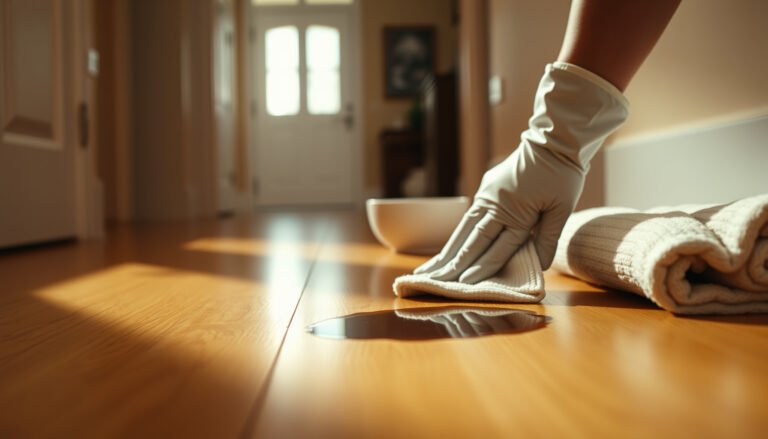
– Use a hardwood-appropriate cleaner (or mild soap solution) and wipe with a damp—not wet—cloth.
– Rinse carefully with a lightly damp cloth if the cleaner leaves residue, then dry thoroughly.
– For visible spots, stop and reassess rather than repeating harsh cleaning that can affect the finish.
How to clean without over-wetting (the practical method)
1. Blot any remaining moisture until the towel comes up mostly dry.
2. Wipe once with a cloth dampened with your hardwood-safe cleaner.
3. Switch cloths often so you’re not re-depositing residue.
4. If you used anything that could leave a film (some soaps do), do one careful “rinse wipe” with a lightly damp cloth—then dry immediately.
Why “damp” is not “wet”: hardwood movement is driven by moisture changes. Wood fibers swell as moisture rises; shrinkage/swelling becomes significant when wood moisture content moves within the range that affects dimensional stability. According to the Forest Products Laboratory “Wood Handbook”, shrinkage and swelling occur below the fiber saturation point (about 28–30% moisture content), which is why even small surface flooding can create long-term board distortion over time—especially along edges where drying is slow.
When you’re done cleaning: the floor should feel dry to the touch. Don’t “wait and see” here—dry time is part of the cleaning process.
Neutralizing pet odors without damaging the finish
Enzyme-based odor neutralizers are typically the most finish-friendly way to eliminate lingering urine odor because they target organic odor sources rather than simply masking them. Use them in a controlled, spot-first way so you minimize risk to your finish and reduce the chance of residue buildup.
– Choose an enzyme-based odor neutralizer labeled for pet urine/organic odors; follow the label directions exactly.
– Apply in a controlled way (spot treatment first), and keep it off areas you don’t need to treat.
– Let it work for the full recommended dwell time, then ensure complete drying before foot traffic.
Enzyme neutralizers vs. common alternatives (what to expect)
– Enzyme neutralizers (recommended):
– Pros: break down odor-causing organic compounds; they’re designed to work without heavy solvents or oxidizers.
– Cons: they need proper wetting of the affected spot and full dwell time; they won’t fix urine that has already migrated deeply without additional treatment.
– Vinegar, bleach, or ammonia (often risky on finished hardwood):
– Pros: may temporarily reduce odor in some situations.
– Cons: can damage finishes, reactivate odor residues, or create a new “chemical” smell that’s harder to remove.
At the chemistry level, urine odor doesn’t just live in the liquid. As it dries, components can crystallize and become harder to lift with standard cleaners. Enzymes help because they’re formulated to keep working until they’ve processed the residual organic material—so rushing the dwell time is a common reason results disappoint.
Practical application tips
– Test a hidden spot if your floor finish is unusual or you don’t know what’s on top.
– Spot treat first, then expand only if you confirm odor travel beyond the original spill.
– Avoid oversaturation. You’re aiming for enough moisture to activate the product, not to soak the seam lines.
According to the U.S. Department of Agriculture Forest Products Laboratory, indoor moisture management is critical for hardwood stability; the National Wood Flooring Association commonly recommends keeping indoor relative humidity around 35–55% to help prevent excessive movement. In 2026, this is still the same practical advice: if your home runs humid, drying after enzyme treatment is slower, and odors can appear to “return” simply because moisture remained.
Typical Household Chemistry & Finish Safety When Treating Pet Odors on Hardwood
| # | Method | Typical active concentration | Typical pH / character | Odor chemistry target | Finish safety score (0–100) |
|---|---|---|---|---|---|
| 1 | Enzyme-based pet odor neutralizer | Enzymes (label-specific) | Near-neutral (commonly pH ~6–8) | Breaks down organic odor residue | 85 |
| 2 | Hardwood-safe neutral cleaner | Surfactants (label-specific) | Near-neutral (commonly pH ~7–9) | Lifts surface residue (not true neutralization) | 80 |
| 3 | Mild dish-soap solution (very diluted) | ~0.1–0.5% soap by volume | Mildly basic to neutral (often pH ~7–9) | Removes oils/soiling; may leave film | 75 |
| 4 | White vinegar (food-grade) | ~5% acetic acid | Acidic (often pH ~2–3) | May alter odor perception; not designed for urine enzymes | 45 |
| 5 | Hydrogen peroxide (3% household) | ~3% H₂O₂ | Mildly acidic (often pH ~3–5) | Oxidizes some odor compounds | 35 |
| 6 | Household ammonia cleaners | ~5–10% ammonia (varies) | Strongly basic (often pH ~11–12) | Can intensify some urine odors; risk to finishes | 20 |
| 7 | Chlorine bleach (sodium hypochlorite) | Often ~5–6% NaOCl (varies by product) | Highly basic/oxidizing (commonly pH ~11–13) | Oxidizes pigments/organics; not finish-safe | 5 |
Dealing with older odors and odor near seams
If the smell remains after careful surface cleaning, the likely issue is odor migration into seams and edges. For older urine, you often need repeated enzyme spot treatments—while preventing further moisture from traveling deeper.
– If the smell remains after surface cleaning, focus on seams, edges, and transitions where liquid can travel.
– Consider light spot treatments rather than covering the whole floor—too much product can complicate drying and residue removal.
– If the odor persists or you see damage, you may need professional help because odor can reach below the finish or into subflooring.
When to call out a pro (simple rule)
Call a flooring pro if (1) you’ve completed two full rounds of enzyme treatment exactly per the label (with full dry time between rounds), and (2) the odor is still noticeable after the area is dry for at least 24 hours. Also escalate sooner if you see cupping/warping, lifted edges, soft spots, or persistent staining—those are moisture/finish failure signals, not just “smell left behind.”
This is especially important in 2026 when many homes run higher indoor humidity or have mixed flooring ages, which can slow drying and make smells appear to “recur” even when cleaning was technically correct.
What can go wrong (common mistakes and edge cases)
Most hardwood odor failures happen because moisture was introduced the wrong way or harsh chemistry was used too aggressively. The safest mindset is: protect the finish first, treat odor with targeted enzymes second, and stop before you create a new problem.
– Over-wetting hardwood: pooling water can swell boards, lift edges, or cause permanent clouding.
– Using the wrong chemical: avoid strong ammonia or bleach mixes, which can worsen odor and damage finishes.
– Skipping drying time: trapped moisture can reactivate smells or create a lingering “damp” odor.
– Uncertainty about the finish: if your hardwood is unsealed, heavily worn, or previously refinished, the safest method may differ.
Finish-specific guidance (typical most-common cases)
– Pre-finished hardwood with polyurethane/poly coating (most common “sealed” floors): you can usually follow the “damp wipe + enzyme spot” workflow safely, as long as you avoid soaking and let everything dry fully.
– Unfinished or waxed/oiled floors: use less water overall and prioritize label instructions. In these finishes, liquids can penetrate more readily, and repeated wetting can leave patches.
If you’re unsure, treat the area like it’s more absorbent than you think: reduce liquid, increase drying, and spot test first.
Verdict: the safest workflow—and when to skip DIY
The safest workflow for lingering pet odor on hardwood is damp surface cleaning first, followed by enzyme-based neutralization with full dwell time and complete drying before foot traffic. That sequence prevents you from trapping urine residue under additional products and reduces the chance of finish clouding from extra moisture.
That said, DIY has limits. Skip DIY and seek professional assessment if the odor is very old, you suspect urine reached seams/subfloor, or you see warping/lifting/persistent staining after careful attempts. Also stop DIY if you don’t see improvement after two complete enzyme rounds (label-followed) with fully dry intervals; continuing to “repeat and hope” often increases moisture exposure and can worsen the appearance of your floor in 2026.
Quick scan checklist (save this)
– ☐ Blot first; don’t scrub
– ☐ Clean with hardwood-safe, damp wiping (no soaking)
– ☐ Dry completely before odor treatment
– ☐ Apply enzyme neutralizer per label directions
– ☐ Re-check odor after full drying
– ☐ Treat seams/edges carefully if smell persists
– ☐ Stop if boards warp or odor won’t improve
Frequently Asked Questions
What’s the safest way to remove pet urine odors from hardwood floors without damaging the finish?
Blot up fresh urine immediately, then clean using a cleaner specifically designed for hardwood or an enzyme-based pet odor remover that’s safe for sealed wood. Avoid soaking the floor—use a damp (not wet) cloth or mop and dry thoroughly with towels and gentle airflow. If the odor persists, repeat the enzyme cleaning, since enzymes break down odor-causing compounds trapped in the surface. Always test any product in an inconspicuous spot first to prevent finish dulling or discoloration.
How do I safely clean pet feces or vomit from hardwood floors to prevent lingering smells?
Remove solids quickly using paper towels, then wipe the area with a hardwood-safe cleaner and a slightly damp cloth to lift residue without flooding the wood. After cleaning, use an enzyme cleaner formulated for pet messes to target odors that can seep into microscopic gaps in the finish. Rinse lightly with clean water only if the product label instructs it, then dry completely to prevent warping or cupping. Disinfecting is important, but choose pet-safe, wood-safe options and never use harsh chemicals like ammonia or bleach that can damage finishes and create additional odor problems.
Why do pet odors keep coming back on hardwood, and how can I stop them permanently?
Recurring odors usually happen because urine or organic residues penetrate the finish, collect in seams, or remain in the wood’s pores where regular mopping can’t reach. Enzyme cleaners are most effective because they continue working over time by breaking down the odor-causing compounds rather than only masking the smell. Thoroughly remove residue, then use a controlled repeat-cleaning routine (clean, enzyme treat, dry) and ensure the area stays well-ventilated. For old stains or deeply penetrated urine, you may need professional refinishing to fully eliminate pet odor on hardwood floors.
Which cleaning products are best for removing pet urine and dander odors from sealed hardwood floors?
The best options are enzyme-based pet odor removers labeled safe for hardwood or “for sealed floors,” since they neutralize odors at the source. For routine cleaning, use a pH-balanced hardwood cleaner to lift light residue without stripping the finish. Skip steam cleaners and “one-size-fits-all” disinfectants, as excessive moisture and harsh ingredients can damage the seal and spread odor. If you’re unsure, look for products that explicitly mention sealed hardwood floors and follow the dilution and contact-time instructions exactly.
What’s the safest step-by-step method to clean and deodorize hardwood after a pet accident?
Step 1: Blot thoroughly (don’t scrub) to remove as much moisture as possible, then wipe with a damp cloth and mild hardwood-safe cleaner. Step 2: Apply an enzyme-based pet odor remover, ensuring the treated area stays damp for the label’s recommended dwell time. Step 3: Dry completely with towels and airflow, and avoid walking on the area until it’s fully dry. Step 4: If odor remains after 1–2 cycles, repeat enzyme treatment and consider refinishing for persistent urine odor embedded deeper than the surface.
📅 Last Updated: November 04, 2026 | Topic: How to safely clean pet odors from hardwood floors? | Content verified for accuracy and freshness.
References
- 404 Error
- https://www.cdc.gov/coronavirus/2019-ncov/community/disinfecting-building-facility.html
- Safer Choice | US EPA
- Urine
- https://pubmed.ncbi.nlm.nih.gov/?term=enzymatic+cleaner+odor+urine
- https://scholar.google.com/scholar?q=how+to+remove+pet+urine+odor+from+hardwood+floor+enzymatic+cleaners Google Scholar
- https://scholar.google.com/scholar?q=hardwood+floor+urine+odor+remediation+ammonia+cleaning+safety Google Scholar
- https://scholar.google.com/scholar?q=enzymatic+cleaners+pet+urine+odors+biochemical+mechanism Google Scholar