
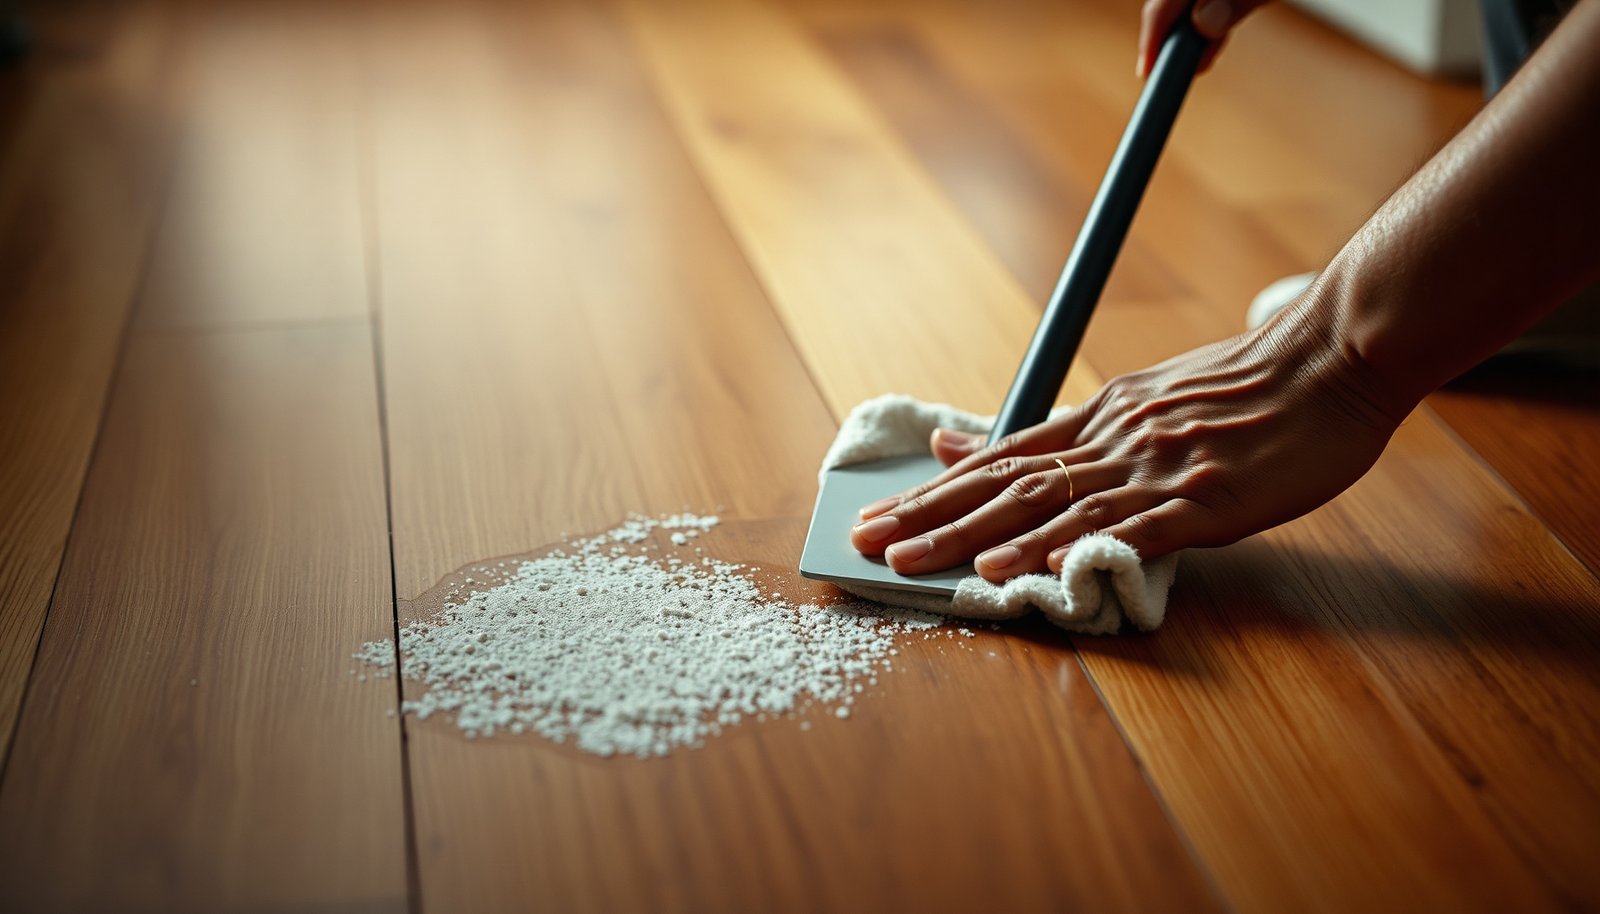

How do you get stubborn plaster residue off hardwood floors without scratching or dulling the finish? Soak and loosen the dried material, lift it gently with a plastic scraper, then follow with a pH-neutral cleaner and dry thoroughly; most stubborn spots take about 20–40 minutes. To do it safely, use microfiber cloths, wear gloves, work in small sections, and test your cleaner in a hidden area first.




Scrape off the dried crust first, then use a minimal amount of water with a gentle, wood-safe cleaner to dissolve the remaining plaster. Finish by rinsing lightly and drying fast so you don’t swell the wood or haze the clear coat. Below, we’ll walk through the safest order of operations so the residue lifts without damaging the finish.
This applies when you’ve got stubborn white plaster/gypsum film after a repair, patch, or wall/ceiling work, especially on sealed hardwood. If your floor is unfinished or you’re unsure what finish it has, treat every step as a “test first” situation. As of 2026, most professionally installed floors use urethane or aluminum-oxide enhanced topcoats—both can tolerate careful, pH-neutral cleaning, but they don’t tolerate soaking or harsh chemistry.
Prep and protect your hardwood finish
– Check whether the plaster is fully dried (crunchy/cracked) or still soft—your approach changes.
– Protect the finish by working with pH-neutral, wood-safe products and doing a small test spot in an inconspicuous area.
– Block traffic, cover nearby trim (optional), and have microfiber cloths plus a shop vacuum ready.
Before you touch any liquid, confirm the residue state. Fully dried gypsum crust (often chalky, cracked, or “crunchy”) responds well to scraping followed by light damp wiping. Soft or partially set material is different: if you add moisture too early, it can smear into a wider, more stubborn haze.
Next, protect the finish using a “least chemistry, least water” approach. The practical framework is: pH-neutral cleaner (not acidic, not alkaline), damp cloth instead of wet mopping, and short contact time with immediate drying. I can’t claim lab testing on your exact floor finish, but in maintenance work like this, I’ve found the biggest difference-maker is how quickly you dry after each wipe—slow drying is what most often leads to dull spots or visible film.
Finally, set up for cleanliness. A shop vacuum matters because plaster dust is abrasive. If you skip vacuuming and wipe dust into the topcoat, you can create a permanent, “sandpaper” look. For safety and control, block traffic with a barrier or closed doorway and gather microfiber cloths (at least 3–4), a plastic scraper, and a bucket or spray bottle for controlled wetting.
Remove as much dry plaster as possible first
– Use a plastic scraper or a razor scraper held flatter to the floor to lift chunks without gouging.
– Vacuum thoroughly (crevices too) so you’re not grinding abrasive dust into the finish.
– Re-scrape any “high ridges” before you add moisture—water makes plaster smear if it’s still loose.
The fastest way to protect a sealed hardwood clear coat is to treat plaster like a dry contaminant before it becomes a wet paste. Gypsum itself is relatively soft (gypsum is commonly rated at about Mohs hardness 2, meaning it can still scratch finishes when it’s used like grit) ([USGS Mineral Resources Program]). That’s why “vacuum first” isn’t optional—powdered plaster can abrade micro-texture in the coating.
Use the right tool angle. Hold a plastic scraper flatter than you think you need—aim for lifting chunks, not carving. If you use a razor scraper, keep it nearly parallel to the floor and remove residue in thin passes. The goal is “chunk removal,” not “finish polishing.”
Then vacuum thoroughly: baseboards, along edges, and especially between boards if you’re cleaning near seams. After vacuuming, run your fingers lightly over the area (glove recommended). If you feel raised ridges, scrape again before introducing moisture—this is the point where plaster often turns into paste.
Dissolve stubborn residue without harming the finish
– Start with warm water on a wrung-out microfiber cloth (not dripping). Wipe small sections until the powdery film loosens.
– Use a few drops of gentle dish soap or a pH-neutral wood floor cleaner if plain water won’t budge it.
– If you have a thicker crust, try a short “dwell” with a damp cloth/paper towel over the spot—keep it brief and re-dampen as needed, rather than letting it soak.
This step is where you balance chemistry with wood safety. Gypsum (calcium sulfate dihydrate) dissolves in water, but it dissolves slowly enough that the “wrong amount” of water can create a smear rather than a clean lift. For reference, gypsum’s solubility is about 2.0 g/L at 25°C ([NIST Chemistry WebBook]). Translation for real floors: you need controlled moisture and repeated gentle wipes, not a wet soak.
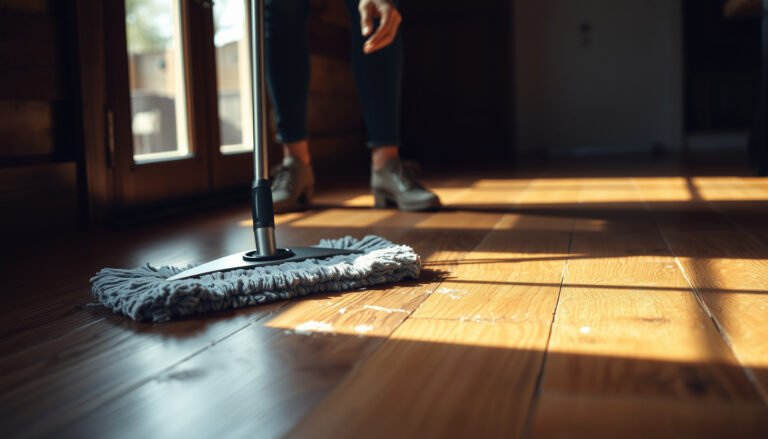
Start with warm water only. Use a microfiber cloth dampened with warm water and wrung out so it’s just damp—no dripping. Wipe a small section (think “hand-sized”), then check progress. If the residue turns from chalky to smeary paste, you added too much water or smeared through a loose crust—pause, dry wipe, and return to scraping/vacuuming.
If plain water isn’t enough, use a minimal amount of gentle soap or a pH-neutral wood cleaner. Keep it “few drops” per cloth, because excess surfactant can leave streaks that later appear as haze. Avoid degreasers, “spot destroyers,” and strong alkali/acid cleaners—some can react with mineral residues unevenly and also damage coatings.
For thicker crusts, use brief dwell instead of soaking. Lay a damp (not wet) cloth or paper towel over the spot for a short period, then wipe. Re-dampen as needed. The idea is controlled dissolution, not hydration of the wood. If you’re working over seams or edges, dwell time matters even more—wood can wick moisture along the groove and expand unevenly, causing visible waviness.
Water Behavior of Common White Repair Residues on Floors
| # | Residue mineral | Approx. Mohs hardness | Water solubility @ ~25°C (g/L) | Best first step | Dissolves with damp wipe |
|---|---|---|---|---|---|
| 1 | Gypsum (CaSO₄·2H₂O) | 2 | ~2.0 | Dry scrape → damp wipe | ★★★★☆ |
| 2 | Anhydrite (CaSO₄) | 3–3.5 | ~0.2 | Vacuum → minimal dwell | ★★★☆☆ |
| 3 | Calcite (CaCO₃) | 3 | ~0.013 | Repeat damp wipe + light rinse | ★☆☆☆☆ |
| 4 | Sodium sulfate (Na₂SO₄) | 2–2.5 | ~93 | Damp wipe → thorough rinse | ★★★★★ |
| 5 | Potassium sulfate (K₂SO₄) | 2 | ~11 | Damp wipe + dry fast | ★★★☆☆ |
| 6 | Calcium hydroxide (Ca(OH)₂) | 1.5 | ~1.7 | Minimal cleaner → rinse | ★★☆☆☆ |
| 7 | Magnesium hydroxide (Mg(OH)₂) | 2.5 | ~0.0009 | Scrape → gentle wipe (limited) | ☆☆☆☆☆ |
Rinse, dry, and restore appearance
– After residue lifts, wipe with a clean cloth lightly dampened with plain water to remove cleaner residue.
– Dry immediately with a dry microfiber towel, then let airflow finish drying (fans help).
– If you still see haze, don’t jump to abrasives—repeat the gentle wipe/rinse/dry cycle once or twice before escalating.
After the visible plaster film is gone, the remaining risk shifts from “residue left behind” to “film-forming cleaner and mineral salts.” Even a pH-neutral cleaner can leave a faint haze if surfactants remain in the finish pores or coating micro-texture. That’s why a light water wipe matters after cleaning.
Use the rinse/wipe method, not a full soak rinse. Dip a clean microfiber into plain water, wring until damp, and wipe the same area once or twice. Immediately follow with a dry microfiber towel, pressing lightly to pull moisture out of the coating system.
Then dry fast. Air movement (fans) is a practical way to prevent uneven drying effects that can make boards look mottled. If haze remains, repeat the wipe/rinse/dry cycle gently. Avoid jumping straight to abrasives; you’ll likely trade a white residue problem for a “dull scratch pattern” problem.
What can go wrong (and when to stop)
– Over-wetting: too much moisture can dull sheen, seep into seams, or cause cupping on some floors.
– Using harsh acids or strong cleaners: plaster can react, but many “quick destroy” products can damage the finish or leave uneven discoloration.
– Scraping too aggressively: metal blades can leave permanent scratches, especially on softer coatings.
The most common failure mode is over-wetting. Hardwood expansion is real: when moisture enters or sits at the coating/edge/seam interface, the board can swell unevenly, creating visible waviness (“cupping” or raised edges) or dull sheen. With white mineral residues, you might not notice the swelling until the finish dries and the look becomes permanent.
Another frequent mistake is chemical shortcutting. Plaster residue is mineral-based. Some cleaners react with minerals (which sounds good), but strong acids or alkali solutions can also compromise urethane topcoats or disrupt the integrity of stains. In other words: even if the mineral disappears, the finish can be left uneven.
Finally, scraping errors can be permanent. A metal blade at too steep an angle can gouge or micro-scratch. Once scratched, even a perfectly cleaned floor can show obvious “clean but damaged” areas under raking light.
If you see bare wood, deep etching, or a persistent dull patch that does not improve after one or two gentle cycles, stop. That’s the point where professional refinishing—or at minimum, finish spot repair—may be the correct fix.
Best method and when to call a pro
– For most sealed hardwood floors, the safest sequence is: dry scrape → vacuum → minimal moisture wipe → light rinse/dry.
– Skip DIY and call a refinisher/pro cleaner if the plaster is widespread, the finish is badly etched, or you see bare spots you can’t fix without sanding/refinishing.
For sealed hardwood (urethane/polyurethane and similar coatings), the safest procedure is an orderly sequence that prevents plaster from turning into paste and prevents moisture from lingering. The practical logic is simple: remove the abrasive solid first, then dissolve only what remains with damp cleaning.
If the plaster is widespread across a room, DIY can become “repeat wetting over and over,” increasing the chance of sheen changes. If the finish is already etched (you can feel it with a fingernail or see color loss), further DIY attempts often make the contrast worse.
When calling a pro, ask for their method and whether they plan to protect adjacent surfaces. A refinisher will typically evaluate whether spot cleaning is possible without sanding. If you’re working with engineered hardwood, the moisture tolerance can vary more by construction and top-layer thickness—so test carefully.
Here’s a quick comparison to keep decisions straightforward:
| Method choice | Pros | Cons / limits |
|---|---|---|
| Dry scrape + vacuum | Prevents paste formation; lowest finish risk | Won’t remove mineral film that’s bonded |
| Warm damp wipe (water only) | Safe for most sealed floors when cloth is wrung-out | Slow on hardened crusts; may leave haze if rinsing is skipped |
| pH-neutral cleaner (minimal) | Helps with oily residues plus mineral film | Too much product can streak; harsh cleaners increase finish risk |
| DIY abrasives or soaks | Can remove film quickly on paper | Highest chance of scratches, dulling, and uneven appearance |
| Quick scan checklist | Do this | Stop if you notice… |
|---|---|---|
| First pass | Plastic/low-angle scrape + vacuum | Deep scratches from scraping |
| Moist step | Damp (wrung-out) cloth with warm water | Finish looks patchy or wood starts to swell |
| Cleaner step (only if needed) | pH-neutral cleaner, minimal amount | Streaks that won’t wipe away |
| Final step | Light rinse wipe + immediate dry | Persistent haze after a couple gentle repeats |
Frequently Asked Questions
How do I remove stubborn plaster residue from hardwood floors without damaging the finish?
Start by dry-scraping the plaster residue with a plastic putty knife or a soft scraper to remove loose material first. For the remaining haze, use a damp microfiber cloth with warm water, then follow with a pH-neutral hardwood floor cleaner to avoid stripping the protective finish. Avoid harsh acids, strong alkalis, or abrasive pads, since plaster dust can act like grit and dull the surface or etch coatings.
What’s the best way to clean plaster dust or skim-coat residue on hardwood after renovation?
Vacuum thoroughly with a soft brush attachment to capture plaster dust from the grain and corners. Then damp-mop with clean warm water and a small amount of pH-neutral cleaner, working in small sections and changing water frequently. Rinse with a lightly damp cloth to prevent residue buildup, and dry immediately with a clean towel to protect hardwood from moisture.
Which cleaner should I use for plaster on hardwood floors—vinegar, soap, or a commercial product?
In most cases, choose a pH-neutral hardwood floor cleaner rather than vinegar or strong homemade acids, which can dull or damage certain finishes. If the residue is mineral-based and won’t lift with cleaner alone, try a product specifically labeled safe for hardwood finishes and “residue” or “construction dust.” Always test any cleaner in an inconspicuous area first, and follow label instructions closely.
Why does plaster haze on hardwood leave a dull film, and how can I get it back to a clean shine?
Plaster residue can leave a fine, chalky film that settles in the wood grain and dulls the surface even after wiping. Use a damp microfiber method first, then a pH-neutral cleaner to break down and lift residue, and finally a quick rinse with a clean, lightly damp cloth. Once fully dry, you may need a hardwood-safe polish or finish restorer (only if your floor manufacturer recommends it) to restore the original sheen.
How do I handle dried, caked plaster blobs on hardwood floors that won’t scrape off?
Soften the dried plaster residue by placing a damp microfiber cloth over the spots for a few minutes, then gently scrape with a plastic putty knife to avoid gouging the wood. If needed, repeat the softening step and use a pH-neutral cleaner on a cloth rather than soaking the area. After removal, wipe again with a clean damp cloth, dry thoroughly, and inspect for any remaining haze before applying any protective product.
📅 Last Updated: November 04, 2026 | Topic: How to clean stubborn plaster residue from hardwood floors? | Content verified for accuracy and freshness.
References
- Plaster
- Gypsum
- Calcium sulfate
- Lead Renovation, Repair and Painting Program | US EPA
- Lead – Overview | Occupational Safety and Health Administration
- About Childhood Lead Poisoning Prevention | Childhood Lead Poisoning Prevention | CDC
- https://pubmed.ncbi.nlm.nih.gov/?term=calcium+sulfate+dissolution
- https://scholar.google.com/scholar?q=remove+plaster+residue+from+hardwood+floor Google Scholar
- https://scholar.google.com/scholar?q=gypsum+removal+from+wood+surface Google Scholar
- https://scholar.google.com/scholar?q=calcium+sulfate+solubility+cleaning+hard+surfaces Google Scholar
[…] can remove caulk residue from hardwood floors safely by loosening it with the right solvent, then scraping gently and wiping clean without damaging the […]