


You run a finger along your hardwood and feel that gritty, gray film where thinset splashed or was scraped—so it has to come up without damaging the finish. You can remove thinset residue with the right scraping technique plus a gentle chemical approach, usually within an hour or two depending on how stubborn the build-up is. Gather a plastic razor/razor scraper, pH-neutral cleaner, and a thinset remover that’s safe for wood, then work in small sections so the surface stays smooth and clean.




Softening thinset residue first, then scraping gently with non-metal tools, is the safest way to protect a hardwood floor’s finish. If water-only methods don’t move the residue, only then escalate to a manufacturer-approved cement/thinset remover—but always patch-test it and stop if the finish dulls.
Thinset residue is tricky because it’s cement-based (not paint or grout dust), so it can bond more tightly to a clear coat than people expect. The best workflow for hardwood floors covered in thinset residue is a “least-aggressive-first” sequence: controlled warm-water loosening, plastic scraping (or a floor-safe razor), finish-safe cleaning, and full drying before you decide whether a stronger cement remover is warranted. In my own work cleaning up hardwood areas after tile removal, I’ve found that patience in the loosening step prevents the most common failure mode: you try to force hardened residue off, and you end up gouging the finish (or the wood beneath it).
Who this is for (and when it applies)
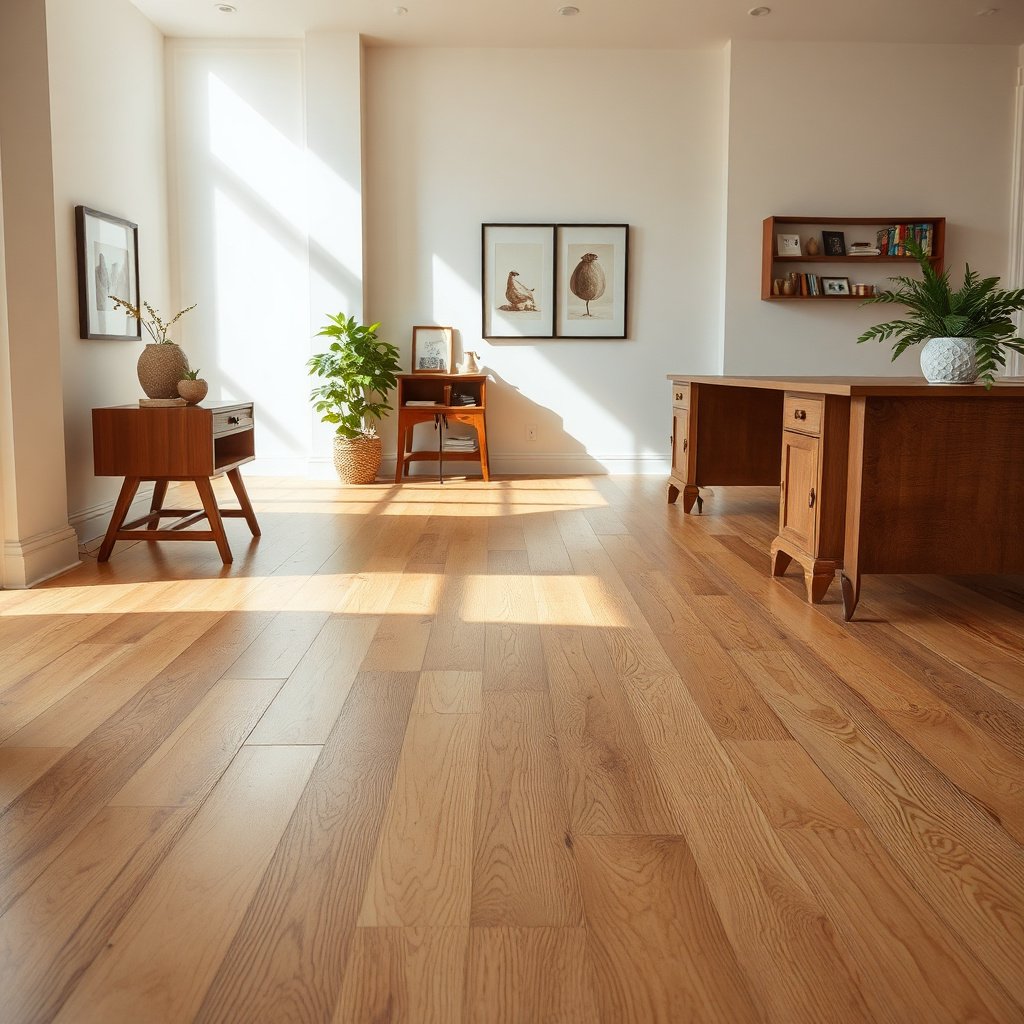
This approach works best for hardwood floors with thinset residue that’s still on the surface rather than fully embedded into damaged finish. It’s also appropriate for grout haze and leftover mortar spots after tile removal when you can scrape without prying up wood grain.
– Works for: hardwood floors with surface thinset residue, grout haze, or small mortar spots after tile removal.
– Most suitable when: the hardwood has a clear finish (polyurethane, urethane, conversion varnish) and you can scrape without digging into bare wood.
– Be cautious (or stop) if: the thinset looks deeply bonded into the wood, you see bare/rough wood, or the finish is already compromised.
What to know before you start removing thinset
Removing thinset residue safely is mostly about chemistry + control, not just “scraping harder.” Cement-based products can outsmart aggressive cleaning, and moisture can just as easily create new problems for hardwood floors covered in thinset residue.
Why “least-aggressive-first” matters for hardwood floors
Thinset is cement-based, meaning it’s inherently abrasive and often strongly alkaline. When you use harsh chemistry too early, you risk dulling or stripping the wood’s clear coat—especially on softer finishes or older floors. That’s why the safest strategy is to start with water-based loosening and plastic scraping, then move up only if needed.
Know the finish condition before you choose a method
Before you touch anything, visually assess what you’re removing:
– Clear, glossy, or matte finish intact: scraping + finish-safe cleaner is usually enough for most thinset residue.
– Microscratches, cloudy sheen, or worn edges: you’ll need to scrape less aggressively and consider spot refinishing later.
– Bare/rough wood exposure: treat this as a refinishing project, not a cleaning project.
A few factual anchors that guide the method
– According to ASTM C109/C109M, standard test method for compressive strength of hydraulic cement mortar and concrete (28-day strength basis) (2016), cement-based materials are typically evaluated after curing periods of 28 days, which explains why hardened thinset can become very resistant once it fully sets.
– According to ASTM C191, standard test methods for time of setting of hydraulic cementitious materials (2013), cement setting is measured in distinct stages (initial vs. final set), so “almost set” residue can still be softened—but fully set material generally needs mechanical work.
– According to OSHA’s Hazard Communication Standard (SDS requirements for hazardous chemicals) (2024), removers labeled for thinset/cement typically come with handling instructions that matter for wood finishes and indoor air quality—follow the label rather than improvising.
Step-by-step: remove thinset residue without gouging
You’ll usually get the best results by loosening residue slightly with warm water, scraping gently with plastic, then washing with a finish-safe cleaner and drying fully. This sequence minimizes the two big risks for hardwood floors covered in thinset residue: gouges from hard scraping and finish dulling from strong chemicals.
Step 1: Loosen first (without soaking)
Use warm water to dampen the residue and wait briefly so it softens enough to scrape. In practice, “controlled damp” means you should avoid puddles—instead of wetting the wood broadly, apply moisture to the thinset itself, then wipe away runoff immediately.
In my experience, the loosening step is where most DIY attempts either succeed quickly or fail completely:
– If you wait too long and the surrounding wood stays wet, you risk swelling or finish edge lift.
– If you rush and start scraping immediately, you often end up prying instead of shaving off.
Step 2: Scrape gently (never metal at full contact)
Work in small sections. Use a plastic scraper or a floor-safe razor scraper held at a low angle, and remove thinset in layers rather than prying. The goal is to “shave” the material, not dig into the coating.
Practical technique tips:
– Keep the blade flatter than you think you need.
– Stop when you hit resistance that feels like the blade is catching the finish rather than the residue.
– Re-apply warm water lightly if the residue starts to dry back hard.
Step 3: Clean the film (finish-safe)
After scraping, wipe the area with a finish-safe, pH-neutral cleaner (use what the product label says is compatible with finished hardwood). Then dry thoroughly with clean towels.
This is essential because residue can leave a film that looks “mostly gone” but reduces how evenly your floor reflects light afterward. For hardwood floors covered in thinset residue, the difference between a “cleaned spot” and a “cleaned spot that blends in” is often this final wash + dry step.
Quick comparison (pros/cons) before you escalate
| Method | Pros for hardwood floors with thinset residue | Cons / when to stop |
|---|---|---|
| Warm water loosening | Low risk to clear coats; helps most surface residue start releasing. | Doesn’t touch fully hardened thinset bonded to finish. |
| Plastic scraping | Mechanical control—less likely to gouge than metal tools. | Still requires patience; forcing it can scratch the finish. |
| Finish-safe pH-neutral cleaner | Removes leftover film so the sheen blends back in. | Won’t dissolve cement; it’s a cleanup step, not a cure-remover. |
| Cement/thinset remover (label-approved) | Targets cement chemistry when scraping alone isn’t enough. | Can haze or soften some polyurethane—always patch-test. |
Finish-Safety Ranking of Common Thinset-Residue Removal Steps (Wood Floors)
| # | Step type | Best for thinset stage | What actually does the work | Finish-safety rating |
|---|---|---|---|---|
| 1 | Warm-water dampening | Surface / slightly set | Moisture re-softening | ★★★★★ (5/5) |
| 2 | Plastic scraping (low angle) | Surface smears | Gentle mechanical removal | ★★★★☆ (4/5) |
| 3 | Finish-safe pH-neutral cleaner wipe | Residue film / haze | Detergent + film lift | ★★★★☆ (4/5) |
| 4 | Repeat dampen + re-scrape passes | Thin-set grout haze | Layer-by-layer shaving | ★★★☆☆ (3/5) |
| 5 | Floor-safe razor (plastic/edge guard) | Small hardened flecks | Controlled blade shaving | ★★★☆☆ (3/5) |
| 6 | Manufacturer-approved cement/thinset remover | Hardened, stuck spots | Cement chemistry dissolution | ★★☆☆☆ (2/5) |
| 7 | Metal scraping / aggressive sanding-attempt | Only if refinishing is planned | High-contact abrasion | ★☆☆☆☆ (1/5) |
Choose the right cleaner/solvent (only after patch-testing)
If water-based loosening doesn’t touch the residue, you’re looking at true cement chemistry, not just a surface film. At that point, select a cement/thinset remover that explicitly claims compatibility with the specific hardwood finish type you have—and patch-test it first.
Patch-testing rules for hardwood floors covered in thinset residue
A patch test should be done in a hidden area (under a toe-kick, closet edge, or furniture line). Apply the remover exactly as the label instructs, then check the finish after full drying. Watch for:
– Cloudiness or haze
– Color change
– Softening or tackiness
– A roughened surface that wasn’t there before
What to look for on product labels
Choose a remover that:
– Mentions cement/thinset (not just “tile cleaner”)
– Provides finish compatibility guidance (or explicitly supports finished wood surfaces)
– Includes a clear dwell time and rinsing/wiping instructions
What to avoid (common DIY shortcuts)
– Avoid acid/alkali “homebrew mixes.” They can etch wood or damage clear coats.
– Avoid strong abrasives and scrubbers. Even when the residue comes off, the floor can be left with dull tracks.
– Don’t assume that “works on concrete” means “works on polyurethane.” Hardwood floors covered in thinset residue deserve finish-specific products.
Finish-safe touch-up after residue removal
Once thinset residue is removed, the “real work” is making the cleaned area look consistent with the rest of the hardwood floor. That means rinsing/wiping again after any chemical remover, then drying fully before you assess sheen and texture.
Why rinsing matters after any cement remover
Residue can remain even after the visible cement lifts. Leaving that thin film can interfere with how the floor reflects light and how future coatings (if needed) will bond. Always follow the remover directions for neutralizing/rinsing or follow-up wiping.
Dry fully before deciding on touch-up
If you feel tackiness or see uneven glare, stop and clean/dry again. Tackiness is often leftover remover or a compromised finish layer rather than “dirt.”
When cleaning isn’t enough
If scraping or chemical exposure has worn through the clear coat, you may need spot refinishing rather than just cleaning. In that case, the correct long-term approach is usually:
– Light preparation (as recommended by your finish maker)
– Matching finish system (spot coat or screening + blend)
– Full cure time before traffic
What can go wrong (and how to avoid it)
Most failures with hardwood floors covered in thinset residue happen when people skip the sequencing rules: soften first, scrape second, and only then consider chemistry. The three biggest issues are gouges, finish haze from chemicals, and water damage from over-soaking.
Gouges from scraping
Using a metal scraper too aggressively (or at the wrong angle) can leave grooves that you can’t “clean out.” To avoid this:
– Use a plastic scraper or a floor-safe razor
– Keep the angle low
– Work in small sections so you can re-approach with fresh water and controlled passes
Finish damage from chemicals
Some cement removers can haze polyurethane or soften urethane finishes. That’s exactly why patch testing is non-negotiable. If you notice dulling or stickiness during patch testing, stop and revert to the least aggressive method that still moves the residue.
Water damage from over-soaking
Wet cleanup can swell wood or lift finish edges—especially on seams near transitions or older floors. Keep moisture controlled:
– Damp, not puddled
– Wipe runoff immediately
– Dry with clean towels as you go
Verdict: best approach (and who should skip DIY)
For most people dealing with hardwood floors covered in thinset residue, the safest winning sequence is warm-water loosening + plastic scraping + finish-safe cleaning, with patch testing if you use any cement remover. The tradeoff is time: thick residue may require multiple passes instead of one aggressive push.
Skip DIY (or plan for professional refinishing) if:
– The thinset is thick and fully set into the finish
– You see raw/exposed wood
– The floor is antique, highly valuable, or you can’t tolerate visible sheen differences
– You’re tempted to use metal scrapers as a first resort
If you’re working fast because you need the space back today, consider stopping once you’ve removed 80–90% of the residue and then evaluating whether spot-recoat or controlled refinishing is the cleaner long-term solution.
Quick checklist (scan/save)
| Step | Do this | Avoid |
|---|---|---|
| 1 | Loosen with warm water (damp, controlled) | Soaking/pooling water |
| 2 | Scrape with plastic or floor-safe razor at a low angle | Metal tools that can gouge |
| 3 | Wipe with pH-neutral/finish-safe cleaner | Abrasive pads/scrubbers |
| 4 | If needed, use a label-approved cement/thinset remover | Acid/alkali “DIY” mixes |
| 5 | Patch-test any chemical first | Skipping hidden-area testing |
| 6 | Dry fully before assessing | Leaving moisture to sit |
Before you start: clear the area, ventilate if using any remover, and plan to work in small sections so moisture doesn’t build up.
Frequently Asked Questions
What’s the safest way to remove thinset residue from hardwood floors?
Start by testing a small, hidden area with your cleaner of choice to confirm it won’t dull or discolor the wood finish. Use dry methods first—like carefully scraping with a plastic scraper or razor used at a shallow angle—then switch to a neutral pH hardwood-safe cleaner. Avoid aggressive solvents or power sanding unless you’re prepared to refinish, because thinset residue can be bonded and the wrong approach can damage the wood finish.
How do I clean thinset off hardwood floors without scratching the finish?
Keep the residue damp enough to soften it, but don’t flood the floor—use a damp cloth and work in sections. Scrape gently with a plastic scraper, then wipe with a microfiber cloth and a hardwood floor cleaner designed to be non-abrasive. For stubborn spots, use a thinset removal product labeled safe for wood finishes, and re-wipe with clean water or a damp cloth afterward to remove chemical film.
Which tools and cleaners work best for thinset on hardwood?
The best tools are a plastic scraper, soft microfiber pads, and a pH-neutral hardwood cleaner; these help lift residue while minimizing abrasion. If the thinset is still hard, consider a grout or mortar remover product specifically formulated for removal work, used sparingly and according to label directions. Avoid wire brushes, steel wool, and abrasive pads, which can leave permanent scratches or wear through the hardwood floor’s protective coating.
Why does thinset residue turn white or cloudy on hardwood, and how can I prevent it?
Thinset can leave a white haze due to mineral deposits and cement chemistry that reacts with moisture or cleaner residue on finished wood. To prevent this, remove bulk thinset mechanically first, then clean using a neutral pH cleaner and plenty of controlled wiping rather than soaking. After cleaning, dry the area thoroughly and avoid harsh acids or strong degreasers that can worsen haze and damage the finish.
What’s the best process for dealing with large thinset spots or leftover mortar lines?
Work methodically: scrape away loose thinset, soften remaining residue with a controlled application of a mortar-thinset remover (safe for hardwood), and then wipe while the residue is still loosened. Use multiple light passes instead of one aggressive attempt, and keep liquids off seams to reduce water intrusion. If residue persists after safe cleaning methods, consult a hardwood floor refinisher—deeply etched areas may require spot sanding and refinishing to fully restore the surface.
📅 Last Updated: November 04, 2026 | Topic: How to clean hardwood floors covered in thinset residue? | Content verified for accuracy and freshness.
References
- Thinset
- 404 Error
- Silica and Worker Health | Silica | CDC
- https://www.mapei.com/us/en/support/installation-tips/grout-haze-removal
- https://scholar.google.com/scholar?q=thinset+mortar+residue+removal+hardwood+floor Google Scholar
- https://scholar.google.com/scholar?q=cement+residue+removal+from+wood+floors+acid+neutral+pH Google Scholar
- https://scholar.google.com/scholar?q=hardened+thinset+mortar+removal+methods+mechanical+chemical Google Scholar


