
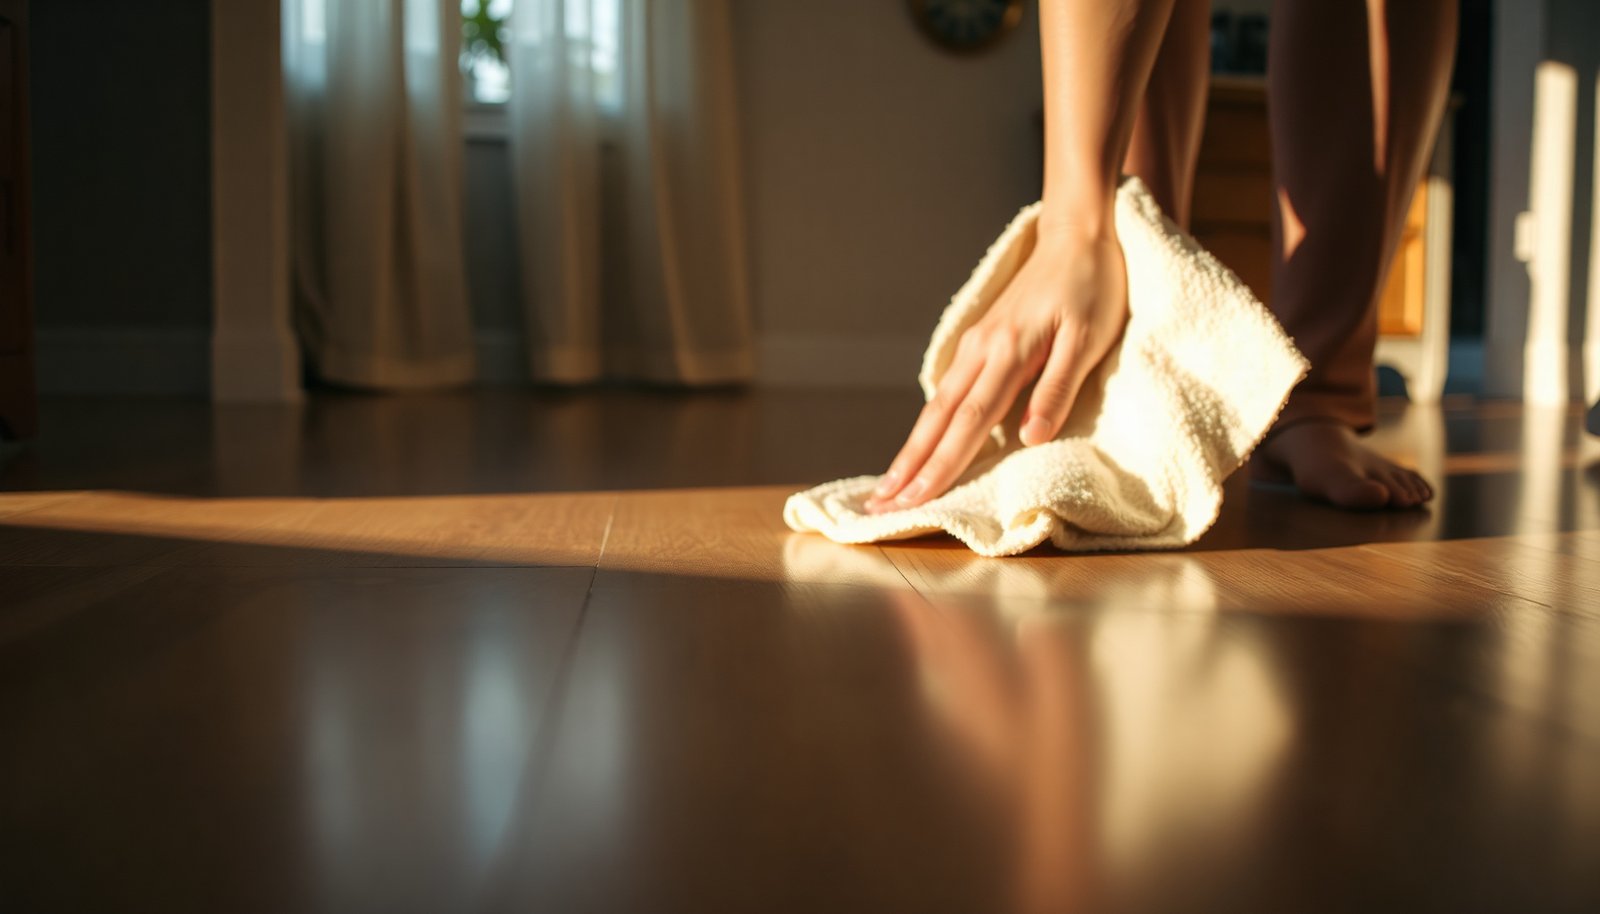

You notice faint handprints and oily smudges across the grain of your hardwood floor after daily traffic, and wiping harder only seems to spread them. You can remove fingerprints safely in about 10–20 minutes using a microfiber cloth and a pH-neutral floor cleaner (plus water for a light damp wipe), avoiding harsh chemicals that can dull the finish. Start with a small test spot, then work gently along the boards.




Wipe fingerprints from hardwood floors using a lightly damp microfiber cloth and a hardwood-safe cleaner (if needed), then dry immediately. Skip soaking, steam, and harsh chemicals—excess moisture and abrasion are the two fastest ways to dull the finish and make fingerprints reappear more visibly. This guide focuses on removing oily hand residue from sealed hardwood floors while protecting the sheen and topcoat in real-world conditions you’ll face in 2026.
If your floors have a sealed finish (common in most homes) and you’re seeing oily smears from hands, you’re in the right place. The steps below focus on protecting the finish while still removing the residue that causes fingerprints to show.
Start with a quick dry wipe (before any cleaner)
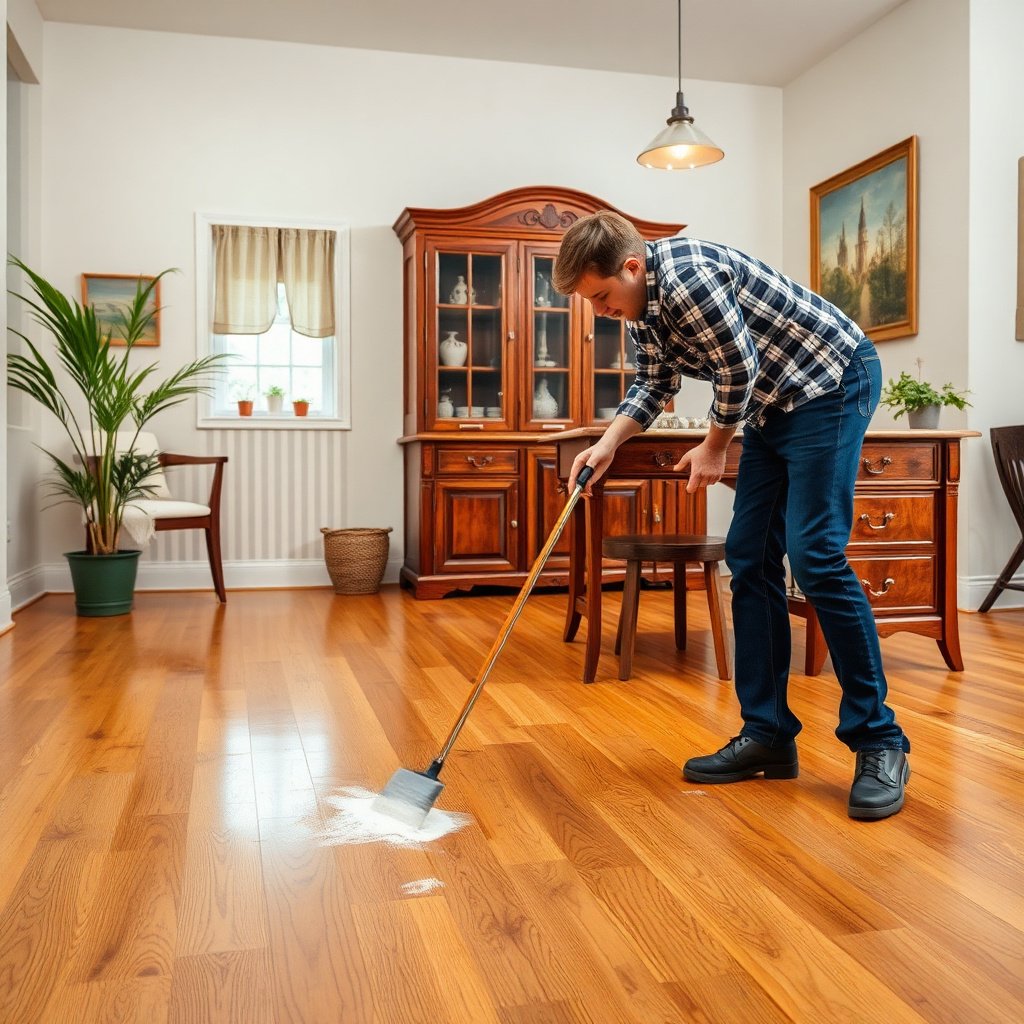
Start with a dry wipe because it removes the top layer of skin oils before you introduce any moisture to the hardwood floor finish. This reduces streaking and prevents you from repeatedly dragging residue around the surface.
– Use a clean, dry microfiber cloth to lift surface oils and reduce streaking.
– Work with the grain and use gentle pressure—don’t scrub hard on the first pass.
– If the cloth picks up visible oil, flip to a clean side so you’re not re-depositing residue onto the sealed hardwood floor.
Choose the right cleaner: “barely damp” is the rule
Choose cleaner only if the dry wipe doesn’t fully remove the fingerprint smear—because the sealed topcoat is still your priority. The safest approach is to apply liquid to the cloth, not to the hardwood floor, and to keep the cloth “barely damp.”
– For everyday fingerprints, lightly mist or dampen with water first (wring the cloth so it’s not wet).
– If needed, use a cleaner labeled safe for your hardwood finish; apply to the cloth, not directly to the floor.
– Follow moisture cautions: hardwood movement accelerates when indoor conditions swing, and cleaning moisture compounds that risk. According to the National Wood Flooring Association (NWFA), maintaining indoor conditions around 35–55% relative humidity and 60–80°F helps minimize dimensional movement (2024 guidance as referenced in NWFA materials).
- Pros of “barely damp microfiber + finish-safe cleaner”
- Targets fingerprint oils efficiently while minimizing the risk of dulling, clouding, and water ingress into seams on sealed hardwood floors.
- Cons / limits
- If your floor isn’t sealed (or if the finish is worn through), even “barely damp” wiping can still affect appearance—check manufacturer guidance before proceeding.
Remove smudges without soaking
Remove fingerprints in small sections so water (and any cleaner) can’t sit on the sealed hardwood floor surface long enough to seep into edges. You’re aiming for contact, not saturation.
– Wipe in small sections, then immediately follow with a dry microfiber to prevent water from sitting.
– Keep the area ventilated and don’t let cleaner pool in seams or along baseboards.
– Re-check under normal light: fingerprint smears often fade after the first dry pass, but streaks can show at an angle, especially on satin or low-sheen hardwood finishes.
Deal with stubborn marks safely
Deal with stubborn fingerprints by repeating light passes instead of increasing liquid or force. Multiple gentle wipes are usually safer for hardwood floors than aggressive scrubbing, even when the smear “feels” like it’s stuck.
– If residue remains, repeat the process with a fresh cloth; multiple light passes beat aggressive scrubbing.
– For sticky spots (like kitchen oils or heavier grime), use only finish-safe methods—.
– In my experience with maintenance routines for sealed hardwood floors, the biggest improvement usually comes from switching from “scrub harder” to “change cloth + reduce liquid + dry immediately.”
Practical “don’t overcorrect” tip
If you’re tempted to move from microfiber wiping to something stronger, pause and confirm what the floor can tolerate first. Many floor finishes respond poorly to both solvents and abrasives, and the resulting dullness makes fingerprints look worse over time.
What can go wrong (and how to avoid it)
What goes wrong most often is either too much moisture or too-harsh chemistry—both can alter the sheen and expose the hardwood floor to damage. The safest prevention is to control three variables: liquid amount, product type, and abrasion.
– Over-wetting: pooled water can seep into edges and cause clouding or swelling—always wring cloths and dry promptly.
– Wrong products: ammonia, bleach, strong degreasers, and abrasive pads can harm finishes or change sheen—.
– Too much friction: steel wool, magic erasers, or gritty cloths can dull the finish and make fingerprints show more—test in an inconspicuous spot first.
To make this concrete, here’s a quick safety-oriented reference of common cleaner ingredients and why they’re often risky on sealed hardwood floors.
Common Household Cleaner Ingredients: Typical pH & Hardwood-Finish Risk
| # | Cleaner ingredient | Typical pH range* | Main issue on sealed wood | Finish compatibility |
|---|---|---|---|---|
| 1 | White vinegar (acetic acid) | ~2.0–3.0 | Acid can dull or haze some finishes | ★☆☆☆☆ |
| 2 | Household ammonia | ~10.5–12.5 | Alkalinity can change sheen; fumes irritate | ★☆☆☆☆ |
| 3 | Chlorine bleach (sodium hypochlorite) | ~10.5–13.0 | Strong oxidizer; can damage finish chemistry | ★☆☆☆☆ |
| 4 | Abrasive scouring powders | Varies (~8–10+) | Mechanical abrasion dulls topcoat | ★☆☆☆☆ |
| 5 | “Magic eraser” melamine foam | Neutral–slightly basic (varies) | Micro-abrasion can reduce gloss | ★☆☆☆☆ |
| 6 | Dishwashing liquid (typical) | ~7–10 | Can leave film if overused; dilution matters | ★★★☆☆ |
| 7 | Isopropyl alcohol (70%) | ~5.0–7.0 | Fast evaporation, but can still dry or discolor some finishes | ★★★★☆ |
Typical pH values vary by concentration and brand; always verify with the product’s Safety Data Sheet (SDS) and your hardwood floor finish manufacturer’s approved-cleaner list.
Verdict: safest approach, and who should skip DIY cleaning
Use the microfiber + barely damp cleaner method for most fingerprint smears on sealed hardwood. Here’s why it works: you remove oil residue at the surface level while minimizing the moisture exposure that can change wood dimensions and topcoat appearance.
Skip DIY (or stop and call a professional) if your hardwood floors are unsealed, very old, heavily worn, or you don’t know what finish they have—because “safe” products vary a lot by finish type. Steam is another common trap: according to NIST, liquid water boils at 100°C (212°F) at standard atmospheric pressure, which is far harsher than the “barely damp” wiping approach for hardwood floors and can contribute to finish damage when manufacturers don’t explicitly approve steam cleaning. If you’re unsure, .
Fingerprint-cleaning checklist (save this)
– [ ] Dry microfiber wipe first (with the grain)
– [ ] Cloth only lightly damp (no puddles)
– [ ] Hardwood-safe cleaner (if needed) applied to cloth, not floor
– [ ] Immediate follow-up with dry microfiber
– [ ] Re-clean with fresh cloths instead of scrubbing harder
– [ ] Stop and check finish guidance if you see dulling or cloudiness
Frequently Asked Questions
What’s the safest way to remove fingerprints from hardwood floors without damaging the finish?
Start by dusting or dry-mopping the area with a microfiber cloth to avoid grinding grit into the wood. Use a hardwood floor cleaner recommended for your finish type (polyurethane/sealed vs. waxed/oiled) and apply it sparingly to a cloth rather than soaking the floor. Wipe in the direction of the grain, then buff dry with a clean microfiber to lift fingerprints without leaving streaks.
How do I clean fingerprint smudges from sealed hardwood floors using everyday supplies?
For sealed hardwood, use a mixture of warm water and a small amount of pH-neutral cleaner, applied to a damp microfiber. Wipe gently over the fingerprints and immediately dry with a second cloth to prevent water spotting or dullness. If you only need to tackle smudges, a slightly damp microfiber often works, followed by quick dry buffing.
Why should I avoid harsh chemicals or soaking when removing fingerprints from hardwood floors?
Fingerprints are surface oils, but harsh cleaners (like ammonia, bleach, or abrasive pads) can break down the finish or strip protective layers. Soaking hardwood can cause swelling at seams and warping over time, even if the floor looks sealed. Using gentle, finish-safe cleaners and controlled moisture helps preserve the shine and prevents long-term damage.
What’s the best method to remove stubborn fingerprints from glossy or high-sheen hardwood floors?
Glossy floors show smudges more clearly, so use a microfiber cloth and a dedicated hardwood floor cleaner to dissolve oil marks. Apply cleaner to the cloth, wipe lightly in straight passes with the grain, and finish with a dry buff to prevent streaks. For extra stubborn spots, try a small amount of mineral-oil-based wood polish only if it matches your floor’s finish, and always spot test first in a hidden area.
Which cleaning tools and techniques reduce streaks when removing fingerprints from hardwood floors?
Choose microfiber cloths (not paper towels) because they’re less likely to scratch and leave lint, and avoid magic erasers or scrub brushes that can wear the finish. Use two-cloth technique: one lightly damp with cleaner to lift oils, and one dry for immediate buffing to capture residue. Keep motion consistent with the wood grain and use minimal liquid to reduce streaking and protect the hardwood surface.
📅 Last Updated: November 02, 2026 | Topic: How to safely clean fingerprints from hardwood floors? | Content verified for accuracy and freshness.
References
- Wood flooring
- Cleaning
- Wood finishing
- Polyurethane
- Microfiber
- https://en.wikipedia.org/wiki/Grease_stain
- Fingerprint
- https://scholar.google.com/scholar?q=how+to+remove+fingerprints+from+hardwood+floors Google Scholar
- https://scholar.google.com/scholar?q=hardwood+floor+cleaning+care+maintenance+avoid+excess+water+mild+detergent Google Scholar
- https://scholar.google.com/scholar?q=wood+floor+finish+cleaning+polyurethane+care+microfiber Google Scholar
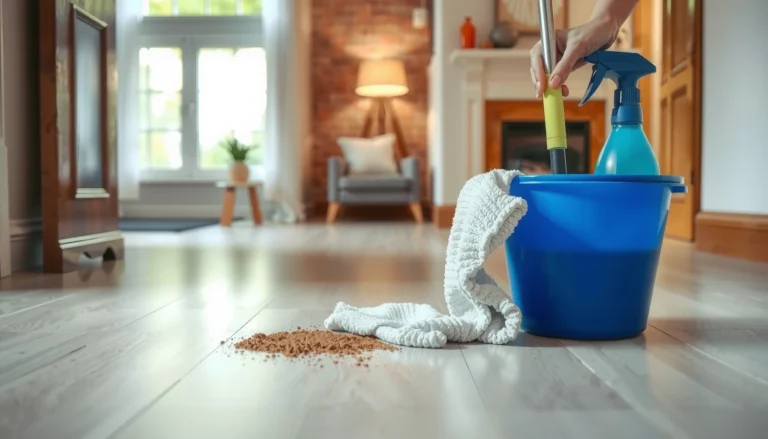
[…] hands, pet paws, or a moving chair left marks. You can clear them in about 20 minutes with a microfiber cloth, a pH-neutral hardwood floor cleaner (or a barely damp water solution), and a dry towel to finish. […]