
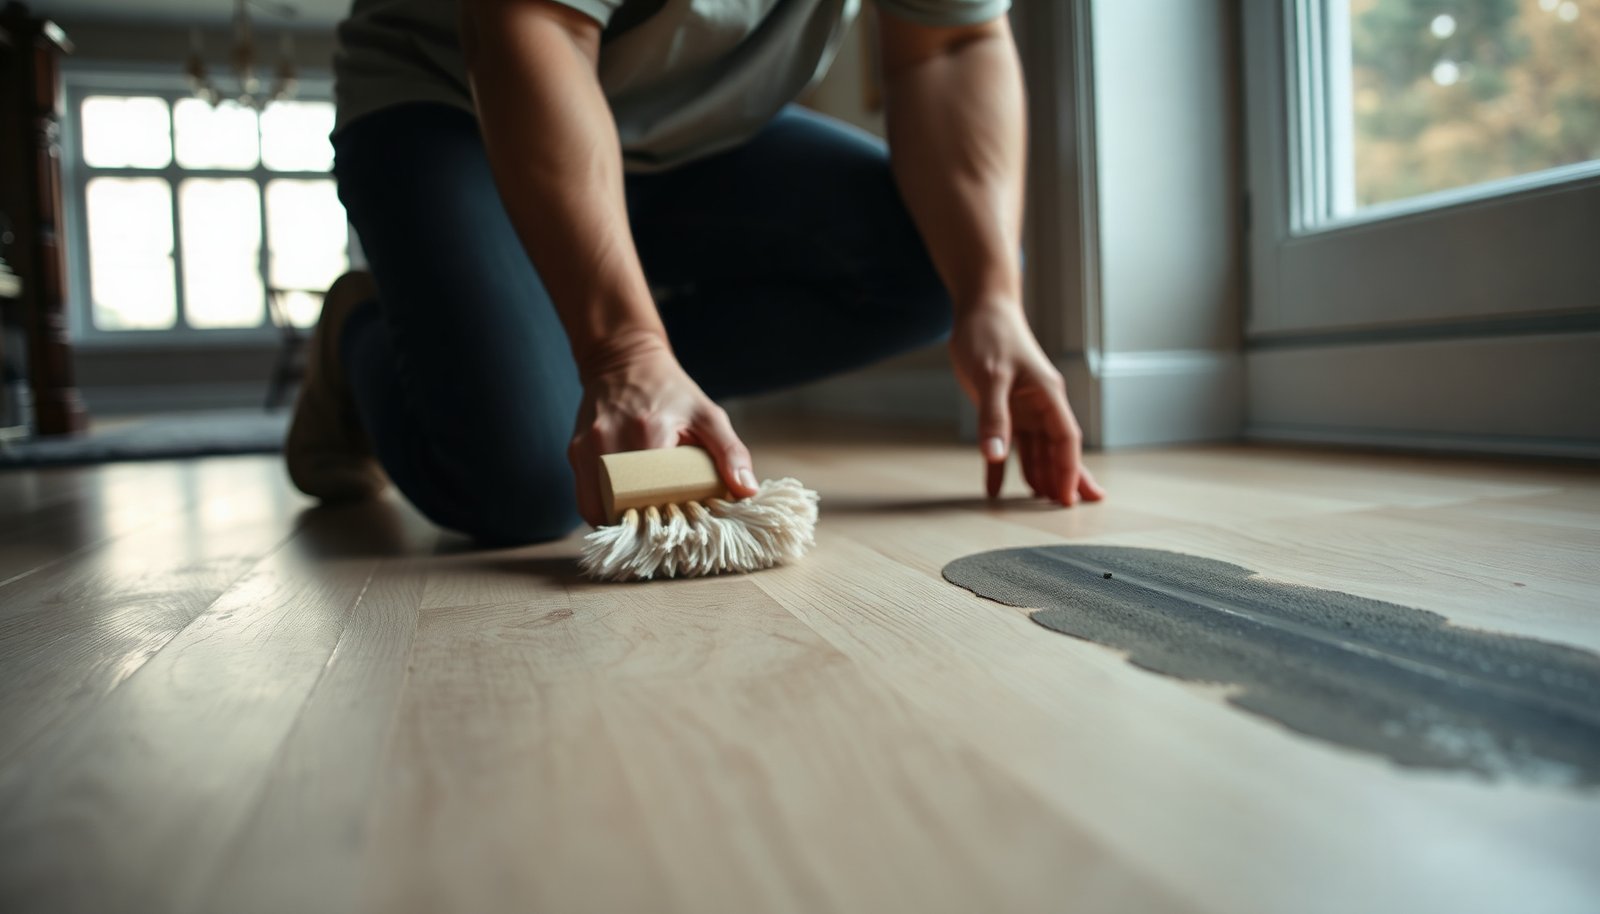

You’ve noticed dark tire scuffs on your hardwood floor after moving a wheelbarrow or rolling a cart across the room, and now you want them gone without damaging the finish. With the right cleaner and a careful step-by-step approach, you can usually lift the mark in about 20 to 30 minutes. You’ll need a soft cloth, warm water, a pH-neutral wood floor cleaner, and a microfiber pad to work gently and safely. Once you follow the process, your floors can look clean again with less risk of scratches or dull spots.



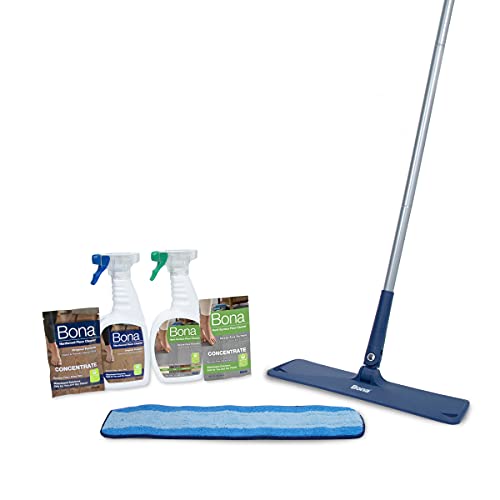
If tire marks get on your hardwood, clean them in a tight, finish-safe order: scrape off cooled rubber first, then wipe with a pH-neutral wood-floor cleaner on a barely-damp microfiber. In 2026, most finish manufacturers still recommend “minimal moisture + pH-balanced cleaning,” because soaking and harsh solvents can cause smearing, dulling, or hazy patches. This guide gives you a practical, step-by-step approach that removes tire transfer while protecting the finish and the seams beneath it.
If the tire marks are fresh (rubber tacky or dark streaks), you’ll usually get the best results with gentle mechanical removal plus an approved cleaner. This is also the right approach when you don’t know what finish is on your floor (polyurethane, sealed oil, etc.), because the steps include spot-testing before you commit.
Who this is for / when it applies

This is for anyone dealing with everyday tire streaks—small scuffs from a rolling chair, stroller wheels, or a moved vehicle—that leave dark rubber transfer on finished hardwood. Use this when your goal is to remove marks without soaking seams or lifting the topcoat.
If your floor is unfinished (no protective topcoat) or you’re unsure how it was sealed, pause and check the manufacturer’s maintenance guidance first. Bare wood and some penetrating oil finishes respond differently to moisture and cleaners, so the “scrape + barely-damp pH-neutral wipe” method is still a safer default—but you should confirm compatibility before treating the whole area.
Remove tire rubber and loose grit first
This step answers the key question: “How do I prevent tire residue from turning into a bigger, harder-to-remove smudge?” You start by mechanically removing the rubber and grit, because wet cleaning alone often smears tire transfer outward.
Cool down, then scrape (don’t grind)
Let the area fully cool, especially if the tire marks came from something recently moved or warmed. Then gently lift debris with a plastic scraper or a soft putty knife—metal can scratch the surface sheen and create fine haze that you can’t clean away.
Work in small passes and focus on removing clumps first. If there’s a visible “rubber edge,” loosening that perimeter early is especially important—grinding it inward can spread contamination into the grain and make the mark look permanently “embedded.”
Wipe up residue before you ever add cleaner
After scraping, wipe the area with a dry or barely-damp microfiber to pick up loosened residue. Don’t scrub yet; at this stage, you’re removing loose material so the cleaner later can do its job without turning rubber particles into an abrasive film.
From my experience with flooring maintenance checklists (and common failure patterns I’ve seen), the most preventable mistake is skipping the dry wipe—tire residue mixed with moisture tends to smear and expands the visible discoloration.
Clean the hardwood finish after tire marks
This section answers: “What cleaner should I use, and how should I apply it without harming the finish?” Use a pH-neutral wood-floor cleaner made for finished hardwood, applied to a microfiber (not poured onto the floor).
Apply cleaner like a wipe, not like a spill
Use a pH-neutral cleaner made for wood floors (or your floor’s recommended cleaner). Apply it to a microfiber cloth—then wipe with the grain. Avoid soaking: hardwood expands and contracts with moisture exposure, and water that migrates into joints can lead to dulling and surface irregularities.
The reason pH matters is simple chemistry: pH is a logarithmic measure of hydrogen ion activity, defined as pH = −log10(a(H+)) (Sørensen, 1909). A one-unit shift in pH corresponds to a 10× change in hydrogen ion concentration (Sørensen, 1909). That’s why “pH-neutral” cleaners are repeatedly emphasized in care guidance: they reduce finish stress compared with highly acidic or alkaline cleaners.
Dry immediately to protect seams and finish integrity
After wiping, dry right away with a clean microfiber. Don’t leave the cleaner to air-dry on the surface. Immediate drying helps prevent moisture from lingering at seams and reduces the chance of streaking or light haze—especially on glossy finishes or floors with micro-bevel edges.
Repeat gently instead of escalating
If the mark lightens but doesn’t fully disappear, repeat the wipe process. Keep pressure light and stay iterative—stronger chemical approaches can widen the appearance problem even when the original rubber is gone, because some finishes can smear or cloud rather than “erase.”
pH Distance From Neutral and Why “pH-Neutral” Matters for Finish Safety
| # | Target pH | [H⁺] (mol/L) | Relative vs pH 7 | Finish-safety rating |
|---|---|---|---|---|
| 1 | pH 3 | 0.001 | 10,000× | ★☆☆☆☆ (1/10) |
| 2 | pH 4 | 0.0001 | 1,000× | ★★☆☆☆ (2/10) |
| 3 | pH 5 | 0.00001 | 100× | ★★☆☆☆ (3/10) |
| 4 | pH 6 | 0.000001 | 10× | ★★★☆☆ (7/10) |
| 5 | pH 7 | 0.0000001 | 1× | ★★★★★ (10/10) |
| 6 | pH 8 | 0.00000001 | 0.1× | ★★★★☆ (8/10) |
| 7 | pH 9 | 0.000000001 | 0.01× | ★★★☆☆ (6/10) |
Treat stubborn marks (without damaging the finish)
This answers: “What if tire streaking won’t lift after the first cleaning?” You spot-test a finish-compatible method, use minimal pressure, and stop immediately if you see dulling, smearing, or cloudy appearance.
Spot-test in a hidden spot first
Before you change anything, test your stronger approach in an inconspicuous area. This matters because hardwood finishes vary widely: polyurethane film finishes, aluminum-oxide topcoats, and sealed oil systems don’t all respond the same way to rubber transfer and common cleaning chemicals.
Use a controlled, rubber-focused technique
If the mark remains after pH-neutral cleaning, you can target the rubber residue more directly—only after the initial clean removed dust and loosened contamination. Work from the outside of the mark inward using minimal pressure, so you don’t grind loose rubber into the finish.
Stop if you notice dulling or smearing. A shiny haze can mean the finish is being burnished or smeared rather than the rubber being removed. In those cases, heavy scrubbing is more likely to worsen the look than finish the job.
Pick the gentlest “escalation” path
When people escalate too quickly, they often trade a visible black streak for a bigger uniform haze. Here’s a simple way to decide what to try next:
- Gentle mechanical + pH-neutral wipe
- Best for: most finished hardwood scuffs and streaks after tires or rubber wheels.
Upside: lower risk of finish clouding when you dry immediately. - Finish-compatibility-tested spot treatments
- Best for: marks that persist after 2–3 careful wipe cycles.
Upside: can lift remaining residue without broad surface change if you stop early. - Harsh solvents and strong degreasers
- Best for: not recommended on most finished hardwood unless your finish manufacturer explicitly approves it.
Downside: can strip or permanently cloud the topcoat even if the rubber comes off.
What can go wrong
This section answers: “Why do some tire-mark cleanups make the floor look worse?” The most common failures come from moisture, chemistry mismatch, and grinding rubber residue into a wider area.
Soaking or leaving moisture behind
Too much water (or cleaner) can swell wood at seams and create lingering dull spots. Even when your floor looks flat, moisture can migrate into micro-gaps around boards and edges, especially with repeated passes that stay wet.
Using harsh solvents or strong degreasers
Alcohol, acetone, gasoline/solvent cleaners, or strong degreasers can strip or cloud certain finishes. Some will soften the topcoat; others can dissolve binders and leave a hazy “cleaning halo.” If you’re unsure, spot-test first and follow manufacturer compatibility guidance.
Grinding rubber in by skipping the dry step
If you skip the initial scrape/wipe, you risk turning loose rubber into a smear film. That smear can act like a micro-abrasive and expand the visible discoloration area.
Overreaching with repeated stronger treatments
“One-and-done overreach” is a real issue: repeatedly using stronger chemicals can create patchiness even after the tire mark fades.
Quick checklist to scan before you start
| Step | What to do | Stop if you notice… |
|---|---|---|
| 1 | Cool + gently scrape off rubber clumps (plastic scraper) | You’re scratching the finish |
| 2 | Wipe up loosened residue (dry/slightly damp microfiber) | Smearing gets worse |
| 3 | Use pH-neutral wood-floor cleaner on a microfiber | Dulling/hazing or streaky patches |
| 4 | Dry immediately with a clean microfiber | Moisture seems to be lingering |
| 5 | If needed, spot-test a stronger finish-safe method | Finish looks uneven or cloudy |
If you’re unsure about the finish, the safest path is: scrape → gentle pH-neutral cleaning → spot-test only if needed. Start light, repeat patiently, and prioritize drying right away. If the marks don’t improve after a couple careful rounds—or you see finish damage—pause and check your flooring manufacturer’s care guide or contact them for finish-compatible removal steps.
Sources (primary / manufacturer guidance)
A safe tire-mark cleanup is mostly about controlling two variables: physical removal first (scrape and dry wipe), then finish-friendly chemical action (pH-neutral, applied to cloth, dried immediately). If you treat the problem in careful stages and stop when the finish starts to haze or smear, you’ll protect the look and longevity of your hardwood—while still removing the rubber transfer effectively.
Frequently Asked Questions
What’s the safest way to remove tire marks from hardwood floors without damaging the finish?
Start by dry-wiping the area with a soft cloth or microfiber to remove loose rubber and dirt. Mix a few drops of dish soap in warm water, then wring the cloth until it’s barely damp and gently blot the tire marks. Avoid soaking the floor and never use harsh abrasives or steel wool, since they can dull or strip the hardwood finish. Finish by drying immediately with a clean towel.
How do I clean tire scuff marks from hardwood floors using common household supplies?
Begin with a dry pass using a microfiber cloth or a melamine foam “Magic Eraser” very lightly to lift surface transfer. If residue remains, use a solution of warm water and a small amount of dish soap, applying it with a damp cloth and working in small sections. For stubborn marks, try a tiny amount of isopropyl alcohol on a cloth (not directly on the floor) and wipe gently, then rinse with a lightly damp water cloth. Dry thoroughly after each attempt.
Why do tire marks leave dark stains on hardwood, and how can I prevent them from spreading?
Tire marks can transfer rubber compounds and soot that get embedded in the finish and sometimes into the wood surface if the finish is worn. Cleaning too aggressively or using too much liquid can spread the residue across surrounding planks. To prevent spreading, blot rather than scrub at first, keep the cloth only lightly damp, and dry the area immediately. Regularly using felt pads under furniture and keeping tires clean can also reduce future scuffing.
What’s the best cleaner for hardwood floors after a car tire scuffs the surface?
For most hardwood finishes, start with mild dish soap and warm water as the first-choice cleaner to lift grime without harming the finish. If the scuff is more stubborn, a small amount of isopropyl alcohol on a cloth can help dissolve transfer residue, followed by a damp wipe with plain water. Avoid acetone, strong solvents, and chemical degreasers unless the floor’s manufacturer specifically approves them. Always test any product in a hidden area first and then dry completely.
Which tools should I use to scrub tire tracks off hardwood—pads, brushes, or cloths?
Use soft microfiber cloths or a sponge designed for delicate surfaces, and work with gentle pressure to protect the polyurethane or varnish topcoat. If using melamine foam, use it carefully and lightly, since it can polish or remove finish if overused. Avoid stiff nylon brushes, scouring pads, and abrasive scrubbers because they can scratch hardwood and make marks more visible. After cleaning, wipe dry and consider applying a small amount of floor-safe polish or restorer if your finish looks dull.
📅 Last Updated: November 02, 2026 | Topic: How to clean hardwood floors after tire marks gets on it? | Content verified for accuracy and freshness.
References
- Wood flooring
- Wood flooring
- Floor cleaning
- Abrasion (mechanical)
- Natural rubber
- White spirit
- Polyurethane
- https://scholar.google.com/scholar?q=remove+tire+marks+from+hardwood+floor Google Scholar
- https://scholar.google.com/scholar?q=remove+rubber+scuff+marks+wood+floor+mineral+spirits Google Scholar
- https://scholar.google.com/scholar?q=hardwood+floor+cleaning+polyurethane+finish+scuff+removal Google Scholar



[…] can restore your hardwood floor to a clean, even finish by safely removing tire marks without leaving dull spots or haze. In the […]
[…] hardwood floor cleaner […]