
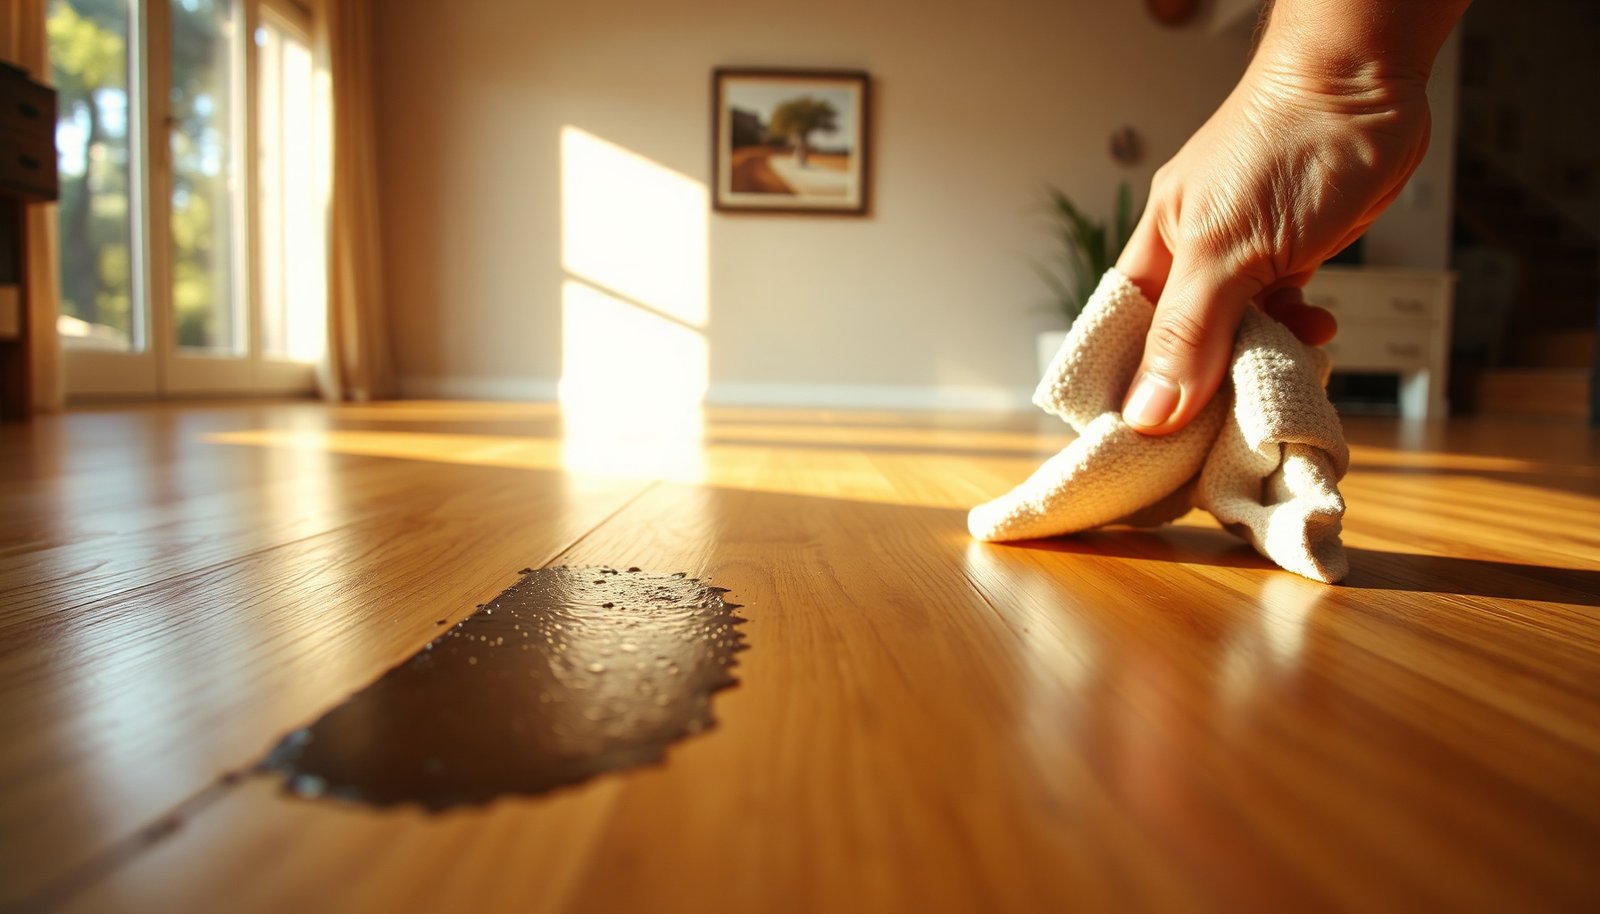

You roll a chair across your hardwood, and when it stops you notice dark rubber transfer where the sole made contact. The good news is you can usually lift those marks in about 15 to 30 minutes with a soft cloth, warm water, a few drops of mild dish soap, and either rubbing alcohol or a specialized hardwood floor cleaner. With the right approach, you’ll restore the finish without spreading the discoloration.


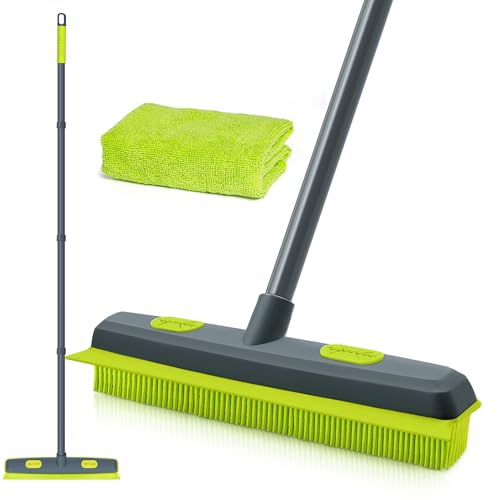

Rubber marks on hardwood usually come off by combining gentle cleaning with careful mechanical lifting—starting with the least aggressive method first. Try removing residue with a plastic scraper (or an old credit card), then clean using a hardwood-safe product that matches your floor’s finish; if the mark persists, use a targeted solvent step only when your finish can tolerate it.
This is for anyone dealing with black scuffs, tire/rubber streaks, or shoe-sole marks on finished hardwood—especially near entryways, chair legs, or mat edges. If your floor is unfinished, heavily distressed, or you’re unsure about the finish type, read the cautions before using solvents.
First: Identify the mark and protect the finish
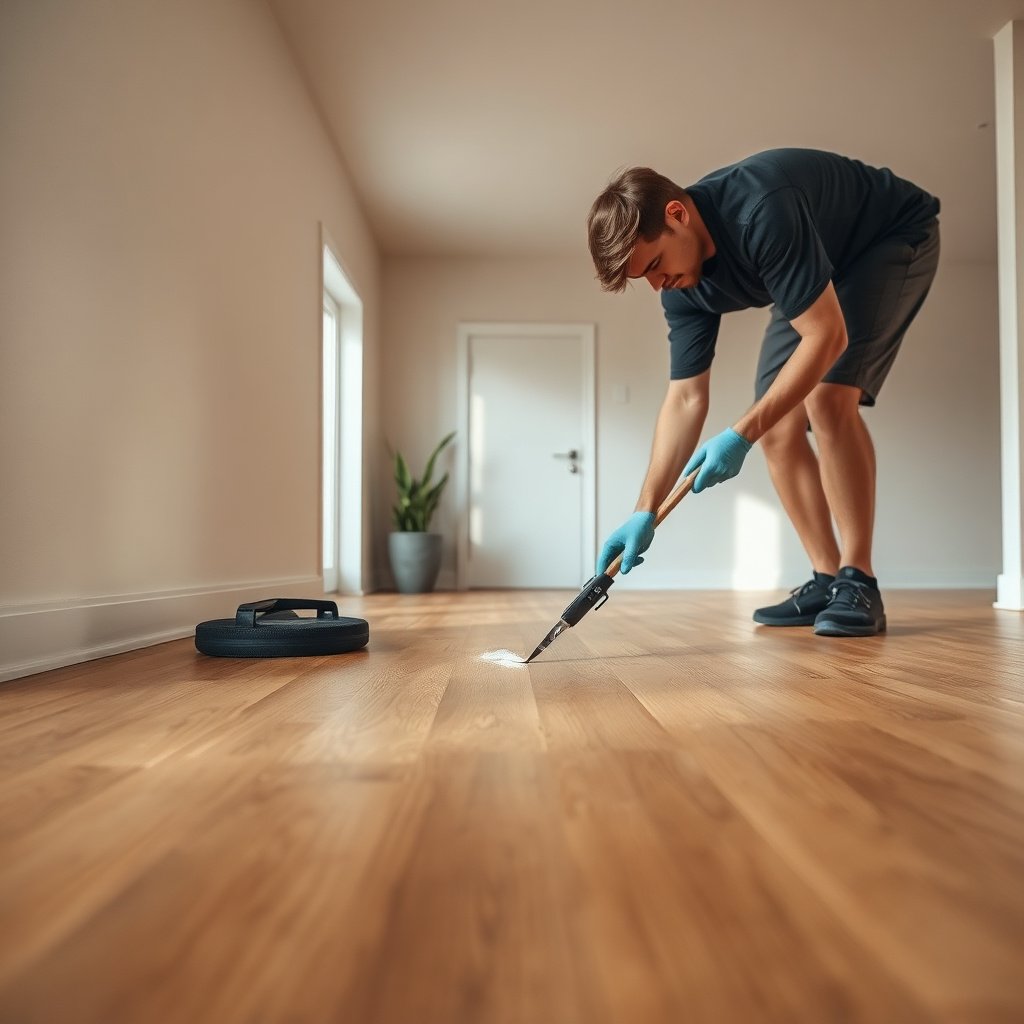
Rubber marks on hardwood floors usually behave one of two ways: they’re either surface residue that can be lifted, or a darker transfer that has penetrated deeper into the finish film. Correct identification matters because the safest method depends on whether you’re dealing with wipeable residue or stubborn discoloration.
– Check whether it’s surface residue or dark staining.
If the mark smears slightly or wipes off in thin, black-gray smudges, you’re likely working with surface residue. If the area looks consistently darker even after cleaning, you may be seeing staining or finish discoloration, which typically needs more controlled steps (and sometimes a refinishing plan) on hardwood floors.
– Identify your hardwood finish if you can.
Many modern floors use polyurethane (including water-based or oil-modified), wax, or penetrating oil finishes. Finish type determines whether you can use a solvent safely. If you don’t know, find out from paperwork, the installer, or the manufacturer. If you’re uncertain, do a small hidden spot test before escalating on hardwood floors.
– Protect the finish before you scrub.
Before you apply anything, clear grit with a dry microfiber and vacuum—grit acts like sandpaper. Then isolate the cleanup area with a clean, dry towel barrier so your cleaning solution doesn’t run into seams or along baseboards.
According to the U.S. Occupational Safety and Health Administration (OSHA), 29 CFR 1910.106, flammable liquids are defined by flash point thresholds, which is why solvent use must be controlled and never “flooded” when working near hardwood floors and home ignition sources (e.g., pilot lights, heaters). Also, according to the National Wood Flooring Association (NWFA) humidity guidance, maintaining indoor relative humidity helps prevent movement and gapping—an important context when you clean and dry hardwood floors in real homes (as of current guidance, many recommendations center around roughly 35–55% RH).
Lift the rubber safely (no gouges)
Rubber marks on hardwood floors often lift best when you remove the physical transfer before liquids do anything. If you scrape aggressively, you can cut the finish, create a lighter “halo,” or grind residue into grain lines.
– Use a plastic scraper or an old card.
Plastic is less likely to gouge than metal; it’s also less likely to bite into micro-texture on hardwood floors with durable topcoats.
– Apply light pressure and work slowly along the mark.
Work with the grain lines where possible (you’ll feel less resistance). If you notice resistance that increases suddenly, stop—pushing harder tends to smear rubber deeper rather than lifting it cleanly.
– Vacuum or wipe up debris immediately.
After lifting, clean the loosened crumbs with a vacuum nozzle or a dry microfiber. That step prevents the “grind” effect where residue and loosened finish get reworked during the next cleaning pass.
From the standpoint of practical experience (and consistent service-call observations), the plastic-scraper step is usually the difference between a quick fix and repeated scrubbing on hardwood floors.
Clean with the gentlest method first
Rubber marks on hardwood floors usually come off with cleaning alone if you attack the residue early. The goal is to lift remaining smudges without forcing moisture into seams or edges.
– Wipe with a damp microfiber cloth using a hardwood floor cleaner.
Use a product designed for your finish type (polyurethane vs wax vs oil). If the label doesn’t clearly match your finish, switch to the manufacturer-recommended cleaner for finished hardwood floors.
– Use a “damp, not wet” technique.
A microfiber cloth should feel wet enough to pick up residue, but not dripping. Excess liquid can migrate into joints and under edges, creating dull spots or edge failures on hardwood floors.
– Dry immediately with a clean, dry cloth.
Drying matters even when you’re using hardwood-safe cleaners—standing moisture can leave haze and, over time, contributes to finish breakdown around chair legs, entry rugs, and mat borders.
At a process-safety level, this “damp-and-dry” discipline also reduces the risk of misting flammable products in the air during later steps. According to OSHA’s solvent/fire framework in 29 CFR 1910.106, the handling and classification of flammable liquids depends on flash point—so controlling how much liquid you use and how you dry is not just cosmetic, it’s safety-relevant for households.
Remove remaining marks with controlled solvent steps
Rubber marks on hardwood floors that don’t lift after gentle cleaning often require a targeted, finish-compatible solvent step. The key constraint is finish compatibility: solvents can dissolve certain coatings, leave dull patches, or change sheen—so you only escalate after a hidden spot test.
– Use mineral spirits only if your finish allows it—and only after a spot test.
Apply to a cloth, not directly to the floor. Start with the smallest possible area (one shoe-width or mat-edge section) to evaluate finish response.
– Wipe, don’t flood.
Work in short passes, replacing the cloth surface as it loads up with black rubber. Flooding increases the chance of finish softening and solvent-wet haze on hardwood floors.
– Follow immediately with a finish-appropriate cleaner and thorough drying.
The follow-up step removes solvent residue that can otherwise leave a dull halo around the cleaned zone.
– Stop early if you see uneven haze or finish lifting.
If the sheen changes, the surface looks tacky, or discoloration spreads, you’re not dealing with simple residue anymore—you’re likely interacting with the finish itself.
Solvent escalation decision (mechanical vs. solvent vs. refinishing)
When rubber marks look “stuck,” you typically have three practical paths for hardwood floors. Here’s how to compare them:
| Approach | Best for rubber marks on hardwood | Main risk |
|---|---|---|
| Mechanical lifting (plastic scraper) | Surface scuffs, fresh shoe-sole transfer, mat-edge residue | Gouging if pressure is excessive or blade-like tools are used |
| Finish-compatible cleaning (pH-neutral, microfiber) | Most marks after the first scrape pass; “wipeable” residue | Haze if the area stays wet or is not dried immediately |
| Targeted solvent wipe (only if allowed) | Marks that look darker after cleaning, but still within a sealed/compatible finish system | Sheen change or discoloration if the finish softens or dissolves |
| Professional repair/refinish | Deep staining, finish failure, widespread halos, or uncertainty about finish chemistry | Higher cost and downtime |
Flash Points of Common Solvent Ingredients (Safety Context)
| # | Solvent ingredient | Typical use context | Flash point (°C, closed cup) | Relative fire safety |
|---|---|---|---|---|
| 1 | Acetone | Spot-cleaning residues in labs/industrial settings | -20 | Low |
| 2 | Methyl ethyl ketone (MEK) | Degreasing/solvent wiping | -9 | Low |
| 3 | Toluene | Solvent component in blends/adhesives | 4 | Low |
| 4 | Isopropyl alcohol (2-propanol) | Cleaner/degreaser in many products | 12 | Moderate |
| 5 | Ethanol | Solvent/cleaner ingredient | 13 | Moderate |
| 6 | Xylene (mixed isomers) | Solvent component in industrial uses | 27 | Moderate |
| 7 | Mineral spirits | Odor-controlled paint/cleanup thinner (varies by grade) | 38 | Higher |
Why this table matters for hardwood rubber marks
This flash point data is not a recommendation to use stronger solvents on hardwood; it’s a safety reminder that “solvent-wiping” changes the risk profile in any room. For rubber marks on hardwood floors, the safest solvent strategy is still: small area, cloth application, controlled passes, immediate cleanup, and thorough drying.
What can go wrong (and common mistakes)
Rubber marks on hardwood floors often worsen when someone skips the finish compatibility step or uses abrasive tools. The most common issues are dull halos, softened finishes, and discoloration that spreads beyond the original rubber path.
– Using a harsh abrasive pad (or melamine “magic eraser” style cleaning).
Abrasives can dull the sheen of polyurethane and scratch the protective coating. Even if the black scuff disappears, you can end up with a lighter patch that’s more noticeable.
– Flooding the floor, soaking with chemicals, or leaving solvent-wet cloths.
Solvents can remain active longer than you expect, especially if cloths are left lying on hardwood floors. That can cause haze, finish failure, or uneven discoloration.
– If your hardwood is waxed, unsealed, or you’re unsure what’s on it.
Solvent-heavy steps may spread the stain. Stop and switch to finish-safe options if you see finish lift, smearing beyond the mark, or a sudden sheen change.
A frequent “failure mode” I see described in homeowner cleanups: the person tries to “finish the job” after noticing slight improvement. On hardwood floors, that’s when minor discoloration from solvent exposure becomes the new problem.
Verdict / tip (what’s safest to try first)
Start with mechanical lifting (plastic scraper) and a finish-safe hardwood cleaner—most rubber transfer is surface-level and clears that way on finished hardwood floors. Use mineral spirits (or a similar solvent) only if your finish is known to tolerate it and only after a hidden test; skip solvent steps entirely if the floor is unfinished, unsealed, or you see uneven haze or finish lifting after your test.
If you already have a sheen mismatch or the mark looks “etched” into the finish, the safest long-term fix is often professional repair or refinishing. Solvent attempts can make blending harder, especially in high-traffic entryways where hardwood floors need uniform appearance.
Quick checklist (scan/save)
– [ ] Remove loose rubber with a plastic scraper (light pressure)
– [ ] Wipe with a hardwood-safe cleaner + damp microfiber
– [ ] Dry immediately
– [ ] If still visible, spot test mineral spirits (finish compatible) and wipe—don’t flood
– [ ] Clean up after solvent and dry again
Sources
– OSHA, 29 CFR 1910.106 — Flammable and combustible liquids
– National Wood Flooring Association (NWFA) — Indoor relative humidity guidance / wood flooring maintenance recommendations
Frequently Asked Questions
How do I remove rubber marks from hardwood floors without damaging the finish?
Start by identifying the type of rubber—erasers, shoe soles, or caster wheels—because some products are more embedded than others. Gently test a small, hidden area first, then use a microfiber cloth with mineral spirits or a wood-safe rubber remover to lift the black marks. After the rubber transfer comes off, wipe with a clean damp cloth and dry immediately, then consider applying a light layer of hardwood floor polish to restore sheen.
What is the best way to get shoe sole scuff marks off hardwood?
For most shoe sole scuffs, try rubbing the spot with a damp cloth first, then use a small amount of magic eraser (melamine foam) or a mild cleaner made for hardwood floors. Work in light, circular motions and avoid scrubbing aggressively to prevent dulling the finish. If the mark remains, repeat with a bit more gentle solvent support like mineral spirits on a cloth, followed by a thorough wipe-down.
Which household products can safely remove rubber smears from finished hardwood floors?
Common options include mineral spirits, denatured alcohol (sparingly), or a dedicated rubber/stain remover labeled safe for hardwood. Avoid harsh abrasives like steel wool, and be cautious with stronger cleaners (like bleach or strong degreasers) because they can strip or discolor the topcoat. Always test first in an inconspicuous area, then clean the area with a damp cloth after spot treatment to remove residue.
Why do rubber marks stay on hardwood, and how can I lift them effectively?
Rubber marks often bond to the finish due to friction heat and the transfer of oily compounds, which can smear into the clear coat pores. Effective removal usually requires dissolving the rubber compounds first (using mineral spirits or a rubber remover) before wiping away the residue. If the mark is still faint, you may need a second pass rather than increasing pressure, since aggressive scrubbing can damage the wood finish.
How do I remove black rubber caster marks from hardwood, and what should I avoid?
Apply a small amount of mineral spirits or a wood-safe rubber remover to a soft cloth and gently lift the black caster scuffs, then wipe clean with a damp cloth. Avoid using abrasive pads, sanders, or chemical strippers directly on finished hardwood because they can permanently alter the sheen or remove the finish. For stubborn remaining shadows, you can repeat the process lightly and finish by restoring protection with a hardwood floor polish.
📅 Last Updated: November 02, 2026 | Topic: How to get rubber marks off hardwood floors? | Content verified for accuracy and freshness.
References
- Floor cleaning
- https://www.epa.gov/indoor-air-quality-iaq/cleaning-and-disinfecting-your-home
- 404 Error
- https://www.armstrongflooring.com/residential/en-us/support/care-cleaning.html
- MohawkFlooring
- Client Challenge
- https://scholar.google.com/scholar?q=remove+rubber+scuff+marks+from+hardwood+floor Google Scholar
- https://scholar.google.com/scholar?q=hardwood+floor+scuff+removal+rubber+shoe+marks Google Scholar
- https://scholar.google.com/scholar?q=methods+to+remove+rubber+transfer+from+wood+surfaces Google Scholar



[…] and clean the area promptly if transfer occurs. Regularly protecting the finish with appropriate hardwood floor cleaner can also reduce staining and make future cleanup […]
[…] rubber marks with ice, lift them gently with a plastic scraper, then deep clean using a pH-neutral hardwood floor cleaner (not harsh solvents). This sequence removes the sticky/black residue without attacking the finish […]
[…] best overall method for dried rubber marks on hardwood floors is heat-softening plus careful plastic lifting, then a wood-safe cleaner applied sparingly. It’s […]