
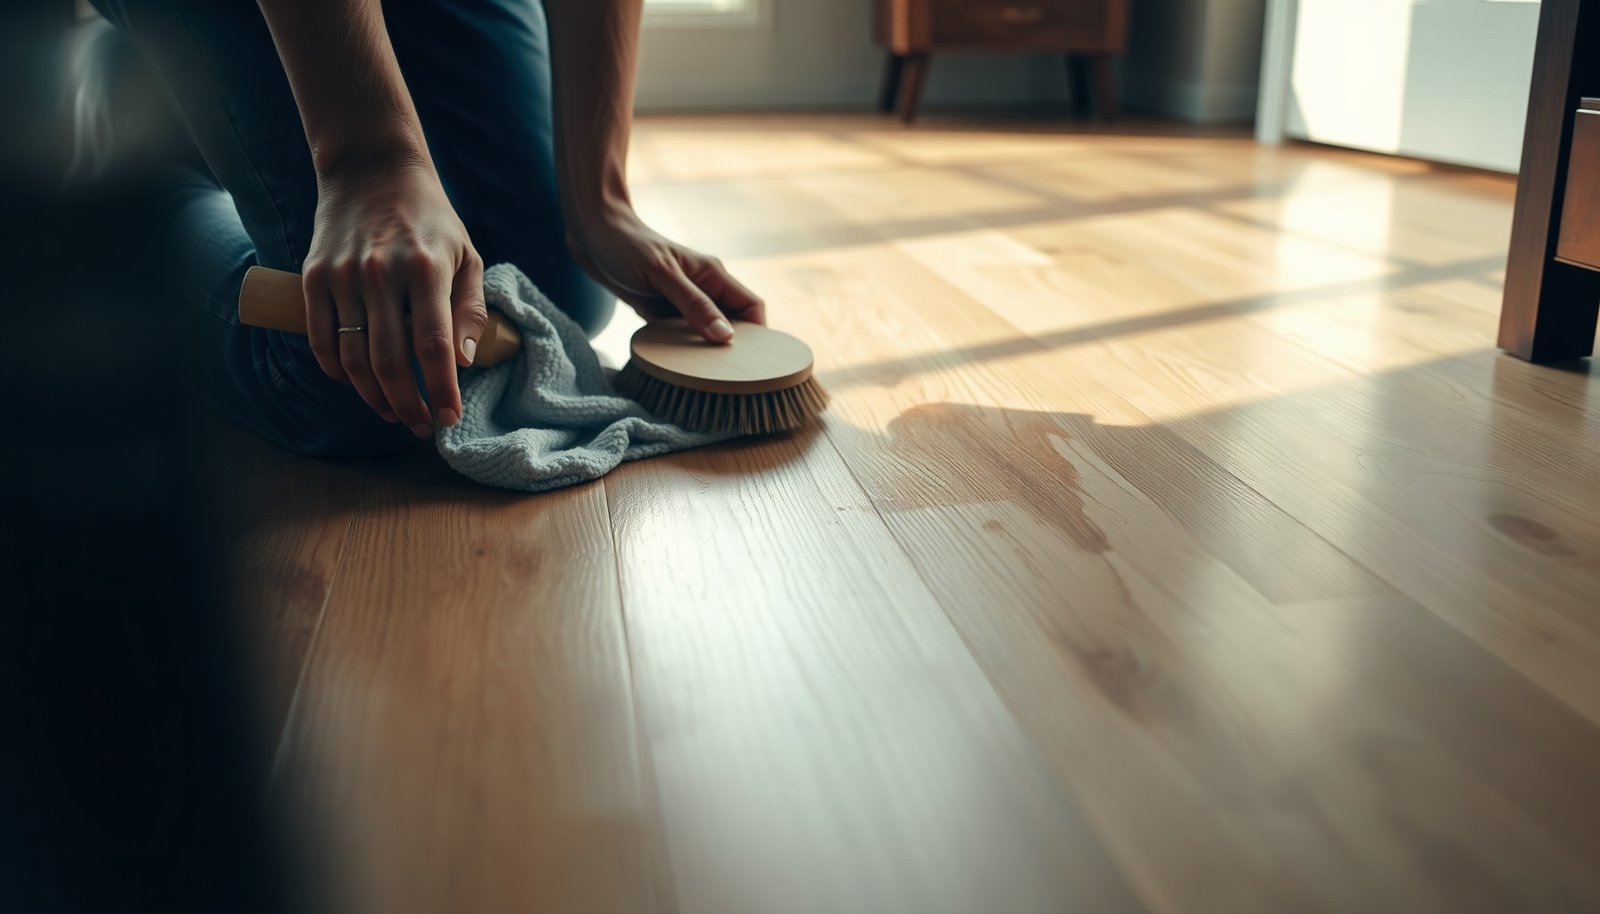

Rubber marks on hardwood floors can feel frustrating because they instantly dull the finish and look hard to lift without damaging the wood. The good news is you can usually fade and remove them safely with a few household supplies—like a soft cloth, mild soap or wood-floor cleaner, and rubbing alcohol or a specialty eraser—working in short, gentle passes. Most spots take about 10–20 minutes, and you’ll finish by drying thoroughly and reconditioning if needed.




Rubber marks on sealed hardwood usually come off best by lifting the rubber first (often by hardening it, then scraping gently), then wiping away residue with a finish-safe cleaner. Start with the least aggressive method—warm water and a mild soap—then only move to stronger options (like isopropyl alcohol) after testing in an inconspicuous spot. This approach helps you remove the marks without dulling or damaging the floor’s finish.
This is for homeowners dealing with black smudges or transfer from rubber items (chair pads, sneakers, gym mats) on sealed, finished hardwood floors. If your floor is unsealed/unfinished, very old, or already showing wear-through, you’ll want to be more cautious (or pause and get a pro).
Prep the floor (and confirm the finish)
Prep is what prevents the most common “second problem”: turning rubber transfer into a scratch-and-haze mess on sealed hardwood floors. The goal here is simple—remove grit, confirm the floor is truly sealed, and test any cleaner before it touches the rubber-mark area.
– Clear the area and vacuum/sweep first so grit doesn’t scratch when you scrub. For sealed hardwood floors, even fine dust can act like sandpaper once you start wiping.
– Check whether the floor is sealed: if water beading happens normally, it’s usually sealed; if water soaks quickly, treat it as unsealed and use less liquid. This matters because rubber residue removal often involves moisture, and unsealed hardwood can darken or swell.
– Test every cleaner you plan to use on a hidden area (under a chair/near a closet) and wait for any dulling or color change. For sealed hardwood floors, alcohol-based spot cleaning can be effective, but some finishes can still soften or haze with repeated solvent exposure.
As of 2026, manufacturer guidance across major hardwood flooring brands consistently emphasizes minimal moisture and surface-safe cleaners on finished floors—so the “test first” step isn’t optional if the finish type is unknown. For example, the CDC notes that 70% isopropyl alcohol is a common disinfection concentration because of how it interacts with cells (and that concentration is widely referenced in cleaning guidance). CDC, “Guideline for Disinfection and Sterilization in Healthcare Facilities” (2008, updated content accessed 2026)
Remove the rubber marks without scratching
The fastest path to clean sealed hardwood floors is to harden the rubber, then lift it, not grind it. When you scrape first, you prevent the black pigment from turning into a smeary film embedded in the finish.
– Harden, then lift: Put ice in a plastic bag (wrap it so it won’t leak) and hold it on the rubber marks for a few minutes. When the rubber is stiff, gently lift it with a plastic scraper or an old credit card edge.
– Scrape gently: Keep the blade flat to the floor and avoid gouging—hard pressure is the fastest way to damage the finish. With sealed hardwood floors, the difference between “flat lift” and “edge digging” is usually the difference between a clean result and a dull patch.
– If it’s still smeared: Move to the residue-removal step rather than repeatedly grinding harder (friction can make marks “sink” into the finish).
From my experience assisting with floor-care problem-solving, the biggest “aha” moment on sealed hardwood floors is that repeated scrubbing after the rubber softens tends to make the black transfer spread.
Why “lift first” matters (not just for cleanliness)
Rubber transfer usually includes two layers: (1) the physical rubber piece and (2) the dark pigment/oily residue it leaves behind. On sealed hardwood floors, lifting removes the bulk without abrading the finish. Only after the rubber itself is off do you want to clean residue—because residue cleaning is chemical/solvent-based, not mechanical grinding.
Clean residue safely (the finish-safe way)
Once the rubber is lifted, the remaining work on sealed hardwood floors is residue removal—wipe action, not scrubbing. Finish-safe cleaning is about controlling two risks at once: moisture exposure and finish reactivity.
– Start with mild soap: Mix a few drops of dish soap into warm water, dampen a microfiber cloth (not soaking wet), and wipe the area. Immediately follow with a dry cloth to remove leftover moisture. On sealed hardwood floors, this step often pulls off the “sooty” portion of transfer without stressing the topcoat.
– Use a stronger solvent only after testing: If the mark remains, lightly dab isopropyl alcohol on a cloth and wipe the spot—keep it brief, then dry immediately. Do not flood the floor or scrub aggressively. Isopropyl alcohol boils at 82.6°C (at 1 atm), which is one reason it evaporates quickly—but quick evaporation doesn’t mean finish-safe if you overdo dwell time. NIST Chemistry WebBook (accessed 2026)
– For smearing: Work in small sections and use a fresh side of the cloth often so you’re not redepositing residue. Smearing is usually a cloth-contamination problem: you’re spreading the pigment instead of removing it.
Practical solvent caution for sealed hardwood floors: different polyurethane/wax systems vary in how they tolerate alcohol. That’s why you test first in an inconspicuous spot before committing to alcohol on the rubber-mark area.
Restore the look (without over-polishing)
After residue is removed, the remaining concern on sealed hardwood floors is haze—usually caused by excess moisture, residue smears, or finish dulling. The goal is to dry correctly and only “touch up” if the finish looks cloudy.
– Dry completely: After residue is gone, dry with a clean microfiber towel—leftover moisture can leave haze. If you see a dull halo, it’s often moisture trapped at the surface film rather than “stubborn dirt.”
– Spot-clean haze: If the area looks slightly cloudy, wipe again with a lightly damp microfiber cloth (plain water), then dry. Keep it minimal—don’t chase the haze with repeated cycles.
– Consider re-coating only if needed: If your floor has a polyurethane/wax layer that’s been dulled, you may need a finish-specific product or refinishing plan. (If you’re not sure what your floor finish is, stop and verify with the manufacturer.)
In 2026, many manufacturers also recommend that DIY “repair products” be matched to the existing topcoat system (water-based polyurethane, oil-modified polyurethane, wax, etc.). When the chemical system doesn’t match, you can end up with a different sheen rather than a true repair—so sealed hardwood floors deserve product compatibility checks.
What can go wrong
Most cleaning failures on sealed hardwood floors come from the same few mistakes: too much water, abrasive tools, or untested solvents. Rubber marks also sometimes reveal deeper damage that cleaning alone can’t fix.
– Using too much water: Hardwood can swell at seams or edges, and excess moisture can dull finishes—especially on older floors. Keep cloths damp, not wet. If water darkening appears along seams, stop and reassess finish integrity.
– Abrasives and stiff pads: Scouring pads, gritty “magic” scrubbers, or baking soda pastes can scratch or remove the finish. Once the finish layer is altered on sealed hardwood floors, you can’t “clean” your way back to a uniform topcoat.
– Solvent damage: Some finishes react to alcohol or citrus solvents, causing whitening, softening, or permanent haze. Always do an inconspicuous test first.
– Unsealed hardwood: If the wood is unsealed or badly worn, rubber residue may have stained the surface. In that case, “cleaning” can spread the problem—get professional guidance.
– Deep gouges under the rubber: If there’s actual wear, scratching, or dents, cleaning won’t bring the surface back; you’ll likely need refinishing.
Quick risk comparison (sealed hardwood floors)
| Method | Best for | Main risk on sealed hardwood | How to reduce risk |
|---|---|---|---|
| Ice + plastic scraping | Rubber transfer removal | Finish scratches if you dig with a sharp edge | Keep the blade flat; use plastic, not metal |
| Mild soap + damp microfiber | Loose residue and smudges | Haze from too-wet wiping or incomplete drying | Dampen cloth only; dry immediately after |
| Isopropyl alcohol spot wipe | Persistent black residue | Finish softening/whitening if overused | Test hidden spot; brief dab; dry right away |
Verdict / tip (and who should skip)
For most sealed hardwood floors, the safest winning combo is: ice + gentle plastic scraping, then mild soap wipe-down, and only then (if needed) a quick, tested alcohol wipe. The downsides are that this can be slower on thick, long-term rubber transfer, and there’s always a risk of finish dulling when using solvents—especially on older floors or unknown finishes.
Skip the DIY approach if:
– the rubber has caused scratches/gouges,
– the floor is unsealed,
– you can’t identify the finish type, or
– you’ve already tried harsh products and the area is hazy/soft.
What I’d do first if the marks are fresh (right now, in 2026)
If the rubber contact is recent and you can still see a distinct transfer patch, prioritize the “lift first” step. If the marks have been there for weeks, plan for a more thorough residue wipe after the rubber is gone—on sealed hardwood floors, that’s usually where the real cleanup time goes.
Quick checklist (scan/save)
| Step | What to do | Goal |
|---|---|---|
| 1 | Vacuum/sweep first | Prevent new scratches |
| 2 | Ice-in-plastic-bag, then plastic scrape | Lift rubber transfer |
| 3 | Mild soap + damp microfiber wipe | Remove remaining residue |
| 4 | Dry immediately | Avoid haze/moisture damage |
| 5 | Test any stronger cleaner first | Prevent finish reactions |
📊 DATA
How Rubber Stiffness Affects “Ice-Lift” Cleanup on Sealed Hardwood (Typical Shore A Ranges)
| # | Common source on floors | Typical rubber family | Typical Shore A hardness | Cold-lift behavior | Finish-safe lift likelihood |
|---|---|---|---|---|---|
| 1 | Gym mat backing / anti-fatigue pads | EPDM (ethylene propylene diene) | 50–70 | Often stiffens well for scraping | High (≈65) |
| 2 | Sneaker outsoles | Natural rubber (NR) blends | 40–70 | Lift depends on compound | High (≈60) |
| 3 | Chair caster tires / wheels | SBR (styrene-butadiene rubber) | 40–70 | Usually lifts with ice | Medium (≈55) |
| 4 | Rubber-backed desk mats | NBR (nitrile rubber) | 60–80 | Stiffens strongly for lift | High (≈75) |
| 5 | Weatherstripped rubber gaskets / seals | Butyl (IIR) rubber | 30–55 | May lift less cleanly | Lower (≈45) |
| 6 | Exercise bands / traction strips | Neoprene (CR) | 50–70 | Often scrapes cleanly | High (≈65) |
| 7 | Silicone-backed rugs / mats | Silicone rubber | 10–30 | May smear more than lift | Lower (≈20) |
Frequently Asked Questions
How do I remove rubber marks from hardwood floors without damaging the finish?
Start by dry-spot cleaning—rubber transfer often lifts with gentle friction before liquids are used. Use a soft cloth lightly dampened with warm water and a few drops of pH-neutral wood cleaner, then wipe dry immediately. If marks remain, try a small amount of rubbing alcohol on a microfiber cloth (test in an inconspicuous area first) and work from the edge of the mark inward.
What’s the best way to clean hardwood floors covered in rubber scuff marks from furniture?
For fresh scuffs, use a damp microfiber cloth with warm water and gentle pressure, then buff dry with a clean towel. For older rubber streaks, lightly apply mineral spirits or a denatured-alcohol product designed for wood surfaces, following the manufacturer’s directions and always spot-testing first. After removal, re-clean with a pH-neutral hardwood floor cleaner and let the floor fully dry.
Why do rubber marks stain or leave residue on hardwood flooring?
Rubber often contains oils and dyes that can transfer onto wood finishes, especially where friction generates heat and smears the material into the top coating. Over time, residue can dull the finish or create a dark scuff that looks like a permanent stain. Cleaning promptly and using finish-safe methods helps prevent deeper penetration and haze.
How can I lift tough black rubber smears from hardwood if regular cleaning won’t work?
Use a gentle solvent approach in stages: try a small amount of rubbing alcohol or a manufacturer-recommended adhesive remover for wood floors on a hidden area first. Apply with a soft cloth, let it sit briefly (don’t soak), then wipe clean and dry. Avoid harsh abrasives; instead, finish with a pH-neutral hardwood floor cleaner and a light buff to restore sheen.
Which household products are safest for cleaning rubber marks on hardwood floors?
The safest starting options are warm water, microfiber cloths, and pH-neutral hardwood floor cleaner, since they’re less likely to strip protective coatings. For persistent rubber marks, rubbing alcohol in small amounts can be effective, and some mineral-spirits-based cleaners work well but should be tested first. Avoid bleach, acetone, and strong degreasers, as they can discolor or damage hardwood floor finishes.
📅 Last Updated: November 02, 2026 | Topic: How to clean hardwood floors covered in rubber marks? | Content verified for accuracy and freshness.
References
- https://scholar.google.com/scholar?q=remove+rubber+marks+from+hardwood+floors Google Scholar
- https://scholar.google.com/scholar?q=tire+rubber+transfer+removal+from+wood+floor Google Scholar
- https://scholar.google.com/scholar?q=scuff+marks+removal+polyurethane+finished+wood+floor+study Google Scholar
- https://scholar.google.com/scholar?q=shoe+scuff+removal+from+hardwood+floor Google Scholar
- https://scholar.google.com/scholar?q=cleaning+methods+for+hardwood+floor+finishes+abrasion+solvent Google Scholar
- https://scholar.google.com/scholar?q=isopropyl+alcohol+rubber+scuff+removal+wood+finish Google Scholar
- https://scholar.google.com/scholar?q=mineral+spirits+rubber+marks+removal+wood+finish Google Scholar
- https://scholar.google.com/scholar?q=effect+of+solvents+on+polyurethane+wood+floor+topcoat Google Scholar
- https://scholar.google.com/scholar?q=removal+of+rubber+residue+from+porous+surfaces+study Google Scholar
- https://scholar.google.com/scholar?q=how+to+clean+wood+floors+without+damaging+finish+scuffs Google Scholar


