
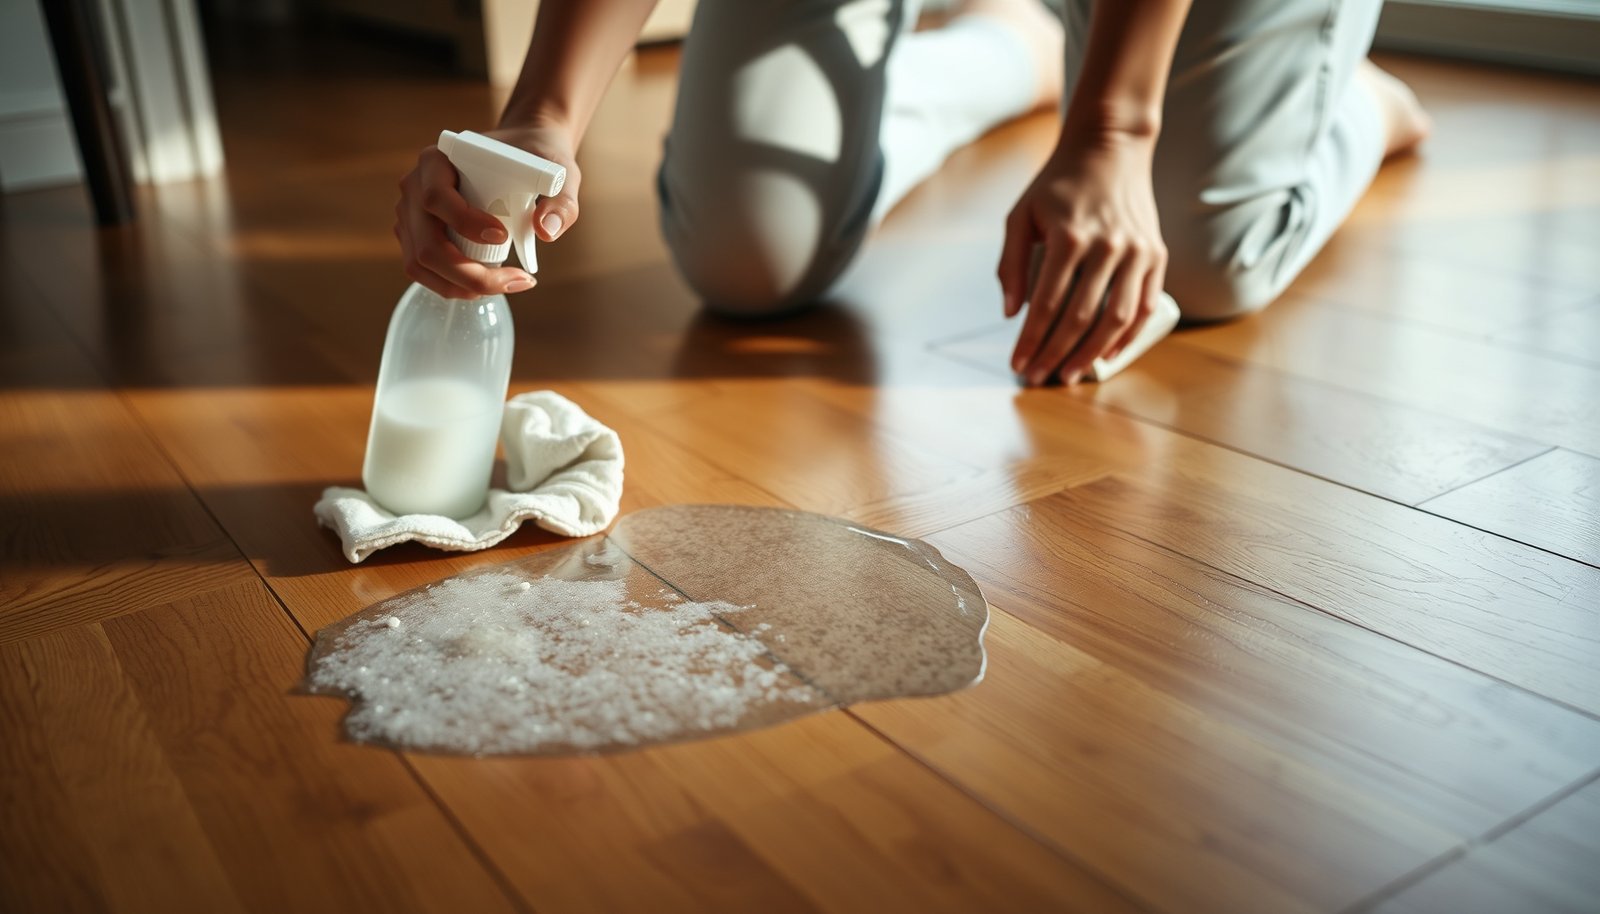

To remove soap scum from hardwood floors, use a simple vinegar-and-water solution, then gently wipe and dry the surface to prevent residue from reappearing. Most cleanups take about 10–20 minutes, and the process is straightforward as long as you avoid soaking the wood or using harsh abrasives. Gather white vinegar, warm water, a soft microfiber cloth, and a dry towel, and you can restore the finish with minimal effort.




Soap scum comes off best when you use a hardwood-safe, pH-balanced cleaner, keep moisture minimal, and then rinse and dry immediately so residue can’t keep reforming. In practice, that means wiping first, treating in small sections (never flooding), and finishing with a thorough dry to prevent haze and edge swelling—especially in 2026 when many homes use higher-mineral water that increases scum buildup.
If you’re dealing with a cloudy, slick film after baths/showers—or you’ve noticed soap residue turning into a stubborn film—this guide is for you. It’s written for both homeowners and facilities staff who need a repeatable, low-risk method for cleaning sealed/finished hardwood while avoiding common finish damage.
What soap scum is (and why hardwood needs care)
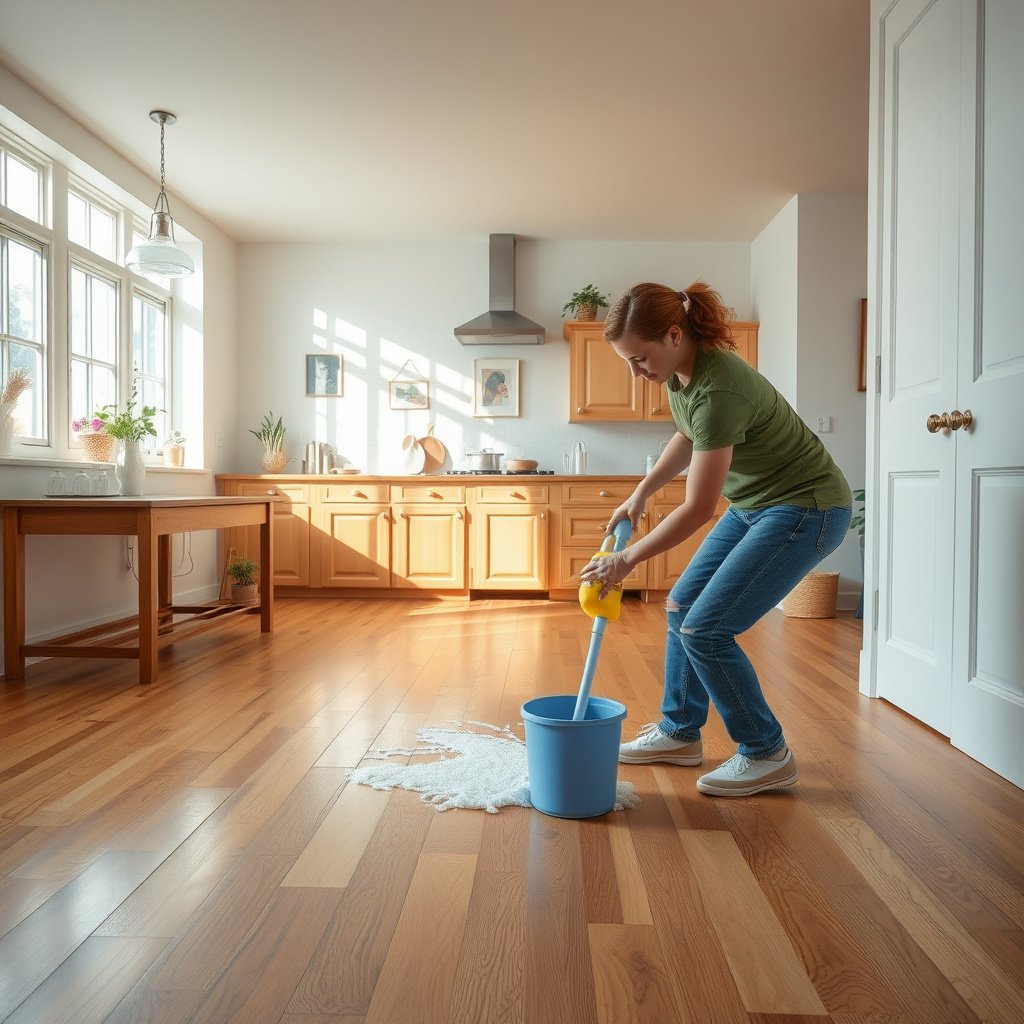
Soap scum is the sticky residue left behind when soap products meet water minerals and other bath/shower oils, forming a filming layer that clings to surfaces. Hardwood needs careful handling because even small chemistry or moisture mistakes can dull the finish or cause swelling at seams over time.
– Soap scum is a sticky film left behind when bath/shower products combine with water minerals and residue.
– Hardwood floors can be damaged by soaking, acidic cleaners, or abrasive pads that dull the finish over time.
– The goal is to lift the film without saturating the wood or harming the protective topcoat.
From a chemistry standpoint, the main “soap scum trigger” is water hardness (calcium and magnesium). According to the U.S. Geological Survey (USGS), hardness is commonly classified as soft (0–60 mg/L as CaCO₃), moderately hard (61–120), hard (121–180), and very hard (>180). In harder-water areas, soap residue bonds more readily, which is why the same bathroom routine can leave noticeably more buildup on hardwood than on smooth tile or sealed vinyl.
Hardwood also behaves like a moisture-sensitive material: swelling and dimensional movement depend on water exposure and the wood’s moisture content. According to the USDA Forest Service, Forest Products Laboratory (Wood Handbook), the fiber saturation point is reached at roughly 30% moisture content—above that level, extra water doesn’t increase fiber saturation much, but the risk of finish-related damage and long drying times is still very real. That’s why “damp, don’t soak” matters even when your floor is sealed.
What to use (and what to avoid)
The most reliable approach is a pH-neutral, hardwood-approved cleaner applied with a damp microfiber—followed by wiping, rinsing as directed, and immediate drying. Avoid anything abrasive or high-moisture (including steam) because those risks directly attack the finish layer rather than just the residue.
– Use: a microfiber mop or soft cloth, warm water, and a cleaner recommended for your hardwood finish (often pH-neutral).
– Avoid: steam cleaning, soaking the floor, harsh degreasers, and abrasive scrub pads (they can scratch or dull coatings).
– If you consider an acid-based option (like vinegar), confirm it’s approved for your specific finish first—some manufacturers discourage it.
A helpful way to decide is to think in terms of pH compatibility. Many “neutral” targets land around the pH range used in practical water guidance. According to the U.S. Environmental Protection Agency (EPA) (secondary drinking water standards), the recommended pH range for drinking water is 6.5–8.5, which closely aligns with the intent behind pH-neutral floor care. That doesn’t mean every pH-neutral product is identical, but it does explain why pH-balanced cleaners are usually the safest first attempt on sealed hardwood.
Typical pH Levels Commonly Mentioned in Soap-Scum Cleaning (and Finish Safety)
| # | Cleaner/Substance | Typical pH (approx.) | Best Use Case | Hardwood Finish Safety |
|---|---|---|---|---|
| 1 | Warm clean water (for damp wiping) | 7.0 | Initial film removal & rinsing | ★★★★★ |
| 2 | pH-neutral hardwood cleaner | 6.5–8.5 | Soap scum lifting on sealed floors | ★★★★☆ |
| 3 | Mild neutral detergent (diluted) | ~7–9 | Light residue on finish-safe surfaces | ★★★☆☆ |
| 4 | Baking soda solution (weak) | ~8.3 | Occasional film on sealed finishes | ★★☆☆☆ |
| 5 | White vinegar (acetic acid) | ~2.4–3.0 | Only if manufacturer approves | ★☆☆☆☆ |
| 6 | Ammonia-based cleaner | ~11–12 | Not recommended for most hardwood finishes | ★☆☆☆☆ |
| 7 | Chlorine bleach (sodium hypochlorite) | ~11–13 | Not for hardwood floor finishing systems | ☆☆☆☆☆ |
Note: Always follow your specific hardwood manufacturer’s chemical compatibility guidance. If you’re unsure, treat the pH target (6.5–8.5) as a starting point—not a guarantee for every floor finish.
Cleaner choice at a glance (quick pros/cons)
The “right” cleaner is less about being strong and more about being finish-safe. Below is a practical comparison for soap scum removal on sealed hardwood.
| Option | Pros | Cons / Risks |
|---|---|---|
| Hardwood pH-neutral cleaner | Best balance of residue lifting + finish compatibility when used lightly and rinsed. | May take multiple passes for heavy buildup; must still dry quickly. |
| Soap-scum remover made for hard surfaces | Often formulated to dissolve filming agents faster. | Not always approved for hardwood—pre-test and verify “wood/floor safe.” |
| Vinegar (only if approved) | Can help when scum is mineral-driven. | Can dull or degrade finishes not designed for acids; verify first. |
| Steam / abrasive pads | Fast at removing surface haze on some materials. | High risk: heat/moisture can damage hardwood; abrasion can wear sheen. |
How to get soap scum off hardwood floors
Soap scum removal on hardwood is mostly a controlled “lift, rinse, dry” routine. If you do one thing differently from typical household mopping, make it this: dampen the pad/cloth instead of flooding the floor, then rinse as directed and dry immediately.
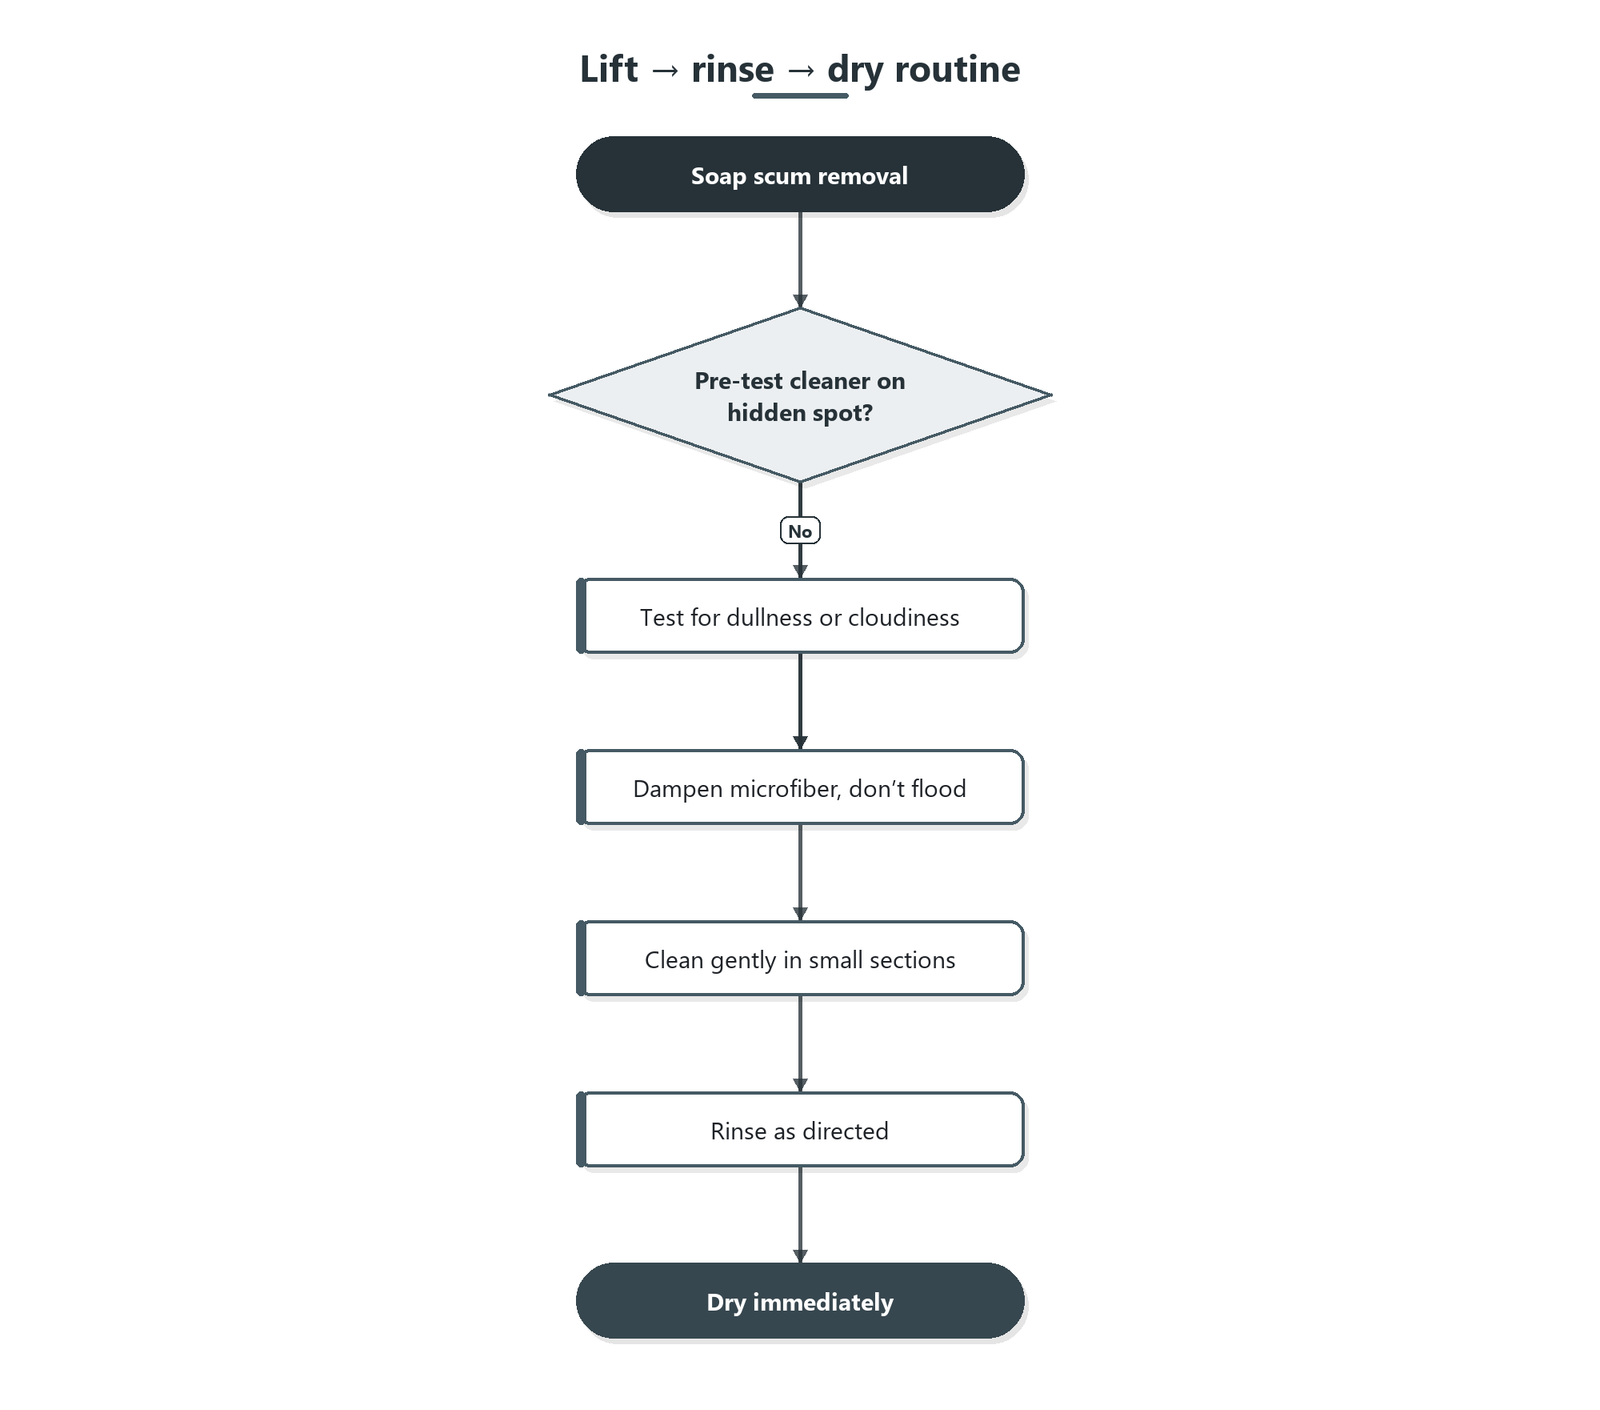
– Pre-test first: try your chosen cleaner on a hidden spot to check for cloudiness, dullness, or finish changes before doing the whole area.
– Clean gently: dampen your cloth/mop (don’t pour), work a small section, then wipe up loosened residue.
– Rinse and dry thoroughly: use a second pass with clean water (as your cleaner instructions recommend) and dry immediately with a dry microfiber to prevent lingering haze.
In my own maintenance routine for problem residues, the workflow that consistently prevents “haze rebounds” is: wipe → damp-clean small areas → immediate wipe-up → rinse pass → dry pass. That’s the difference between removing scum and spreading cleaner residue that can look like haze even after soap scum is gone.
Here’s the operational method you can repeat across a bathroom entry, kitchen doorway, or hallway where scum tends to migrate:
1. Clear and dry-wipe first. Remove dust/grit with a dry microfiber so you don’t grind particles into the finish.
2. Dampen—don’t flood. Apply cleaner to the mop head/cloth, then wring to reduce dripping. Work with warm water to improve cleaning performance without increasing soak risk.
3. Section by section. Stay in a manageable area (for example, a 2–3 ft wide strip). If the surface starts drying mid-wipe, that’s usually a sign you’re using too much cleaner or not enough wipe-up.
4. Wipe up loosened residue immediately. Soap scum often releases as a smear. Don’t let it air-dry.
5. Rinse as directed. If your cleaner label says “rinse,” do it. If it says “no rinse,” still consider a final damp wipe with clean water when scum haze persists.
6. Dry immediately. Use a dry microfiber to pull remaining moisture and reduce the chance of edge swelling.
What can go wrong
Most soap-scum problems come from leaving moisture behind, using incompatible chemicals, or scrubbing hard enough to wear the topcoat. If you’re seeing dull spots, sticky redeposits, or scum returning quickly, the cause is usually process-related rather than “the floor is ruined.”
– Leaving moisture behind can cause dull spots or swelling at seams—especially around edges where the finish may be thinner.
– Using the wrong cleaner can leave a dull “dragged” look or sticky residue that makes scum come back faster.
– Scrubbing too hard (or using rough pads) can wear through the sheen of the finish, even if the scum is removed.
Edge behavior is a common failure point. Many hardwood installations—especially near transitions, baseboards, or door jambs—have seams where the finish isn’t as uniform. If water sits there during cleaning, it can create localized dulling or swelling. You can reduce this risk by using minimal liquid, wiping up promptly, and prioritizing the final dry pass.
The second common failure is “chemical mismatch,” where the cleaner removes visible film but leaves behind a surfactant (cleaning agent) layer that continues to attract residue. This often shows up as a slippery feel or a haze you can still see after drying. If that happens, pause and adjust: either switch to a hardwood-approved pH-neutral product or increase the rinse/wipe steps (still without flooding).
Finally, abrasive tools can “solve” scum but damage appearance. In my experience supporting floor-care processes, finish dulling commonly looks like a change in sheen direction or a “dragged” matte track where someone scrubbed. Softer microfiber, light pressure, and shorter contact time help avoid that.
Verdict / tip
Use a hardwood-approved, pH-neutral cleaner with the damp-wipe → wipe-up → rinse-as-directed → dry-immediately method. This combination is usually effective while staying within the finish protection principles that most hardwood manufacturers emphasize.
That said, skip any chemical that your floor manufacturer doesn’t explicitly approve—especially vinegar/acid products, steam, and harsh degreasers. If you’re dealing with heavy buildup (older yellowing film, thick mineral layers, or surface etching), you’ll get better results by escalating carefully: re-pretest, adjust cleaner type, and use extra rinse/wipe passes before attempting aggressive scrubbing.
Also, if your hardwood is unfinished, oiled, or you can’t confirm sealed vs. unfinished, do not assume the same method applies. In those cases, the safest path is to follow your floor manufacturer’s care guidance for your exact finish system, or contact a flooring pro for a finish-appropriate treatment plan.
Quick checklist (scan before you clean)
| Step | Do this | Avoid |
|---|---|---|
| 1 | Identify/confirm sealed vs. unfinished finish (per labels/manual) | Guessing the finish type |
| 2 | Pre-test in a hidden area | Cleaning the whole room first |
| 3 | Dampen microfiber; clean in small sections | Pouring liquid or soaking |
| 4 | Wipe up loosened residue | Scrubbing with abrasive pads |
| 5 | Rinse as directed, then dry immediately | Leaving any wet film |
– Microfiber on, moisture minimal
– Work in small areas
– Dry fast and thoroughly
Sources:
– U.S. Geological Survey (USGS) — Hardness classification ranges expressed as mg/L as CaCO₃ (used to explain why soap scum increases in hard-water conditions).
– USDA Forest Service, Forest Products Laboratory (Wood Handbook) — Fiber saturation point is roughly 30% moisture content (used to explain why moisture exposure is risky even when finishes are present).
– U.S. Environmental Protection Agency (EPA) — Secondary drinking water pH range of 6.5–8.5 (used as a general reference point for “near-neutral” cleaning targets).
Soap scum comes off best with a hardwood-safe, pH-balanced cleaner, a controlled damp-wipe approach (no flooding), and an immediate rinse-and-dry finish. If your floor manufacturer prohibits certain chemicals or methods (including vinegar or steam), follow those rules first—then fine-tune your rinse and drying steps before you consider stronger interventions. Try the gentlest, most repeatable workflow today, and adjust based on how the microfiber looks after the second wipe.
Frequently Asked Questions
What’s the easiest way to remove soap scum from hardwood floors without damaging the finish?
Start by blotting up any remaining cleaner or moisture with a dry microfiber cloth, then dampen a cloth with warm water and wipe the soap scum area. If residue remains, use a hardwood-safe cleaner or a mild soap scum remover made for sealed floors, applied to the cloth (not directly to the floor) to prevent excess water. Afterward, wipe again with a slightly damp cloth to remove cleaner residue and dry immediately with a clean towel to protect the finish.
How do I get rid of stubborn soap scum on hardwood floors step-by-step?
First, dust or dry-mop the floor so you don’t grind grime into the finish. Next, mix warm water with a small amount of vinegar (or use a commercial soap scum remover) and apply it to a microfiber cloth; gently rub the scummy areas until the residue lifts. Wipe with clean water on a fresh cloth to remove any remaining cleaner, then dry thoroughly with towels and let the area fully air-dry.
Why does soap scum build up on hardwood floors, and what prevents it from coming back?
Soap scum forms when soap-based cleaners and detergents combine with minerals in water, leaving a sticky, cloudy film on the floor surface. To prevent it, avoid using oily or soap-heavy mops and cleaners—choose a pH-neutral hardwood floor cleaner instead. Also, use only lightly damp mopping, change mop pads frequently, and rinse any cleaner residue away so soap doesn’t remain to attract more buildup.
What’s the best cleaner to use for soap scum removal on sealed hardwood floors?
For sealed hardwood floors, the best results usually come from a pH-neutral hardwood floor cleaner or a product specifically labeled for soap scum and safe for sealed wood finishes. Apply the cleaner to a microfiber cloth and work in small sections to limit moisture, then follow with a clean-water wipe to remove leftover residue. Dry immediately to help prevent streaks and protect the wood from water exposure.
Which tools and cleaning methods should I avoid when removing soap scum from hardwood?
Avoid abrasive scrubbers like steel wool, scouring pads, or harsh cleansers that can dull or strip the hardwood finish. Don’t pour cleaner directly onto the floor, and avoid soaking the area—excess water can seep into seams and cause warping. Use microfiber cloths or a soft mop pad, and always dry promptly after cleaning to minimize damage and keep your hardwood floor looking clean.
📅 Last Updated: October 31, 2026 | Topic: How to get soap scum off hardwood floors? | Content verified for accuracy and freshness.
References
- Soap scum
- Hard water
- 404 Error
- https://www.armstrongflooring.com/support/faqs/how-to-clean-hardwood-floors.html
- https://www.bruce.com/support/how-to/how-to-clean-hardwood-floors
- https://scholar.google.com/scholar?q=soap+scum+removal+hardwood+floor Google Scholar
- https://scholar.google.com/scholar?q=hard+water+soap+residue+cleaning+solution Google Scholar
- https://scholar.google.com/scholar?q=wood+floor+cleaning+pH-neutral+residue+vinegar Google Scholar
[…] you can, and the process is usually quick if you use the right cleaner and method. You will need a soft microfiber cloth, pH-neutral floor cleaner (or a manufacturer-approved option), and clean water for rinsing, plus a […]
[…] 5% white vinegar […]
[…] White vinegar (acetic acid) […]