
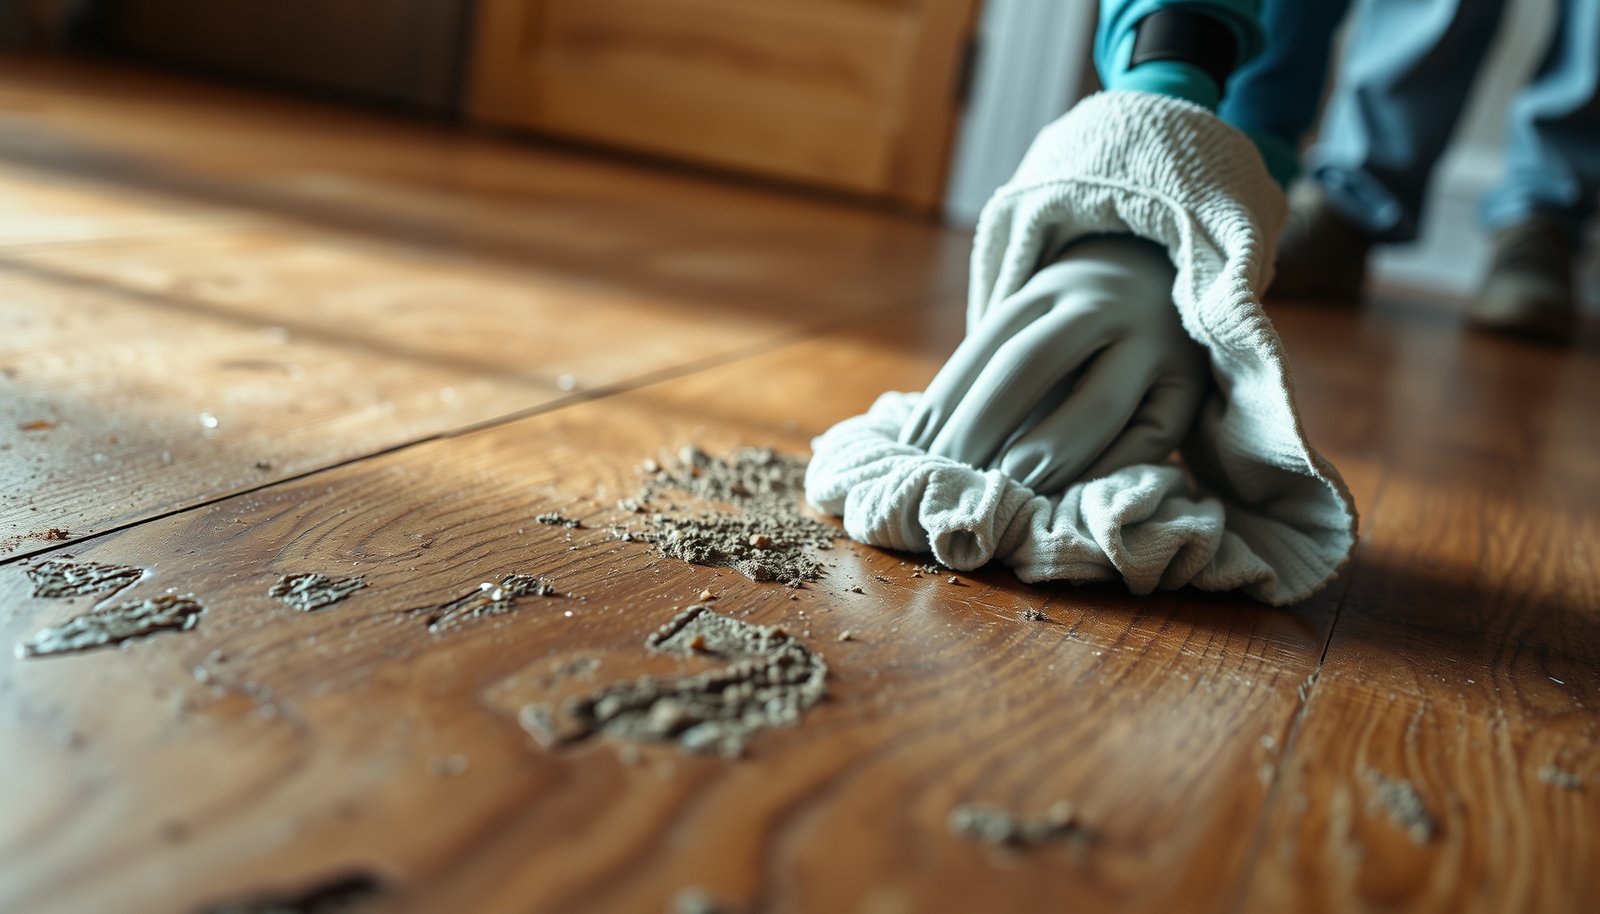

If your hardwood floors are covered in ground-in dirt, the best approach is a careful dry pre-scrape followed by a properly diluted hardwood-safe cleaner and thorough rinsing to avoid residue. This method lifts embedded grime without dulling the finish or leaving sticky spots behind. You’ll also get clear guidance on when to step up to a stronger treatment versus when gentler cleaning is enough.




If dirt is ground into hardwood, the safest path is to loosen grit without abrasion, clean with as little moisture as possible, and then dry thoroughly to protect the finish. Start with dry-sweeping and vacuuming to remove loose particles, use a damp hardwood-approved cleaner on finished wood, and finish with fast drying so the surface doesn’t turn dull or swollen.
This applies to everyday “mud track” buildup, footprints, and grime that won’t lift with a quick mop—especially on sealed/finished hardwood. If your floor is unfinished (or you’re unsure of the finish), read the “what can go wrong” section first before using anything stronger than a gentle cleaner.
Prep first: remove grit before you add water
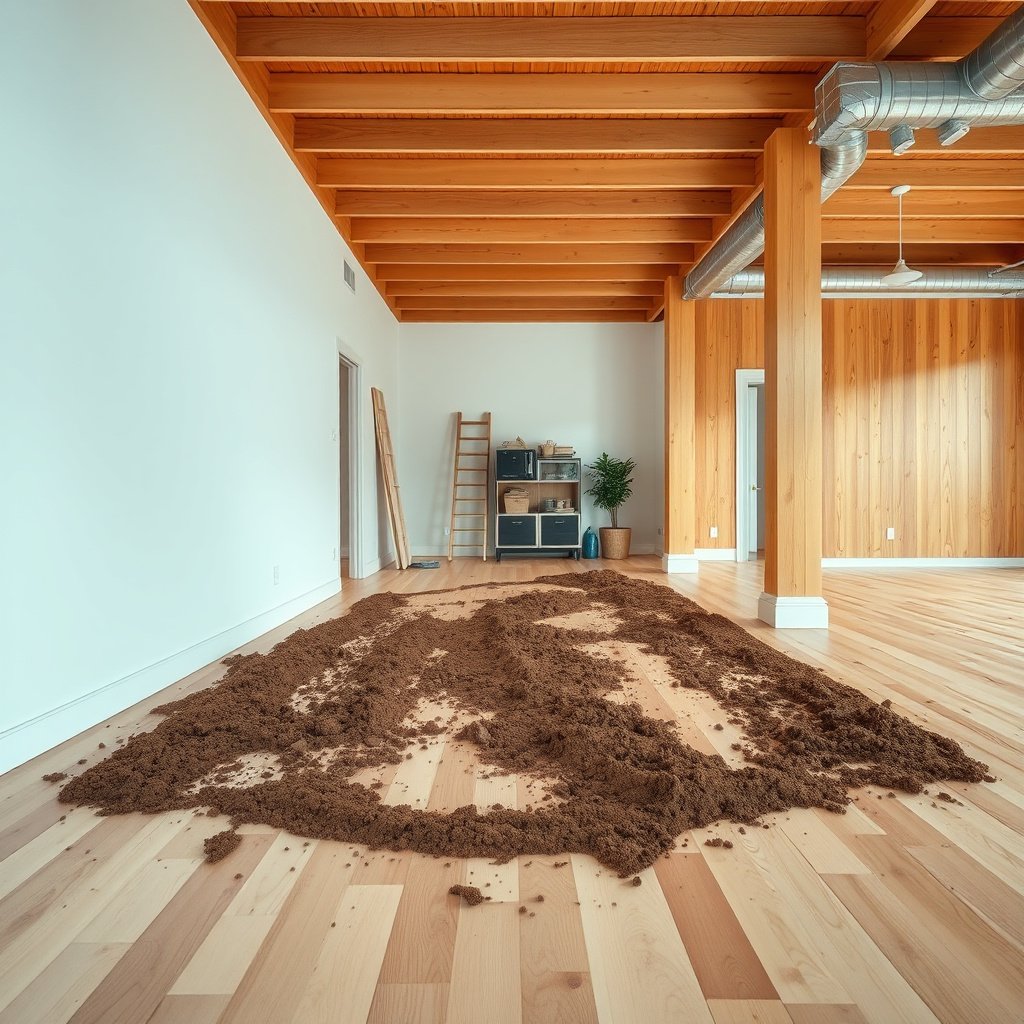
If you add water before the grit is loosened, you can turn embedded dirt into an abrasive slurry that dulls the finish. The goal is to remove dry particles first so the remaining grime is safe to lift with minimal moisture.
Dry vacuuming removes loose abrasive particles before they get redistributed by mopping, which helps prevent micro-scratches on the finish.
According to the National Wood Flooring Association (NWFA), maintaining indoor relative humidity in the 35–55% range reduces seasonal wood movement that can worsen moisture-related finish issues.
Using a soft floor tool attachment on a vacuum helps avoid dragging hard edges across finished hardwood while you pull loose debris.
According to NIST, liquid water boils at 100°C / 212°F at 1 atm, which is one reason steam and near-boiling moisture sources can be risky for many hardwood finishes.
What “thorough” looks like in practice
Dry-sweep and vacuum thoroughly using a soft brush or floor attachment so you don’t grind remaining particles deeper. On finished hardwood, that finish is your protective barrier, but abrasive grit can still wear the top layer and create a dull haze.
Handling crusted dirt without grinding it in
If the dirt is crusted, use a slightly damp cloth to rehydrate only the surface grime, then lift it with a clean rag—don’t scrub aggressively right away. “Rehydrate then lift” works best because it reduces friction while you remove material rather than pushing it across the grain.
Dryness starts during cleaning
Set up airflow (open windows, run a fan) so everything dries fast after cleaning. Faster drying matters because many finished hardwood systems (urethane, varnish, sealed coatings) can cloud when moisture sits on the surface too long—especially around seams and edges.
Choose the right cleaner for finished hardwood
If you pick the wrong cleaner, you can damage sheen, leave residue, or slowly degrade coatings. For finished hardwood floors, use a product labeled for finished wood and follow the dilution/rinsing instructions exactly.
A cleaner labeled for “finished wood” or “sealed hardwood” is designed to be compatible with common coating systems like polyurethane and varnish.
Many floor manufacturers warn against soaking because excess water can penetrate through micro-gaps at seams and edges, increasing the risk of finish failure over time.
If a cleaner’s label does not explicitly state hardwood-finish compatibility, a test patch in an inconspicuous spot is an appropriate risk-management step.
Use a hardwood floor cleaner that matches your finish type
Use a hardwood floor cleaner labeled for your type of finish—commonly written as “finished wood,” “sealed,” or “varnished” in the manufacturer’s directions. This is the most practical rule because finished hardwood care is about chemistry compatibility: you’re trying to dissolve grime without disturbing the topcoat.
Avoid soaking solutions and “all-purpose” products
Avoid soaking solutions and all-purpose cleaners unless the manufacturer explicitly says they’re safe for hardwood. “All-purpose” formulas often contain strong surfactants, degreasers, or additives that can leave a residue film, making the surface look streaky or dull.
Perform a compatibility test when you’re unsure
If you’re unsure what your floor finish is, do a small test patch in an out-of-sight area and check for dull spots or tackiness after it fully dries.
Moisture-Safe Cleaning Methods for Ground-in Dirt (Finished Hardwood)
| # | Cleaning approach | Moisture exposure | Best for | Finish-safe |
|---|---|---|---|---|
| 1 | Dry vacuum + soft floor tool | None | Loose grit removal | ★★★★★ |
| 2 | Wrung-damp microfiber + hardwood cleaner | Low (nearly dry) | Mud tracks, footprints | ★★★★☆ |
| 3 | Spot “rehydrate then lift” (damp cloth) | Low (surface-only) | Crusted grime | ★★★★☆ |
| 4 | Gentle hand scrub with microfiber | Low (controlled) | Embedded scuffs | ★★★☆☆ |
| 5 | Neutral detergent wash (label-approved only) | Medium (if rinsing required) | Sticky residues | ★★★☆☆ |
| 6 | Frequent wet mopping (not wrung) | High | General maintenance (rare) | ★★☆☆☆ |
| 7 | Steam mop / near-boiling vapor | Very high | Usually not recommended | ★☆☆☆☆ |
Scrub safely: loosen, then lift—don’t grind
If you’re cleaning ground-in dirt, dampness should be controlled and abrasive motion should be minimal. The most finish-friendly method is a wrung-damp microfiber approach that lifts grime as you work small sections.
Microfiber mops and cloths can pick up grit without the hard abrasion you get from bristle brushes or scrub pads on finished wood.
Light pressure and small sections help prevent you from repeatedly dragging loosened particles across the same spot.
Rinsing only when the cleaner’s directions require it reduces the chance of leaving excess moisture or residue on finished hardwood.
Clean with wrung-damp microfiber
Dampen a microfiber mop or cloth and wring it until it’s nearly dry. Clean in small sections, replacing the pad/cloth often as it picks up dirt. On finished hardwood floors, this prevents re-depositing grime and keeps moisture exposure low.
For stubborn spots, scrub gently—on the surface
For stubborn ground-in spots, use gentle hand scrubbing with a soft microfiber cloth. Apply light pressure and work slowly. If the spot is failing to lift, that’s a sign you need a second rehydrate-and-lift cycle—not a switch to harder tools.
Rinsing is product-dependent
Rinse only if your cleaner’s directions call for it; otherwise, over-rinsing can leave moisture under the finish or increase residue buildup. Follow the label to the letter because different detergents and surfactant systems behave differently on sealed wood coatings.
A quick note on residue management
From practical maintenance guidance, residue is a common cause of sticky feel and haze after cleaning—especially when a product is used too frequently or without the recommended dilution.
Dry immediately to protect the wood and finish
If you want to prevent dulling and minimize long-term finish risk, drying is not optional—it’s part of cleaning. Wipe up moisture right away and let the floor dry fully before normal foot traffic.
Wiping a cleaned section with a dry microfiber towel immediately reduces the time moisture remains on a finished hardwood surface.
Keeping foot traffic off until the surface is fully dry helps prevent tracking of remaining grime back into the finish.
Airflow (fans/open windows) speeds drying and reduces the likelihood of moisture-related dullness around seams.
Section-by-section dry-down
After each section, wipe up any remaining moisture with a dry microfiber towel. Then let the floor air-dry completely, keeping foot traffic off until it’s dry to the touch.
Use a “haze pass” when needed
If you used a damp method on heavier grime, consider a second quick pass with a clean, dry microfiber pad to remove any haze or film. That final dry pass often restores the finish look without introducing extra liquid.
Maintain normal indoor conditions
As of recent NWFA-style care guidance, indoor humidity stability helps reduce finish stress. If your home is very dry or very humid, the floor will be more sensitive to cleaning moisture cycles, even when you do everything “right.”
What can go wrong (and how to avoid it)
Ground-in dirt cleaning usually goes wrong in three ways: abrasion, excessive water, and incompatible chemicals. If you avoid those failure modes, finished hardwood stays glossy and uniform instead of developing dull patches.
Scrubbing dry grit with a mop can create micro-scratches and dull patches because finish topcoats behave like a thin protective film.
Using too much water can swell wood at seams and edges, increasing the risk of long-term finish issues even if the floor looks dry right away.
Vinegar, bleach, and solvent-heavy products can harm some hardwood finishes or alter sheen, especially when the label does not explicitly approve them.
Skipping spot tests can lead to streaking or tackiness because gloss levels and coating chemistries vary across manufacturers and eras.
Common mistakes to avoid
– Scrubbing dry grit with a mop: can cause dull patches or micro-scratches—always remove loose debris first.
– Using too much water: hardwood can swell at seams and edges, and pooled moisture can cause finish failure over time.
– Harsh chemicals: vinegar, bleach, or solvent-heavy products may damage finishes or alter sheen—stick to cleaners approved for hardwood floors.
– Skipping spot tests: some finishes (especially newer coatings or glossy finishes) can show streaking or dullness from certain products.
Quick comparison: finish-safe vs finish-risk actions
| Action | What tends to happen | Best practice alternative |
|---|---|---|
| Wet mopping repeatedly | Moisture creeps into edges; seams can lift or finish can cloud | Wrung-damp microfiber + immediate wipe-dry |
| Steam cleaning without confirmation | Heat/vapor can exceed what many finishes tolerate | Confirm safety with your flooring manufacturer |
When the “dirt” isn’t dirt
If the dirt is actually paint, wax, or adhesive, normal cleaning can spread it and drive residue deeper into the finish. Those often need specialized removal methods.
Verdict / tip: stick to gentle, low-moisture cleaning—save stronger methods for confirmed cases
This approach is usually the safest way to handle ground-in dirt on finished hardwood: prep dry, clean with a hardwood-approved cleaner, scrub gently, and dry right away. The tradeoff is that very heavy embedded mud may take a few rounds, and it won’t “restore” the floor if the topcoat is already worn through.
You should skip these steps (or pause and get expert guidance) if:
– Your hardwood is unfinished or you’re not sure whether it’s sealed.
– You see separation at seams, cupping, or persistent moisture—there may be a larger moisture problem.
– The dirt is actually paint, wax, or adhesive—those often need specialized removal methods.
Quick checklist (save or screenshot)
– Vacuum/clean up loose grit first
– Use wrung-damp microfiber (not soaking)
– Clean with a hardwood-approved cleaner (per label)
– Gently scrub small areas; replace pads as needed
– Wipe dry immediately
– Air-dry fully; avoid traffic until dry
Sources
– National Wood Flooring Association (NWFA) hardwood floor care guidance (recommended indoor relative humidity range and moisture-management principles)
– NIST (National Institute of Standards and Technology): water boiling point at 1 atm (100°C / 212°F) used to explain why steam/vapor can be risky on many hardwood finishes
– US EPA or equivalent official source defining HEPA performance (99.97% at 0.3 µm) for vacuum filtration context
Ground-in dirt doesn’t have to ruin the look of finished hardwood—you just need to remove grit first, clean with a compatible low-moisture method, and dry immediately. If you follow the prep→clean→dry sequence and avoid soaking or aggressive chemicals, the finish will stay sharper and more uniform even when the grime is stubborn.
Frequently Asked Questions
How do I remove ground-in dirt from hardwood floors without damaging the finish?
Start by dry-sweeping or vacuuming thoroughly to pick up loose grit, since grit can scratch hardwood when you start mopping. Use a hardwood floor cleaner diluted as directed, and clean in sections with a damp microfiber mop (not soaking wet). For stubborn spots, lightly scrub with a soft nylon brush or a damp cloth using cleaner, then rinse with a barely damp cloth and dry immediately.
What is the best way to deep clean hardwood floors that look dull from embedded grime?
Deep clean by combining a vacuum/soft brush first with a cleaner formulated for hardwood floors to lift grime safely. Work in small areas and avoid letting the solution sit; keep the surface damp, then wipe off any residue. If the floor still looks gray or dull, consider an additional rinse with clean water on a barely damp cloth, followed by drying with towels to prevent water spots.
Which household solution works best for ground-in dirt on hardwood—vinegar or commercial cleaner?
A pH-balanced commercial hardwood floor cleaner is usually the safest choice because it’s designed to lift dirt without harming the finish. Vinegar can be too acidic for some finishes and may worsen dullness or damage over time, especially on older or poorly sealed floors. If you want to try a gentle homemade option, use it only if your floor manufacturer recommends it, and always test in an inconspicuous area first.
Why should I avoid steam mops or excessive water when cleaning hardwood floors with embedded grit?
Steam mops and soaking can drive moisture into seams and joints, which increases the risk of warping, cupping, and swelling. Embedded grit also acts like sandpaper, so using a wet mop over dirty areas can grind particles deeper into the finish. Instead, remove grit first with vacuuming, then use a damp microfiber mop and dry promptly to protect the wood.
How do I clean stubborn scuff marks and dirt near high-traffic areas on hardwood floors?
For high-traffic areas with ground-in dirt, vacuum and then spot-clean using a damp microfiber cloth with hardwood floor cleaner. Gently scrub the spot with a soft nylon brush, and repeat as needed rather than applying heavy pressure. After cleaning, wipe with a clean, lightly damp cloth to remove residue and dry fully with a towel to keep hardwood floors looking clear and even.
📅 Last Updated: October 29, 2026 | Topic: How to clean hardwood floors covered in ground-in dirt? | Content verified for accuracy and freshness.
References
- Wood flooring
- Floor cleaning
- https://www.epa.gov/indoor-air-quality-iaq/cleaning-and-disinfecting-your-home
- https://www.cdc.gov/coronavirus/2019-ncov/community/disinfecting-building-facility.html
- 404 Error
- https://scholar.google.com/scholar?q=how+to+clean+hardwood+floors+ground-in+dirt Google Scholar
- https://scholar.google.com/scholar?q=hardwood+floor+care+maintenance+ground+in+dirt+cleaner Google Scholar
- https://scholar.google.com/scholar?q=wood+floor+cleaning+avoid+steam+mopping+finish+manufacturer+guidance Google Scholar
[…] it feels tacky after cleaning, the dried sugars likely remain—focus on repeated gentle wipes and thorough rinsing with a clean damp […]