
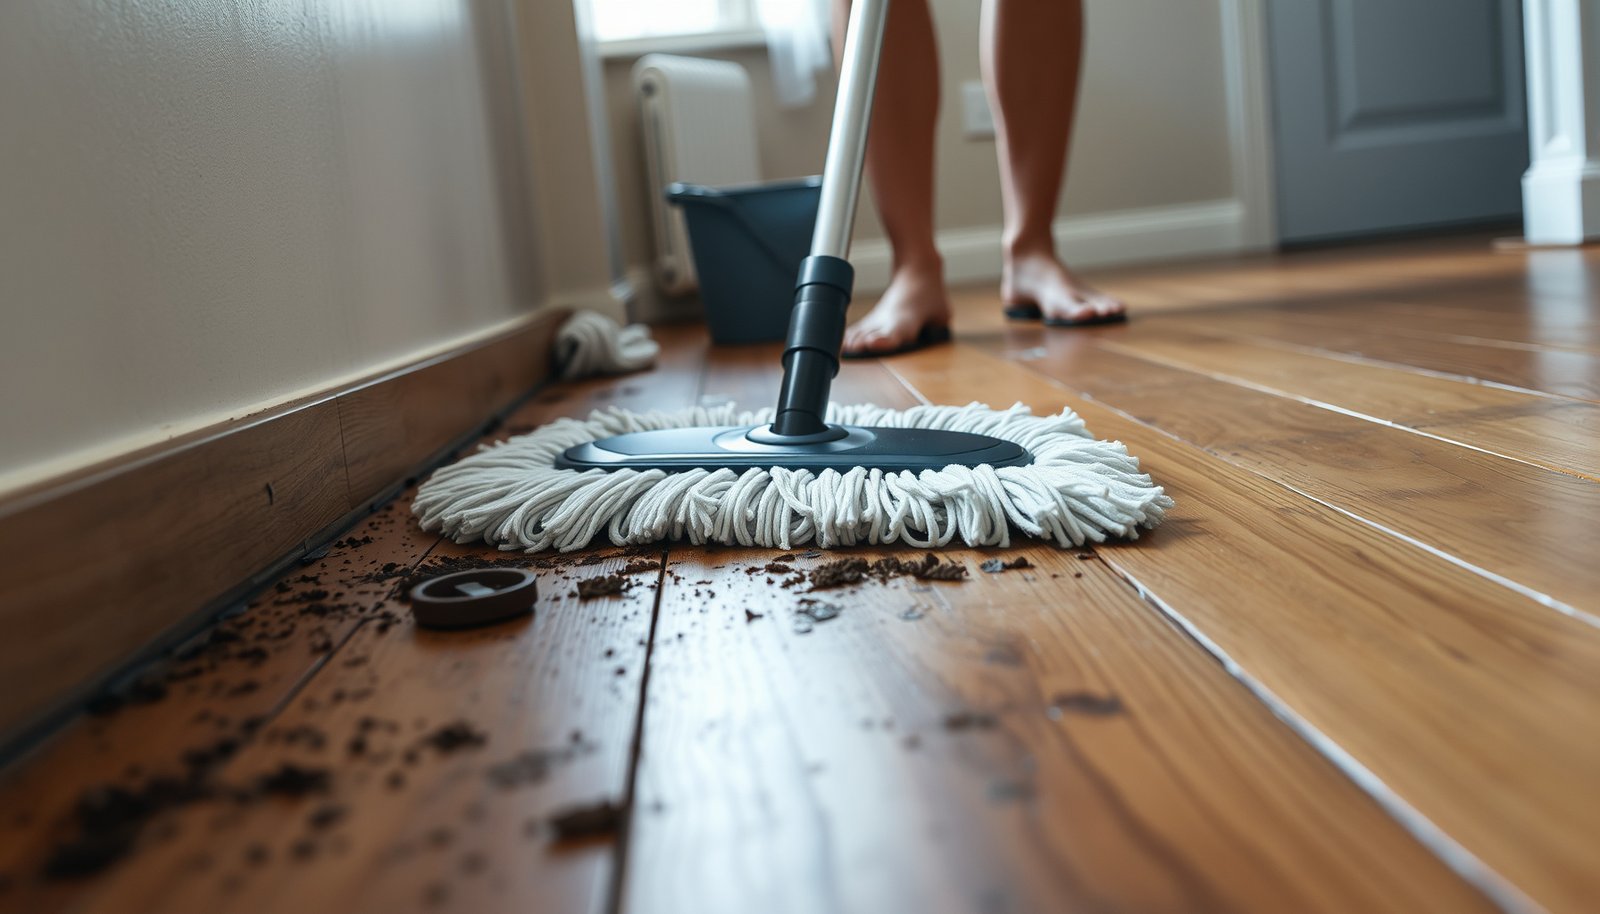

You can clean heavy dirt from hardwood floors without damaging them—if you use the right dry-to-wet cleaning order and the correct cleaner. This guide tells you exactly how to remove ground-in grime, lift particles safely, and avoid the sanding, scratches, and water damage that ruin finished wood. By the end, you’ll know the fastest method for your level of dirt and the specific products to use.




Yes—clean heavy dirt on hardwood floors by removing grit dry first, then using the least moisture possible with a damp microfiber mop and a hardwood-safe cleaner. For stubborn spots, spot-scrub with cleaner applied to the cloth (not the floor) and wipe dry immediately to protect the finish and prevent wood swelling.
This guide is for homeowners who need to remove stuck-on mud, dust buildup, or grime that’s turned dull over time—especially when the floor finish looks dirty but normal mopping hasn’t helped.
Gather the right supplies (so you don’t grind dirt in)

The fastest way to avoid damaging hardwood floors is to gather the right tools before you touch the surface—because the wrong brush or pad can grind particles into the finish. Your goal is simple: lift grit, then remove it with minimal moisture and a finish-safe product.
“On finished hardwood, abrasive tools increase the chance of micro-scratches that make future dirt look ‘ground in’.”
“Applying cleaner to a cloth instead of directly to hardwood floors helps control moisture and reduces residue.”
If you’re planning to clean heavy dirt from hardwood floors, think in three categories: dry removal tools, controlled-wet cleaning tools, and residue-control materials. In my experience, the biggest improvement comes from changing pads frequently so you never drag lifted grit back across hardwood floors—if you can’t change pads easily, you’ll need more passes and more wetting.
What to grab (and what to avoid)
– Use a soft-bristle broom or microfiber dust mop plus a vacuum with a floor brush (avoid beater bars).
– Have microfiber pads/clothes ready, and use a hardwood floor cleaner labeled safe for your finish (polyurethane, sealed, or other—check the label).
For hardwood floors with polyurethane or sealed finishes, your safest approach is a cleaner that’s explicitly labeled for “finished/sealed hardwood” and used according to the label’s dilution and dwell (wait) time. If the label is silent about your specific finish, don’t guess—wood floors vary widely (polyurethane, aluminum oxide, penetrating oil, or wax finishes all behave differently under moisture).
Remove loose grit first (dry methods prevent scratches)
You should always dry-remove before any damp cleaning when you’re dealing with heavy dirt on hardwood floors—otherwise you turn loose grit into sandpaper. Sweep and vacuum thoroughly, then re-check so you don’t trap particles under the microfiber mop.
“Vacuuming before wet cleaning reduces abrasive debris that can scratch hardwood finishes.”
“Edges and under furniture are the highest-risk areas for grit buildup because they’re less frequently cleaned.”
When hardwood floors look dull, that dullness is often not the finish itself—it’s a layer of fine dust mixed with grit from traffic. Dry removal is the critical first step because water can mobilize that grit, and the microfiber pad can then spread it across the finish.
Also, dry removal reduces how much cleaner you’ll need later, which matters for hardwood floors where some products can leave film if overused.
How to dry-clean correctly
– Sweep or dust-mop thoroughly, paying attention to edges and high-traffic paths.
– Vacuum with care, focusing on corners and where dirt collects under furniture—then re-check before you add any moisture.
Practical detail: run the vacuum slowly enough to pick up fine debris, but don’t push debris deeper with the hose. If your vacuum has adjustable suction or height, set it so you’re cleaning the floor surface—not digging into it. For hardwood floors, avoid beater bars because rotating bristles can create visible hairline marks that catch dirt later.
Clean heavy dirt with controlled moisture (not soaking)
You can clean heavy dirt on hardwood floors safely by using controlled moisture—your microfiber mop should be damp, not wet. This method lifts soil without letting water sit at seams, edges, or around finish wear points.
“Wood swells as moisture content increases; keeping moisture exposure low helps prevent edge lifting and seam problems on hardwood floors.”
“A damp microfiber pad is usually preferred over soaking because it limits water transfer into joints.”
Here’s why “damp, not wet” matters for hardwood floors: wood movement and finish clouding are both driven by excess water. According to the Forest Products Laboratory’s *Wood Handbook*, wood reaches fiber saturation at roughly ~30% moisture content, and moisture changes below that level still cause dimensional movement (2010). Forest Products Laboratory, *Wood Handbook: Wood as an Engineering Material* (2010)
You don’t need to hit fiber saturation to see trouble—small amounts of repeated over-wetting near seams can still create cupping, swelling, or finish whitening depending on your finish system. That’s why the damp approach is the “least-wet” strategy that stays within manufacturer intent for most sealed hardwood floors.
Controlled-mop method that protects hardwood floors
– Lightly dampen a microfiber mop/pad (it should feel damp, not wet) and clean in small sections.
– Work with the grain, and change pads when they pick up grime so you’re not re-spreading dirt.
Work in sections: Think 2–4 square feet at a time. After each section, check the pad: if it turns gray-brown, swap it. Re-dragging that dirty pad over hardwood floors is the most common reason DIY mopping fails on heavy dirt—it isn’t enough cleaning; it’s dirt redistribution.
Quick comparison: where damage usually comes from
| Method | What it does well | Main risk to hardwood floors |
|---|---|---|
| Damp microfiber + hardwood-safe cleaner | Controls moisture while lifting soil | Over-wetting if pad is too wet or sections are too large |
| Soaking / puddling cleaner | Fast breakdown of some residues | Water migration into seams can swell wood and cloud finishes |
| Abrasive pads / stiff scrub brushes | Breaks grime quickly | Micro-scratches that trap dirt and dull the finish |
Spot-scrub stubborn grime safely
For stuck-on spots on hardwood floors, apply cleaner to the cloth and gently work with the grain—then wipe and dry. This targeted technique removes grime without flooding the floor or enlarging the affected area.
“Directing cleaner onto a microfiber cloth improves control and reduces the chance of excess liquid soaking into hardwood seams.”
“Gentle, repeated spot cleaning is safer than aggressive scrubbing that can damage polyurethane or film finishes.”
When mud dries on hardwood floors, it often forms a thin, crusted layer that won’t lift with a single damp pass. Your objective is to soften that layer briefly, lift it, and remove any remaining cleaner residue—because residue can make the floor look dirty even after “cleaning.”
A key moisture reminder: indoor humidity still influences hardwood floors. According to U.S. EPA guidance, indoor relative humidity should generally be kept between about 30% and 60% to help control mold risk (EPA mold guidance, 2008). U.S. EPA, *Mold Remediation in Schools and Commercial Buildings* (2008) While that statistic is about mold, it matters for hardwood floors because moisture imbalance also accelerates wood movement and finish stress.
The spot-scrub workflow
– For stuck-on spots, apply a small amount of hardwood-safe cleaner to a microfiber cloth (not directly onto the floor) and gently rub.
– Let the cleaner sit briefly for softening, then wipe clean with a damp cloth followed by a dry microfiber to remove residue.
Dwell time: Don’t guess. Use the label’s instruction for how long to leave the cleaner before wiping. If you don’t have instructions, use a very short dwell (just enough to soften) and immediately wipe—hardwood floors hate “left-on” chemistry.
Avoid chasing the spot: If you keep scrubbing outward, you can create a larger cleaned patch with different finish sheen. Stay within the original stained area and blend by wiping lightly, not by adding more cleaner.
Dirt components that drive scratch risk (and why dry removal matters)
Before wet cleaning, remember that heavy dirt often includes hard mineral particles that behave like abrasives. The table below links common debris components to Mohs hardness and shows a “Finish-friendly score” (higher = safer for finishes) using this simple index: Finish-friendly score = ((7.0 − Mohs) / 6.0) × 100, where 7.0 approximates quartz hardness.
Common Abrasive Components in Floor Dirt: Hardness & Finish-Friendly Score
| # | Debris Component | Typical Source on Hardwood | Mohs Hardness | Finish-Safety | Finish-Friendly Score |
|---|---|---|---|---|---|
| 1 | Quartz | Sand/road grit in tracked mud | 7.0 | ★★☆☆☆ | 0 |
| 2 | Feldspar | Soil dust & construction track-in | 6.0 | ★★★☆☆ | 17 |
| 3 | Magnetite | Iron-rich dust in outdoor soils | 5.5 | ★★★☆☆ | 25 |
| 4 | Calcite | Limestone dust & tracked debris | 3.0 | ★★★★☆ | 67 |
| 5 | Gypsum | Drywall/soil dust particles | 2.0 | ★★★★★ | 83 |
| 6 | Talc | Very fine dust; low abrasiveness | 1.0 | ★★★★★ | 100 |
| 7 | Soft organic soil matter | Leaf litter & soil humus | 1.0 | ★★★★★ | 100 |
What can go wrong (and why your floor keeps looking dirty)
If your hardwood floors keep looking dirty after cleaning, it’s usually because moisture was excessive, tools were abrasive, or residue was left behind. Fix the process by tightening control: less water, finish-safe chemistry, and thorough wipe-dry after spot cleaning.
“Repeated wet mopping can dull film finishes and leave cloudy residue even when visible dirt is gone.”
“Micro-scratches from stiff tools collect dust, making hardwood floors appear darker between cleanings.”
The three most common failure points
– Soaking or over-wetting: hardwood can swell at seams and edges, and finishes can turn cloudy if too much cleaner is left behind.
– Using the wrong tools: abrasive scrub pads, stiff brushes, or vacuum beater bars can leave visible scratches that catch dirt faster.
– Leaving residue: some “everyday” cleaners leave a film, making heavy dirt harder to remove next time.
Here’s how this shows up in real life: you mop, the heavy mud is gone, but the hardwood floors look grayish or “hazy.” That often means either (1) residue is on the surface, or (2) the microfiber pad re-deposited fine grit. Either way, another round that adds more water usually worsens the look.
A safer decision rule for hardwood floors
When in doubt, switch from “more product” to “more control.” Use smaller sections, wring microfiber so it’s damp only, and wipe dry after spot-cleaning. If your spot-cleaner label allows it, finish by buffing with a dry microfiber pad.
Verdict / tip (best path, downsides, and who should skip this)
This method is usually the safest DIY route for heavy dirt on hardwood floors because it combines dry grit removal with minimal moisture and finish-safe cleaners. The downside is that deeply embedded grime (or scratches) may still need a specialized product or refinishing.
“A low-moisture, dry-first workflow reduces the likelihood of finish wear and wood movement on hardwood floors.”
“If residue remains after spot cleaning, the floor can look dirty even when grime is removed—wiping and drying are essential.”
When it works best: stuck-on mud, dust buildup, and general dullness from traffic on sealed hardwood floors. It’s also ideal if you don’t know exactly what finish you have—because “damp microfiber + hardwood-safe cleaner” is closer to universal manufacturer guidance than steam or harsh chemicals.
Downside / limits: If the dirt is embedded in the finish, or if previous cleaning already caused micro-scratches, your hardwood floors may not return to their original sheen with cleaning alone. In those cases, professional assessment (and sometimes screening/recoating) may be the only real fix.
Who should skip DIY: Skip this approach and consult a pro if you see peeling finish, significant cupping/warping, water damage near seams, or if you’re unsure whether your hardwood floors are sealed/finished vs. unsealed (penetrating oil/wax systems often require different chemistry).
Quick checklist: Heavy dirt removal steps
Use this checklist to keep hardwood floors protected while you lift heavy dirt, grit, and grime. If you follow the order every time—dry removal first, damp cleaning second, spot-scrub last—you reduce scratching and residue problems.
“Dry removal first prevents abrasive particles from turning into scratches during mopping.”
“Cleaner on a cloth plus wipe-dry helps prevent cloudy residue on hardwood floors.”
– [ ] Dry remove: sweep/dust-mop + vacuum thoroughly
– [ ] Mop lightly: damp microfiber + hardwood-safe cleaner
– [ ] Spot treat: cleaner on cloth, gentle scrub with grain
– [ ] Wipe and dry: remove cleaner residue and finish with dry microfiber
– [ ] Repeat only as needed (don’t keep adding water)
Sources:
– Forest Products Laboratory, Wood Handbook: Wood as an Engineering Material (2010) — fiber saturation and moisture behavior in wood.
– U.S. EPA, Mold Remediation in Schools and Commercial Buildings (2008) — indoor humidity guidance relevant to moisture-sensitive building materials.
With heavy dirt, the protection strategy for hardwood floors is consistent: dry-remove grit first, then clean with the least moisture possible using a damp microfiber mop and a finish-safe cleaner, finishing with wipe-dry. Spot-scrub only as needed, control cleaner placement on the cloth, and stop if you see finish failure or structural moisture damage—at that point, professional assessment is the responsible next step.
Frequently Asked Questions
How do I remove heavy dirt from hardwood floors without damaging the finish?
Start by dry-cleaning first: use a vacuum with a soft floor brush or a microfiber dust mop to lift grit and loose debris. For remaining heavy dirt, dampen a microfiber mop with clean water and wipe in the direction of the wood grain, then immediately dry with a clean towel. Avoid soaking the floor or using harsh cleaners, because standing moisture and strong chemicals can dull or strip hardwood floor finishes.
What’s the best way to clean mud or caked grime from hardwood flooring?
Let wet mud dry completely, then gently scrape it with a plastic scraper or a soft putty knife to avoid gouging the wood. After loosening the residue, vacuum thoroughly and spot-clean the area with a hardwood floor cleaner mixed according to the label instructions. Finish by rinsing with a lightly damp microfiber cloth (if the product recommends it) and drying right away to prevent water rings.
Which cleaning products are safe for hardwood floors when removing ground-in dirt?
Choose pH-neutral, “no wax” hardwood floor cleaners designed for sealed floors, and always follow the manufacturer’s dilution and contact time. If you’re dealing with greasy or oily dirt, use a product specifically formulated for wood floors rather than degreasers or ammonia-based cleaners. Avoid steam mops, abrasive scrubbers, and anything labeled for tile/grout unless it’s explicitly safe for hardwood finishes.
How can I deep clean hardwood floors that have embedded dirt in high-traffic areas?
Begin with a thorough vacuum and a dry microfiber dusting to remove loose grit, which can act like sand when mopping. Then use a slightly damp microfiber mop with a hardwood floor cleaner, working in small sections and frequently rinsing the pad to keep grime from spreading. For stubborn spots, do targeted spot cleaning with a soft cloth and gentle pressure, then dry immediately—this helps prevent dulling and water damage.
Why should I avoid soaking hardwood floors, even when dirt is very heavy?
Hardwood floors can warp, swell, or develop cloudiness when moisture penetrates seams, joints, or damaged finish areas. Soaking also makes dirt harder to remove because grime re-dissolves and spreads across the surface. Use minimal moisture—damp mopping, quick drying, and proper hardwood floor cleaning techniques—so you lift heavy dirt without compromising the finish.
📅 Last Updated: October 29, 2026 | Topic: How to clean heavy dirt from hardwood floors? | Content verified for accuracy and freshness.
References
- https://www.epa.gov/indoor-air-quality-iaq/cleaning-your-home
- Wood flooring
- Floor cleaning
- Microfiber
- https://www.cdc.gov/mold/default.htm
- 404 Error
- https://scholar.google.com/scholar?q=hardwood+floor+cleaning+dirt+removal Google Scholar
- https://scholar.google.com/scholar?q=wood+floor+care+cleaning+methods+mopping+microfiber Google Scholar
- https://scholar.google.com/scholar?q=hardwood+floor+cleaning+abrasion+finish+protection Google Scholar


