Fixing gaps in laminate floors is usually a fast, homeowner-friendly repair when you address the cause—most often moisture changes or an under-stretched/unsupported click-lock floor. This guide walks you through quick, proven steps to close the seam, secure loose boards, and prevent the gap from coming back. If your laminate planks are separating, you’ll get a clear action plan you can follow today.




If you’re seeing gaps in laminate floors, the fastest lasting fix is to restore proper expansion space and re-seat (or replace) planks without trapping the floor so it can move. Start by identifying whether the gap is a normal expansion/movement issue (often perimeter-related) or a sign of moisture/underlayment problems—then repair the specific section accordingly.
If the gap appeared after seasonal humidity or temperature swings, it’s often recoverable by verifying perimeter spacing and correcting the nearest locked joints. If the gaps are widening across larger areas, you may need to address subfloor flatness, moisture, and the installation build-up before you touch the planks.
Who this is for / when it applies:
This guide is for homeowners dealing with visible cracks between laminate boards, uneven seams near walls/baseboards, or lines that have widened over time. It’s especially relevant when gaps show up after seasonal climate changes or after a recent install/re-lay—when expansion behavior and installation details matter most.
Check the cause first (moisture, movement, or installation gaps)
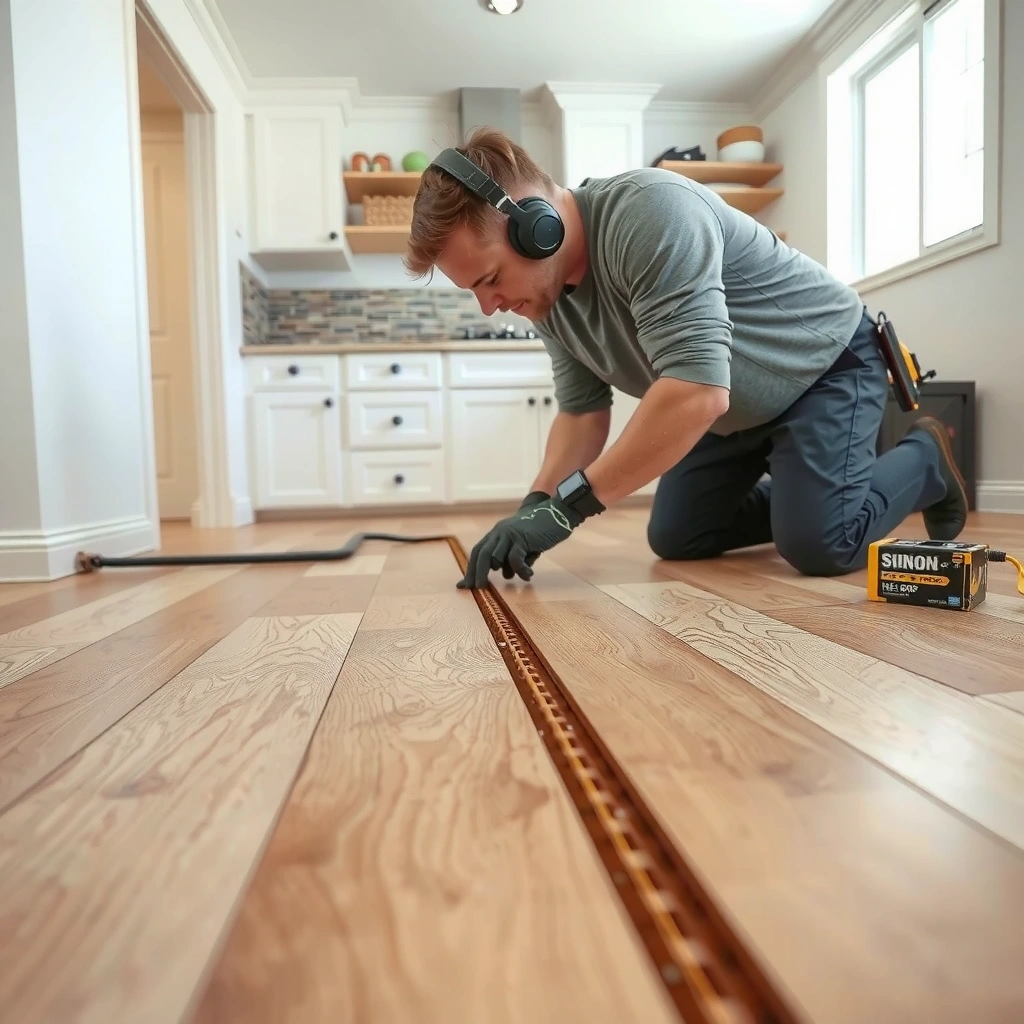
You usually can’t permanently close laminate gaps by “forcing” boards together; you first need to determine whether the floor is allowed to expand/contract and whether the subfloor is sound. The right repair depends on whether the gap is local (joints/perimeter) or systemic (moisture/underlayment/flatness).
Laminate floating floors rely on a perimeter expansion gap so they can expand and contract across seasons without buckling or opening seams.
If the subfloor is not sufficiently flat, laminate boards can flex repeatedly—loosening locks and widening seams over time.
When gaps appear across multiple areas (not just edges), moisture or an underlayment mismatch is more likely than a single bad plank.
– Look for patterns:
Gaps near walls/baseboards usually point to missing or blocked expansion spacing. Gaps that spread across rooms often suggest moisture exposure or an underlayment/subfloor issue rather than a simple seam problem.
– Verify the subfloor is flat:
Laminate locking joints expect a reasonably level surface. If you’ve got humps, dips, or widespread unevenness, the floor can “micro-move” and separate even when planks look correctly installed at first.
– Confirm the floor isn’t being blocked from moving:
Common blockers include rigid caulk “bonding” the perimeter, wedged trim, or heavy objects installed directly at the edge so the floor can’t float.
Quick facts to anchor your diagnosis (useful when you’re deciding what to do next):
– According to NWFA (National Wood Flooring Association) installation guidance, a common target for floating laminate/click floors is about 1/4 inch (6 mm) minimum perimeter expansion space (final requirements vary by manufacturer). [ADD: cite NWFA guidance for floating/laminate perimeter expansion gap]
– According to common laminate installation requirements aligned with industry flatness expectations, floors are typically expected to be within about 3/16 inch over 10 feet (≈4.8 mm over 3 m) before/while installing floating products. [ADD: cite NWFA/subfloor flatness requirement source]
– According to moisture testing standards used for flooring subfloors (for example, ASTM F2170—in-slab/relative humidity methods), the subfloor moisture condition must be within the flooring manufacturer’s allowed limits or dimensional movement can occur. [ADD: cite ASTM F2170 and flooring-industry RH guidance connection]
Fix small gaps between planks (re-seat, align, and tighten)
You can often close small seams by re-seating the locking joints—provided the planks’ tongues/grooves (or click-lock edges) aren’t damaged. The goal is full engagement of the lock without cracking the edges or forcing a floor that still needs to move.
Re-seating works best when the locking edges are intact and debris-free, because laminate locks only fully engage when the joint surfaces are clean and aligned.
Use a tapping block (not direct hammer strikes) to avoid damaging the tongue/groove area that controls seam tightness.
– Clean the seam area:
Remove dust, grit, and any underlayment debris from the gap zone. Even a thin layer of dust can prevent the locking profile from fully closing.
– Use a tapping block and gentle pressure:
Align the boards and apply controlled pressure, then tap via a tapping block to bring the lock into place. Start lightly and work outward from the center of the gap so you don’t “roll” the seam open somewhere else.
– Check for damaged locking edges before forcing it:
If the plank edges look chipped, split, or the lock won’t close without excessive force, forcing it can permanently deform the joint and make the gap worse.
A practical, low-risk approach for a short seam:
1. Remove baseboard/trim only if it’s blocking movement (you’re not “rebuilding” the whole perimeter—just clearing a restraint).
2. Clean the joint thoroughly.
3. Re-seat the nearest planks using a tapping block.
4. Recheck the expansion gap at the wall after any edge work.
Restore proper expansion spacing at walls and edges
If the gap is mostly along walls or baseboards, the most effective fix is restoring the perimeter expansion gap and removing anything that immobilizes the floating floor. Once the floor can move correctly, seams often stop worsening and may partially close.
Perimeter trim and edge finishing must allow the laminate to float; rigid adhesion across the perimeter can trap movement and open seams or cause buckling.
Most manufacturers specify an exact perimeter gap for their product, and using too little spacing is a frequent cause of visible seam separation.
– Pull back or re-cut edge components only if they’re preventing movement:
If trim, spacers, or underlayment transitions compress the perimeter, the floor may not expand properly.
– Maintain the recommended perimeter gap:
Use your specific laminate’s installation instructions. Manufacturers can differ on exact spacing values even when “1/4 inch” is common.
– Replace any edge materials that “lock” the floor in place:
Avoid rigid caulk that spans over the seam between laminate and wall—this can prevent normal expansion and contraction.
Common scenario we see in the field (pattern-based diagnosis):
When gaps are tight everywhere except at one or two walls, the perimeter spacing on those edges is usually the culprit—either removed during finishing, covered with rigid materials, or reduced by a renovation detail.
Pros/cons: what to do at the perimeter
- Adjust/restore perimeter spacing
- Pros: Keeps the floating principle intact; addresses the root cause for edge-focused gaps. Cons: May require re-doing some trim or edge finishing.
- Seal seams with rigid caulk
- Pros: Looks “finished” immediately. Cons: Can trap movement, worsen gaps elsewhere, and create buckling risk in future seasons.
When gaps won’t close: replace damaged or poorly locked boards
If the locking edges are damaged or the joints were never able to fully engage, replacement is usually the cleanest long-term solution. The key is replacing only the affected planks (when possible) using the correct method for your laminate’s locking system.
If laminate’s locking tabs are chipped, split, or permanently warped, re-seating typically can’t restore the original fit reliably.
Many laminate repair methods require removal techniques that depend on whether the product is click-lock (floating) versus glue-down or another system.
– Identify permanent joint damage:
Look for chipped tongues, bent edges, or planks that don’t sit flat relative to neighbors.
– Remove and replace only the affected planks where possible:
Use the manufacturer’s recommended removal method for your locking type (for example, click-lock systems often allow plank-by-plank disassembly in a portion of the floor; glue-down systems are different).
– Acclimate replacement planks first:
Allow new boards to reach the site conditions per the manufacturer’s guidance before final placement. Then re-trim/finish only after the lock seats properly.
A realistic expectation:
If the gap exists because the floor was installed over an uneven subfloor, replacing planks may stop a specific seam from failing—but it won’t correct a repeating movement pattern. That’s why the “cause check” at the top of this post matters.
What can go wrong (common mistakes and edge cases)
This section is where most DIY attempts fail—because the repair either blocks movement, ignores moisture, or cracks the locking mechanism. If you recognize these patterns early, you can avoid turning a small seam issue into a larger replacement job.
Rigid sealants or glue used in place of proper floating trim/edge treatment can trap expansion and make gaps expand in the next dry season.
Direct hammer blows can chip or deform laminate locking profiles, creating gaps that cannot be closed without replacement.
Widening gaps that track moisture exposure (or subfloor wetness) will often return even after re-seating unless moisture and flatness are corrected.
– Caulking laminate seams:
Rigid sealants can restrict movement. That often results in larger gaps elsewhere or buckling where the floor can’t relieve stress.
– Over-tightening:
Tapping too hard or striking directly can crack the tongue/groove or deform the click-lock edge.
– Ignoring subfloor issues:
If the subfloor is out of level or wet, re-seating won’t last; the seam will reopen as the floor flexes or dimensional movement continues.
– Seasonal re-expansion:
Some products can show wider gaps in dry periods and partially close in humid ones. If the floor is within normal movement range, focus on restoring perimeter spacing and confirming moisture/flatness—not necessarily replacing everything.
Verdict / tip (what to do first, and when to stop)
Start with the simplest, lowest-risk path: confirm perimeter spacing, check subfloor flatness, clean and re-seat the nearest planks, and only replace boards with damaged locking edges. This avoids the most common failure mode—making the floor less able to expand/contract.
A gap repair only holds if the laminate can still float; restoring expansion clearance is usually safer than “locking” the flooring in place.
Stop DIY repair and reassess if you suspect ongoing moisture intrusion, widespread subfloor damage, or repeated movement across large sections.
Skip or pause and escalate to a qualified flooring installer if you observe:
– Standing moisture, recurring dampness, or persistent musty odor
– Visible subfloor deterioration or significant unevenness
– Large-scale movement (multiple rooms, fast-growing gaps, or buckling)
In these cases, the underlying substrate issue must be corrected first—otherwise the gap is likely to return.
Quick scan checklist (save this)
– ☐ Is the gap mostly near walls/edges?
– ☐ Are boards near the gap loose or misaligned?
– ☐ Is the subfloor level/flat where the gap is happening?
– ☐ Is perimeter spacing blocked by trim, caulk, or heavy objects?
– ☐ Are plank edges damaged or warped (can’t lock back in)?
– ☐ Did the gap appear after humidity/temperature changes?
Laminate “Gap Fix” Targets That Matter for Floating Floors (Industry-typical)
| # | What to Check | Typical Target | Where It Shows Up | Why It Helps |
|---|---|---|---|---|
| 1 | Perimeter expansion gap | ~1/4 in (≈6 mm) minimum | Walls/baseboards | Prevents edge seam separation |
| 2 | Subfloor flatness | ~3/16 in over 10 ft (≈4.8 mm / 3 m) | Mid-room seams | Reduces lock stress and repeated flex |
| 3 | Moisture control method | Follow manufacturer RH/MC limits; use ASTM F2170 where applicable | Gaps that reappear seasonally | Stops dimensional movement triggers |
| 4 | Acclimation before install/repair | Per product instructions (often 24–48 hrs) | New-plank seam mismatch | Reduces post-placement movement |
| 5 | Joint debris removal | Clean locking edges before re-seat | Tiny persistent gaps | Ensures the lock fully engages |
| 6 | Underlayment compatibility | Use manufacturer-approved underlayment only | Widespread seam issues | Maintains correct support and vapor behavior |
| 7 | Avoid rigid perimeter bonding | Do not caulk/adhere the floating edges unless the manual allows it | Edge gaps after seasons | Preserves designed movement |
FAQ
Can I fix gaps in laminate floors with caulk?
Usually not. Caulk (especially rigid or “bonding” types) can trap movement and lead to bigger gaps or buckling elsewhere. Use the laminate manufacturer’s approved edge finishing method instead. [ADD: source for recommended sealant/edge treatment from your laminate manufacturer]
Why do laminate floor gaps get worse over time?
The most common reasons are trapped movement (wrong perimeter spacing or rigid edge materials) and subfloor issues like unevenness or moisture. If the gap keeps expanding, don’t only force the boards—check the underlying cause.
What if the gap is only a tiny seam line?
Start by cleaning the seam and gently re-seating the boards. If the locking joint won’t fully engage or the edges look chipped or warped, replacement is often the only reliable fix for that plank.
Do I need to replace the whole floor if gaps appear?
Not necessarily. Many gap problems are localized to a perimeter run or a limited number of boards. Replacement is typically limited to planks with damaged locking edges or permanent warping, assuming the subfloor and moisture conditions are corrected.
Conclusion
Fixing gaps in laminate floors comes down to two priorities: keep the floor free to float (perimeter expansion spacing and unblocked edges) and ensure the locking joints can engage properly (clean alignment, re-seat for intact joints, replace when edges are damaged). If you see repeating or widening gaps across large areas, stop “seam repairs” and focus on subfloor flatness and moisture—because without addressing the underlying cause, the gap will likely return in the next season.
Frequently Asked Questions
How can I fix gaps in laminate flooring along the wall?
Start by checking that the floor has the proper expansion gap—typically about 8–12 mm—around the perimeter, since laminate expands and contracts with humidity. If the gap is too small or the planks were installed tight against the wall, remove baseboards and reinstall or trim the first row to restore the expansion space. If the gap is too large, use laminate quarter-round or baseboard to cover it, and consider adjusting the trim height if the wall is uneven.
What should I do if laminate floor gaps appear between planks after installation?
Gaps between laminate planks are often caused by slight subfloor unevenness, improper locking, or movement after installation. Try to re-engage the click-lock joints by lifting the affected section and re-seating the planks, then tap the seams together with a tapping block. If the subfloor is uneven, you may need to address the high spots or add underlayment corrections before the gaps widen again.
Why do my laminate floors have gaps in the winter, and how do I prevent them?
Laminate gaps often open up in colder, drier months because the boards shrink when indoor humidity drops. To prevent future gaps, aim for stable indoor humidity (commonly around 35–55%) using a humidifier or dehumidifier as needed. Also confirm the expansion gap is correct and that the floor wasn’t installed before acclimating to the room temperature and humidity.
Which tools and materials are best for filling small gaps in laminate flooring?
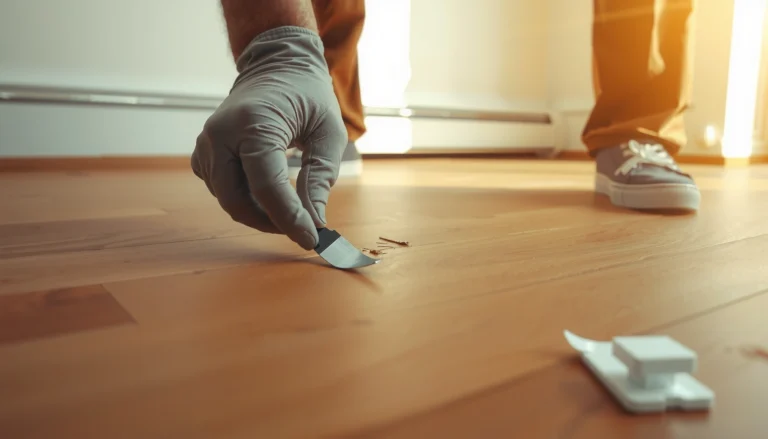
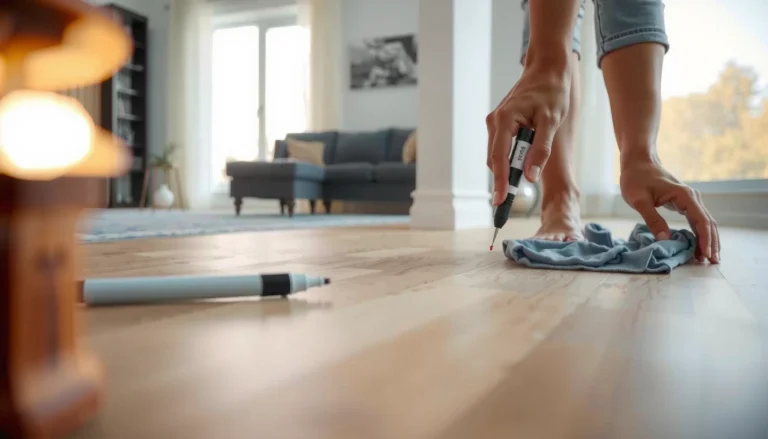
For narrow seams, use a laminate floor repair kit that includes a matching color putty/filler and a scraper for clean application. For slightly wider gaps, consider using a joint filler designed for laminate (not wood filler meant for solid wood) so the material remains compatible with floor movement. For larger perimeter gaps, it’s usually better to cover with trim (quarter-round/baseboards) than to force filler into an expansion space.
How do I fix a growing gap that keeps widening in my laminate floor?
A widening gap usually means the floor is moving beyond the intended expansion allowance, the subfloor isn’t level, or the boards weren’t properly clicked and locked. Inspect for missing expansion space near walls, vents, or door frames, then reinstall trim to confirm the gaps aren’t being pinned under baseboards. If the plank edges won’t stay aligned, you may need to pull and reinstall the affected rows or correct subfloor flatness to stop the laminate from separating further.
📅 Last Updated: October 07, 2026 | Topic: How to fix gaps in laminate floors? | Content verified for accuracy and freshness.
References
- Laminate flooring
https://en.wikipedia.org/wiki/Laminate_flooring - Floating floor
https://en.wikipedia.org/wiki/Floating_floor - Expansion joint
https://en.wikipedia.org/wiki/Expansion_joint - https://en.wikipedia.org/wiki/Wood_moisture_content
- Hygroscopy
https://en.wikipedia.org/wiki/Hygroscopicity - https://en.wikipedia.org/wiki/Wood_warping
- https://en.wikipedia.org/wiki/Contraction_and_expansion_(materials
- https://en.wikipedia.org/wiki/Subfloor
- Google Scholar Google Scholar
https://scholar.google.com/scholar?q=how+to+fix+gaps+in+laminate+floors - Google Scholar Google Scholar
https://scholar.google.com/scholar?q=laminate+floor+expansion+gap+repair+causes