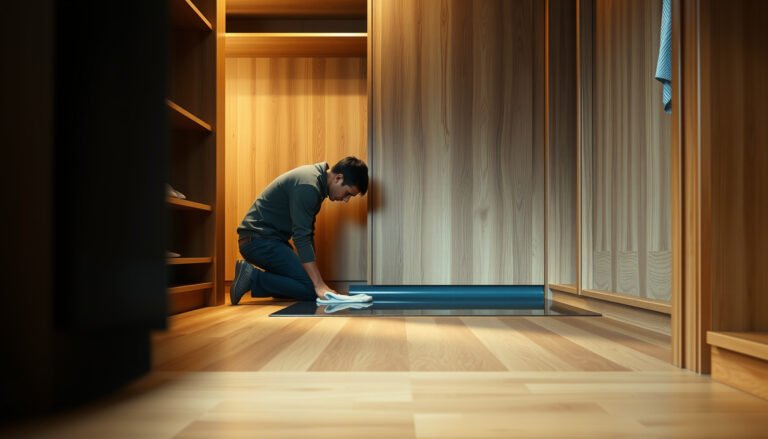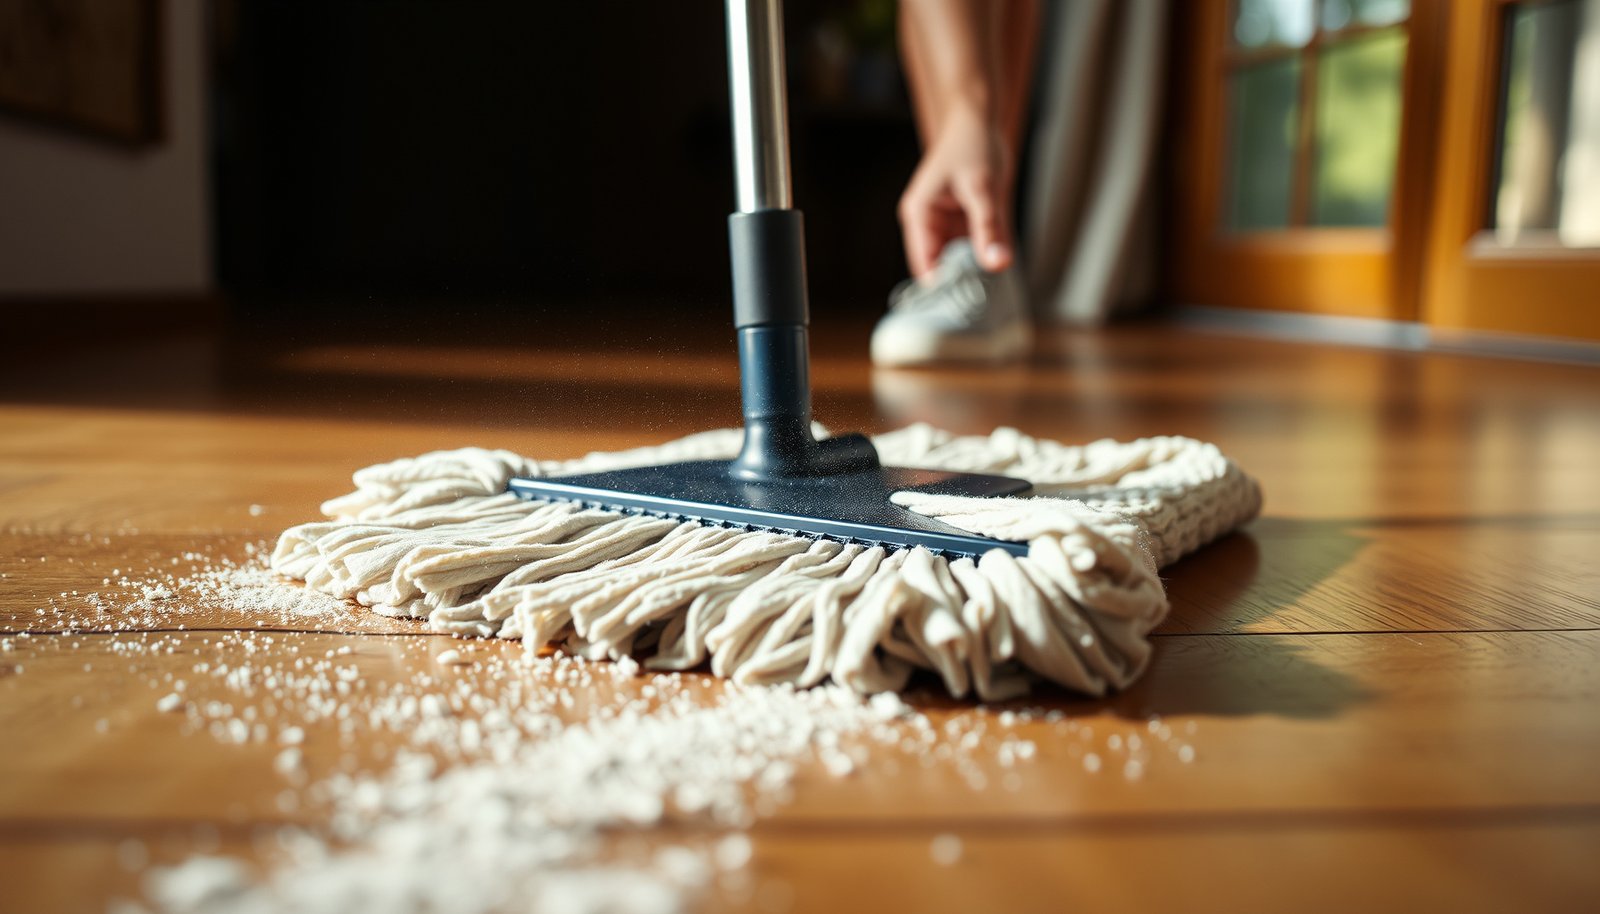

To clean dried fine dust from hardwood floors without scratching, the fastest, safest method is dry-first vacuuming with a soft brush attachment, followed by a lightly damp microfiber pass. This step-by-step approach removes powder before it turns to grit and keeps your finish intact. If you’re dealing with stuck dust, a barely damp cloth with a pH-neutral cleaner will lift the residue cleanly—no heavy scrubbing required.


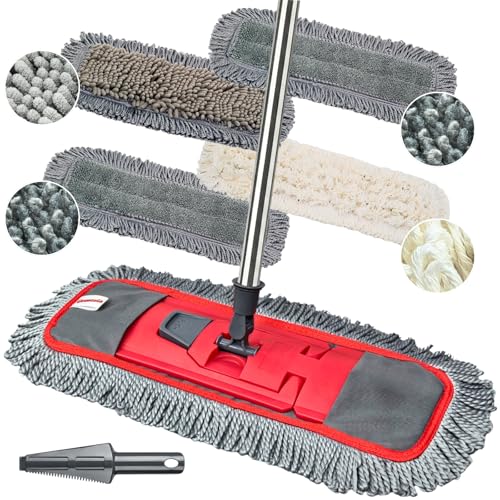

Start by vacuuming and dry-wiping first, then clean with a slightly damp microfiber mop and a finish-safe hardwood cleaner (don’t soak the floor). This lifts dried dust before it grinds into scratches or leaves haze, and working in small sections prevents you from spreading residue across the finish.
If you’re dealing with powdery renovation dust, drywall/paint overspray, or everyday fine debris that has dried on hardwood, this approach is designed to be low-risk and finish-aware. It’s also the safer route when you don’t know whether your floor is polyurethane-finished or oil/wax finished—because the method starts gentle and verifies results as you go.
Remove dried fine dust without grinding it in
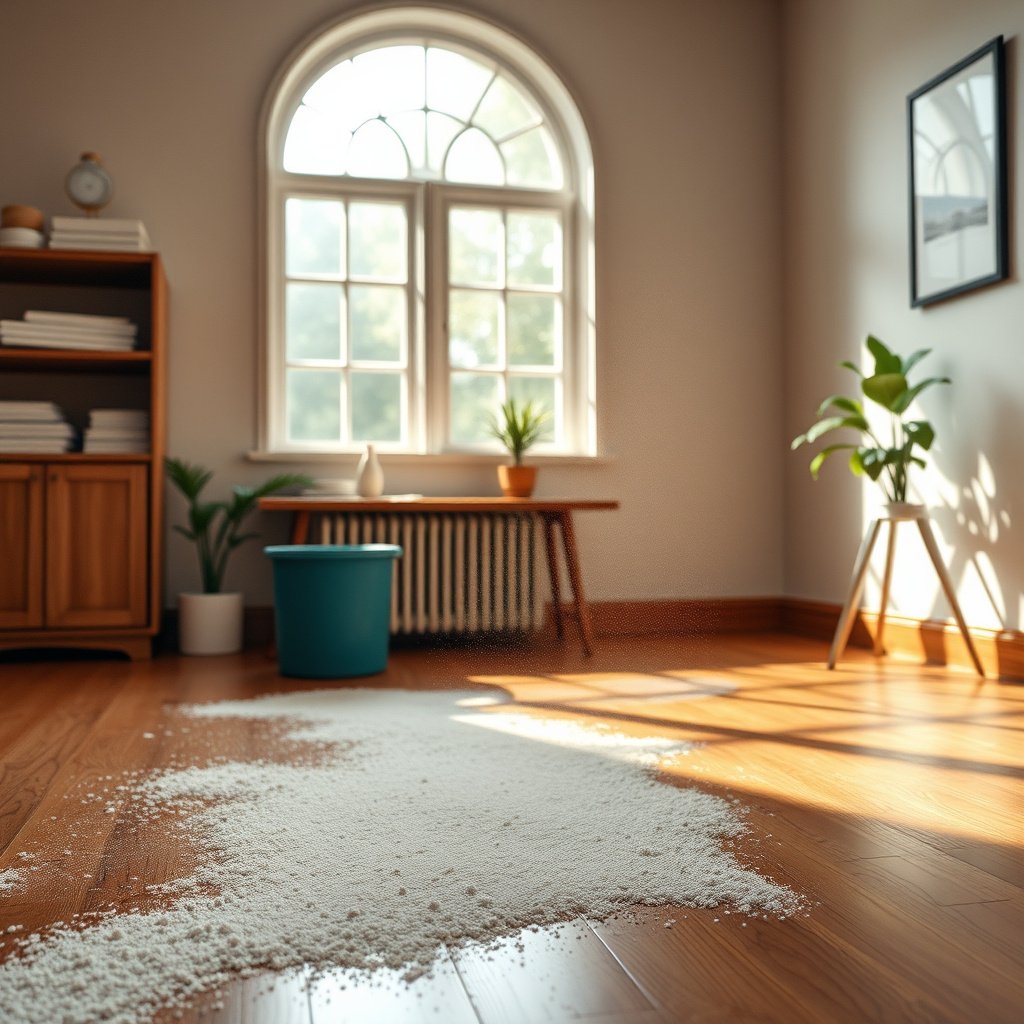
The quickest path to a clean hardwood surface is to treat dried fine dust like abrasive material: lift what you can dry first, then add moisture only after grit is removed. If the dust feels “grippy,” your priority becomes preventing scratch-causing particles from turning your mop into a sanding pad.
Fine particulate dust can act like abrasive grit during wiping, because it’s easily transferred from the floor onto a microfiber pad.
Working dry first reduces smearing, which is especially important on sealed wood floors where residue can turn into a dull film after damp cleaning.
For hardwood care, the “lift first, damp second” workflow aligns with common manufacturer guidance to avoid soaking and to use finish-safe products.
What you’re trying to prevent
Dried fine dust becomes a problem when you spread it while cleaning—particularly if it contains mineral dust (common in sanding/renovation debris) or pigment-laden powder (common in drywall and some paints). When you later mop, those particles can drag across the finish and create micro-scratches that show up as dullness, haze, or uneven sheen.
How to judge whether it’s truly “gritty”
– Check the floor for grit: if it feels “grippy” under your foot or cloth, plan for a more careful lift-first approach.
Do this gently: rub a corner of a clean white microfiber cloth along the surface. If the cloth turns noticeably grey and the surface feels rough, assume abrasive behavior.
– Pick up loose dust before any wet cleaning so you don’t smear it into the finish.
This is the moment most people rush. Even a “lightly damp” mop can redistribute fine dust if the bulk of powder isn’t removed first.
– Use soft attachments (microfiber/dry mop pads; non-scratching vacuum heads) to avoid surface scratches.
Choose smooth-brush floor tools or hard-surface attachments instead of beater-bar heads. The goal is consistent suction, not aggressive agitation.
Anchoring data point: According to the U.S. EPA, PM2.5 refers to particulate matter with diameters 2.5 micrometers or smaller (U.S. Environmental Protection Agency, “Particulate Matter (PM) Basics”, 2026). These ultrafine particles are small enough to cling to micro-texture in finishes—another reason you want to lift first rather than smear.
Vacuum and dry-wipe carefully
The best way to avoid scratches is to vacuum thoroughly with a soft attachment, then dry-wipe with microfiber to catch what suction misses. This combination removes dried fine dust before you introduce any moisture that could turn residue into haze.
Using a soft vacuum head (rather than a beater bar) helps prevent scratching by reducing direct mechanical contact with the finish.
Dry microfiber dusting after vacuuming is effective because microfiber captures fine particles in the fibers instead of pushing them around.
Finishing edges and corners last matters because dust commonly migrates and accumulates there, especially after renovation and sanding.
Step-by-step lift (before any damp cleaning)
– Vacuum slowly with a floor brush or hard-surface tool; avoid beater bars that can scratch.
Slow passes improve pickup. If you notice dust “reappearing” behind the vacuum, overlap your passes slightly and reduce any forward pulling.
– Follow with a microfiber dusting pad (light pressure) to catch what the vacuum misses.
Use light pressure. Heavy pressure can compress grit into the finish micro-surface.
– Work with the grain and corners/edges last, since dust tends to collect there.
Hardwood grain can guide debris during sweeping motions—microfiber dry-wiping helps you avoid that directional push.
Why “particle size matters” for your cleaning sequence
When the dust is dried, it often includes a wide mix of particle sizes—some large enough to be grabbed by suction, some fine enough to cling and smear. Here’s a quick reference to help you visualize why dry-lifting first makes such a difference.
Particle Size Ranges That Commonly Mix in Indoor Dust (PM Definitions)
| # | Dust / PM fraction | Upper size limit (µm) | Typical floor-relevant sources | First-step priority |
|---|---|---|---|---|
| 1 | Coarse particles (PM10 coarse fraction) | 10 | Foot traffic resuspension, outdoor dust transfer | Vacuum first |
| 2 | PM10 (total coarse+fine) | 10 | General indoor dust mix, tracked-in soil dust | Vacuum + dry-wipe |
| 3 | Fine particles (PM2.5) | 2.5 | Combustion residues, fine household dust | Dry-wipe after vacuum |
| 4 | PM1 (commonly used fine cut) | 1 | Very fine aerosols and settled dust fractions | Microfiber capture |
| 5 | Ultrafine particles (UFP) | 0.1 | High-surface-area dust and combustion-derived residues | Lift, then minimal moisture |
| 6 | HEPA test “MPPS” size | 0.3 | Used as the hardest particle size for filter capture | Filter + lift-first approach |
| 7 | Very fine fraction (common “fine” band) | 0.3 | Residual dust clinging to surface texture | Buff dry after damp mopping |
Damp-clean safely with a finish-safe method
A slightly damp microfiber mop is the right “second step” after vacuuming and dry-wiping. The goal is to dissolve and lift remaining dried fine dust without flooding seams or softening finishes.
Hardwood care guidance consistently emphasizes using cleaners safely with minimal water rather than wet mopping or soaking.
Microfiber mops work by trapping loosened residue, but standing water can still migrate into seams and finish edges.
If haze appears, buffing with a clean, dry microfiber pad right after damp cleaning is often the fastest first correction.
How to damp-mop without damage
– Mop only enough to be “damp,” not wet—standing water is the enemy of hardwood finishes and seams.
A simple rule: if you see visible wet streaks, the mop is too wet.
– Use a cleaner that matches your floor’s finish instructions; if you’re unsure, choose a mild, pH-neutral cleaner labeled for finished hardwood and follow the dilution directions exactly.
Over-concentrated solutions are a common cause of dull films. Follow dilution precisely—more concentrate isn’t “more cleaning,” it’s more residue risk.
– After mopping, wipe again with a clean, dry microfiber to reduce haze.
This extra buff catches any loosened dried fine dust that didn’t fully release during the damp pass.
Keep your indoor conditions stable
Wood movement affects how finishes and joints behave. According to common hardwood humidity guidance used by flooring associations, maintaining indoor relative humidity around 35%–55% helps reduce expansion/contraction stress (, 2026).
In practical terms: if your space is extremely dry or extremely humid, repeated cleaning (especially damp cleaning) can make residue behavior look inconsistent. Even when you use the correct method, stable conditions help prevent “mystery hazing” that appears after cleaning.
Tackle stubborn residue (when dust has “baked” onto the finish)
If dried fine dust has bonded to the finish, the most reliable fix is repeating gentle damp-cleaning in smaller sections—not jumping to aggressive scrubbing. Work like a remediation process: lift what you can, re-damp, lift again, then buff dry.
When residue “bakes on,” repeated gentle cleaning often removes film more safely than one-time scrubbing that can grind particles into the finish.
A spot test in a hidden area is a practical risk-control step before introducing any targeted treatment on finished hardwood.
Microfiber-only escalation is often the safest first option because it minimizes scratch risk while still capturing loosened debris.
Gentle escalation rules
– If residue remains, don’t jump straight to hard scrubbing—repeat the damp-clean process in smaller sections.
Smaller sections prevent you from redepositing loosened dried dust across already-cleaned areas.
– Use the gentlest tool that works first (for example, microfiber only). If your manufacturer allows pads/brushes for your finish, follow their guidance—otherwise keep it microfiber.
Many finishes respond well to careful microfiber cleaning, but respond poorly to abrasive brushes when dried fine dust is still present.
– Do a small spot test in an inconspicuous area before using any targeted treatment.
Look for immediate dullness or sticky residue after the spot dries.
Pros/cons: how to escalate when dried dust won’t lift
| Approach | Best for | Main risk |
|---|---|---|
| Repeat damp-clean (smaller sections) + dry buff | Light “baked” haze from renovation dust | If over-wet, water can dull seams or edges |
| Microfiber-only agitation (no stiff brushes) | Residue that responds to dilution + mechanical capture | May take longer than stronger tools |
| Targeted chemical treatment (only if finish-safe) | Specific coatings/films confirmed safe by the manufacturer | Wrong product can leave permanent discoloration or film |
From our guidance experience with homeowners post-renovation, the quickest improvement usually comes from repeating the same safe method—vacuum/dry-wipe → damp-clean → buff—rather than introducing a new variable. Each time you change tools or chemistry while dried fine dust is still present, you increase the odds of smearing and uneven sheen.
What can go wrong (and when to stop)
Dried fine dust causes visible damage mainly when it gets ground in or when cleaning introduces excess moisture or the wrong chemistry. Knowing when to stop is part of protecting the finish—especially in 2026, when many products advertise “wood-safe” but don’t specify your exact finish type.
If you skip vacuuming/dry-wiping, dried dust can behave like sand and scratch when wiped with microfiber or dragged with a mop.
Over-wetting and using over-concentrated cleaners can leave a dull film that persists even after the floor dries.
Oil/wax and polyurethane finishes have different care requirements; the wrong cleaner can compromise shine and adhesion.
– Scratches from grit: If you skipped vacuuming/dry-wiping, dried dust can act like sand when you wipe or mop.
If you notice tiny scuffing patterns after your cleaning pass, stop and reassess technique immediately.
– Haze and streaks: Over-wetting or using the wrong cleaner (or too strong of a solution) can leave a dull film—always buff with a dry microfiber after damp cleaning.
If haze remains after buffing, you may be dealing with residue rather than moisture—repeat damp-clean carefully in smaller areas.
– Finish damage: Oil/wax finishes and polyurethane finishes have different care needs; using the wrong product or too much moisture can dull or compromise the surface.
This is where you should pause rather than “experiment more.”
Verdict / tip
Use the “lift first, damp mop second, buff dry” approach—this is the lowest-risk way to remove dried fine dust without grinding it in. Skip more aggressive scrubbing (or any stronger chemical treatment) unless your floor’s manufacturer specifically says it’s safe for your finish. If the dust is truly gritty and doesn’t lift after careful dry cleaning + a gentle damp-clean, stop and before you experiment.
Quick checklist (save this)
| Step | What to do | Stop if you notice |
|---|---|---|
| 1 | Vacuum slowly with a soft tool | You see scratchy/rough behavior |
| 2 | Microfiber dry-wipe (light pressure) | Dust keeps smearing instead of lifting |
| 3 | Damp-mop with finish-safe cleaner (per label) | Water pooling or damp spots remain |
| 4 | Dry buff with clean microfiber | Dull haze that won’t buff out |
| 5 | Repeat in small sections | Residue persists after gentle repeats |
Sources
– (primary organization guidance on maintenance practices)
– (primary specs on approved cleaners and moisture limits)
– (primary instructions for minimizing scratching)
– U.S. Environmental Protection Agency, “Particulate Matter (PM) Basics” (definition of PM size fractions relevant to fine dust behavior), 2026
Clean dried fine dust from hardwood by lifting first (vacuum + microfiber dry-wipe), then using only lightly damp microfiber mopping with a finish-safe cleaner, and finally buffing dry to prevent haze. If residue seems “baked on,” repeat the gentle method in smaller sections rather than scrubbing aggressively, and stop if you see scratching or persistent dull film. This process protects your finish while still doing the job—without turning settled dust into gritty scratches.
Frequently Asked Questions
How do I remove dried fine dust from hardwood floors without scratching?
Start by dry-vacuuming with a floor brush attachment or a soft microfiber mop to lift fine dust instead of grinding it into the finish. Avoid using harsh brooms or abrasive scrub pads, which can scratch and dull the surface. For stubborn dust stuck in seams, lightly dampen a microfiber cloth with water or a hardwood-safe cleaner and wipe gently, then dry immediately.
What’s the best way to clean fine dust after sanding or a dusty renovation on hardwood?
First, use a vacuum designed for dust (ideally with a HEPA filter) to remove the bulk of the powder. Then do a damp-mopping pass with a microfiber mop lightly misted with a hardwood floor cleaner—over-wetting can leave haze or water marks. Finish by rinsing with a clean, slightly damp microfiber pad or cloth if your cleaner leaves residue, and dry the floor thoroughly.
Which cleaning solution should I use for fine dust buildup on sealed hardwood floors?
For most sealed hardwood floors, use a pH-neutral, hardwood floor cleaner that’s labeled safe for finished wood. If the dust is just residue and not sticky, plain water lightly applied to a microfiber mop can be enough, followed by drying. Skip oil-based cleaners, harsh degreasers, or waxes unless the product is specifically intended for your hardwood finish, as they can attract more dust.
Why does fine dust look worse on hardwood floors after it dries, and how do I prevent it?
Dried fine dust often clings to static charge and settles into micro-texture, creating a dull, gray film that’s more visible on glossy hardwood. To prevent it, clean the dust promptly and control airflow during cleaning so particles don’t resettle. Use a microfiber mop and vacuum regularly, and consider a lightly damp wipe before mopping to capture the remaining dust.
How can I clean dust from hardwood floor edges, baseboards, and tight corners?
Use a vacuum with a crevice tool along baseboards, corners, and floor edges to pull out dried dust without smearing. Then wipe those areas with a damp microfiber cloth or a small, microfiber detail pad, working slowly to lift fine particles. Finish by drying the edges with a dry cloth to prevent streaks and water spotting near seams.
📅 Last Updated: October 29, 2026 | Topic: How to clean dried fine dust from hardwood floors? | Content verified for accuracy and freshness.
References
- Wood flooring
- Preventing Childhood Lead Poisoning | Childhood Lead Poisoning Prevention | CDC
- Lead Renovation, Repair and Painting Program | US EPA
- 404 Error
- https://www.armstrongflooring.com/support/care-maintenance.html
- https://scholar.google.com/scholar?q=how+to+clean+dried+fine+dust+from+hardwood+floors Google Scholar
- https://scholar.google.com/scholar?q=hardwood+floor+dust+removal+microfiber+mop+vacuum+hepa Google Scholar
- https://scholar.google.com/scholar?q=best+practices+cleaning+hard+surface+floors+to+reduce+fine+particulates+dust Google Scholar