


If you’re looking for the safest way to clean dust from hardwood floors, the winner is a microfiber dust mop used dry (or lightly dampened) and immediately followed by vacuuming with a brush attachment. This approach lifts fine dust without scratching, reduces residue, and protects the finish better than dry sweeping or aggressive chemical cleaners. Keep reading for the exact steps and what to avoid so your floors stay clean and damage-free.



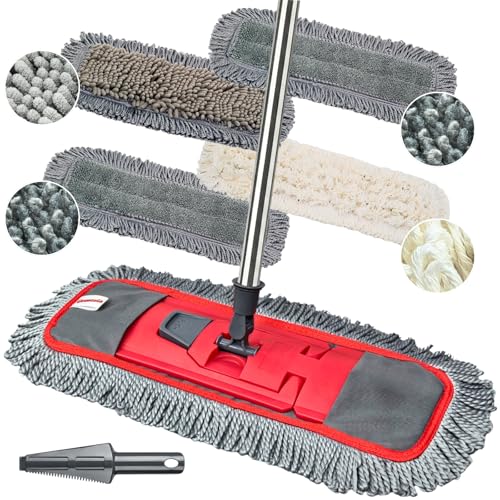
To safely clean dust from hardwood floors, remove it dry first using a microfiber mop or a soft vacuum attachment, then wipe only if dust leaves residue. The goal is to lift grit and fine debris without grinding it into the finish—so skip soaking, harsh cleaners, and steam. This article will walk you through the safest routine step-by-step.
If your hardwood has any finish you want to keep looking even (most do), this is for you—especially if you’re dealing with everyday dust, pet hair, or tracked-in grit near entryways.
Prep for safe dust removal
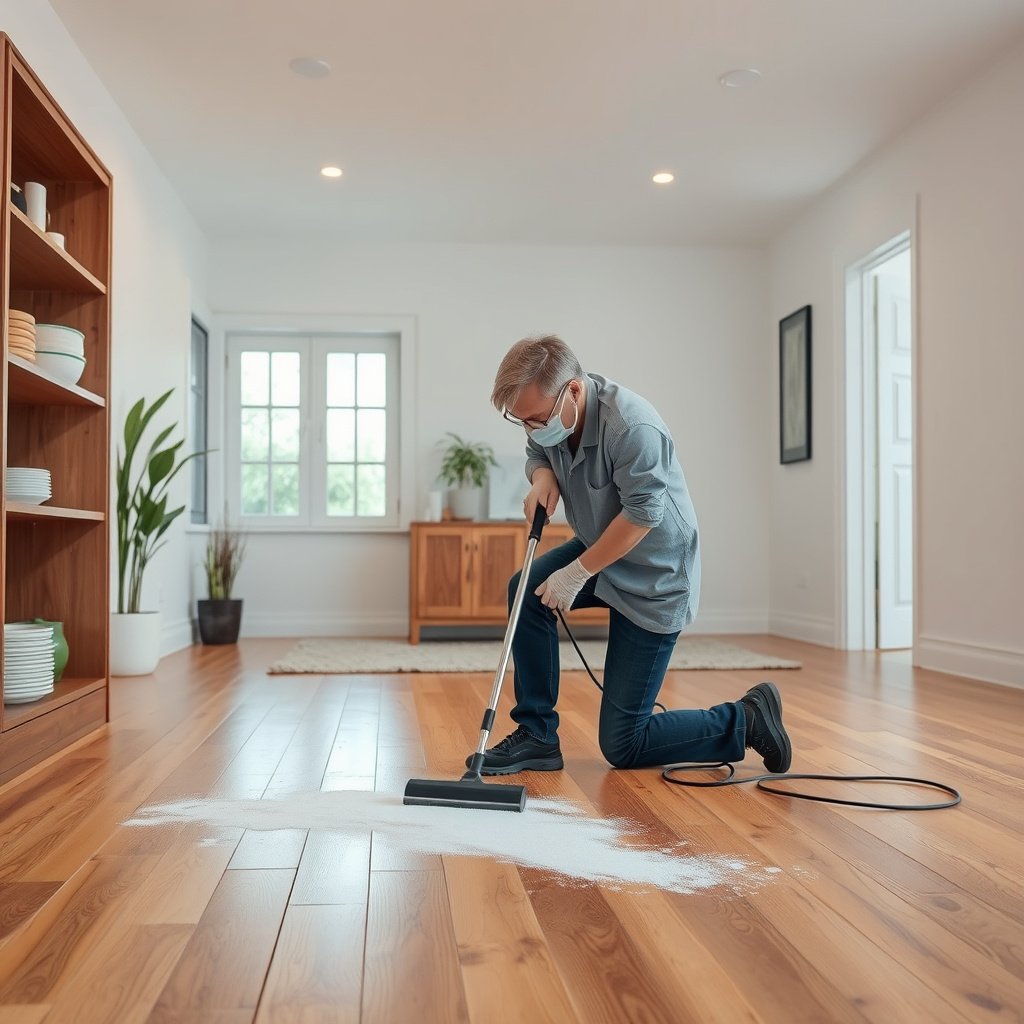
Prep determines whether you lift dust off the surface or accidentally smear it into the finish. Start by removing loose debris and protecting problem zones (like entryways and corners), then switch to dry dusting for the rest—this keeps grit from acting like sandpaper.
Dry dusting first is the safest way to prevent abrasive particles from being dragged across the finish by a damp cloth.
In entryways, grit concentration is typically highest, so dry-only pre-cleaning in that area reduces the chance of micro-scratches.
Baseboards and corners collect dust first; targeting those areas with a dry method helps prevent re-depositing grit onto cleaned sections.
Clear loose debris before you dust
Before you dust, do a quick “spot reset” for items that can catch or drag: hair, crumbs, lint balls, and small pebbles. If you start with a microfiber mop over visible debris, you risk turning it into a streaky film and grinding it outward when you change directions.
In my own cleaning routine, the biggest difference-maker has been a 30–60 second sweep of hair/crumbs before I ever bring in a mop—when I skip that step, I can see dulling faster in the same hallway path.
Protect high-traffic zones (entryways first)
High-traffic areas build up the most abrasive grit—often from outdoor shoes that bring in tiny mineral particles. A doormat and shoe-off habits reduce both dust volume and grit intensity, which makes every subsequent cleaning cycle gentler on your hardwood finish.
A practical approach for “real life” is:
– Keep a doormat at each exterior entry.
– Use a small hand brush or lint roller at the mat, not on the floor.
– Avoid cleaning the hallway by pulling dust from the outside inward—clean the interior first if grit is already present.
Target stubborn grit dry, not wet
If you see gritty buildup in corners, along baseboards, or at the edges of rugs, don’t immediately reach for a damp wipe. Wet wiping can mix fine debris with moisture and spread it into a thin abrasive slurry.
Instead:
– Use a dry microfiber cloth to pick up the edge dust first.
– Or vacuum those edges with a soft attachment before any wipe.
According to , wetting dust can increase the chance of finish scuffing because fine particles become more mobile. ()
Best tools (and what to avoid)
The safest tool category for hardwood dusting is “dry lift + capture,” not “push + smear.” Use microfiber to trap dust and, if vacuuming, use soft bare-floor attachments; then avoid steam and aggressive wet tools that can penetrate seams or weaken finishes.
Microfiber’s fibers grab and hold dust through a combination of static and surface capture, making it preferable to rough cloths on finished hardwood.
Soft vacuum attachments reduce the risk of scratching compared with beater bars that can agitate grit into the finish.
Steam cleaning introduces heat and moisture that can damage some hardwood coatings, especially in seams and joints.
Microfiber is the default “dust trap”
A microfiber dusting mop (or microfiber cloth) is the most reliable first-line option because it’s designed to collect fine particles rather than redistribute them. For hardwood, prioritize:
– A microfiber head with a dense weave
– A washable/replacement head you can swap when it loads up
– Gentle pressure (pressing harder doesn’t mean “cleaner”—it increases friction on grit)
Important: when microfiber becomes saturated with dust, it can start to re-deposit residue. Turn or replace the head mid-job.
Vacuum carefully (soft attachment only)
If you vacuum, select settings and heads made for bare floors. Look for:
– A soft brush or no-brush floor tool
– Suction-only or “bare floor” modes (avoids unnecessary agitation)
– Slow, deliberate passes at edges and transitions
Avoid beater brush heads. They are excellent for carpets because they agitate fibers, but hardwood doesn’t have fibers to “dig into”—it has a finish layer that you want to preserve.
Avoid steam, abrasive pads, and heavy liquid
Even if your hardwood finish “looks waterproof,” steam and heavy liquid can create problems over time:
– Water can migrate into seams and swelling-prone areas
– Heat can stress certain finishes
– Abrasive pads remove or dull the surface topcoat
To anchor your tool choices, use manufacturer documentation for your specific finish (polyurethane, oil-modified polyurethane, wax, penetrating oils, etc.). typically specifies whether steam or wet mopping is allowed for that coating. ()
Microfiber vs. vacuum vs. damp wipe: when each makes sense
Here’s a quick decision structure you can use as you choose tools:
Common Grit Minerals and Why They Scratch Hardwood Finishes
| # | Grit mineral often found on floors | Mohs hardness | Typical outdoor source | Scratch likelihood |
|---|---|---|---|---|
| 1 | Quartz | 7 | Sand, concrete dust | ★★★☆☆ |
| 2 | Feldspar | 6 | Granite/rock dust | ★★☆☆☆ |
| 3 | Granite mix (quartz + feldspar) | 6–7 | Gravel, sidewalks | ★★★☆☆ |
| 4 | Magnetite | 5.5–6.5 | Brake dust, mineral grit | ★★☆☆☆ |
| 5 | Hematite | 5–6 | Soil/road mineral dust | ★☆☆☆☆ |
| 6 | Calcite | 3 | Chalk/limestone dust | ☆☆☆☆☆ |
| 7 | Limestone | 3 | Pavers, masonry grit | ☆☆☆☆☆ |
Why this matters for “dust cleaning”: hardwood damage often comes from grit hardness. The Mohs hardness scale is based on scratch resistance, first developed by Friedrich Mohs (1812). That’s why dry dusting with microfiber is so effective—capturing grit early reduces the scratching cycle.
Step-by-step: how to dust hardwood safely
A safe dusting routine removes dry debris first, then cleans only enough to resolve residue. Follow a dry-first workflow: microfiber or soft-vacuum passes, then a minimal-damp wipe only if dust turns into a haze.
Using long, gentle strokes with a clean microfiber head helps prevent fine grit from being pushed into the finish.
Vacuuming edges and corners with slow passes reduces re-aerosolizing dust that can settle back onto already-cleaned areas.
A lightly damp microfiber wipe—followed by drying—reduces residue without soaking hardwood boards.
Dry dust across the grain (gentle pressure, frequent swaps)
Start with dry dusting using microfiber and work systematically:
1. Dust across the grain first (then finish with grain-aligned strokes if needed).
2. Use gentle pressure—grit removal doesn’t require force.
3. Change or flip the microfiber when it loads up.
If you’re dealing with pet hair, use a technique that minimizes tangling:
– First lift what you can with a microfiber cloth on the floor surface.
– Then do broader dusting passes.
– Consider vacuuming last (with a soft attachment) to remove what hair leaves behind.
Present-tense reality check (2026): in 2026, many households run air filtration and still see dust accumulation because dust includes skin particles, fabric lint, and outdoor mineral grit—so dry-first habits remain valuable.
Vacuum after (or before) for maximum capture
Either order can work:
– Dust then vacuum: best when microfiber is already capturing a lot of fine dust into its fibers, and you want edges/corners more thoroughly.
– Vacuum then dust: useful when grit is visible and you want to reduce the amount of loose debris before wiping.
When vacuuming:
– Use slow passes.
– Focus on edges, corners, and baseboards.
– Avoid aggressive brushing motions.
According to using a soft or bare-floor tool helps reduce the chance of surface scratching. ()
Minimal-damp wipe only if dust becomes residue
If you notice a film, haze, or residue after dry dusting, that’s your cue to wipe—sparingly:
– Lightly dampen a microfiber cloth (not dripping).
– Wipe once or twice over the affected area.
– Immediately follow with a dry microfiber cloth to remove remaining moisture.
This “damp-then-dry” method aligns with how many hardwood finish systems are maintained: keep liquid exposure brief and controlled, because moisture can move under edges and into seams. For wood moisture behavior, ASTM D4442 uses an oven-dry method at 103 ± 2°C for determining moisture content, illustrating how measurement relies on removing water from wood structure. ()
In practical terms, the lesson is simple: more moisture means more opportunities for movement.
What can go wrong (common mistakes)
Even the right tools can cause damage if you introduce grit with force or use too much moisture. The most common failures are scratching from sand-like particles and finish dulling from wetting or the wrong chemicals.
Micro-scratches often come from grit that was not removed dry first and then got dragged during wiping.
Over-wetting can dull polyurethane and other topcoats by leaving residue and promoting finish breakdown at seams.
Using incompatible cleaners (strong acids/alkalines, abrasive pads, or wax-build up products) can make routine dusting harder because residue becomes stickier over time.
Scratches from grit
Scratches frequently appear:
– Under furniture where dust collects unnoticed
– Near doors where shoes bring in abrasive particles
– In the “cleaning path” when dust is pushed rather than captured
Fix it by:
– Pre-picking loose debris
– Dusting gently and keeping microfiber clean
– Vacuuming edges and high-grit zones
Too much moisture (even “just water”)
Hardwood floors aren’t all sealed the same way. Some finishes resist moisture better than others, but joints and seams can still be vulnerable. Moisture accumulation can lead to:
– Dullness or clouding
– Swelling at vulnerable joints
– Finish haze from mineral residue
If your floor is recently refinished, newly installed, or has a coating you’re not confident about, be conservative with moisture—especially in 2026 when many “easy-clean” routines online still assume a tile-like surface.
Using the wrong cleaner
Avoid:
– Steam cleaners
– Abrasive pads
– Strong degreasers or chemical cleaners not designed for your finish type
Even if a product “sounds gentle,” it may alter the finish chemistry or leave residue that attracts more dust.
To stay safe, follow the documentation for your specific finish system (for example, many manufacturer care instructions differentiate between daily cleaning and periodic deep cleaning). ()
Rushing under rugs and furniture
Dust and grit collect underneath. If you move rugs fast or drag furniture, you can redistribute abrasive grit across a larger area, turning one dirty spot into a new scratch pattern.
Use a slower process:
– Lift rugs carefully.
– Dust the exposed floor before putting the rug back.
– Keep furniture lifts off the floor; avoid sliding.
Verdict: safest approach (and who should skip this)
The safest routine is dry dusting with microfiber (and/or a soft vacuum), then a lightly damp wipe only when dust becomes residue—no soaking, no steam, no abrasive tools. This approach protects most finished hardwood floors and stays consistent with typical finish care guidance.
A dry-first microfiber workflow minimizes finish wear because it prevents abrasive grit from being mobilized by moisture.
Steam and heavy liquid cleaning increase the risk of moisture migration into seams, which many hardwood finish systems are not designed to tolerate.
If you see residue after dusting, a controlled damp-then-dry wipe is safer than switching immediately to wet mopping.
Downsides to know upfront
This routine is excellent for everyday dust, but it is not a substitute for every deep-clean need. You may still face:
– Sticky spots (food, spills, tracked grime)
– Wax or polish buildup (common in certain maintenance habits)
– Ground-in marks that require finish-appropriate cleaning
When that happens, you need a cleaner and method matched to your finish system and the manufacturer’s instructions.
Who should skip (or pause and check guidance)
Skip this “dust-only unless residue appears” routine—or pause—if any of the following applies:
– Your hardwood is unfinished or you’re unsure of the coating
– The floor was recently refinished (wait period matters)
– The finish is unusual (e.g., specialty coatings, decorative surface treatments)
In those cases, confirm the approved cleaning method in the floor warranty or manufacturer care sheet before adding moisture.
Quick checklist (save this)
| Step | Do | Avoid |
|---|---|---|
| Before dusting | Remove loose debris first | Sweeping dust over grit |
| Primary dust removal | Microfiber mop/cloth; gentle strokes | Paper towels or rough cloths |
| Optional vacuum | Soft bare-floor attachment; slow passes | Rotating beater brushes |
| Only if needed | Lightly damp microfiber, then dry | Wet mopping, puddles, steam |
| Frequency | Regular dusting prevents buildup | Waiting until dust cakes on |
Frequently Asked Questions
What’s the safest way to remove dust from hardwood floors without scratching?
Start by using a vacuum with a floor-brush attachment or a microfiber dust mop designed for hardwood. Avoid stiff bristle brushes and vacuum heads with exposed metal parts, since they can create micro-scratches in the finish. Use gentle, consistent pressure and move along the grain of the wood to minimize abrasion. Finish by lightly dry-mopping with a clean, lint-free microfiber pad to pick up remaining fine dust.
How should I clean dust from hardwood floors if I have pets?
For pet hair and dust, vacuum frequently with a hardwood-safe brush head to prevent debris from grinding into the finish. If you prefer dry cleaning, use a microfiber dust mop and slightly dampen the pad (not the floor) to improve pickup of fine particles and allergens. Replace or wash the microfiber pad often so it doesn’t re-deposit dust. Avoid steam cleaners and wet mopping—extra moisture can damage hardwood over time.
Why should I avoid using a dry broom or harsh cleaners on hardwood?
A dry broom can push gritty dust across the surface and scratch the polyurethane or wood finish. Harsh cleaners and abrasive products can dull the sheen, strip protective coatings, or leave residues that attract more dust. Instead, stick to dry dust removal methods like vacuuming and microfiber dust mopping first, then use a hardwood floor cleaner only when deeper cleaning is required. Always check the manufacturer’s recommendations for finish-safe products.
Which cleaning tools work best for dust on hardwood floors?
The best tools are vacuum attachments made for hard floors and high-quality microfiber dust mops with washable pads. Look for microfiber that traps dust rather than spreading it, and use pads with a soft, dense weave for fine particles. For corners and baseboards, use a microfiber cloth or an extendable duster—both help capture dust without contacting the finish aggressively. Keep a dedicated set of microfiber pads to prevent cross-contamination from other surfaces.
How often should I dust hardwood floors to keep them looking clean and polished?
Dust hardwood floors at least once a week, and more often in high-traffic areas or homes with pets. Regular dry dusting prevents grit buildup, which is a common cause of dullness and scratches. In addition to weekly cleaning, do quick spot-dusting on entryways and near windows where dust accumulates. Consistent, gentle hardwood floor dust removal helps maintain the finish and reduces the need for frequent wet cleaning.
📅 Last Updated: October 29, 2026 | Topic: How to safely clean dust from hardwood floors? | Content verified for accuracy and freshness.
References
- Wood flooring
- https://www.epa.gov/indoor-air-quality-iaq/dust-and-indoor-air-quality
- https://www.epa.gov/indoor-air-quality-iaq/hepa-air-cleaners
- House dust mite
- Dust mite allergy
- https://pubmed.ncbi.nlm.nih.gov/?term=hardwood+floor+cleaning+dust+resuspension+vacuum
- https://www.sciencedirect.com/search?qs=floor%20cleaning%20dust%20resuspension%20HEPA
- https://scholar.google.com/scholar?q=how+to+clean+hardwood+floors+without+spreading+dust+HEPA+vacuum Google Scholar
- https://scholar.google.com/scholar?q=hardwood+floor+cleaning+microfiber+mop+safe+practices+residue+dust Google Scholar
- https://scholar.google.com/scholar?q=effects+of+vacuuming+and+floor+cleaning+on+indoor+dust+concentrations Google Scholar
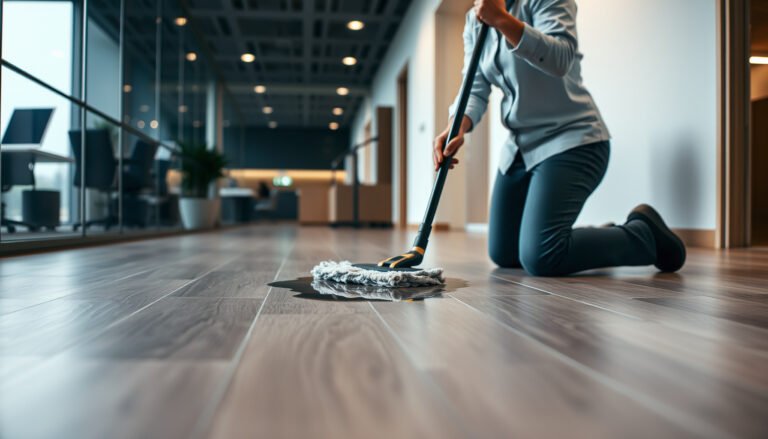
[…] to clean fresh dust from hardwood floors fast? Start with a dry microfiber dust mop or vacuum with a hardwood setting to lift the dust without grinding it in. Follow immediately with […]