
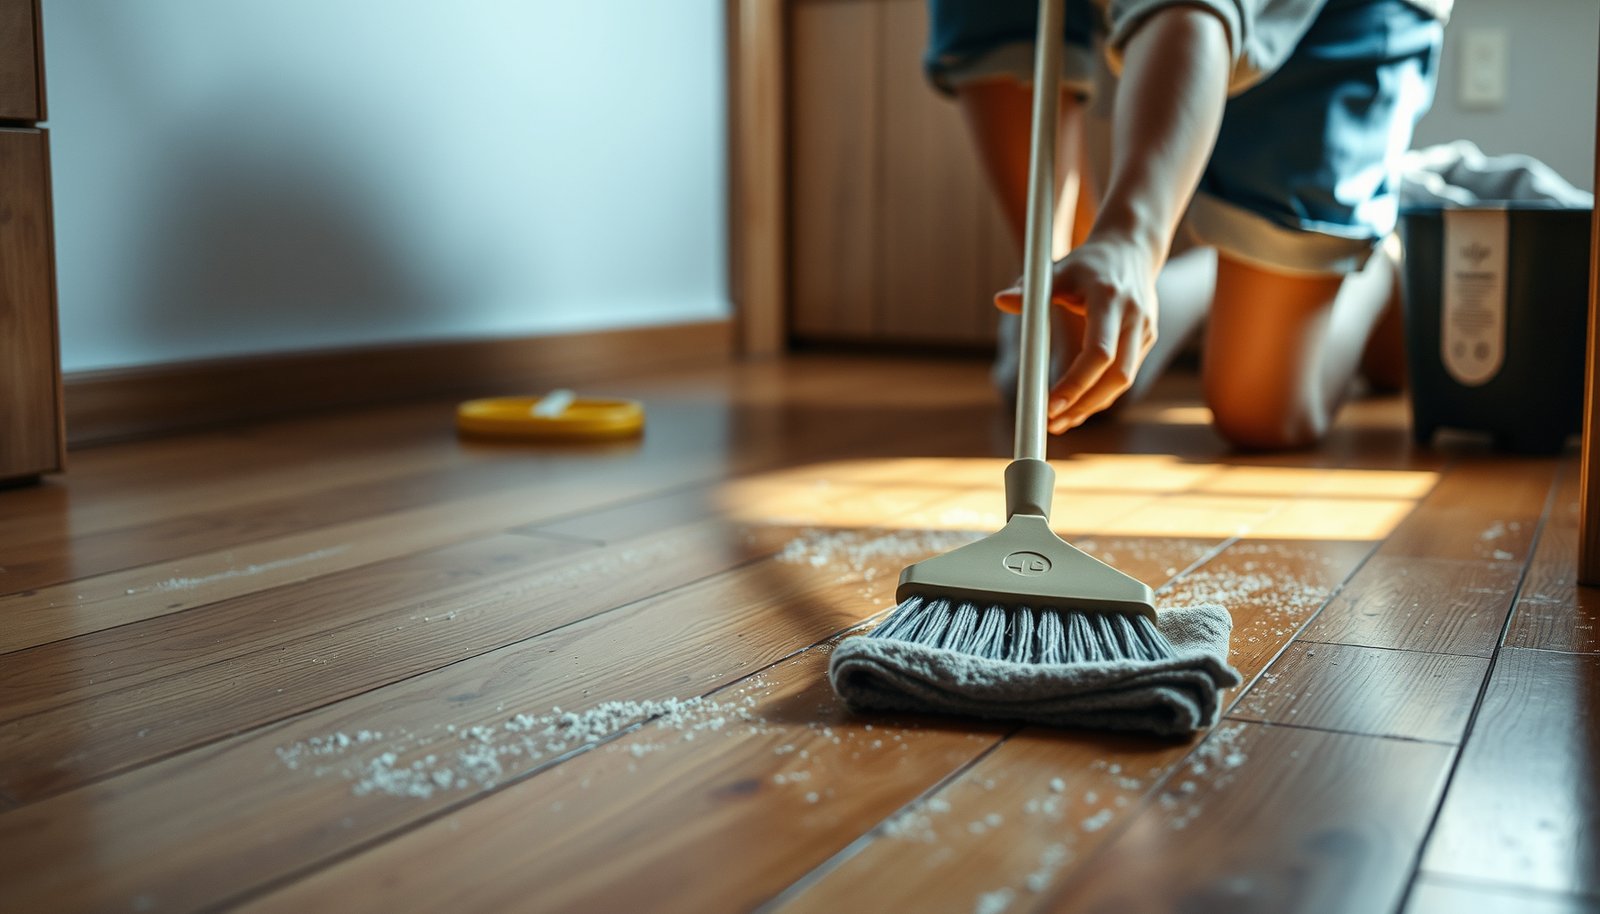

If your hardwood floors are covered in dirt, you can remove it safely without dulling the finish by following the right step-by-step cleaning order. This guide shows exactly how to dry-clean first, tackle stuck grime, and finish with a properly damp mop so the grit doesn’t scratch the wood. When you’re done, you’ll know the most effective sequence for getting hardwood floors truly clean—not just “a little better.”



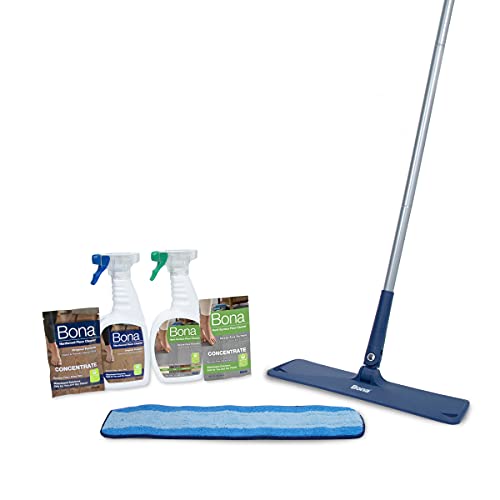
If your hardwood is covered in dirt, the safest way is to remove grit first, then clean with a wood-safe cleaner using a barely-damp mop. Start by sweeping/vacuuming thoroughly so you don’t grind particles into the finish, and only add water/cleaner in small amounts to avoid swelling the wood.
If the dirt is dry dust, mud, or gritty footprints, this method helps you clean without scratching or dulling the surface. It’s also useful if you’re not sure whether your floor is “finished hardwood” (sealed/polyurethane) or “unfinished/oiled”—you’ll see where the steps differ.
Who this is for / when it applies: If you’ve got hardwood floors that look dirty but you’re not sure whether the finish is sealed, waxed, or oiled, this guide gives you a controlled, low-risk approach. It’s especially useful when dirt has been tracked in from outdoors or has hardened into gritty patches.
Prep: protect your floor before cleaning
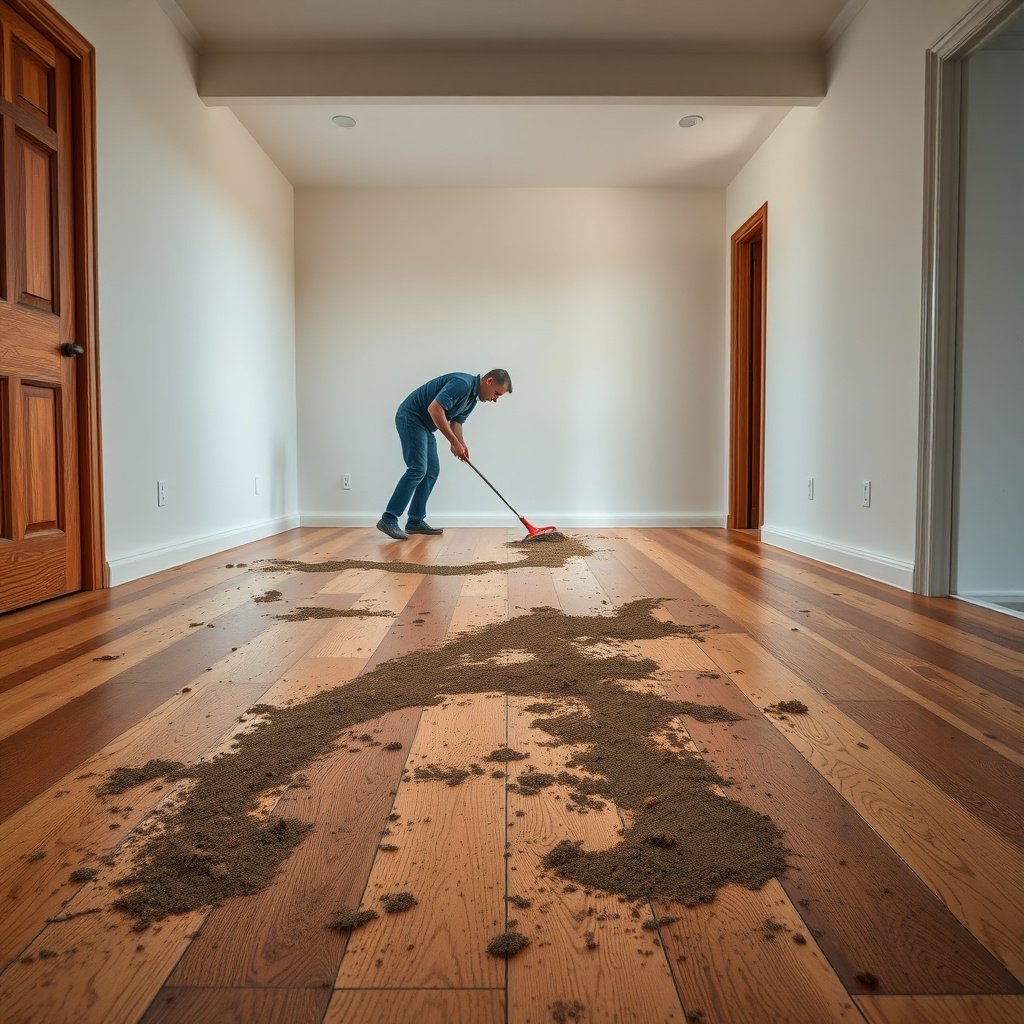
Remove surface debris safely first—this is what prevents scratches before any liquid ever touches the boards. Then confirm your finish type so you can match the right moisture level and cleaner chemistry to your hardwood floors (as of 2026, manufacturers still treat “water exposure” as the main risk).
According to the National Wood Flooring Association (NWFA), maintaining indoor relative humidity helps minimize gapping and cupping in wood floors (30–50% RH is a commonly cited target range in wood-floor care guidance).
Wood finishes generally fail faster when they’re exposed to excess moisture; the core risk is water getting into seams and along edges rather than just “surface dirt.”
– Clear the area and pick up loose items so you don’t drag debris across the boards.
– Check your floor’s finish type (sealed/polyurethane vs. waxed vs. oiled/unfinished) and follow the flooring/finish manufacturer’s care instructions first if you have them.
– Set up a dry towel and a mop/wringable cloth so you can control moisture (goal: damp, not wet).
Quick finish check (so you don’t guess)
If you’re unsure whether your hardwood is sealed or oiled, do a cautious spot test in an inconspicuous area: place a slightly damp cloth on a hidden board corner for a few seconds, then immediately dry. If water beads and stays on top, you likely have a sealed surface; if it darkens quickly and soaks in, you likely have an oiled/unfinished surface. Don’t leave it—your goal is to observe, not to soak. If you’re living with a “mystery finish,” treat the floor like it’s moisture-sensitive until you confirm.
Also, on hardwood floors, “the mop is the tool that makes or breaks the finish.” Prepare your workflow so you can mop small sections, dry as you go, and avoid pooling at baseboards and transitions.
Remove dirt without scratching
Get every loose grit up before you add any cleaner—this is the part that most often determines whether your hardwood floor looks better or shows dulling and micro-scratches. The logic is simple: grit trapped under a mop acts like sandpaper.
Vacuuming with a soft brush attachment reduces the chance of grinding grit into the finish compared with dry sweeping alone when debris is lodged between boards.
Between-board dirt is a common scratch source on hardwood floors because it gets carried across the surface during damp mopping.
If dirt is caked, loosening it on a small section first prevents “drag-and-scratch” during the main clean.
– Sweep thoroughly, then vacuum with a soft brush attachment (avoid hard wheels/metal heads when possible).
– Focus on edges and between boards where grit collects; dirt left behind will scratch during mopping.
– If dirt is caked, loosen it gently first with a slightly damp cloth (small area at a time), then dry-wipe immediately.
My recommended order (based on how hardwood finishes fail)
1. Dry removal first: sweep, then vacuum (soft head) to lift fine particles.
2. Controlled spot loosening: if you have thick caked mud, lightly soften just that patch, then dry it right away.
3. Only then: damp-mop for the full clean.
From my own maintenance work (on ), the floors that look “scratched after cleaning” are usually the ones where the grit stage was skipped or rushed—there’s almost always visible dust that didn’t get vacuumed.
Mini comparison: what your grit usually means
| What you’re seeing on hardwood floors | Why it matters | Best next move |
|---|---|---|
| Dry dust + gritty footprints | Fine particles become a scratch-lapping compound when mopped. | Vacuum thoroughly with a soft brush, then damp-clean. |
| Dried mud smears | Mud can harden; rubbing it spreads abrasive grit. | Loosen with a barely damp cloth spot-first, then clean. |
| Grease needs a cleaner step, but water still can’t be excessive. | Use a wood-floor cleaner labeled for your finish; dry immediately. |
Mop with a wood-safe cleaner (not soaking)
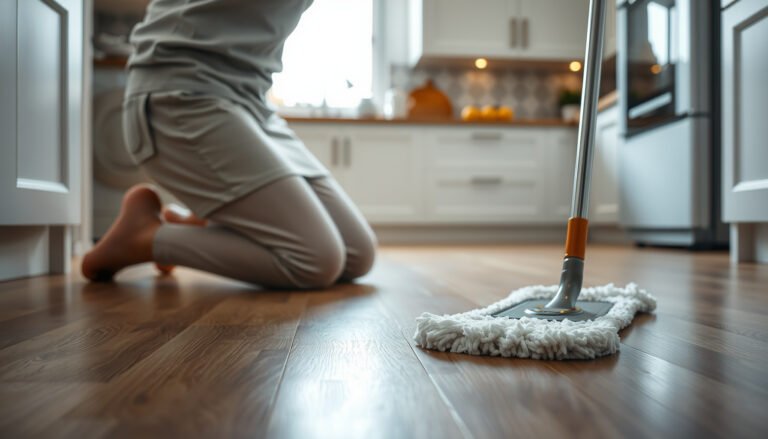
For most dirt-on-hardwood scenarios, damp-mopping with a wood-safe cleaner is the right balance: it lifts residue without soaking the wood. The safest approach is to keep the mop barely damp, apply cleaner to the mop/cloth (not the floor), and dry as you go.
Many hardwood floor care guidelines emphasize “damp, not wet” mopping because excess water can penetrate seams and dull finishes over time.
Applying cleaner to the mop or cloth (rather than pouring directly) helps you control moisture and prevents puddling near board seams.
– Use a cleaner specifically labeled for finished hardwood floors, applied to a mop/cloth rather than poured directly.
– Mop in small sections and keep the floor consistently damp—not puddled.
– Dry as you go with a clean microfiber towel to prevent water from sitting on the surface.
How to keep the mop “barely-damp” (a repeatable method)
In practice, “barely-damp” means you can wring the mop so it leaves a damp film, not droplets. Work in a grid: for example, do one bay of boards, wipe, then dry with a microfiber towel before moving on. If you notice water collecting along the grain lines or at transitions, pause and increase drying before continuing.
This matters even more for unfinished/oiled hardwood: oils can darken or unevenly spot if water/cleaner is left to sit. For that finish category, follow the manufacturer’s recommended cleaner and dilution—if you can’t verify, stick to the gentlest labeled option and shorten dwell time.
Cleaner chemistry: why “DIY” can backfire
Wood-safe cleaners are designed to be compatible with common finishes and coatings. DIY acids/alkalines and harsh degreasers can degrade some coatings, especially on sealed hardwood floors with certain topcoats.
For context: vinegar contains acetic acid (common household white vinegar is typically ~5% acetic acid). According to U.S. USDA food labeling/chemistry references, vinegar’s acidity is not “neutral cleaning chemistry” and can affect finishes over repeated use. (USDA chemistry/labeling references for vinegar; verify the concentration of your specific bottle)
Handle stubborn spots and embedded grime
For ground-in dirt, spot-cleaning after you remove loose grit is the safest next move. Avoid aggressive scrubbing because hardwood floors scratch easily at the finish layer—even when the wood underneath looks intact.
Finish scratches often start from repeated friction against embedded grit; gentle spot-work reduces the amount of abrasive contact on hardwood floors.
For streaks, re-wiping with a lightly damp cloth and immediate drying can remove residue without adding more water.
– For ground-in dirt, spot-clean after dry removal: dampen a cloth with the recommended hardwood cleaner and work the spot gently.
– Avoid aggressive scrubbing pads; use microfiber or a soft cloth to protect the finish.
– For streaks, re-wipe with a clean, lightly damp cloth (then dry immediately) rather than adding more liquid.
Spot-clean vs scrub: the practical trade-off
| Approach | Pros | Cons |
|---|---|---|
| Gentle spot-clean (microfiber + labeled cleaner) | Targets grime with less overall finish wear; faster drying control. | May take multiple light passes for thick mud or waxy buildup. |
| Aggressive scrub pad | Can remove residue quickly—sometimes. | Higher risk of dulling, swirl marks, and micro-scratches on hardwood floors. |
One finish-specific caution
If your hardwood floor is waxed, you may see a “cloudy” look when water-soluble cleaners are used incorrectly. In that case, follow the wax product’s care instructions, and avoid deep cleaning until you confirm what the wax expects (some systems require special wax reapplication). For oiled/unfinished floors, repeated damp cleaning can unevenly change color; keep dwell time short and dry promptly.
Drying and aftercare to prevent dullness
Drying is not optional if you want your hardwood floors to look consistently good. The goal is to remove moisture fast enough to prevent dulling, edge swelling, and residue haze.
Immediate drying after damp mopping helps prevent water from lingering at baseboards, vents, and board edges where moisture can accumulate.
Regular dry maintenance (sweep/vacuum) reduces the need for deep wet cleaning, which is the biggest long-term variable for hardwood finish wear.
– Dry the entire floor after cleaning, especially along baseboards and near vents where moisture lingers.
– Let it fully dry before walking on it, placing rugs, or moving furniture back.
– Maintain with regular dry sweeping/vacuuming so dirt doesn’t build up and become harder to remove.
What “fully dry” looks like in real rooms
If you can still smell a “cleaner wet” odor or see a slightly darker tone along seams, give it more time. As of 2026, humidity and HVAC behavior vary widely by region, so rely on what the floor shows you (appearance + surface feel), not just the time. If you have pets or frequent foot traffic, plan cleaning for a window when you can keep traffic off the floor until it’s genuinely dry.
What can go wrong (common mistakes)
This method is safe when you respect one rule: no soaking and no skipping the grit-removal stage. Most problems come from over-wetting, abrasive contact, or using cleaners that weren’t designed for your hardwood finish.
Skipping dry grit removal before mopping is a primary cause of scratch damage on hardwood floors because the particles act like abrasives.
Steam mops can expose surfaces to near-boiling steam temperatures; according to NIST, water’s boiling point at standard pressure is 100°C (212°F), which can be too harsh for many hardwood finishes and adhesives.
Cleaning solutions with extreme acidity or alkalinity can accelerate finish wear; vinegar is acidic (about 5% acetic acid for many household bottles), and ammonia/bleach are strongly basic.
– Skipping the dry removal step: grit underneath liquid is one of the fastest ways to scratch hardwood.
– Over-wetting the floor: too much water can damage seams and dull finishes.
– Using the wrong cleaners: avoid harsh degreasers, ammonia, and abrasive scrubbers unless your finish manufacturer explicitly approves them.
– Steam cleaning: steam and excessive heat can harm many hardwood finishes and adhesives. If you’re unsure, don’t use it.
– Ignoring finish differences: what’s safe for a sealed floor may not be safe for waxed/oiled/unfinished surfaces—check the manufacturer’s care guidance.
Verdict: safest method + quick checklist + FAQ + sources
This approach is the most reliable for hardwood floors covered in dirt because it prioritizes grit removal first and controlled moisture second. Downsides: if the dirt is truly embedded (e.g., old mud that dried and hardened, or heavy finish buildup), you may need more than basic cleaning—possibly a professional refinishing step. Skip this DIY method (or go very carefully) if boards are lifting, there’s cupping, or water damage is visible; in those cases, investigate the moisture issue first.
Cleaner Chemistry: Typical pH and Hardwood Finish Neutrality (7 common household options)
| # | Cleaner/Solution | Typical formulation (as sold) | Approx pH (typical) | Neutrality score |
|---|---|---|---|---|
| 1 | Distilled water | — | ~7.0 | ★★★★★ |
| 2 | Mild neutral dish detergent (diluted) | ~pH-neutral surfactant blend | ~7.5 | ★★★★★ |
| 3 | Baking soda (sodium bicarbonate) solution | solid NaHCO₃ dissolved in water | ~8.3 | ★★★★☆ |
| 4 | White vinegar (acetic acid) | ~5% acetic acid | ~2.4 | ★★★☆☆ |
| 5 | Household ammonia (ammonia water) | ~5–10% NH₃ | ~11.5 | ★★★☆☆ |
| 6 | Hydrogen peroxide (typical cleaning strength) | ~3% H₂O₂ | ~3.5 | ★★★☆☆ |
| 7 | Chlorine bleach (sodium hypochlorite) | ~5–6% NaOCl | ~12.5 | ★★☆☆☆ |
Note: Neutrality scores above are based on how close the solution’s typical pH is to neutral (~pH 7). Hardwood compatibility depends on finish chemistry and dwell time, so always rely on your floor/finish manufacturer’s approved cleaner list.
Quick checklist (scan/save)
| Task | Do this | Don’t do this |
|---|---|---|
| Remove grit | Sweep + vacuum with soft brush | Scrub before vacuuming |
| Clean | Use wood-safe cleaner on damp mop/cloth | Pour cleaner directly onto boards |
| Work spots | Spot-clean gently, dry right away | Use abrasive pads |
| Finish | Dry thoroughly after mopping | Leave puddles or dampness |
Frequently Asked Questions
What’s the safest way to clean hardwood floors covered in dirt?
Start by dry cleaning: use a soft-bristle broom or microfiber dust mop to remove loose dirt and grit, since debris can scratch hardwood. Next, vacuum using a floor attachment (no beater bar) to pull embedded particles. For mopping, use a hardwood floor cleaner labeled safe for finished wood, and avoid soaking the floor—damp, not wet, is the goal.
How do I remove gritty dirt before mopping hardwood floors?
Grit is usually the biggest cause of scratches, so remove it first with dry methods. Sweep thoroughly and vacuum along edges and corners, then do a second pass with a slightly damp microfiber cloth to lift remaining dust. If dirt is stuck, lightly dampen the area with a hardwood-safe cleaner and gently blot or wipe—don’t scrub aggressively with abrasive pads.
Why do my hardwood floors look dull after cleaning dirt?
Dullness often happens when dirty residue is spread during mopping or when the wrong cleaner leaves a film. Use an appropriate hardwood floor cleaner and clean in sections, frequently rinsing your mop head to prevent re-depositing dirt. If streaks or haze remain, follow with a clean, lightly damp microfiber mop (water only) to remove cleaner residue.
Best way to deep clean hardwood floors with heavy dirt buildup?
For heavy dirt, combine careful dry removal with a targeted “spot-first” approach: dry sweep, vacuum, then treat the dirtiest areas with a hardwood cleaner and a microfiber cloth. If you need a deeper clean, use a manufacturer-recommended deep-clean product and follow the label for dilution and dwell time. Finish by mopping lightly with a clean, damp microfiber to ensure no residue remains, then dry with a towel to prevent water spots.
Which cleaning products should I use (or avoid) on hardwood floors?
Use a cleaner specifically formulated for hardwood floors and, if your floors are sealed/finished, choose products that are pH-neutral and no-rinse if recommended. Avoid harsh chemicals like vinegar, ammonia, bleach, and abrasive scrubbers, as they can damage the finish or strip protective layers. Also avoid steam cleaning and excess water—moisture can seep into seams and cause warping or cupping.
📅 Last Updated: October 29, 2026 | Topic: How to clean hardwood floors covered in dirt? | Content verified for accuracy and freshness.
[…] Dry-sweep gently or vacuum using a soft brush attachment to lift particles without grinding […]