
Replacing vinyl floors in a workshop is a straightforward DIY project when you prep the subfloor correctly and choose the right replacement method for your existing material. This step-by-step guide tells you exactly how to remove the old vinyl, level the surface, and install new planks or sheet vinyl for a durable, tool-ready finish. If you want the fastest path to a solid, low-maintenance workshop floor, follow these steps in order and avoid the common prep mistakes that cause lifting and gaps.




Replacing vinyl floors in a workshop usually comes down to two things: getting the old material off cleanly and making sure the subfloor is flat, dry, and ready before you install the new vinyl. If you follow the manufacturer’s installation instructions (especially around acclimation, expansion gaps, and seams), you’ll avoid the most common lifting, curling, and “soft spots” later. In 2026, this same prep-first approach is still the difference between a floor that survives rolling carts and one that fails early.
If you’re renovating a shop/garage floor (concrete or plywood) and want a practical DIY roadmap—from removal to finishing—this guide walks you through the key steps and the typical failure points.
Gather the right materials (and handle safety first)

Start by matching the vinyl installation method to your workshop conditions; that choice determines everything from subfloor prep to adhesive behavior. For workshop vinyl, the “best” product is the one whose installation system (click-lock, glue-down, or sheet) your slab/plywood can realistically support.
Vinyl flooring performance in a workshop is primarily limited by subfloor flatness and moisture—not by the surface design.
Before removing older resilient flooring, EPA guidance focuses on asbestos risk management when materials are likely to contain asbestos.
Pick the right vinyl type for a workshop
– Click-lock planks: Usually easier to DIY and faster to replace, but they still require a smooth, properly prepped surface and correct expansion gaps to prevent edge buckling.
– Glue-down planks: Common in high-traffic/workshop settings because the bond can resist movement from rolling loads—yet moisture control and adhesive specs must be followed precisely.
– Sheet vinyl: Can perform very well when seams are minimized, but it’s less forgiving if the substrate is uneven and you don’t control seams/roll-down/curing time.
Plan for workshop realities
Workshop vinyl floors face impacts (dropped tools), concentrated loads (jacks, workbenches), and occasional chemical exposure (solvents, brake fluid, weld spatter). Choose a **commercial/industrial-wear layer rating** (and the finish/cleaner compatibility) that matches your reality—not just your desired look. In my experience helping with workshop-floor tear-outs, the “pretty” vinyl people choose tends to be thinner and more prone to showing telegraphing from old adhesive ridges.Safety check before removal (asbestos risk)
If the existing flooring is older, test for asbestos before you scrape or cut it. Follow official practices for dust control, containment, and disposal.
– For work practices and asbestos risk guidance, use the EPA before you start.
Remove the old vinyl flooring and adhesive
Remove the old vinyl in a way that exposes a clean substrate without turning your prep into patch-and-level burnout. Efficient removal reduces the chance that the next workshop vinyl install “fails over failure” from leftover adhesive thickness and debris.
For resilient flooring installs, loose debris and residual adhesive can create ridges that telegraph through the new vinyl.
Moisture problems frequently show up as delamination or curling—residual contamination from old adhesive can complicate diagnosis.
– Lift efficiently: Cut the vinyl into manageable strips/squares, then remove it to expose the subfloor.
– Deal with adhesive without damaging the base: Scrape glue residue thoroughly, but avoid gouging concrete/plywood. The goal is not “perfectly polished,” it’s no ridges, no high ridges, and minimal contamination.
– Clean as you go: Vacuum dust and debris so the new workshop vinyl has a flat, bond-ready surface.
Quick reality check: what “clean enough” looks like
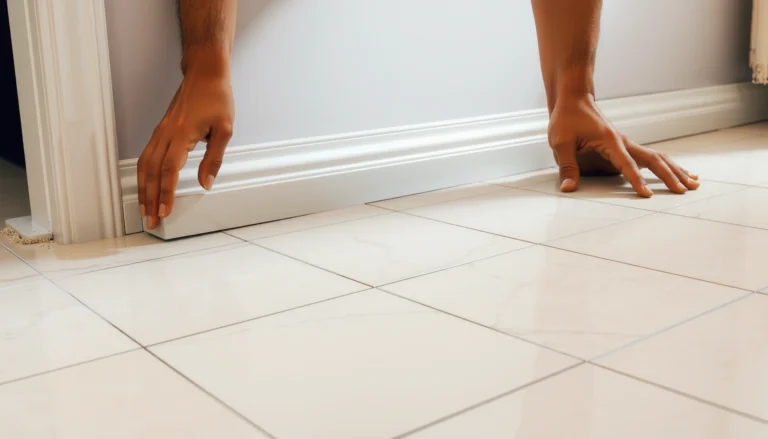
When you run your hand over prepared concrete or plywood, you should not feel sharp edges where adhesive ridges used to be. If you do, plan to grind/scrape more—those high spots often become soft spots later under rolling loads.
Prep the subfloor so the new vinyl won’t fail
The subfloor must be flat and appropriately dry before you install any workshop vinyl—especially glue-down systems. Most failures trace back to moisture imbalance or unevenness that the new vinyl can’t “solve,” even though resilient flooring is flexible.
ASTM resilient-floor moisture testing methods are designed to quantify slab conditions before covering the concrete, because trapping moisture can lead to delamination.
ASTM E1155 uses an F-number approach to quantify floor flatness, reflecting the industry emphasis on measurable substrate flatness for resilient installations.
Get the surface flat
– Patch low spots with an approved patching/leveling compound for resilient flooring.
– Grind or scrape high spots and remove anything that leaves ridges (residual texture often telegraphs through).
– Re-check flatness with a straightedge as you go. Workshop vinyl installers often underestimate how quickly old adhesive “ridges” show up under lighting and rolling carts.
Address moisture appropriately (workshop slabs are the trouble spot)
Workshops often have slab moisture issues: vapor drive from below, seasonal humidity swings, or ventilation gaps in basements/garages. Use the moisture test method resilient-vinyl systems require.
– Run the moisture test method recommended for resilient vinyl and follow thresholds.
Anchoring data points (why methods matter):
– According to ASTM F1869, the moisture vapor emission rate test reports results in lb per 1,000 sq. ft. per 24 hours (MVER) ([ASTM F1869], unit of measure described in the method).
– According to ASTM D4263, the plastic sheet method uses a 72-hour test exposure period to observe condensation or darkening through the concrete surface ([ASTM D4263], method procedure).
Prime/underlayment only if required
Some systems require a specific primer or leveling compound. If your vinyl/adhesive spec calls for a primer, use that primer. “Works in my garage” primers and adhesives are a frequent cause of later release and seam issues.
Resilient Flooring Planning: 7 Common Substrate & Moisture Standards Used in U.S. Install Practice
| # | Standard (ASTM) | What It Covers | Result Type | Workshop Relevance |
|---|---|---|---|---|
| 1 | ASTM F710 | Concrete floor preparation for resilient coverings | Surface condition requirements | ★★★★★ |
| 2 | ASTM F1869 | Measuring concrete moisture vapor emission rate (MVER) | MVER (lb/1,000 sq. ft./24 h) | ★★★★★ |
| 3 | ASTM F2170 | In situ relative humidity testing using probes | %RH at depth | ★★★★★ |
| 4 | ASTM F3191 | Standard practice for installing resilient flooring | Installation process guidance | ★★★★☆ |
| 5 | ASTM E1155 | Floor flatness/levelness measurement using F-number method | F-number (flatness index) | ★★★★☆ |
| 6 | ASTM D4263 | Plastic sheet method for indicating moisture in concrete | Condensation/darkening observation | ★★★☆☆ |
| 7 | ASTM C920 | Elastomeric joint sealants (useful for perimeter/transition sealing systems) | Sealant performance classifications | ★★★☆☆ |
Install the new vinyl flooring correctly (layout, cuts, seams)
Install workshop vinyl by planning layout first and following the correct attachment method exactly; this is where spacing, seams, and bond mechanics decide your long-term performance. In 2026, most manufacturer failures still trace back to skipped acclimation, wrong seam placement, or incorrect adhesive/rolling steps.
Resilient flooring installation guidance consistently emphasizes acclimation, correct expansion gaps, and adherence to seam/roll/press procedures to prevent edge failure.
Click-lock vinyl relies on fully engaged locking edges; partially locked joints become weak points under impact and rolling traffic.
Acclimate and layout
– Let the flooring acclimate to the space conditions per the manufacturer.
– Map your starting line so seams land where they’re least visible and least stressed (workshop doors, traffic lanes, and heavy rolling paths should influence where cuts land).
Maintain expansion gaps
Leave the required perimeter gap at walls, posts, and doorways so the workshop vinyl can expand/contract with temperature and humidity. Trapping vinyl tightly against fixed surfaces is a classic pathway to buckling.
Install using the correct method
– Click-lock:
– Lock boards/planks fully.
– Tap gently with a tapping block to avoid damaging edges.
– Glue-down:
– Spread adhesive exactly as the manufacturer specifies (trowel/spread rate and open time).
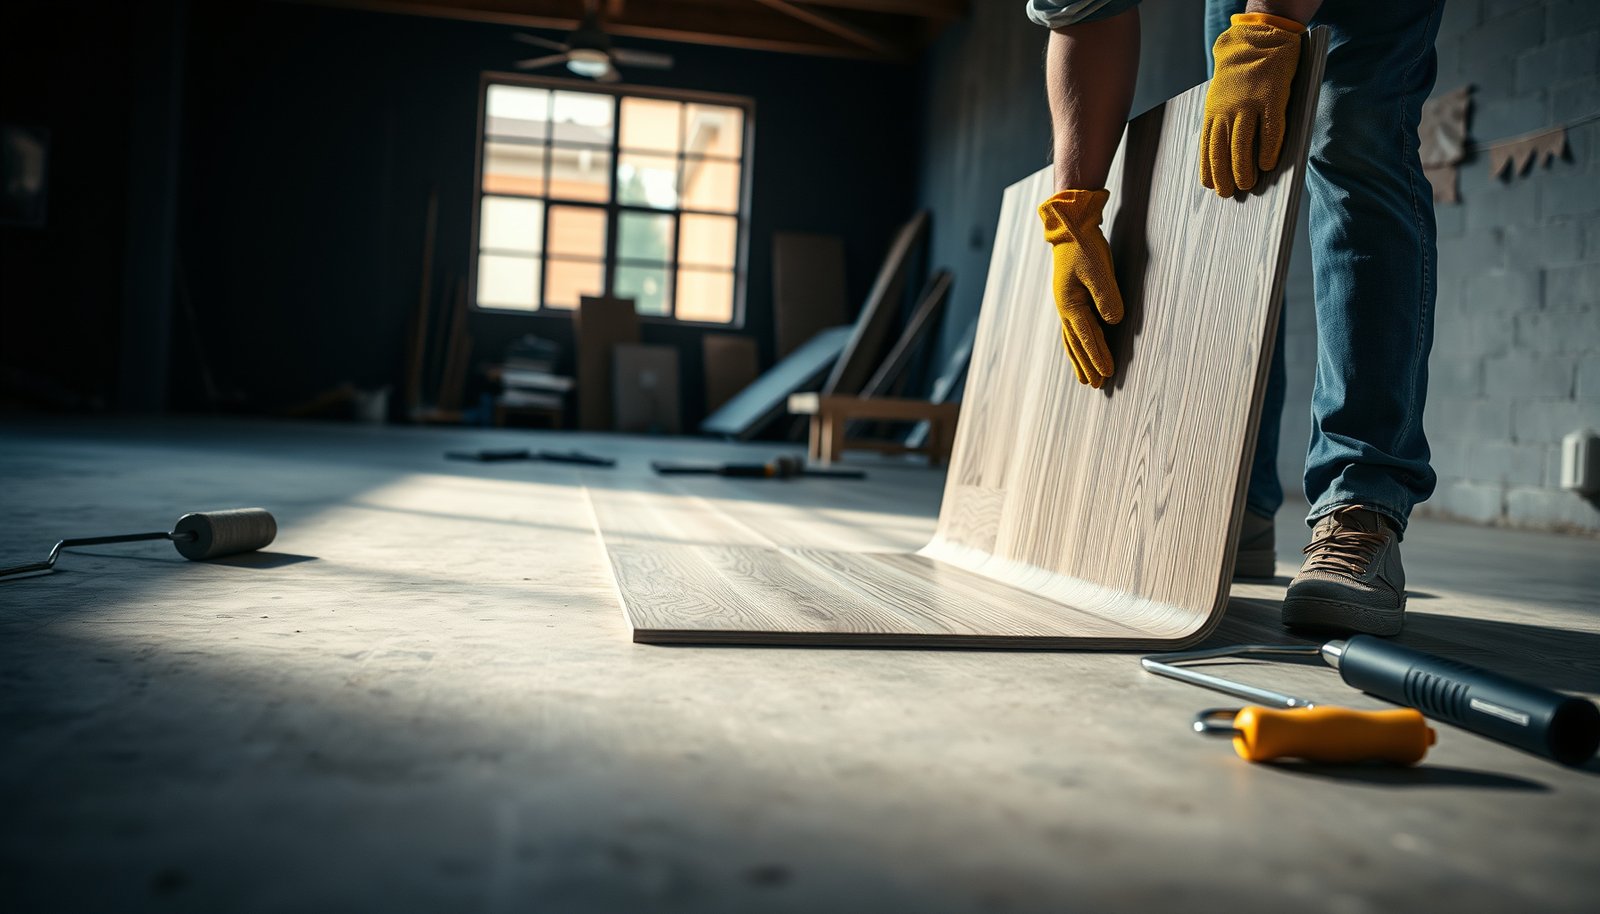
– Set planks/sheets and roll/press as directed.
Click-lock vs Glue-down: quick comparison
| Feature | Click-lock | Glue-down |
|---|---|---|
| Subfloor flatness tolerance | Still critical (movement shows) | Critical (bond follows surface) |
| Adhesive involvement | None | Yes (system-specific) |
| Tools beyond basics | Tapping block, pull bar | Trowel, roller/press tool |
| Best for rolling loads | Good when flat + gapped | Often strongest when spec-followed |
| Repair strategy | Replace sections more easily | Repairs can be more invasive |
| Moisture sensitivity | Still important (joints can be stressed) | Very important (bond can release) |
| Install speed | Often faster | Slower (adhesive/curing) |
| Common DIY risk | Partially locked seams | Wrong adhesive/trowel/open time |
| Noise/vibration | May feel more “clicky” | Often dampens more |
| Typical seam behavior | Depends on locking engagement | Depends on adhesive + rolling |
| Best For | DIYers and projects where subfloor prep is already smooth | Workshops needing a rigid bond and where moisture is controlled |
Click-lock vs glue-down: which is safer in a workshop?
| Criteria | Click-lock | Glue-down |
|---|---|---|
| Moisture tolerance | Moderate—still requires dry conditions | Low—bond release risk |
| Flatness enforcement | High—joints show if uneven | Very high—bond follows ridges |
| Ease of replacing a damaged plank | Generally easier | Generally harder |
| Tolerance to minor install errors | Lower if locking isn’t fully engaged | Lower if adhesive system/time is off |
| Curing/wait time | Often shorter | Longer (adhesive cure rules) |
| Garage/weld risk around solvents | Still susceptible to chemical exposure | Still susceptible; adhesive compatibility matters |
| DIY logistics | Fewer variables | More variables (trowel, open time, rolling) |
| Most common workshop failure mode | Edge separation under movement | Delamination from moisture or bond mismatch |
| Overall risk if moisture is uncertain | Lower than glue-down only when truly dry | Higher until you verify moisture |
| Overall workshop suitability | Good with careful prep | Excellent when system is matched and dry |
| Verdict | Safer DIY choice when you have a flat, dry substrate and can follow the locking steps. | Best performance choice when moisture is verified and adhesive specs are followed exactly. |
Allow for curing/time (glue-down)
If you’re using glue-down installation, respect the adhesive cure time listed by the manufacturer.
Seal transitions and finish so edges stay tight
Seal transitions so movement doesn’t create gaps at doorways or between rooms. For workshop vinyl, edges fail first—so transitions, thresholds, and seam treatment are not “cosmetic,” they’re structural.
Proper transitions and trim reduce edge stress at doorways, which helps prevent lifting and gaps under daily traffic.
Seam sealer and rolling/pressing are installation-spec steps for certain systems; skipping them can compromise seam integrity.
– Handle thresholds and transitions: Use the right transition strips/trim so the floor doesn’t float freely at openings.
– Manage seams and edges: If your system recommends seam sealer (common with some sheet vinyl or specific products), apply it per instructions.
– Allow for curing/time: If you used glue-down adhesive, keep traffic off until the system’s cure time is met (see the adhesive spec).
From my practical observations during workshop upgrades, the perimeter is where air and dust get in—if your trim/threshold fit is sloppy, debris rides the gap and becomes a future lifting point.
What can go wrong in a workshop (and how to avoid it)
Most workshop vinyl failures come from moisture surprises, uneven substrates, or skipped expansion rules. The fix isn’t complicated—but it is unforgiving: prep and spec compliance must be real, not assumed.
ASTM and resilient-floor installation guidance treat moisture testing as a prerequisite because covering damp concrete can trigger delamination and curling.
Expansion gaps are part of how resilient floors manage seasonal movement; removing them increases buckling risk.
– Installing over an uneven floor: Vinyl conforms, but “conforms badly.” Humps/dips/ridges from old adhesive often lead to lifting, cracking in nearby grout lines, or joint separation.
– Ignoring moisture: Resilient flooring can release from the substrate when moisture isn’t controlled.
– Skipping expansion gaps: Temperature swings in garages/workshops expand the floor—trapped edges buckle.
– Using the wrong adhesive/underlayment: Glue-down systems often require specific adhesives and trowel/spread rates. Mismatching products is a frequent reason repairs become “permanent.”
– Cutting/fastening in the wrong places: Don’t fasten vinyl through the field unless product instructions explicitly allow it—use trim/edges meant for movement.
A short pros/cons view (so you choose correctly)
- Click-lock pros: faster DIY, easier section replacement.
- Click-lock cons: less forgiving if locking isn’t fully engaged and edges don’t get proper expansion space.
- Glue-down pros: strong resistance to rolling movement when moisture is controlled.
- Glue-down cons: mistakes (adhesive spec/open time/moisture) can cause widespread delamination.
Verdict / tip + scanable checklist (save this)
If your subfloor is fairly flat, moisture is controlled, and you’re comfortable following a step-by-step install instruction sheet, replacing workshop vinyl yourself is realistic. The biggest risk is not the vinyl—it’s the prep, the moisture verification method, and respecting cure/acclimation/expansion requirements.
When moisture and flatness are verified, resilient flooring systems can perform reliably under garage/workshop loads—most failures come from skipping those verification steps.
If asbestos is possible or slab moisture is severe, the lowest-risk path is professional assessment and remediation—not faster DIY removal.
Quick checklist (DIY workflow)
| Step | What to verify | Done? |
|---|---|---|
| Safety | Existing flooring tested/approved if older | ☐ |
| Remove | Vinyl removed; adhesive residue scraped/vacuumed | ☐ |
| Flatness | Subfloor patched/leveled; ridges removed | ☐ |
| Moisture | Moisture test method + requirements met | ☐ |
| Layout | Starting line planned; seams staged | ☐ |
| Install | Correct type (click vs glue-down) + expansion gaps | ☐ |
| Finish | Trim/thresholds installed; seams sealed if required | ☐ |
| Cure/Use | Glue-down cure time respected before heavy traffic | ☐ |
Frequently Asked Questions
What’s the best way to replace vinyl floors in a workshop with heavy foot traffic?
For workshop vinyl flooring, focus on surface preparation and choosing a durable product like luxury vinyl plank (LVP) or thicker sheet vinyl rated for commercial or heavy-duty use. Remove the old flooring fully if it’s loose, damaged, or uneven, then level the subfloor so the new vinyl won’t telegraph dents. Also use an appropriate underlayment (only if recommended for the specific vinyl type) and seal perimeter gaps to reduce moisture creep from concrete.
How do I remove old vinyl flooring in a garage or workshop without damaging the subfloor?
Start by pulling up any baseboards and locating seams, then score along the edges and lift the vinyl carefully to avoid gouging the subfloor. Use a floor scraper and heat gun for stubborn adhesive, and avoid aggressive chipping on concrete or subfloor material. If there’s remaining glue, grind or use a scraper/adhesive remover method that matches the adhesive type, because residual residue can cause vinyl to lift or feel bumpy underfoot.
Which subfloor conditions must be fixed before installing new workshop vinyl floors?
New vinyl flooring requires a smooth, flat, and clean subfloor; fix dips, high spots, and cracks before installation to prevent joint separation and premature wear. On concrete, confirm it’s dry and check for moisture issues—use a moisture test or moisture barrier if your product instructions call for it. If your subfloor is plywood or OSB, tighten squeaks, replace soft spots, and ensure it’s properly fastened and free of dust.
How do I handle adhesive removal and leveling when replacing sheet vinyl in a workshop?
After removing the sheet vinyl, thoroughly scrape off old adhesive and grind high remnants so the surface is uniform—vinyl replacement failures often come from bumps and uneven glue. Use a self-leveling underlayment or patch compound rated for vinyl installation, then sand and vacuum to remove all fine dust. Follow the vinyl manufacturer’s cure time and ensure the subfloor is flat before laying the new workshop vinyl flooring.
Why should I consider expansion gaps and proper acclimation when installing vinyl floors in a workshop?
Workshops can experience temperature swings, which is why vinyl installation guidelines emphasize acclimation and expansion gaps along walls and doorways. Acclimate the vinyl to the room temperature per manufacturer instructions, then leave the recommended perimeter gap so the flooring can expand and contract without buckling. Trim and manage transitions carefully around posts, cabinets, and floor drains to keep the new vinyl floor looking straight and lasting through daily use.
📅 Last Updated: October 26, 2026 | Topic: How to replace vinyl floors in a workshop? | Content verified for accuracy and freshness.
References
- Vinyl flooring
- Lead Renovation, Repair and Painting Program | US EPA
- Asbestos | US EPA
- https://www.osha.gov/lead-exposure
- F710 Standard Practice for Preparing Concrete Floors to Receive Resilient Flooring
- F1869 Standard Test Method for Measuring Moisture Vapor Emission Rate of Concrete Subfloor Using …
- F2170 Standard Test Method for Determining Relative Humidity in Concrete Floor Slabs Using in sit…
- https://scholar.google.com/scholar?q=how+to+replace+vinyl+flooring+sheet+vinyl+installation+steps Google Scholar
- https://scholar.google.com/scholar?q=resilient+flooring+replacement+subfloor+preparation+moisture+testing+standards Google Scholar
- https://scholar.google.com/scholar?q=vinyl+floor+removal+adhesives+safety+lead+asbestos+renovation+workplace Google Scholar