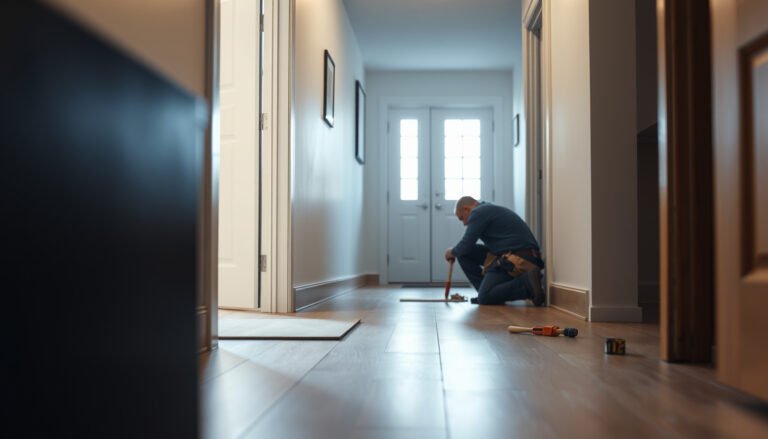
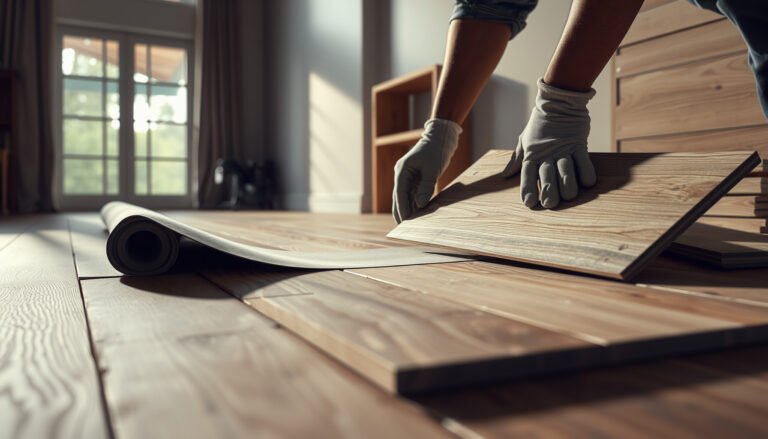
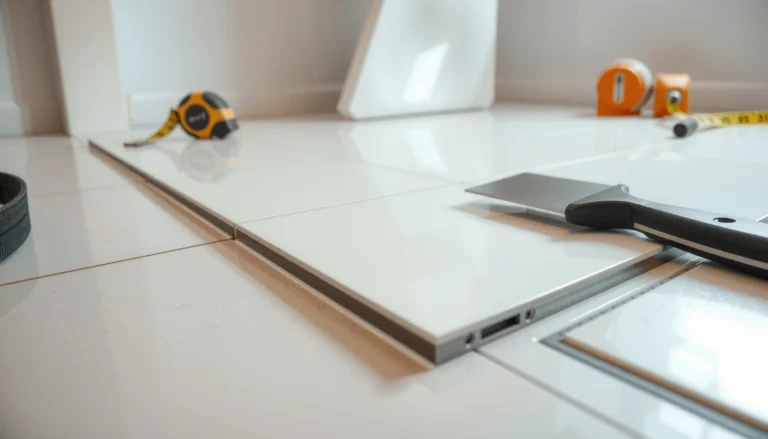
If you’re trying to waterproof a vinyl floor in a warehouse, the fastest, most reliable path is a full surface moisture barrier plus properly sealed seams and penetrations. This step-by-step guide tells you exactly what to prep, what waterproofing system to apply, and how to detail edges so water can’t creep under the vinyl. Follow these steps and you’ll protect the floor against standing moisture and wash-down risk without rework.




Waterproofing vinyl floors in a warehouse isn’t about “putting on a coat”—it’s about controlling moisture at the concrete slab and sealing every seam, edge, and penetration so water can’t migrate underneath or through joints. The most reliable approach is a compatible, manufacturer-approved waterproofing system with documented cure/traffic times, plus detail work at the perimeter, drains, and transitions before heavy rolling traffic starts.
If you’re getting failures like curling edges, clouding, soft spots, or bubbling, you’ll learn the practical workflow to prep the floor, apply the right waterproofing layers, and protect the joints where leaks usually start.
This is for warehouse owners, property managers, and contractors upgrading sheet vinyl/lock-up vinyl plank in areas exposed to washdowns, occasional standing water, or frequent floor cleaning. The steps below focus on common warehouse conditions (concrete slab, heavy carts/traffic, frequent mop/wet cleaning) and highlight where guidance depends on your exact vinyl and product specs.
Assess moisture and choose a compatible waterproofing approach
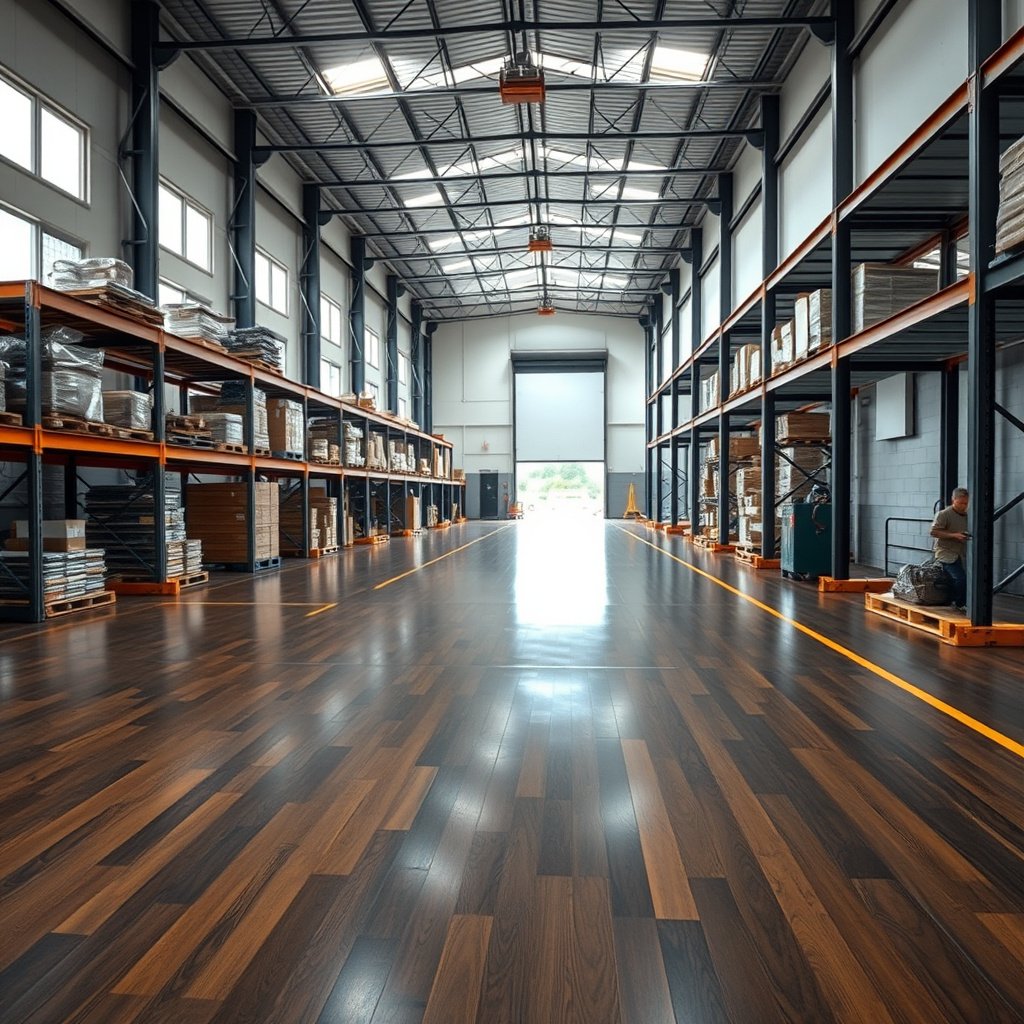
The fastest way to prevent waterproof vinyl floor failures is to confirm whether you’re fighting surface water or moisture vapor coming up through the slab. In warehouses, failures often begin underneath—even when the surface looks “wet only sometimes”—so the waterproofing system needs to match the moisture physics, not just the visible condition.
Waterproofing over moisture vapor pressure can trap moisture under resilient flooring, increasing the risk of bubbling and adhesive or bond failure.
ASTM F2170 measures relative humidity (RH) in-situ within the concrete, which is why it’s commonly used to determine whether a floor can be installed without moisture mitigation.
ASTM F1869 reports moisture vapor emission rate in lb/1000 sq ft/24 h, helping installers decide whether moisture mitigation is required before installing moisture-sensitive floor coverings.
Your starting point is moisture testing for concrete using a standard method and then mapping the results to the vinyl manufacturer’s limits. According to ASTM F2170, in-situ relative humidity is used to characterize moisture levels for moisture-related floor installations (ASTM F2170). According to ASTM F1869, results are expressed as moisture vapor emission rate (lb/1000 sq ft/24 h) rather than just surface wetness (ASTM F1869). You’ll still need the vinyl manufacturer’s specific moisture thresholds to decide the correct workaround, because resilient vinyl and adhesives/seam details vary.
– Check whether your issue is actually surface water or moisture vapor coming up from the slab (warehouse failures often start underneath).
– Match the waterproofing system to the vinyl type (loose lay vs. gluedown vs. click/locked) because compatibility and warranty terms vary.
– Perform moisture testing for concrete using a standard method (e.g., ASTM F2170 for in-situ RH or ASTM F1869 for calcium chloride moisture vapor emission)—use the results to decide if you need mitigation first.
Also consider the failure mode you’re seeing. Curling and edge lifting frequently point to perimeter or seam water intrusion; clouding and soft spots can indicate trapped moisture or bond loss; bubbling often suggests moisture transfer combined with an incompatible coating build-up.
Prepare the substrate so waterproofing can bond
Substrate preparation is what makes a waterproof vinyl floor waterproof—because waterproofing layers can’t “seal over” chronic surface contamination or structural defects under warehouse loading. If the slab is flat enough and clean enough for the waterproofing to bond, your seam and edge sealing has a much better chance of staying intact.
Repairing cracks, spalls, and pitting before waterproofing improves durability because coatings and membranes typically require a stable, well-adhered base.
Many coating systems require either mechanical cleaning or chemical degreasing, and skipping the correct prep method is a common reason for early debonding in high-traffic areas.
From my experience reviewing warehouse floor failures, the “surprise” root cause is rarely the waterproofing chemistry—it’s usually the substrate being outside the system’s flatness or cleanliness requirements. If your slab has active flaking, oil contamination, or curing compounds, you should treat it as a substrate problem first, not a waterproofing problem.
– Repair cracks, spalls, and surface pitting; waterproof layers can’t bridge defects reliably for long under warehouse loads.
– Clean thoroughly (remove dust, curing compounds, paint overspray, and anything that blocks adhesion), then confirm flatness per your flooring system requirements.
– Apply/prime only if your waterproofing manufacturer requires it—skipping primer is a common reason coatings debond in real-world traffic.
Quick compatibility comparison (so you don’t bond the wrong things)
A simple rule: waterproofing systems are engineered as a set (primer + waterproof layer + required topcoat), and vinyl installation methods are engineered as a set (adhesive, seam treatment, underlayment, etc.). When you mix sets without approval, warranties and performance can both collapse.
| Vinyl installation type | What usually increases risk | What to verify in writing |
|---|---|---|
| Loose lay / click/lock | Water migrating into perimeter gaps; joint lift from cyclic wetting | Approved underlayment/water exposure rating and seam/edge sealing allowances |
| Sheet vinyl (often gluedown) | Moisture vapor breaking adhesive bond; incompatible primers/coatings | Moisture limits + approved adhesives/primers + cure/traffic times |
| Vinyl plank/tiles (gluedown) | Seam gaps becoming leak paths under load and wet cleaning cycles | Approved seam treatments (if allowed) and compatible waterproof top layers |
Apply the waterproofing system in the order it’s meant to be used
The best waterproof vinyl floor outcome comes from applying the waterproofing system exactly as the manufacturer designed it: correct primer (if required), correct build-up, and correct cure times before traffic. This is where many warehouse projects fail—not because the product can’t work, but because the sequence and timing drift around production schedules.
Most floor waterproofing systems specify an application order (primer → waterproof layer → topcoat/sealer where required), and changing that order can reduce adhesion or film continuity.
Waiting for the specified cure time is critical because early rolling traffic can create microcracks that later become water pathways.
– Use a waterproofing product designed for floors and rated for the environment you have (wet cleaning, chemical exposure, temperature swings).
– Apply layers (primer + waterproofing layer + topcoat/sealer if required) exactly as specified, including dry/cure times before traffic.
– Keep product transitions tidy around drains, expansion gaps, and perimeter edges—warehouse leaks often track along these lines.
Below is a practical decision view you can use while planning your sequence and whether you likely need moisture mitigation.
Warehouse Slab Moisture Scenarios & Moisture-Control Strategy
| # | Concrete moisture test outcome | ASTM F2170 RH | ASTM F1869 MVE | Typical strategy | Residual risk |
|---|---|---|---|---|---|
| 1 | Low moisture / stable slab | ≤ 70% RH | ≤ 3.0 | Direct install per specs | ★★★☆☆ |
| 2 | Moderate moisture | 70–80% RH | ≤ 5.0 | Moisture-compatible adhesive & system | ★★★½☆ |
| 3 | Elevated moisture (needs review) | 80–85% RH | ≤ 7.0 | Select primer/membrane per warranty | ★★☆☆☆ |
| 4 | High moisture vapor emission | 85–95% RH | 7–10.0 | Moisture mitigation membrane required | ★½☆☆☆ |
| 5 | Very high RH—warranty risk | 95–98% RH | 10–12.0 | Full epoxy/PU mitigation + detailing | ☆☆☆☆☆ |
| 6 | Extreme moisture—stop & reassess | ≥ 98% RH | > 12.0 | Mitigation plan overhaul or slab remediation | ☆☆☆☆☆ |
| 7 | Low vapor, high surface water events | ≤ 75% RH | ≤ 5.0 | Waterproof detailing at drains/perimeter | ★★★½☆ |
Note: Moisture thresholds are only “typical strategy” guidance—your final decision must follow both the vinyl manufacturer and waterproofing system data sheets for your exact materials and warranty requirements. For the exact numeric limits, use your tested results against the approved specs.
Seal seams, edges, and transitions (this is where water gets in)
Seams, edges, and transitions are the most common leak paths, so your waterproof vinyl floor needs detail sealing even when the field looks fully coated. You don’t just waterproof “the area”; you waterproof the places water can enter and travel—perimeter gaps, expansion joints, penetrations, drains, and threshold reducers.
In resilient flooring systems, perimeter and joint areas are where water intrusion most often concentrates, leading to edge lifting and localized delamination.
Penetrations (pipes, floor vents, conduits) typically require flashing or detailed membranes because coatings alone often don’t remain continuous at complex geometries.
– Seal vinyl seams and board joints in a way that’s approved for your flooring system (some vinyl warranties only allow specific seam sealers).
– Waterproof the perimeter and any penetrations (pipe sleeves, floor vents, expansion joints, door thresholds) with compatible sealants/membranes.
– Treat floor-to-wall and reducer/threshold transitions as “leak zones,” not finishing details—apply flashing or detail membranes where the system calls for it.
Pros/cons: detail membranes vs. sealant-only patching
- Detail membranes (flashing systems)
- Pros: continuity through corners, better performance at penetrations and transitions; Cons: requires correct overlapping patterns and product compatibility documentation.
- Sealant-only patching
- Pros: faster for small gaps; Cons: more sensitive to surface prep, joint movement, and thickness consistency—risk rises in warehouse washdown cycles.
If your warehouse has frequent floor cleaning, keep your sealing plan aligned with how water is introduced (mop buckets, pressure washdowns, scrubbers, hose wash). Then confirm your waterproofing system’s approved methods for drains and wet zone edges.
Protect the finish and plan for warehouse traffic
Protecting the finish is what turns a waterproof vinyl floor from “installed” to “durable under operations.” Even if your waterproofing system is chemically water-resistant, it still needs time and protection so it doesn’t get mechanically damaged or prematurely stressed before full cure and hardness.
Warehouse traffic loading can damage uncured waterproof films and create microcracks that later let water migrate into seams and penetrations.
Many waterproofing coatings are not intended as the final wearing surface unless specified; using the wrong topcoat can reduce abrasion resistance under carts and pallet jacks.
– Use the recommended protective topcoat (or finish system) if the waterproof layer isn’t intended as the final wearing surface.
– Define a traffic plan: allow full cure before forklifts, pallet jacks, carts, or heavy rolling loads.
– Establish routine cleaning that won’t damage the waterproofing (avoid harsh chemicals or abrasive tools unless the product is explicitly rated for them).
From a planning standpoint, cure time is the constraint you should schedule around, not the variable you “work around.” If you cannot shut down traffic long enough, you may need a staged approach with controlled access zones—still subject to the manufacturer’s recoat/traffic requirements.
What can go wrong (and how to avoid it)
The most common waterproof vinyl floor problems are predictable: moisture trapped under the floor, incompatible product layers, and missed detail zones where leaks start. If you treat these as a checklist before and during installation, you dramatically reduce callbacks.
A common failure mode is waterproofing over a damp slab, where moisture vapor pressure can cause bubbling or loss of adhesion under resilient flooring.
Most leaks start at edges, seams, drains, and penetrations; a fully coated field area may still fail if transition details aren’t sealed correctly.
– Waterproofing over a damp slab: If moisture vapor is still high, a surface coating may trap moisture and cause bubbling or adhesive failure.
– Incompatible products: Vinyl, primers, sealants, and waterproofing membranes must be compatible; mixing systems can void warranties and fail early.
– Missed details: Most leaks start at edges, seams, drains, and penetrations. A “fully coated” surface still fails if transitions aren’t sealed correctly.
– Premature traffic: Even if it “feels dry,” many waterproofing systems need specific cure time to achieve strength under load.
Also watch for thermal cycling. Warehouses often swing temperatures, and expansion joints can move—so your waterproofing system needs to accommodate movement at those points, not just “cover” them.
Verdict / tip
If you want the most reliable result in a warehouse, treat waterproofing as a system: moisture testing + correct prep + a compatible waterproofing/membrane + full detail sealing at seams, edges, and penetrations. The downside is cost and downtime—warehouse shutdown is often needed for prep and curing, and you may need professional help for detail work around drains and expansion joints.
Skip this DIY approach if you can’t test slab moisture, have major substrate damage (active spalling/cracking), or your vinyl warranty depends on a specific approved waterproofing system.
Moisture testing and detail sealing are what protect resilient vinyl performance over time; “field coating” alone often misses the real leak pathways in warehouses.
Following manufacturer cure/traffic times reduces the risk of early film cracking and seam/edge failure under rolling loads.
Quick scan checklist (save this)
| Step | Do this | Common miss |
|---|---|---|
| Moisture check | Test concrete with ASTM method and record results | Waterproofing before mitigation |
| Substrate prep | Repair defects + clean + confirm flatness | Coating over dust/curing residue |
| System match | Use products compatible with your vinyl + substrate | Mixing brands not approved by specs |
| Waterproof layer | Prime if required; apply layers + follow cure times | Touching too soon / not fully cured |
| Details | Seal seams, perimeter, penetrations, transitions | Leaving expansion gaps or thresholds untreated |
| Protection | Use correct topcoat/finish and cleaning routine | Harsh cleaners or abrasion on finish |
Sources
– ASTM F2170: Standard Test Method for Determining Relative Humidity in Concrete for Moisture-Related Floor Installations. ASTM International
– ASTM F1869: Standard Test Method for Measuring Moisture Vapor Emission Rate of Concrete Subfloor Using Anhydrous Calcium Chloride. ASTM International
– : Requirements for moisture limits, approved primers/seam sealers, and acceptable waterproofing systems (manufacturer-specific).
– : Approved substrates, primer requirements, waterproofing build-up, and cure/traffic times.
In the end, waterproof vinyl floors in warehouses succeed when you stop treating waterproofing like a single step. Control slab moisture first, install a compatible waterproofing system in the correct sequence, and then dedicate real effort to the edges, seams, drains, and penetrations where water actually starts moving.
Frequently Asked Questions
How do I waterproof vinyl floors in a warehouse with frequent spills?
Start by addressing the subfloor: repair cracks, remove debris, and ensure the concrete is properly cured and smooth. Use a warehouse-appropriate waterproofing underlayment or liquid-applied membrane system, then seal all seams, joints, and transitions with a compatible waterproof tape or flashing system. Finish with a vinyl flooring installation method that includes perimeter sealing so water can’t migrate under the edges during spills.
What is the best way to seal seams and joints in waterproof vinyl flooring for warehouses?
In warehouses, water often gets in through expansion gaps, seams, and transitions rather than through the vinyl surface itself. Use a waterproof seam sealer designed for your specific vinyl type (LVP/LVT, sheet vinyl, or vinyl tile) and apply it according to the manufacturer’s instructions. For heavy-traffic areas, also seal around penetrations (pipes, cables) using waterproof gaskets and sealant to prevent moisture intrusion at weak points.
Why does vinyl flooring need waterproofing in warehouse environments even when it looks water-resistant?
Even water-resistant vinyl can fail when moisture reaches the seams, underlayment, or subfloor, leading to swelling, moldy odors, or adhesive breakdown. Warehouse conditions—like mopping, cleaning chemicals, condensation, and occasional standing water—can push water through micro-gaps over time. Waterproofing reduces the risk of moisture migration and helps maintain floor performance and longevity.
How can I waterproof vinyl floors over concrete before installing or replacing flooring in a warehouse?
Measure moisture emission and relative humidity in the slab to determine if you need a full moisture barrier, not just surface sealant. Clean and mechanically prep the concrete, then install a waterproofing membrane or epoxy-based moisture barrier system that meets flooring manufacturer requirements. After the barrier is cured, follow with the correct underlayment (if required) and install vinyl using a compatible adhesive or floating system with perimeter sealing.
Which waterproofing products are recommended for vinyl floors in high-traffic warehouses?
Look for waterproofing systems specifically rated for commercial/industrial floors and compatible with your vinyl flooring type and installation method. Common best choices include liquid-applied waterproofing membranes, sheet waterproofing underlayments, and seam tapes/flashing materials designed to bond with vinyl and prepared concrete. Avoid generic sealants that aren’t tested for flooring use, and always match product chemistry and coverage so seams, edges, and transitions stay watertight under warehouse wear.
📅 Last Updated: October 26, 2026 | Topic: How to waterproof a vinyl floors with warehouse? | Content verified for accuracy and freshness.
References
- Vapor barrier
- F710 Standard Practice for Preparing Concrete Floors to Receive Resilient Flooring
- F1869 Standard Test Method for Measuring Moisture Vapor Emission Rate of Concrete Subfloor Using …
- F2170 Standard Test Method for Determining Relative Humidity in Concrete Floor Slabs Using in sit…
- E1745 Standard Specification for Plastic Water Vapor Retarders Used in Contact with Soil or Granu…
- F3191 Standard Practice for Field Determination of Substrate Water Absorption (Porosity) for Subs…
- F1700 Standard Specification for Solid Vinyl Floor in Modular Format such as Tile(s) or Plank(s)
- https://scholar.google.com/scholar?q=waterproofing+vinyl+flooring+warehouse+concrete+moisture+barrier Google Scholar
- https://scholar.google.com/scholar?q=ASTM+F710+moisture+barrier+resilient+flooring+installation Google Scholar
- https://scholar.google.com/scholar?q=concrete+moisture+vapor+emission+rate+resilient+floor+covering+vinyl+installation Google Scholar