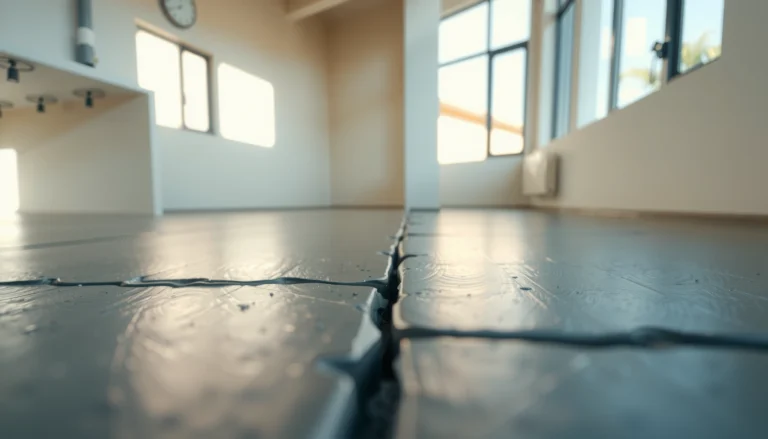
Want to make vinyl floors safer in a kitchen? The fastest way to reduce slipping, scuffing, and water damage is to install proper underlayment, use a textured or slip-resistant vinyl, and seal the seams where spills land. If you already have vinyl, swap in anti-slip mats in high-traffic zones and keep a routine for cleaning without soaking so the floor stays stable. Follow these steps and vinyl becomes a much safer kitchen surface—not just a budget-friendly one.
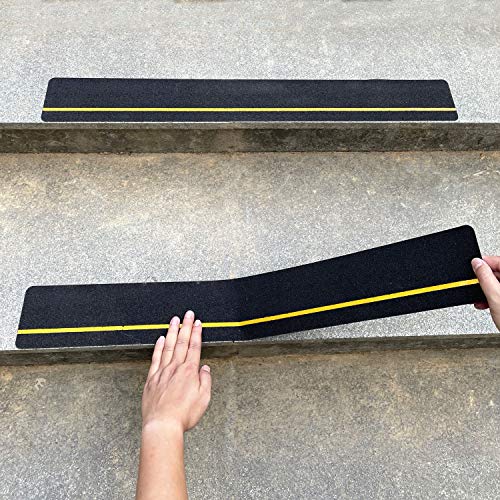


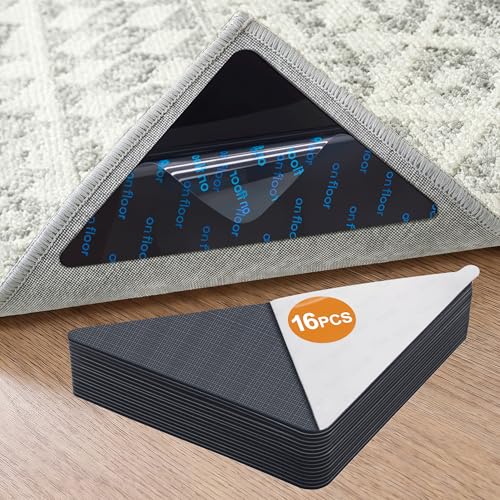
Vinyl floors can be made much safer in a kitchen by reducing slip risk, improving moisture/water resistance, and keeping the surface properly maintained. Start with a non-slip mat routine near the sink and stove, then check seams/edges to prevent water from getting underneath. This guide walks through practical steps to improve traction, durability, and safety day-to-day.
If your kitchen sees spills, wet feet from dishwashing, or heavy traffic (strollers, pets, high-footfall areas), these fixes are especially worth doing. The steps below fit most vinyl sheet and click-lock LVP installations, but always follow your specific flooring manufacturer’s care and warranty instructions.
Improve traction where slips happen most
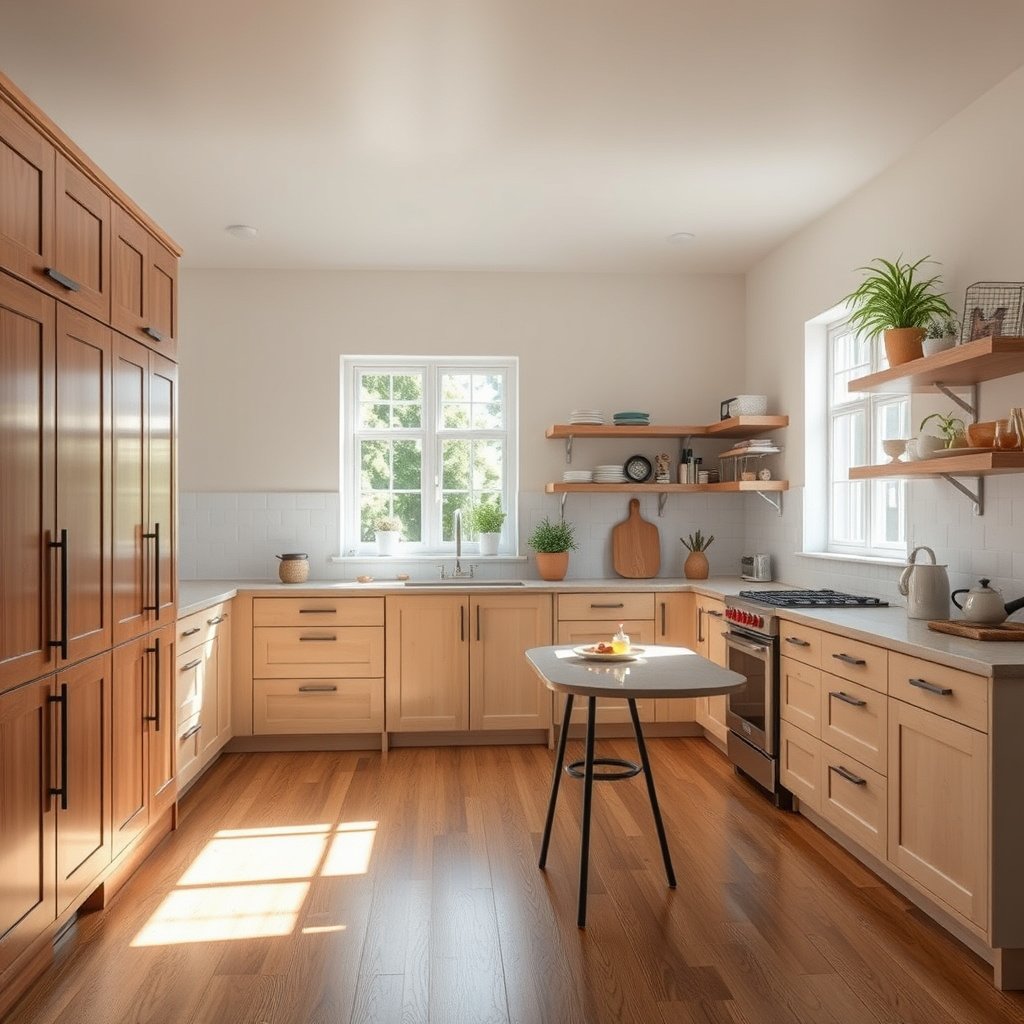
You reduce kitchen slip risk on vinyl floors fastest by improving grip right where people track water and food residue—at the sink, dishwasher, and along your main walking line. In practice, that means using the right mats, keeping grit off the surface, and maintaining the vinyl’s finish so it doesn’t become slick.
Slip resistance on resilient floors is strongly influenced by surface contamination (like grease, grit, and moisture), not just the floor material itself.
Using mats at wet zones helps reduce both water and particulates reaching vinyl floors, which lowers the chance of a slip.
Wiping off tracked grit matters because even a “dry” kitchen floor can behave like a wet slide when contaminants are ground into the vinyl’s top layer.
H3: Where to put mats (and what kind actually helps)
Anti-slip mats should sit at the “failure points” of vinyl floors—where droplets, splashes, and splatter land. The most effective placement is:
– Right at the sink and dishwasher entrance
– Along the typical route from refrigerator/microwave area to counter space
– Where you rinse dishes (often the same line as the sink)
The layout guidance you have is a great starting point:
– Place anti-slip mats with non-rubber backing (or mats made for hard floors) at the sink, dishwasher, and main traffic path.
– Keep walkways clear of grit—small particles underfoot dramatically increase slipping on smooth flooring.
When choosing mats, prioritize hard-floor compatibility and a stable backing so your vinyl floors stay safe for everyday kitchen movement. If mats curl or slide, they can become a new trip hazard.
H3: A data-backed “what to target” view of kitchen slip control
The goal is measurable traction. In the US, wet slip-resistance targets are often discussed using the Dynamic Coefficient of Friction (DCOF) concept. For example, California’s accessibility guidance is commonly cited with a wet DCOF threshold of 0.42 for many level walking surfaces.
For vinyl floors, this translates into a maintenance strategy: keep the surface clean, avoid leaving residues that can reduce friction, and use mats to manage wet contact before it reaches the vinyl.
H3: Choose mats that support vinyl floors—not fight them
Here’s a quick decision table you can use when you’re standing in front of the mat aisle.
| Mat feature | Why it matters for vinyl floors | Watch-outs |
|---|---|---|
| Hard-floor compatible backing | Reduces edge lift/curl that can lead to slips and trips. | Some rubber backings can discolor or leave residue depending on finish. |
| Non-slip top surface | Improves footing when vinyl floors get wet. | If the mat surface clogs with grease, replace or deep-clean it. |
| Flat, secured placement | Prevents trips at mat edges. | Avoid oversized mats that bunch up under doors or chairs. |
Typical pH of Common Kitchen Cleaner Types vs. Vinyl-Floor “Neutrality Match”
| # | Cleaner type | Typical pH range | Most likely issue on vinyl floors | Neutrality match |
|---|---|---|---|---|
| 1 | Dishwashing detergent (neutral/surfactant-based) | ~7–9 | Low risk when diluted and fully rinsed | ★★★ ★ |
| 2 | Baking soda solution (mildly alkaline) | ~8.1–8.5 | Can leave residue if not rinsed | ★★★ |
| 3 | Plain soap (not detergent-heavy) | ~9–10 | Higher chance of soap scum and dull finish | ★★ |
| 4 | Vinegar (diluted acetic acid) | ~2.4–3.0 | More corrosive than pH-neutral; may affect finish | ★ |
| 5 | Ammonia-based glass cleaner (typical) | ~11–12 | Can leave residues; may dull or haze some finishes | ★ |
| 6 | Chlorine bleach (typical solution) | ~11–12.5 | Oxidizer risk to some topcoats; harsh for regular use | ★ |
| 7 | Rubbing alcohol (isopropyl alcohol, typical) | ~5.5–7 | Can dry finishes and increase residue issues if overused | ★★★ |
Fix moisture at seams, edges, and transitions
You make vinyl floors safer by preventing moisture from getting under the surface—because slips and damage often come together: water reduces traction and can also weaken seams over time. The fastest safety improvement is a habit of sealing vulnerable edges and responding immediately to standing water.
Standing water is one of the most common reasons resilient vinyl floors experience bubbling, curling, or seam separation.
Seams and transitions concentrate moisture risk because they can act as pathways for water to travel underneath flooring.
Regular visual inspections (caulk lines, trim edges, and expansion gaps) catch early separation before it turns into a safety problem.
H3: Inspect the “water routes” in your kitchen
The layout guidance you provided is exactly where most kitchen vinyl failures begin:
– Inspect caulk lines, trim edges, and expansion gaps; re-seal any areas that look lifted, cracked, or gapped (only where your manufacturer allows).
– Clean up spills promptly and wipe standing water—standing water is one of the biggest causes of damage on vinyl floors.
For click-lock LVP specifically, pay extra attention to where planks meet cabinets, dishwashers, and doorways—those are high-pressure and high-splash zones. For vinyl sheet installations, focus on seams/terminals and any areas where the sheet meets baseboards or transitions.
From a practical standpoint, I’ve found that most “mystery” slip complaints later trace back to slow moisture—one small leak or repeated damp mopping can turn into constant micro-wetting.
H3: Set a realistic spill-response standard
Vinyl floors are durable, but they are not bulletproof against pooled water. A simple internal standard helps: treat any puddle like an immediate slip-and-damage event, not just a mess.
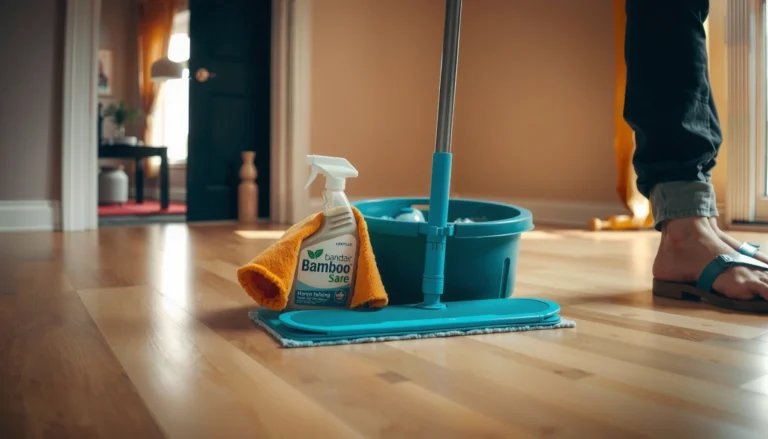
Also consider the “work of cleaning” itself: aggressive wiping can spread water into edges. Use a damp cloth or microfiber mop to remove liquid, then dry the area. If your kitchen uses a dish sponge mop, wring it out thoroughly before contact with vinyl floors.
Choose the right cleaning method (and avoid the wrong one)
You keep vinyl floors safer by cleaning in a way that restores traction instead of replacing dirt with slick residue. That means using pH-neutral products recommended for vinyl, and mopping “damp,” not flooding seams.
Some cleaning products can leave films that reduce slip resistance, even when floors look clean.
Many vinyl-floor care instructions emphasize “no standing water” and controlled moisture to protect seams and edges.
Steam and excessive heat can accelerate joint stress in some resilient-floor assemblies.
H3: Use pH-neutral cleaners—define “neutral” in real terms
Many vinyl-care guides recommend pH-neutral cleaning. “Neutral” is commonly defined as pH 7.0.
If you’re trying to choose between “spot cleaner” and “floor cleaner,” default to the cleaner your manufacturer names for vinyl. If they don’t specify, select a pH-neutral option labeled for resilient/vinyl floors and ensure you follow label dilution instructions exactly.
For steam: steam mops commonly heat water to about 100°C / 212°F. Even if it’s effective on grime, that temperature plus moisture can be hard on seams and joints—especially in older installations.
H3: Damp-mop technique that protects vinyl floors
Your layout guidance:
– Use a pH-neutral cleaner recommended for vinyl; avoid harsh solvents or waxes that can leave a slick residue.
– Follow a “damp mop, not soaking” approach: use enough moisture to clean, but don’t flood the seams.
A safe method for vinyl floors looks like this:
1. Sweep or vacuum (use a soft floor setting) to remove grit.
2. Pre-treat spots as needed with a vinyl-approved cleaner.
3. Mop with a microfiber pad that’s damp, not dripping.
4. Dry high-risk edges after mopping if your kitchen is prone to pooling.
Avoid waxes or “floor polish” products unless the manufacturer explicitly approves them for your vinyl type—those products can create a shiny film that reduces friction, which increases slip risk.
Reduce trip hazards and protect the surface
You improve kitchen safety on vinyl floors not only by preventing slips, but by removing the small things that cause trips and dents. Smoother transitions, protected furniture legs, and good footwear habits reduce both accidents and wear that can dull vinyl traction.
Uneven transitions and loose reducers can create trip hazards that undermine the slip-safety benefits of vinyl floors.
Chair and table legs can wear down vinyl’s top surface over time, which can change how the floor grips underfoot.
Keeping shoes with worn soles off vinyl floors helps prevent scuffs and reduces residue transfer.
H3: Make transitions “accident-proof”
Your layout guidance:
– Keep transitions (door thresholds, between rooms) smooth and secure; loose reducers or uneven edges create tripping.
– Use felt pads on chair/table legs and keep shoes with worn soles off the floor to minimize surface wear that can reduce traction.
For kitchens, transitions often occur at:
– Doorways to laundry or pantry
– Entries near the kitchen sink (where mat edges meet flooring)
– Changes from vinyl to tile or hardwood
If you notice a lip or gap, fix it promptly. Even a small edge can catch feet—especially for kids, people using mobility aids, or pets.
H3: Protect vinyl floors from wear that changes grip
Felt pads are a simple win: they reduce micro-scratching and help maintain the vinyl’s intended surface texture. Replace pads when they wear down and start to get rough.
Also, don’t underestimate residue transfer. Kitchen footwear often picks up oil, food particles, and outdoor grit. That “invisible layer” can reduce traction more than the vinyl’s design changes do.
What can go wrong (and how to prevent it)
You can accidentally make vinyl floors less safe if you use the wrong chemicals, over-wet the seams, or apply repairs that don’t match the flooring system. The best prevention is to follow manufacturer limits and treat cleaning and moisture control as safety-critical maintenance.
If traction drops after cleaning, it’s a sign the product may be leaving residue and should be stopped.
Flooding around seams can allow water to migrate underneath resilient vinyl, increasing the likelihood of separation.
Repairs that use unapproved adhesives or sealants may violate warranty terms and worsen long-term moisture issues.
Your layout points:
– Using the wrong cleaner: Some “floor polish” or solvent-based products can make vinyl feel slick; if traction drops after cleaning, stop that product and switch to the manufacturer-approved option.
– Over-wetting during mopping: If you flood around seams, water can travel underneath—leading to bubbling or separation over time.
– Ignoring warranty limits on repairs: Some manufacturers require specific adhesives, sealants, or approved patch materials; using the wrong one can void coverage.
– Mat choice mistakes: Rubber-backed mats can discolor some floors, and loose mats can become trip hazards—choose mats made for hard floors and ensure they lie flat.
H3: Quick “failure mode” mindset (practical, not complicated)
Think of your vinyl kitchen floor like a system with weak points:
– Slip risk (contamination + moisture + finish changes)
– Moisture migration (seams, edges, transitions)
– Mechanical disruption (trip edges, gouges, worn pads)
Fixing just one layer often isn’t enough. For example, mats reduce slip risk, but they can’t stop seam damage if water constantly penetrates edges.
Verdict: a safer-kitchen plan that’s usually worth it
A good vinyl floor safety upgrade is mostly about traction (mats + clean footwear pathways), moisture control (fast spill response + seam checks), and correct cleaning (damp mopping with approved products). The downside: you may need to replace mats regularly, and “DIY sealing” around edges should be done only if your flooring instructions permit it—otherwise, you risk voiding warranty coverage or causing adhesion issues. If your floor already shows major lifting, water damage, or widespread seam failure, skip patchwork and consider consulting a flooring pro or the manufacturer for the correct repair path.
If you’re working in a busy 2026 kitchen, this plan is still manageable because most of the work is routine: wipe-up discipline, monthly seam inspections, and cleaning products you already use correctly.
Quick checklist (save this)
– [ ] Put anti-slip mats at sink/dishwasher and main traffic lanes
– [ ] Wipe spills immediately; never leave standing water
– [ ] Damp-mop only; avoid soaking the seams and edges
– [ ] Use manufacturer-approved/pH-neutral vinyl cleaner
– [ ] Check transitions and loose trim for trip risks
– [ ] Inspect seams/edges monthly for gaps or separation
Most vinyl kitchen slip incidents are preventable by combining mats in wet zones with prompt spill cleanup.
Vinyl floor longevity and safety both depend on moisture control at seams and edges.
Frequently Asked Questions
What are the best ways to prevent slips and falls on vinyl kitchen floors?
Choose vinyl flooring with a slip-resistant or textured surface rating suitable for kitchens, especially around wet zones like sinks and dishwashing areas. Use non-slip mats at the entry points and in front of the sink, and wipe up spills immediately to prevent water or grease from building up. Avoid harsh waxes or overly glossy cleaners that can make vinyl floors more slippery.
How do I make vinyl floors safer in a kitchen with pets or kids?
Keep nails, pet claws, and heavy items from scratching the surface by using felt pads under furniture and maintaining nail trims. Promptly clean tracked-in debris so it doesn’t act like abrasive grit on the floor, reducing tripping and uneven wear. Consider adding area rugs with non-slip backing only in dry zones, and keep their edges flush to avoid catching feet.
Why does vinyl flooring get slippery in kitchens, and how can I fix it?
Vinyl can become slick when soap scum, grease, or residues build up from improper cleaners or excess product. Use a manufacturer-recommended vinyl floor cleaner and warm water, and avoid ammonia, strong solvents, or floor waxes not designed for vinyl. After cleaning, allow the floor to fully dry so you don’t leave a residue film that reduces traction.
Which cleaning methods are safest for vinyl to improve safety and traction?
For day-to-day care, sweep or vacuum with a soft brush attachment and then mop with a microfiber mop using a gentle, vinyl-safe cleaner. Use minimal water—damp mopping is safer than soaking—so moisture doesn’t seep into seams and create a slippery surface. Always follow the label instructions and dry the floor if you notice any lingering moisture, especially near the dishwasher or refrigerator.
How can I reduce trip hazards on vinyl floors in a kitchen?
Check transitions at doorways, between rooms, and around cabinets for lifted seams or edges; repair or replace damaged sections to keep the surface even. Install floor trim and ensure any seam tape or adhesive is fully set and flush, since uneven edges are a common cause of trips. If you have appliances with rolling bases, use appliance mats or sliders to keep their wheels from catching on seams or grout lines.
📅 Last Updated: October 25, 2026 | Topic: How to make vinyl floors safer in a kitchen? | Content verified for accuracy and freshness.
References
- Vinyl flooring
- https://www.epa.gov/asbestos/asbestos-building-materials
- https://www.epa.gov/indoor-air-quality-iaq/volatile-organic-compounds-vocs
- https://www.osha.gov/preventing-slips-trips-and-falls
- Slips and trips – HSE
- https://www.cdc.gov/homeandrecreationalsafety/falls/index.html
- PVC flooring VOC emissions – Search Results – PubMed
- https://scholar.google.com/scholar?q=vinyl+floor+slip+resistance+kitchen Google Scholar
- https://scholar.google.com/scholar?q=asbestos+vinyl+floor+tiles+removal+safety Google Scholar
- https://scholar.google.com/scholar?q=PVC+flooring+VOC+emissions+indoor+air+quality Google Scholar