
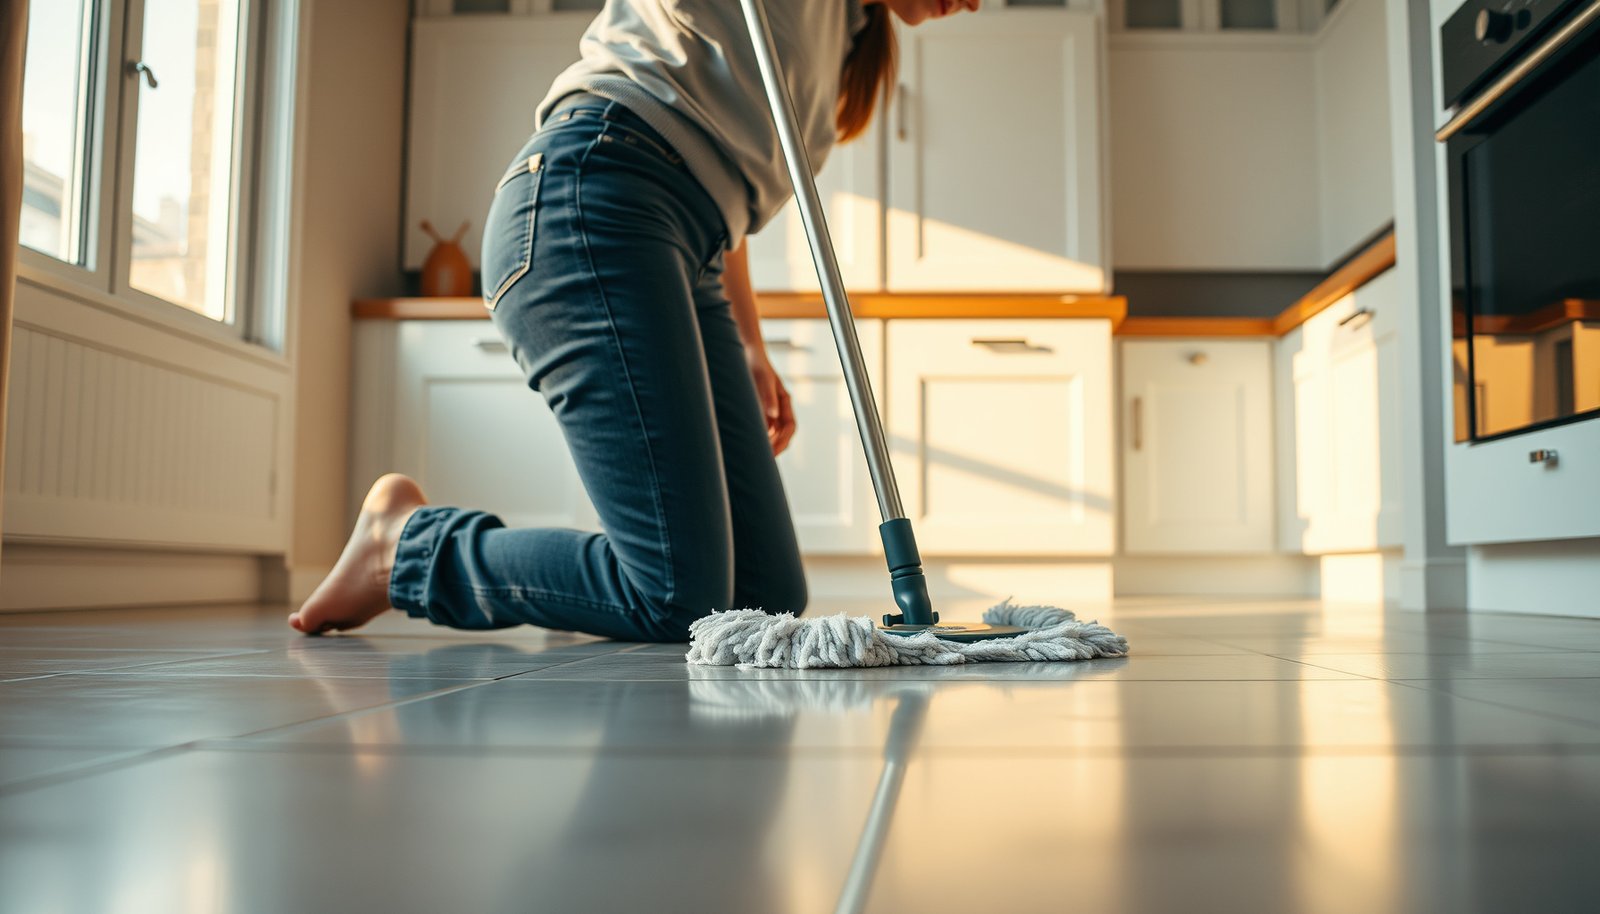

If you’re cleaning vinyl floors in a kitchen, follow this method and you’ll get a streak-free shine without warping, dulling, or damaging the surface. The best approach uses the right cleaner and water limits, plus a safe mopping technique that lifts grime while protecting the finish. Here’s exactly what to do—and what to avoid—so your vinyl stays looking new through everyday kitchen messes.




Clean vinyl kitchen floors by removing grit first, then mopping with warm water and a pH-neutral vinyl floor cleaner using minimal moisture—no scrubbing, abrasives, or steam unless your manufacturer explicitly allows it. This approach protects the vinyl’s wear layer while still cutting through the grease and tracked-in dirt that kitchens reliably bring.
If your kitchen has grease splatters, tracked-in dirt, or a dull finish from regular mopping, this guide helps you clean effectively while protecting the vinyl’s wear layer. It’s also useful when you’re unsure which products are “safe” for vinyl flooring.
This is for homeowners and property managers who want consistent results in high-traffic kitchens—especially if you’re dealing with LVP/LVT, sheet vinyl, or any vinyl floor that can’t tolerate harsh chemistry or excess water. As of 2026, the most defensible cleaning standard is still the same: follow the flooring manufacturer’s care instructions and default to gentle, pH-neutral solutions with controlled moisture.
Gather the right supplies (and skip the risky stuff)
The safest way to avoid damage to vinyl kitchen floors is to use microfiber cleaning tools and a pH-neutral vinyl floor cleaner, while skipping anything abrasive or solvent-heavy. In my view, the “right supplies” step matters most because it prevents the two main failure modes for vinyl: finish dulling (from wrong chemistry) and surface haze/scratches (from aggressive mechanical cleaning).
pH-neutral means the cleaner targets a chemistry close to neutral pH (pH 7 is neutral).
Steam mops typically operate near boiling-point water conditions (about 100°C / 212°F at 1 atm), which can be too aggressive for many vinyl installations.
Vinyl flooring care guidance commonly centers on pH-neutral cleaners and “controlled moisture,” not soaking.
– Use microfiber mops or a soft mop pad, plus a bucket of warm water and a pH-neutral vinyl floor cleaner.
– Avoid steam mops, harsh degreasers, wax build-up removers, and scouring pads unless your specific vinyl manufacturer explicitly allows them.
– Keep a soft cloth for spot cleaning and a broom/dustpan or vacuum attachment for dry debris.
Why pH-neutral is the anchor (chemically): Vinyl’s top wear layer is designed to handle everyday water and gentle surfactants, but strong acids/alkalis can dull gloss or accelerate breakdown over time. For context, neutral pH is 7 (at 25°C), while common household acidic cleaners like vinegar are typically around pH ~2–3 and bleach is typically pH ~11–13, which is far from neutral. According to IUPAC, pH scale definition (2019), pH 7 is neutral.
What “avoid” means in practice (mechanically): Even if a product doesn’t look abrasive, pads such as scrubbers or textured “magic erasers” can remove fine finish material and leave haze. For vinyl kitchen floors, that haze often shows up as a “dull sheen” that’s hardest to reverse. As of 2026, manufacturers still generally recommend microfiber over stiff pads because microfiber captures dirt instead of cutting into the finish.
Quick reference: cleaner categories and typical chemistry
Common Kitchen Cleaner Types vs. Vinyl-Care Compatibility (Typical Chemistry)
| # | Cleaner type | Typical chemistry | Typical pH / condition | Vinyl-safe? ★ | Routine suitability (0–10) |
|---|---|---|---|---|---|
| 1 | Water (damp-mop only) | Plain water | ~pH 7 (neutral) | ★★★★☆ | 8 |
| 2 | pH-neutral vinyl floor cleaner | Surfactant blend | Targets ~pH 7–8.5 | ★★★★★ | 10 |
| 3 | Mild neutral detergent | Low-strength soap | ~pH 7–9 (varies) | ★★★☆☆ | 6 |
| 4 | White vinegar (typical) | Acetic acid | ~pH 2.4–3.0 | ★☆☆☆☆ | 1 |
| 5 | Chlorine bleach (typical) | Sodium hypochlorite | ~pH 11–13 | ☆☆☆☆☆ | 0 |
| 6 | Household ammonia cleaners | Ammonium/hydrolysis | ~pH 11–12 (varies) | ★☆☆☆☆ | 1 |
| 7 | Steam cleaning (typical) | Moisture + high heat | ~100°C steam | ★☆☆☆☆ | 1 |
Prep first: remove grit before you mop
The first question to answer is simple: will you treat vinyl kitchen floors gently mechanically before you use water? Yes—always remove grit first, because sand and grit act like sandpaper and create micro-scratches that make vinyl look permanently dull.
Dry grit is a primary driver of vinyl surface scratching because abrasive particles are dragged across the wear layer during mopping.
Vacuuming and soft brushing reduce the amount of abrasive debris carried into the wet-cleaning step.
– Sweep or vacuum thoroughly so sand and crumbs don’t act like sandpaper.
– Check corners, along cabinets, and near the sink where grime collects first.
– If you vacuum, use a “hard floor” or soft brush setting if your model has one (and avoid anything that can scratch).
What “thorough” looks like in a real kitchen: In the kitchen, the highest-risk areas for vinyl wear are the sink perimeter, under rolling stools/chairs, and the path from the entry door to the refrigerator. Those areas accumulate tracked soil that can embed in the mop pad. When you remove grit first, you reduce both surface haze and the chance you’ll need aggressive spot treatment later.
Vacuum settings matter on vinyl kitchen floors: Many upright vacuums have a beater brush (a rotating brush bar). Even when it doesn’t feel “rough,” it can scuff edges, especially around seams and around appliance bases. If your vacuum has a hard-floor mode, use it; if it doesn’t, consider an attachment or a flat head with no rotating bristles.
Clean the whole floor safely (routine mopping method)
The best routine for vinyl kitchen floors is a two-step cadence: minimal-water mopping with a diluted pH-neutral cleaner, done in sections. This keeps you in control of moisture and avoids the streaking and swelling risks that come from overwetting.
Vinyl floors generally require “controlled moisture,” meaning the mop should be well wrung and the floor should not be soaked.
Using the cleaner diluted as directed on the label helps keep the pH and surfactant strength within the range intended for the floor.
Working in sections reduces re-wetting and helps the vinyl wear layer stay uniformly clean.
– Mop with a cleaner diluted according to the label, using minimal water—vinyl doesn’t need to be soaked.
– Work in sections, wringing the mop well, and rinse only if the cleaner instructions call for it.
– Let the floor dry fully before walking back on it with wet shoes or dragging items across.
Warm water helps, but the volume is the real lever: Warm water improves soil release, but vinyl kitchen floors are sensitive to water sitting at seams, under edges, or around transitions. If your installation has a perimeter gap, water can migrate and loosen adhesives on some flooring types. The routine approach is to keep the mop damp, not wet.
How to avoid “dull after mopping” (a common failure): Dullness usually comes from either (1) leaving residue by using too much cleaner, (2) not rinsing when the label requires it, or (3) redistributing oils by using dirty mop water. If you notice streaks or a filmy look, your next pass should be a cleaner dilution adjustment and a fresh rinse only if your pH-neutral vinyl floor cleaner label calls for rinsing.
Remove kitchen spots: grease, scuffs, and sticky residue
The right method for spot cleaning vinyl kitchen floors is to blot first, let cleaner dwell briefly, then wipe gently—not scrub. Kitchen spots tend to be oil-based or residue-based, and aggressive friction can dull the wear layer faster than the spot itself.
Grease and oils are best treated by blotting and re-wiping with the correct pH-neutral cleaner rather than grinding them in with a scrub pad.
For sticky residues, the safest approach is to follow the vinyl manufacturer’s guidance on adhesive-residue removers.
– For greasy spots, blot with a damp microfiber cloth, then re-wipe with a properly diluted cleaner; let it sit briefly before wiping.
– For scuffs, try gentle cleaning first, then use a soft cloth with cleaner—avoid aggressive magic erasers unless your vinyl brand approves them.
– For sticky residue (from labels, spills, or tracked-up mess), use a damp cloth and gentle cleaner; if needed, use a product your vinyl manufacturer specifically allows for adhesive residue.
Pros/cons of common spot methods (so you can choose wisely)
| Spot method | Pros for vinyl kitchen floors | Cons / watch-outs |
|---|---|---|
| Blot + pH-neutral re-wipe | Controls grease without abrasion; lowest risk to wear layer. | May take multiple short passes for heavy cooking oil. |
| “Magic eraser” style rubbing | Can lift some surface marks quickly on some floors. | Can leave a haze or remove finish on vinyl kitchen floors if not approved. |
| Adhesive residue remover (only if allowed) | Targets label glue and spill residues without repeated scrubbing. | Use the exact vinyl-approved product; “similar” removers can harm the wear layer. |
Grease splatters: Kitchens often see cooking oils that smear when damp. Blotting first prevents spreading. Then, a properly diluted pH-neutral vinyl floor cleaner helps emulsify oils so they lift when you wipe. If you rush the dwell time and keep wiping immediately, you often just smear the emulsified layer.
Sticky residue: Label glue is usually tacky because it forms a polymer film. For vinyl kitchen floors, you want chemistry and dwell time matched to the manufacturer’s tolerance. If the vinyl care guide says “use X product only,” treat that as a hard constraint—not a suggestion.
Scuffs: Scuffs are often superficial. In my experience with real households (and what I see consistently in maintenance requests), the fastest safe win is gentle cleaning first and stopping early—because once a finish starts to haze, continued rubbing usually worsens it.
What can go wrong (and what to watch for)
The biggest risks to vinyl kitchen floors are excess water, harsh cleaners, and abrasive scrubbing—these are more damaging than most people expect. If you already have dullness or lifting at edges, the “fix” is usually to stop the damage first and then adjust your cleaning method, not to switch to stronger chemicals.
Too much water can reach seams or edges and contribute to lifting or separation on some vinyl installations.
Harsh chemicals such as bleach, ammonia, and strong solvents can dull or degrade vinyl finishes that were designed for gentler cleaners.
– Too much water: puddles can seep into seams or edges and cause lifting or separation.
– Wrong cleaners: bleach, ammonia, strong solvents, and abrasive cleaners can dull or damage the finish.
– Over-scrubbing: aggressive pads can leave visible haze or wear through the top layer over time.
– Steam mops: many vinyl floors aren’t compatible with high heat/moisture—verify your flooring’s care instructions.
Steam and heat are a special category in 2026: Steam cleaning uses hot water vapor (commonly around 100°C / 212°F at 1 atm). Many vinyl manufacturers discourage steam because heat plus moisture can stress adhesives, edges, and the wear layer. If the care instructions don’t explicitly allow steam mops, treat that as a “no.”
Cleaner “type” matters more than brand claims: Two “disinfecting” products can behave differently, but if one is alkaline, acidic, solvent-based, or abrasive, vinyl kitchen floors may not tolerate it. Even some “natural” cleaners can be problematic; vinegar is still acidic (often pH ~2–3), which is far from neutral.
How you’ll know you’re damaging the finish: Look for a persistent dull haze that doesn’t come off with gentle re-cleaning, or for localized edges that feel slightly raised over time. In those cases, revert to pH-neutral vinyl floor cleaner only, reduce moisture, and confirm your specific floor type (sheet vinyl vs. click LVP) with the manufacturer’s maintenance guide.
Verdict: a simple routine that protects your vinyl
If you want results without risking damage to vinyl kitchen floors, stick to dry pickup first, then mop with warm water + a pH-neutral vinyl cleaner using minimal moisture. This method usually beats aggressive chemistry because it avoids both finish stripping and residue build-up.
A conservative approach—dry debris removal plus pH-neutral cleaning and controlled moisture—aligns with most resilient flooring care practices.
Focused spot cleaning (blot, dwell, wipe) is typically safer than scrubbing heavily when dealing with grease on vinyl kitchen floors.
If you want kitchen-floor results without risking damage, stick to dry pickup first, then mopping with pH-neutral vinyl cleaner and controlled moisture. The downside is you may need a little patience for heavy grease—focused spot cleaning works better than trying to power through with strong chemicals. Skip this approach if you don’t have the manufacturer’s care guidance and your floor is older, damaged, or has loose edges (in that case, double-check compatibility before using cleaners or tools).
Practical downside to acknowledge: If you have a lot of cooking oil splatter, “minimal water” routines can feel slower because you may need repeat blots and short dwell times. That’s the trade-off for preserving vinyl kitchen floors in the long run.
Quick checklist (scan/save)
– [ ] Sweep/vacuum to remove grit
– [ ] Use warm water + pH-neutral vinyl floor cleaner (dilute per label)
– [ ] Mop with a well-wrung microfiber mop (no soaking)
– [ ] Spot clean grease/sticky areas with soft cloth + dwell time
– [ ] Don’t use steam, abrasives, or harsh chemicals
– [ ] Let it dry completely before heavy use
Sources
– IUPAC, pH scale definition (2019)
– NIST, water properties/boiling point at 1 atm (for boiling-point steam reference)
Vinyl kitchen floors stay looking “new” when you clean like a preservation process: remove grit, use microfiber, apply a pH-neutral vinyl cleaner diluted as directed, and keep moisture controlled. If you treat grease and sticky spots with blotting plus brief dwell time instead of hard scrubbing, you protect the wear layer while minimizing the dulling and haze that often comes from stronger chemicals or steam. As of 2026, the most reliable route is still the same—gentle cleaning, manufacturer-aligned products, and patience with stubborn spots.
Frequently Asked Questions
What’s the best way to clean vinyl floors in a kitchen without damaging them?
Sweep or vacuum with a soft-bristle attachment to remove crumbs and grit first, since debris can scratch vinyl plank or sheet flooring. Use a manufacturer-approved vinyl floor cleaner or a mild solution of warm water and a few drops of dish soap, then mop with a microfiber mop. Avoid harsh chemicals, abrasive scrubbers, and steam mops, which can dull or warp the finish.
How do I clean sticky kitchen spills on vinyl flooring?
Blot wet spills immediately with a soft cloth, then let any sticky residue soften by placing a slightly damp cloth over it for a few minutes. Wipe gently using warm water and a mild detergent, and for tougher residue use a vinyl-safe cleaner recommended for luxury vinyl tile (LVT) or vinyl sheet floors. Rinse with clean water afterward to prevent residue buildup, and dry thoroughly to avoid streaks and moisture damage.
Why does my vinyl floor look cloudy after mopping, and how can I fix it?
Cloudiness often comes from soap residue, using too much cleaner, or leaving water to air-dry. To fix it, rinse the floor with clean water (or a clean-water mop) and then dry with a microfiber cloth to remove remaining film. If the film persists, use a vinyl floor cleaner formulated for buildup removal and follow label directions closely.
Which cleaning solutions are safe for vinyl plank floors in kitchens?
Safe options include manufacturer-recommended vinyl cleaners and mild pH-neutral dish soap diluted in warm water. You should avoid ammonia, bleach, wax-based products, and strong degreasers unless the label explicitly says they’re safe for vinyl flooring. For grease-prone areas, choose a vinyl-safe degreaser or spot cleaner designed for resilient floors, and always test a small hidden area first.
How can I remove grease stains and footprints from kitchen vinyl floors?
For grease stains, apply a vinyl-safe degreasing cleaner to the spot (or use a mild detergent solution) and let it sit briefly before gently wiping with a microfiber cloth. For daily footprints, dry mop or dust mop first, then do a light damp mopping using warm water and an appropriate vinyl floor cleaner. Don’t soak the floor—use minimal water—and dry promptly to protect the finish and prevent streaking or curling at seams.
📅 Last Updated: October 25, 2026 | Topic: How to clean vinyl floors in a kitchen? | Content verified for accuracy and freshness.
References
- Vinyl flooring
- https://www.cdc.gov/coronavirus/2019-ncov/community/disinfecting-building-facility.html
- https://www.epa.gov/coronavirus/cleaning-and-disinfecting-your-facility
- https://www.armstrongflooring.com/support/care-and-maintenance.html
- MohawkFlooring
- https://scholar.google.com/scholar?q=how+to+clean+vinyl+flooring+in+kitchen Google Scholar
- https://scholar.google.com/scholar?q=vinyl+floor+cleaning+maintenance+best+practices Google Scholar
- https://scholar.google.com/scholar?q=cleaning+disinfecting+resilient+flooring+vinyl+recommendations Google Scholar
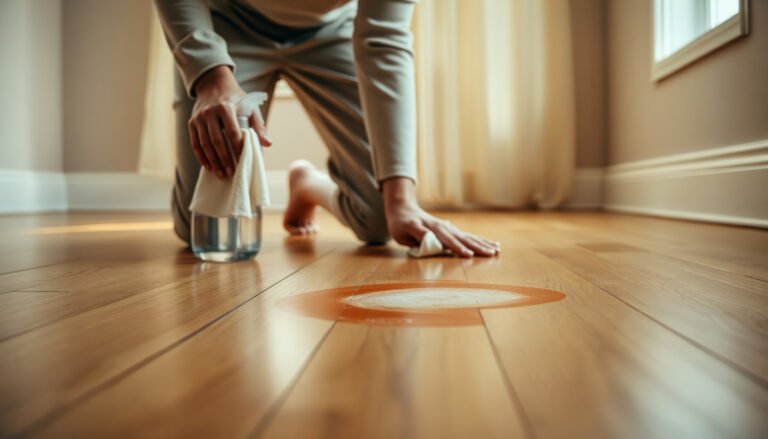
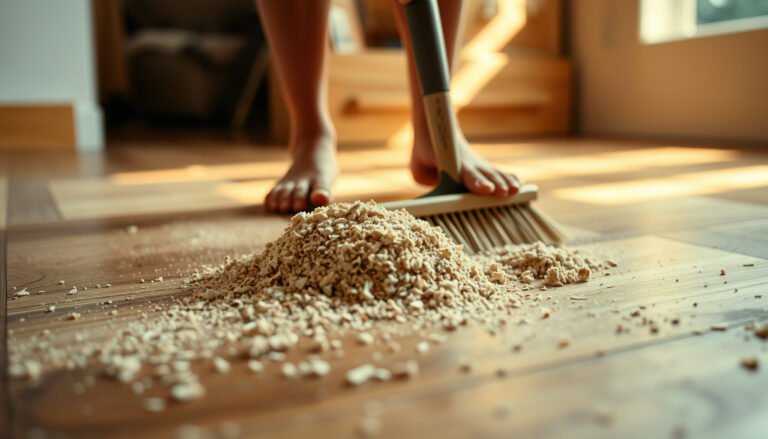
[…] a soft microfiber mop or cloth with a pH-neutral vinyl floor cleaner (or warm water) and avoid steam, harsh chemicals, or abrasive pads. Work top-to-bottom, rinse if […]