
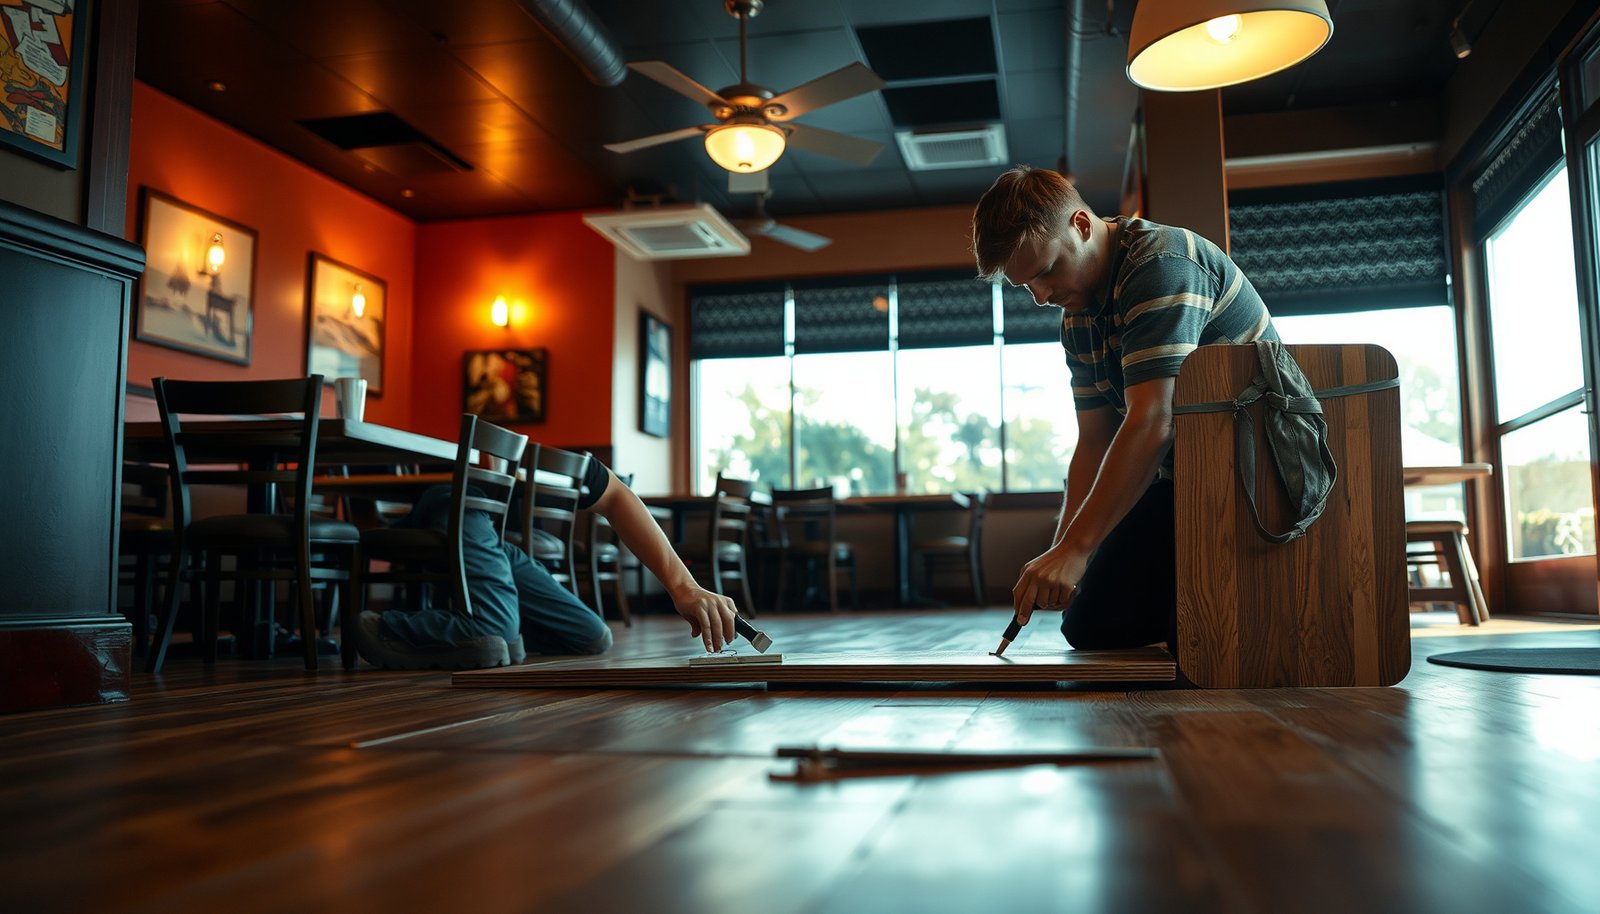

Looking to repair laminate floors in a restaurant fast, without pulling up boards or shutting the space down longer than necessary? This guide lays out the quickest, most reliable fixes for the damage that actually happens in high-traffic areas—chips, seams lifting, and minor water swelling—so you can restore a safe, presentable floor today. Follow these steps and you’ll get the fastest turnaround with the least downtime, even if you’re working between service hours.




Laminate floor repairs in restaurants usually succeed when you (1) stop the moisture source and (2) match the repair method to the damage depth—chips/scratches can often be patched, but lifted seams or buckling almost always require replacing affected planks. Because restaurants run every day, the fastest route is diagnosing whether the problem is cosmetic or structural, then controlling foot traffic until the repair cures and the joints stay tight during the next service cycle.
Laminate floors in restaurants usually need targeted patching (for surface chips and scratches) or plank replacement (for sections that lift, gap, or buckle). If you’re dealing with daily foot traffic, frequent spills, rolling carts, and constant wet-mopping pressure, this guide focuses on quick, practical steps that reduce downtime without sacrificing the core requirements: proper dryness, correct subfloor conditions, and correct matching to your laminate’s installation system (floating click-lock vs. glued systems).
If you’re seeing recurring issues, remember this: a “good-looking patch” can still fail if water already reached the joints, moved underlayment, or softened the subfloor.
Assess the damage (and stop what’s causing it)
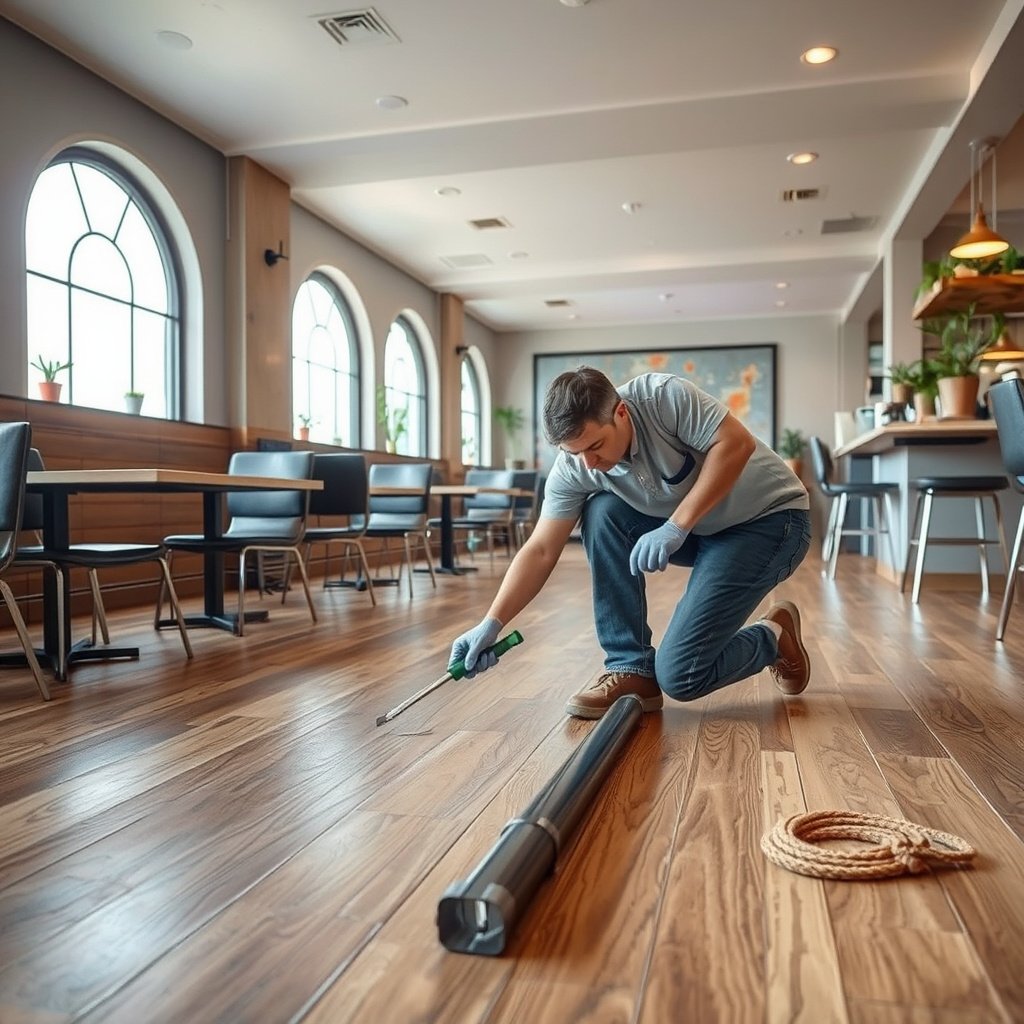
The best first move is to confirm whether the laminate damage is cosmetic or structural, because the repair method depends on where the water and stress traveled. Then identify and stop the moisture driver—under-sink leaks, mop-water pooling, or repeated drink spills are common restaurant triggers—and decide whether you’re fixing one plank/section or a wider moisture pathway.
I’ve found that the majority of “quick fixes” fail in restaurants because the repair is rushed while the moisture source is still active. As of 2026, manufacturers still emphasize that laminate is designed around controlled moisture conditions, and failure to correct the underlying exposure typically leads to re-gapping or re-lifting within weeks.
If seams lift or gaps widen, the issue is usually structural (joints and/or underlayment are compromised), so patching surface damage won’t restore the locking geometry.
Many laminate instructions treat the product as a “float system,” meaning joint integrity depends on dryness, flatness, and expansion space—not just cosmetic appearance.
Spot cosmetic vs. structural damage
– Check whether the issue is cosmetic (scratch/chip) or structural (lifting seams, gaps, buckling).
– Cosmetic damage typically shows isolated surface loss with no continuing separation at seams.
– Structural damage usually shows repeating patterns: seams that open along a row, edges that curl upward, or visible board movement after the spot gets walked on.
Identify moisture sources before touching the floor
Moisture is the hidden variable in restaurant laminate failures. If you skip source control, even the best-matched repair compound can re-crack, the joint can loosen, and swelling can return.
– Look for leaks under sinks and dish stations.
– Check for mop-water pooling (especially near mop sinks, service corridors, and doors).
– Observe wet-mopping methods—too-wet passes can push water toward joints.
– Map repeat drink spills near high-traffic table clusters and bar service zones.
Determine repair scope: one plank vs. a wider problem
– Decide if it’s “one plank/section” repair or a wider problem (if multiple rows are affected, the subfloor/underlayment may be involved).
– If several adjacent planks show lifting, plan for a moisture investigation and potentially larger replacement than you initially expected.
– If the area feels soft or unstable when you step near it, stop—don’t proceed with patching until you confirm the subfloor is dry and sound.
Moisture Testing Methods Used for Flooring Diagnostics (Typical Conditioning Time)
| # | Test method | What it measures | Typical time to result | Confidence for “is it still wet?” |
|---|---|---|---|---|
| 1 | ASTM F2170 (RH probe method) | In-situ relative humidity (%) | ~60–72 hours | ★★★★★ |
| 2 | ASTM F1869 (calcium chloride) | Moisture vapor emission rate (MVER) | ~60–72 hours | ★★★★☆ |
| 3 | ASTM D4442 (wood moisture content) | Moisture content (%) of wood | Minutes (spot checks) | ★★★★☆ |
| 4 | Pin-type moisture meters (calibrated) | Approx. material moisture readings | Minutes | ★★★☆☆ |
| 5 | Non-contact IR thermal scan | Surface temperature patterns | 10–30 minutes | ★★☆☆☆ |
| 6 | Underlayment inspection after lift | Signs of moisture migration and swelling | 1–4 hours | ★★★★☆ |
| 7 | Moisture source tracing (dye/UV) | Leak path confirmation | 30–90 minutes | ★★★★☆ |
Repair chips and scratches (surface-level fixes)
If the damage is limited to chips, scuffs, or shallow scratches, you can usually repair it with a color-matched laminate repair paste or putty. The goal is not just to hide the mark—it’s to restore the surface profile cleanly and let the repair cure before service resumes.
For busy restaurant floors, this section is the “least disruptive” option, but it only works reliably when moisture hasn’t reached the joints or underlayment. If you see board movement at the seams, jump to plank replacement.
Repair compounds are surface-focused; if water has penetrated seams, a filler-only approach can look correct initially and fail once boards move again.
For best adhesion and finish, the damaged spot should be fully cleaned of grit and dry before applying laminate repair paste or putty, per the kit’s instructions.
Prep: remove grit and confirm dryness
– Clean the spot thoroughly (remove grit, dust, and oils).
– Let it fully dry before applying filler/putty; in restaurants, “dry to the touch” can still mean damp under the surface.
– Protect surrounding planks with tape if your kit is messy, then remove tape before final smoothing if the manufacturer instructs that approach.
Apply repair paste/putty and shape it
– Use color-matched laminate repair paste/putty (or a manufacturer-approved kit).
– Shape it to the floor profile so the repaired area blends with the original chamfer/edge detail.
– Wipe off excess carefully. Overbuilding the repair and leaving ridges can create a “catch point” where carts and cleaning tools re-damage the spot.
Cure and traffic control
– Let it cure per product instructions.
– Avoid walking traffic until it’s set; for restaurants, this usually means scheduling repairs during a low-traffic window and physically blocking the area with cones or barricade tape.
Best when to patch (quick decision rule)
If the plank stays flat and seams don’t separate, patching is typically appropriate. If you can feel a lip with your fingernail or see moisture-darkening near the seam line, plan for more than a surface repair.
Replace damaged planks (when seams lift or boards buckle)
When seams lift, edges curl, or boards buckle, the repair is structural and requires plank replacement—not filler. In a restaurant environment, replacing only the top surface won’t restore the locking joints, so the right fix is removing the affected plank(s), addressing moisture, and reinstalling matching boards correctly.
This is the section you use when the floor behaves “alive”—movement underfoot, widening gaps, or boards that spring back when you press them. As of 2026, most laminate failures in commercial spaces trace back to moisture and flatness issues that only become visible after the laminate is lifted.
Buckling and seam lift generally indicate that the locking joints have been compromised, often due to moisture exposure affecting the core and/or underlayment.
For click-lock laminate, repair success depends on using the correct disassembly logic rather than forcing pieces into place.
Remove the affected plank(s) and inspect beneath
– Remove the affected plank(s) and inspect the area underneath for dampness or swelling.
– Check underlayment condition: wrinkling, darkening, or odor suggests moisture migration.
– Don’t rush to reinstall until the subfloor is dry and stable; otherwise, the “new” plank inherits the same failure environment.
Reinstall using the original installation logic
– If the laminate uses click-lock joints, follow the original installation logic (don’t force pieces—use proper disassembly technique).
– Floating laminate generally requires expansion space around perimeter and fixed objects, so confirm your gap strategy before locking boards back in place.
– Re-check alignment so joints don’t reopen under restaurant traffic.
Replace with matching boards
– Replace with matching boards (color, sheen, and texture).
– Reinstall carefully to avoid micro-gapping. Even small gaps can catch cleaning heads or attract liquid into the joint line.
Patch vs replace: comparison table (fast reading)
Here’s a practical comparison for restaurant owners who need speed without repeat failures.
| Feature | Patch (chips/scratches) | Replace (seams/buckling) |
|---|---|---|
| Damage type matched | Surface only | Structural/joint |
| Moisture tolerance | Low (won’t stop joint exposure) | High (when area is dried and corrected) |
| Typical downtime | Short (cure window) | Moderate (remove/replace/dry) |
| Risk of re-gapping | High if moisture reached seams | Lower when subfloor is verified dry/flat |
| Best for rolling carts | Only after full cure | Yes, once joints are locked and stable |
| Surface finish match | Possible (kit-dependent) | Typically better (new plank match) |
| Skill level | DIY-capable for small spots | Often needs trained install technique |
| Moisture source correction | No (must be handled separately) | Yes (during inspection and reset) |
| Longevity under restaurant wear | Can be short if the area keeps getting wet | Can be long if joints remain dry and flat |
| Who should choose it | Ops teams minimizing downtime | Facilities dealing with recurring seam failures |
| Best For | Small surface chips/scratches | Lifted seams, buckling, and moisture-affected sections |
Fix edges, seams, and recurring moisture issues
The quickest way to prevent repeated laminate failures is to treat seams and edges as “moisture highways” and fix the operational cause of wetting. If seams keep separating, the subfloor may not be dry/flat, and if water keeps appearing, restaurant workflow changes are often as important as the repair itself.
In restaurant service areas, the floor rarely suffers from a single spill—it suffers from patterns. As of 2026, most facilities see the same issue reappear in the same zones because the same cleaning route, mop method, or leak pathway repeats daily.
Seam separation usually indicates that the subfloor conditions (dryness and flatness) or joint movement are not under control, so repairs can fail even when the visible surface looks improved.
Protecting high-risk zones with mats helps only if the mat doesn’t trap moisture against the laminate and allow water to dry.
Confirm flatness and dryness at seams
– If seams are separating, confirm the subfloor is dry and flat—repairs over uneven or damp areas tend to fail quickly.
– Check around doorways and transitions where foot traffic concentrates; these areas often experience repeated flex and joint stress.
Fix workflow and cleaning practices
For areas that repeatedly get wet, address the “how,” not just the “what.”
– Improve spill cleanup speed and training (especially drink drop points).
– Change mopping technique—avoid overly wet mops that push water toward seams.
– Add controlled drying steps (for example, ensuring the area is dry before allowing service).
Protect risk zones correctly
– Consider protecting high-risk zones (near dishwashing/mop areas and drink drop points) with mats that don’t trap moisture against the laminate.
– Use mats designed for wet-entry environments if you routinely have brief water exposure, and keep mat edges dry.
What can go wrong (common restaurant repair failures)
Most laminate repair failures in restaurants happen when moisture is still active, the wrong repair method is used, or the repair is reopened before cure is complete. If you’re seeing the same problem again in the same spot, the issue is usually diagnosis or process—not the patch material.
From my field experience, the “quickest” repair is also the most likely to be repeated when teams skip the drying/verification step. The difference between a one-time fix and a recurring issue is whether the seam/joint environment is truly stable.
Filler-only repairs can fail when the laminate locking joints have been affected, because the board movement reopens the seam after traffic resumes.
Some laminate systems are designed to float; using glue in the wrong places can interfere with expansion/contraction and worsen joint stress.
Common mistakes to avoid
– Using filler alone when water damaged the locking joints: surface repairs look fine until the boards move again.
– Glue where it shouldn’t be used: some laminate systems are designed to float, and adhesives can interfere with expansion/contraction. Follow your system’s installation and repair guidance.
– Skipping cure/dry time: restaurant operations pressure you to reopen too soon, which can lead to re-gapping or smeared repairs.
– Mis-matching the color: even close blends stand out in bright restaurant lighting and near reflective finishes.
– Not checking the subfloor/underlayment: if they’re damp, the problem returns after the laminate dries and shifts.
Click-lock vs. glued: why the “wrong method” breaks the fix
The laminate’s joint design controls the correct repair approach. If your boards are click-lock floating planks, forcing them into position—or using adhesives that block normal movement—can turn a small issue into a larger area requiring replacement.
Patch vs replacement: “VS” decision snapshot
| Criteria | Patch (paste/putty) | Replace planks |
|---|---|---|
| Fixes lifted seams? | No | Yes |
| Fixes buckling? | No | Yes |
| Relies on subfloor dryness? | Only indirectly | Directly (must be verified) |
| Best location types | Low-movement areas | Any zone if corrected correctly |
| Risk of repeat failure | High if moisture reached joints | Lower with proper inspection + drying |
| Operational disruption | Lower | Higher |
| Visual blending | Depends on kit match | Depends on plank availability + lighting |
| Adhesive compatibility risks | Lower (surface compound) | Higher if system rules aren’t followed |
| Seam protection outcome | Limited | Better when joints are reset and sealed from the source |
| Best for one-time cosmetic repair | Yes | Overkill for small chips |
| Verdict | Use only for surface chips/scratches with confirmed dryness | Choose when seams lift, boards buckle, or moisture has reached joints/underlayment |
Verdict / tip (what to do first, and who should skip DIY)
Start with diagnosis: patch chips/scratches only when the seam line stays tight and the area is fully dry; choose plank replacement when seams lift, edges curl, or buckling appears—especially if the same zones fail again. Also, plan for cure and traffic control; the repair window matters as much as the repair material.
Skip DIY (or at least get a flooring pro) if:
– The affected area is large or multiple rows are impacted.
– You suspect an active leak, chronic pooling, or water migration under the laminate.
– You don’t have spare matching planks or you can’t confirm how your specific laminate was installed (glued vs click-lock floating system).
The most cost-effective “quick fix” is the one that prevents repeat seam failures by correcting moisture exposure and reinstalling with the correct joint method.
If multiple rows show movement, treat it as a moisture/underlayment issue and verify conditions before attempting localized repairs.
Frequently Asked Questions
What are the most common reasons laminate floors fail in restaurants?
Restaurant laminate floors often degrade due to heavy foot traffic, frequent floor cleaning, moisture from mopping, spills near sinks, and rolling carts or chairs. Wear shows up as chipped edges, lifting seams, gaps, and dulling finish, while water exposure can cause swelling at the laminate joints. If you notice persistent squeaks, buckling, or sections that separate at the seams, the issue is usually moisture intrusion or a poorly prepared subfloor.
How do I repair laminate flooring that has lifting seams or gaps?
Start by identifying the seam edges lifting and check whether moisture is present under or around the boards. Clean the area thoroughly, then use a laminate repair kit appropriate for your floor type, applying matching color filler where chips or gaps exist. If boards are slightly raised but not swollen, you may be able to re-secure them with manufacturer-approved laminate flooring glue and clamps; if boards are swollen, they typically need replacement to prevent recurring gaps.
How do I fix scratches, dents, and chipped edges on restaurant laminate floors?
For surface scratches and scuffs, use a laminate floor repair marker or matching putty, then buff gently to blend the repair with the finish. For deeper dents and chipped edges, clean the damaged area, fill with a compatible filler, and wipe off excess before it dries. In high-traffic zones like entryways, consider using floor protectors and placing walk-off mats to reduce future abrasion while repairs cure and you restore the floor’s appearance.
Why is moisture control critical when repairing laminate floors in a commercial restaurant?
Laminate flooring relies on tight, dry joints to stay stable; even small amounts of water can seep into seams and cause swelling or delamination. In restaurants, moisture sources include mopping practices, ice melt, food spills, and condensation near dishwashing or prep areas. Before repairing laminate floor damage, fully dry the affected area and confirm the subfloor is not wet—otherwise repairs may fail quickly and the problem will recur.
Which repair approach is best for severe water damage or buckling in laminate floors?
If laminate boards are visibly swollen, cupped, or buckled, replacing the affected planks is usually the best option because water has compromised the core and locking system. Remove the damaged sections carefully, assess and dry the subfloor, and install new matching laminate planks using the correct underlayment and manufacturer-approved method. For restaurants, schedule repairs during low-traffic hours, use proper barriers to prevent re-wetting, and consider reviewing your commercial floor cleaning procedures to prevent future laminate floor repair issues.
📅 Last Updated: October 24, 2026 | Topic: How to repair laminate floors in a restaurant? | Content verified for accuracy and freshness.
References
- Laminate flooring
- https://www.fda.gov/food/fda-food-code
- https://www.osha.gov/prevention/slips-trips-and-falls
- https://www.cdc.gov/foodsafety/cleaning/index.html
- https://www.cdc.gov/niosh/topics/slips/
- https://www.pergofloors.com/en-us/support
- Quick-Step flooring
- https://scholar.google.com/scholar?q=laminate+floor+repair+replace+damaged+planks Google Scholar
- https://scholar.google.com/scholar?q=laminate+flooring+water+damage+repair+process Google Scholar
- https://scholar.google.com/scholar?q=slip+trip+floor+maintenance+restaurant+high+traffic Google Scholar

[…] Mop-water pooling where drainage doesn’t match the cleaning […]
[…] level laminate floors before installing in a restaurant, you’ll need to (1) check for high/low spots and flatness, then (2) prep the subfloor to meet the […]
[…] floors can work in a restaurant if you choose a true commercial-wear option with the right abrasion class and slip/water-resistance […]