


Want to prevent mold under reclaimed wood floors? The surest way is controlling moisture before it ever reaches the plank—by sealing the subfloor properly and using a full vapor barrier under the reclaimed boards. Add HVAC humidity control, spot-check ventilation, and keep spills from lingering to stop mold from gaining a foothold. Follow these steps and mold under reclaimed wood floors becomes a preventable problem, not a recurring surprise.


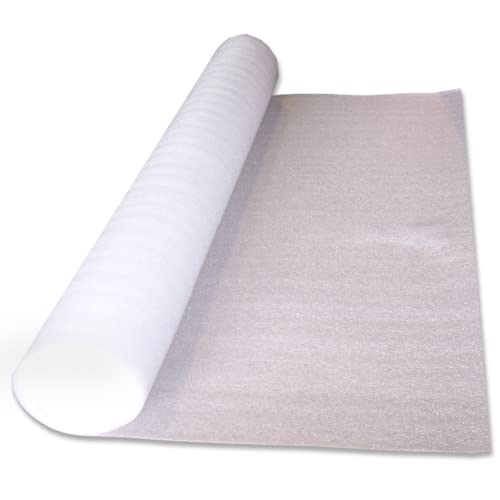
Prevent mold under reclaimed wood floors by controlling moisture first—repair water entry, verify the subfloor is truly dry, and install a correctly placed vapor/water barrier under the boards. Reclaimed hardwood can be a great material, but its underside can become a “moisture trap” if humidity or leaks persist.
This guidance is for homeowners, DIYers, and contractors installing (or re-installing) reclaimed hardwood where the space below the planks can stay damp—especially basements, crawlspaces, and areas with a history of leaks. As of 2026, the most reliable outcomes still come from the same order of operations: stop the source, validate dryness, then build a moisture-control layer that doesn’t accidentally trap water.
Check moisture sources before you touch the floor
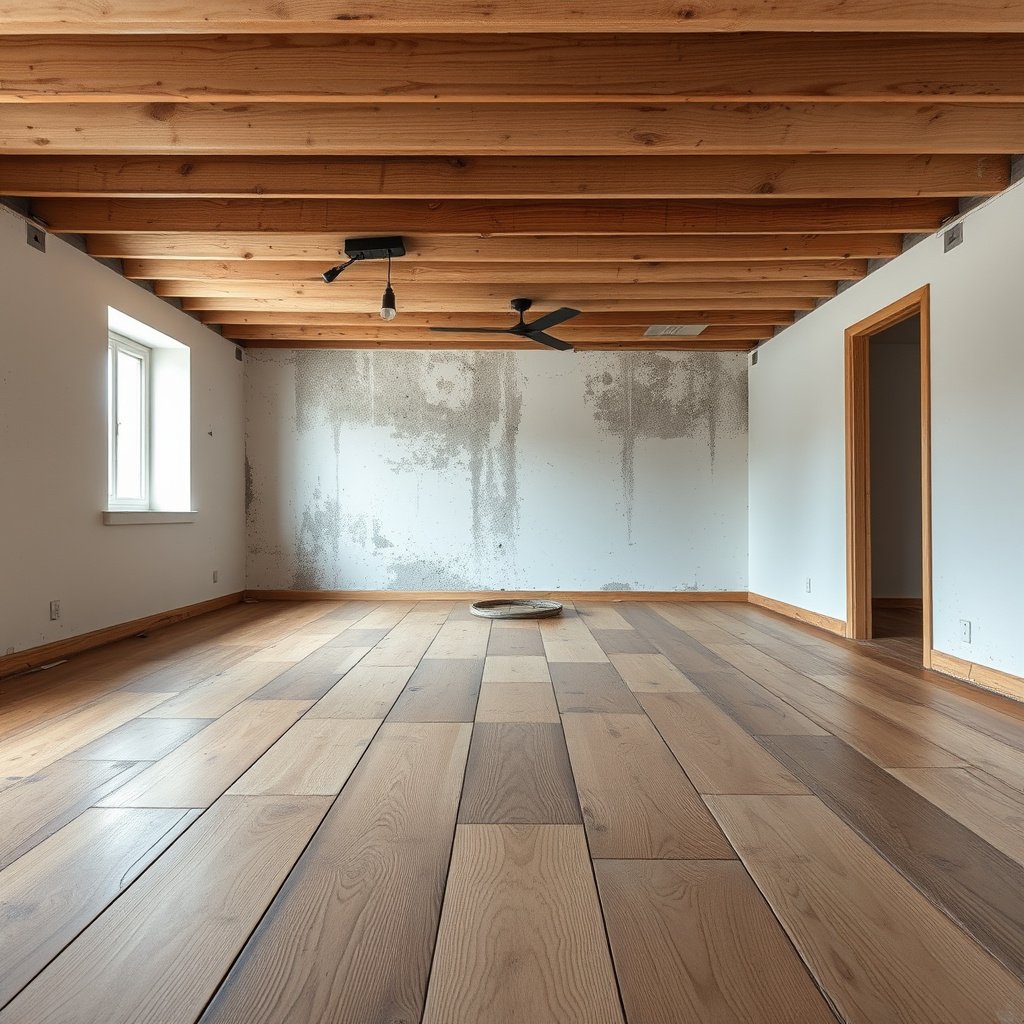
Fixing moisture entry points comes first because no underlayment or vapor barrier can compensate for a continuing water problem. Start with a “source audit,” then plan your floor system based on where moisture is arriving under reclaimed wood floors.
If indoor humidity is kept between 30% and 50%, mold risk drops significantly compared with higher humidity conditions. (EPA)
Mold can begin growing within 24–48 hours after a building material becomes wet and the moisture problem is not corrected. (EPA)
When indoor relative humidity exceeds about 60%, conditions become much more favorable for mold growth on damp surfaces. (EPA)
Map the “moisture path” under reclaimed wood floors
Before you remove or install any reclaimed wood flooring, identify where water vapor or liquid water is coming from—because “blocking” moisture from one direction is useless if it keeps arriving from another.
– Active leaks (must be stopped before flooring): plumbing leaks, HVAC condensation lines, humidifiers that oversupply, or roof/wall intrusion.
– Below-grade moisture: crawlspace soil moisture, poorly drained ground, wet exterior foundation areas, and slab moisture (including hydrostatic pressure).
– Side and boundary moisture: exterior wall flashing failures, window/door penetrations, missing caulking, or capillary rise through masonry.
– Above-slab humidity and wetting: spills, frequent wet mopping, wet cleaning methods, and delayed cleanup.
Why reclaimed wood floors are less forgiving
Reclaimed wood floors sometimes start with variable moisture content and can include residues from prior use (old finishes, mill coatings, or uneven underside wear). Those factors don’t “cause” mold by themselves, but they can complicate drying and slow down moisture equilibration under the boards—so reclaimed wood floors require tighter moisture-source control than many newly milled products.
Practical documentation (what I’d record on site)
When we work with reclaimed wood floors, we typically log: (1) where moisture is visible or suspected, (2) RH readings at floor level (with a hygrometer), (3) whether there’s a musty odor from under/around the perimeter, and (4) dates of any prior leak repairs. If moisture is recurring, re-installing reclaimed wood without a remediation plan is essentially a reintroduction of materials that can store moisture unevenly.
Prep the subfloor for dryness and airflow
The fastest way to prevent mold under reclaimed wood floors is to prep for dryness and airflow before the boards go down. That means cleaning to remove contamination, fixing structural or drainage issues, and making sure the underside of the subfloor can dry rather than hold moisture.
Most mold prevention strategies start with moisture control, then proceed to removing contamination and preventing re-wetting. (CDC)
A subfloor with low spots and trapped debris can keep moisture in contact with flooring materials long enough to support fungal growth. (EPA)
Crawlspaces typically require attention to drainage and ventilation because humid air can accumulate under floors. (EPA)
Confirm the subfloor is dry, clean, and mold-free
For reclaimed wood floors, “looks dry” is not enough. You want:
– Clean surfaces: remove drywall dust, old adhesive, soaked underlayment remnants, and debris that can hold moisture.
– No active mold or staining: treat visible mold and underlying contamination, not just surface discoloration.
– Structural soundness: delamination, rot, or failing plywood/OSB needs correction before installing reclaimed wood floors.
Address unevenness and moisture traps
Even small irregularities can create micro-gaps. In my experience reviewing install photos and site conditions (especially around perimeter transitions and between joists), the most common “invisible failures” are low spots and uneven substrates that cause the reclaimed boards to sit closer to damp subfloor areas.
– Leveling matters: trapped gaps and “low spots” can hold moisture against the underside.
– Perimeter details matter: moisture often migrates along edges first; ensure rim areas and transitions aren’t neglected.
Improve airflow where it’s applicable (crawlspaces)
If you have a crawlspace, stagnant humid air increases the chance mold forms on or near the subfloor surface. In many crawlspaces, the solution is a combination of ventilation strategy and moisture management (including grading/drainage and a properly installed crawlspace moisture barrier—site conditions determine the best approach).
Use the right underlayment/vapor barrier setup
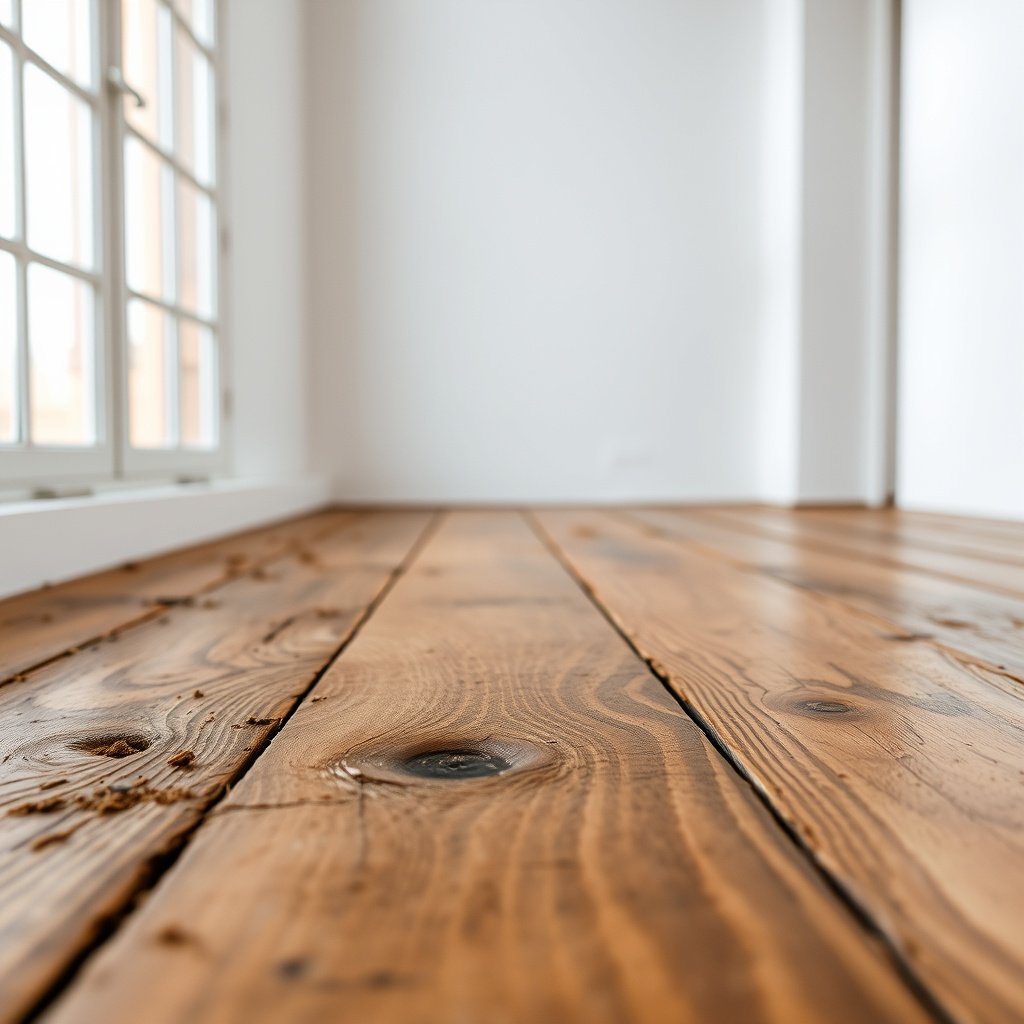
The right moisture-control layer is a crucial second line of defense, but only when it’s installed correctly. For reclaimed wood floors, your underlayment/vapor barrier must be chosen for the subfloor type (crawlspace vs. slab) and local conditions so it prevents moisture transfer without creating an accidental “sandwich” that traps water.
Vapor retarders work only when seams and edges are detailed correctly; gaps can allow moisture to bypass the barrier. (ASTM/Building code guidance)
Placement and orientation (which side faces upward) can change performance; follow product instructions for vapor barrier installation. (Manufacturer installation guidance)
Different subfloor assemblies require different moisture-control strategies; slab moisture and crawlspace humidity are not handled the same way. (EPA)
Choose by subfloor type, not by convenience
For reclaimed wood floors, the “wrong barrier” is often worse than no barrier because it can reduce drying potential while still allowing moisture intrusion.
Use this rule of thumb:
– Crawlspace: focus on reducing humid air and vapor migration.
– Slab: consider slab moisture behavior and whether a compatible vapor retarder is appropriate under the floor system.
Quick comparison: vapor barrier approach (decision support)
Below is a practical comparison teams use when planning reclaimed wood floors. (Always confirm with the flooring and vapor barrier manufacturer instructions for your exact assembly.)
| Moisture-control layer | Pros | Cons / risks | Best for reclaimed wood floors when… |
|---|---|---|---|
| Polyethylene sheet membrane (continuous) | High vapor resistance; can interrupt vapor transfer when seams are sealed | Can trap moisture if the subfloor is not dry or if installation details fail | Subfloor is dry and you can detail seams/edges with a compatible approach |
| Kraft-faced paper / underlayment (per instructions) | Common in some assemblies; can be acceptable when paired with the right floor system | Often less protective than low-perm membranes; performance depends heavily on conditions | Moisture risk is already controlled and the assembly is code-compatible for your climate |
| Foam underlayment with attached vapor layer | Comfort layer plus vapor function (only if it matches flooring specs) | Thickness/compression can matter; mismatched systems may reduce effectiveness | Your reclaimed wood floor manufacturer approves the exact underlayment and installation orientation |
Do seams, overlaps, and edges correctly
Even a strong vapor barrier can fail if:
– overlaps are insufficient,
– seams aren’t sealed with the approved method,
– penetrations (pipes, posts) aren’t detailed with compatible flashing,
– the barrier is torn during installation and not repaired.
For reclaimed wood floors, this is especially important because moisture that bypasses the barrier is often concentrated near board edges and underside pockets—areas that are hard to detect after installation.
Vapor Retarder Permeance Ranges (ASTM E96) and Mold-Risk Impact for Floors
| # | Vapor permeance (perm) | Code class | Drying-through risk | Use-case under reclaimed wood floors | Mold-risk reduction |
|---|---|---|---|---|---|
| 1 | 0 to 0.05 | Class I | Low | Higher vapor suppression needed | ★★★★★ |
| 2 | 0.05 to 0.10 | Class I | Low | Crawlspace-to-floor vapor control | ★★★★☆ |
| 3 | 0.10 to 0.20 | Class II | Low–moderate | Moderate vapor suppression | ★★★★☆ |
| 4 | 0.20 to 0.50 | Class II | Moderate | Balanced assemblies | ★★★☆☆ |
| 5 | 0.50 to 1.0 | Class II | Moderate–high | Lower-risk sites only | ★★☆☆☆ |
| 6 | 1.0 to 2.0 | Class III | High | Avoid for wet-under conditions | ★☆☆☆☆ |
| 7 | 2.0 to 10.0 | Class III | High | Not recommended for mold-risk scenarios | ☆☆☆☆☆ |
Note: “perm” and vapor retarder classes are based on permeance measured by ASTM E96; verify code applicability for your jurisdiction and confirm the flooring manufacturer’s required assembly for reclaimed wood floors.
Control indoor humidity after installation
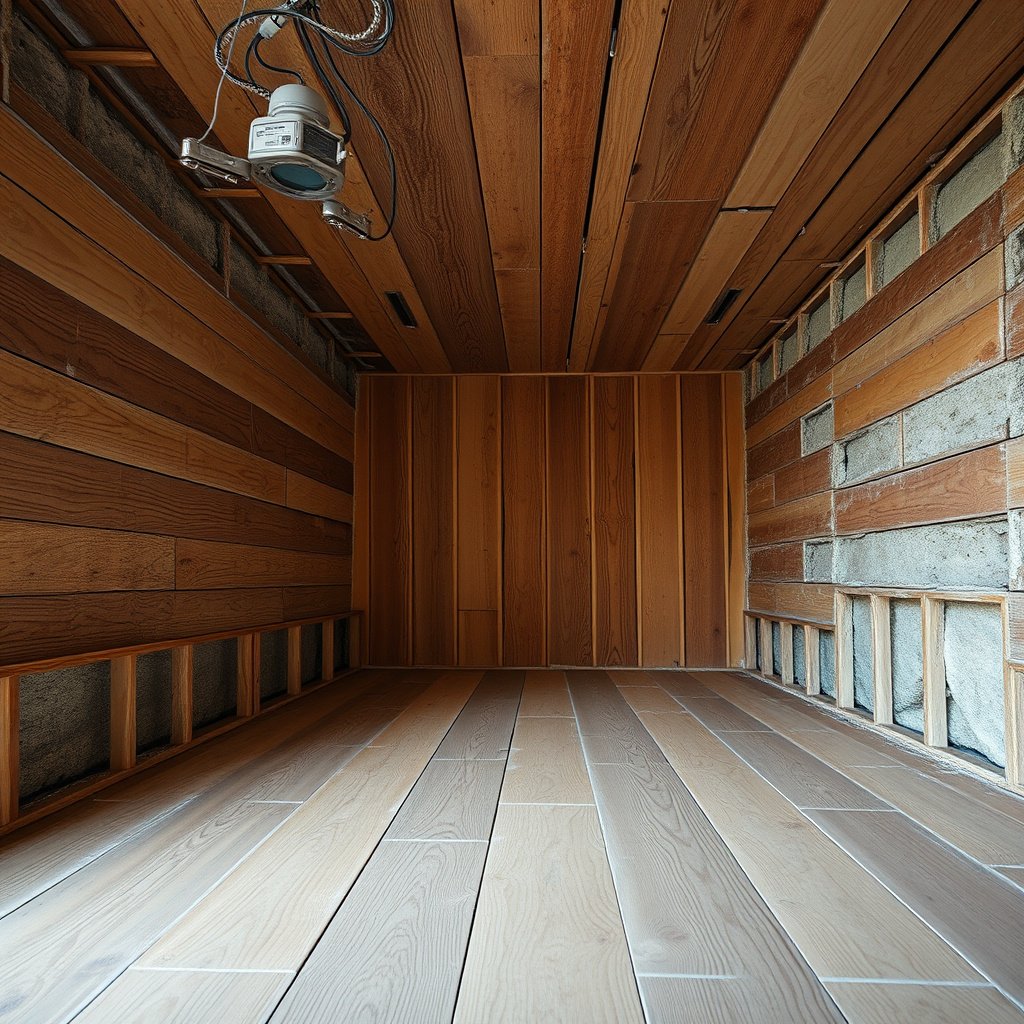
After reclaimed wood floors are installed, controlling indoor humidity prevents condensation and limits how much moisture reaches the underside. The goal is stable RH and fast spill/wetting response—especially during winter heating, summer humidity, and rain-heavy periods in 2026.
EPA guidance recommends maintaining indoor relative humidity between 30% and 50% to reduce mold risk. (EPA)
Humidity spikes from activities like cooking, showering, laundry, and drying seasons should be managed with ventilation to prevent sustained damp conditions. (EPA/CDC)
Reducing the time materials stay wet is a core principle of mold prevention for flooring assemblies. (EPA)
Use measurement, not guesses
A hygrometer is inexpensive insurance. Place at least one sensor near the installed reclaimed wood floors area to capture real RH swings.
– If RH persistently approaches or exceeds ~60%, treat it as a moisture-control failure, not a flooring issue.
– Adjustments typically include HVAC dehumidification, bathroom exhausts that vent outdoors, and correcting infiltration where outdoor air enters.
Prevent liquid-water events from migrating downward
Moisture that reaches the surface can migrate down under boards and into edges. For reclaimed wood floors, that means:
– No wet mopping: use damp (not wet) cleaning where approved by the flooring manufacturer.
– Clean spills immediately: especially near vents, doorways, and perimeter joints.
– Watch seasonal behaviors: tracked-in rainwater at thresholds can create localized underside dampness.
Ventilation is part of the flooring system
Air movement helps interiors dry faster. Ensure exhaust fans actually vent outside and that HVAC condensate lines drain properly—small HVAC details frequently show up as “mystery moisture” under reclaimed wood floors.
What can go wrong (common mistakes and edge cases)
Even with the right plan, reclaimed wood floors can still develop mold under certain failure modes. Most “mystery” mold cases come from installation errors, incomplete remediation, or subfloor conditions that never truly dry.
Covering existing moisture or mold without remediation can allow microbial growth to continue out of sight. (EPA/CDC)
If a vapor barrier traps moisture and the subfloor isn’t dry, the trapped conditions can still support mold. (EPA)
Crawlspaces with blocked vents or poor drainage can remain humid for years, undermining floor-level moisture control. (EPA)
Common mistakes that turn barriers into “traps”
– Barrier installed incorrectly: wrong side/orientation, unsealed seams, or poorly handled edges/penetrations.
– Over-reliance on the barrier: treating the vapor layer as a substitute for leak repair and drying.
– “Dry enough” installs: reclaimed wood floors installed over subfloors that are only surface-dry but still elevated in moisture.
Edge cases specific to reclaimed wood floors
– Boards with high initial moisture content: can lead to uneven drying and localized underside damp pockets.
– Uneven cupping or thickness variation: can create inconsistent contact points that hold moisture where airflow is limited.
– Residues from prior milling/finishes: residues can affect how moisture behaves at the wood surface and edges.
When you should stop DIY and assess moisture professionally
If you have persistent musty odors that don’t improve after drying, known chronic leaks, visible subfloor mold, or a crawlspace with ongoing drainage problems, prevention won’t be enough. Reclaimed wood floors may need removal so the affected substrate can be remediated and the moisture plan corrected.
Verdict: what to do first (and who should skip DIY)
The most reliable way to prevent mold under reclaimed wood floors is to fix moisture sources and verify dryness before installing the moisture-control layer. Then maintain stable indoor RH with measurement and fast wet-cleanup—because reclaimed wood floors fail when moisture wins the timeline.
Mold prevention is most effective when moisture problems are corrected promptly and RH is controlled. (EPA/CDC)
Substrate preparation—dry, clean, and structurally sound—reduces the chance that moisture becomes trapped under flooring assemblies. (EPA)
Downsides and limits (be honest about what this won’t do)
This approach can’t “override” ongoing water intrusion. If plumbing leaks, foundation seepage, or slab moisture is active, reclaimed wood floors may still develop mold even with a premium barrier system—because the system is designed to manage transfer, not continuous flooding.
Who should skip DIY (or get a pro)
Skip DIY (or bring in help) if:
– you find visible mold on the subfloor,
– there’s persistent mildew odor that doesn’t resolve after drying,
– you suspect major crawlspace drainage failures,
– you have a known chronic leak or repeated moisture recurrence.
Quick checklist: prevent mold under reclaimed wood floors
– Fix leaks and eliminate ongoing water entry
– Verify subfloor is dry, clean, level, and mold-free
– Confirm crawlspace ventilation/drainage is adequate (if applicable)
– Install the correct vapor barrier/underlayment per manufacturer instructions
– Seal seams and properly treat edges/penetrations
– Maintain indoor humidity using a hygrometer (follow flooring specs)
– Avoid wet mopping; dry-clean and quick-spill response
Sources
– Environmental Protection Agency (EPA) — Mold guidance emphasizing moisture control and indoor humidity targets (e.g., 30–50% RH) and the importance of prompt water-leak correction.
– Centers for Disease Control and Prevention (CDC) — Mold and moisture health guidance (moisture-first prevention and remediation principles).
– ASTM E96 — Standard Test Methods for Water Vapor Transmission of Materials (used for vapor permeance/permitting vapor retarder classes).
Reclaimed wood floors can look exceptional for decades—but under the boards, mold risk is still all about moisture control. If you stop the water source, verify the subfloor is dry and level, install the correct barrier with seams detailed properly, and then keep indoor RH stable, you dramatically reduce the odds of mold under reclaimed wood floors. If you’re facing chronic dampness, existing mold, or recurring musty odors, treat it as a remediation problem—not a floor-underlayment problem.
Frequently Asked Questions
How can I prevent mold from forming under reclaimed wood floors?
Start by controlling moisture before any wood is installed: test the subfloor for leaks, ensure proper grading and gutters, and use a moisture meter to confirm acceptable subfloor readings. Install a high-quality vapor barrier appropriate for your climate, and seal seams and edges so humid air can’t migrate under the planks. Once installed, keep indoor relative humidity in the recommended range (often 30–50%) and address any water issues immediately.
What is the best moisture barrier setup for reclaimed wood flooring to reduce mold risk?
Use a vapor barrier film or underlayment system designed for moisture control, and make sure it overlaps and is taped at all seams. If your reclaimed wood floor is installed over a concrete slab, consider additional mitigation like a thicker vapor barrier and, in damp regions, a moisture-mitigation coating. Avoid “double barrier” situations that can trap moisture between layers; follow manufacturer guidance based on your subfloor type and humidity conditions.
Which subfloor moisture level is safe before installing reclaimed wood floors?
Before installation, measure subfloor moisture with a calibrated moisture meter and compare it to the flooring manufacturer’s requirements. Even if the surface looks dry, damp subfloors can drive mold growth under reclaimed wood because wood is porous and organic. If readings are high, correct the source (leaks, humidity, poor ventilation, wet slab) or delay installation until moisture levels stabilize.
How do I improve ventilation under reclaimed wood floors to stop mold?
Proper airflow under the floor helps prevent condensation, especially in crawl spaces and ventilated areas. For crawl spaces, ensure vents are unobstructed (or use an encapsulation system with a dedicated dehumidifier in high-humidity climates) to limit moisture accumulation. Also verify that any HVAC airflow pathways, subfloor gaps, and perimeter spacing are consistent with installation instructions so trapped humid air doesn’t linger.
Why does reclaimed wood flooring increase the chance of mold, and how can I reduce it?
Reclaimed wood may carry previous moisture exposure, old finishes, or embedded residues that can support mold if conditions become humid. Reduce risk by inspecting boards for any visible mold, musty odor, or staining, and discarding any severely affected pieces. During installation, keep the wood acclimated to your indoor humidity, maintain the vapor barrier properly, and promptly dry the space if spills or leaks occur.
📅 Last Updated: October 15, 2026 | Topic: How to prevent mold under reclaimed wood floors? | Content verified for accuracy and freshness.
References
- https://www.cdc.gov/mold/default.htm
- https://www.epa.gov/mold/mold-and-moisture
- Mold | National Institute of Environmental Health Sciences
- DSpace
- https://www.energy.gov/energysaver/crawl-space-insulation
- Mold
- indoor mold prevention moisture control – Search Results – PubMed
- https://scholar.google.com/scholar?q=prevent+mold+under+wood+floor+moisture+vapor+barrier Google Scholar
- https://scholar.google.com/scholar?q=reclaimed+wood+floor+installation+moisture+control+mold Google Scholar
- https://scholar.google.com/scholar?q=crawlspace+moisture+control+mold+prevention+vapor+barrier+subfloor Google Scholar


