
How to clean laminate floors in a garage without ruining the finish is simple—use the right prep, a damp (not wet) mop, and garage-safe cleaners that won’t leave residue. This step-by-step guide walks you through removing grit first, choosing the correct cleaner for stains, and drying fast so water doesn’t seep at the seams. Follow it and you’ll get a cleaner, safer floor with less streaking and longer-lasting wear than guesswork.



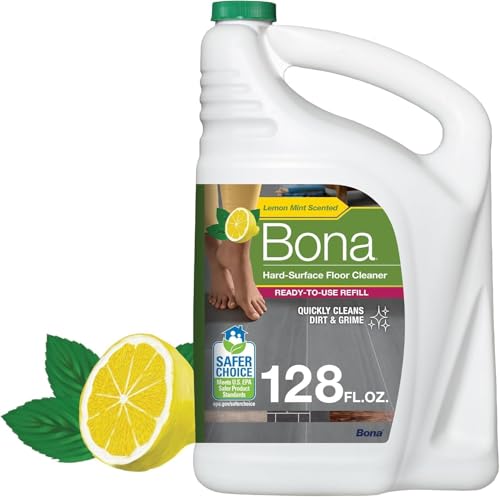
Clean laminate garage floors by dry-sweeping or vacuuming first, then mopping only with a barely-damp microfiber and a pH-neutral cleaner made for laminate. Avoid soaking, steam mops, and harsh chemicals because laminate can swell or delaminate when moisture migrates into seams. This guide shows the safest garage routine, how to treat spills, and what to skip so your laminate stays flat and looks consistent.
If your garage gets tracked-in dirt, oil, or occasional moisture, laminate needs a gentler approach than tile or sealed concrete. This is especially important if your laminate is installed with click-lock seams or you’ve noticed past moisture issues around the door.
Gather the right tools (and skip the risky ones)
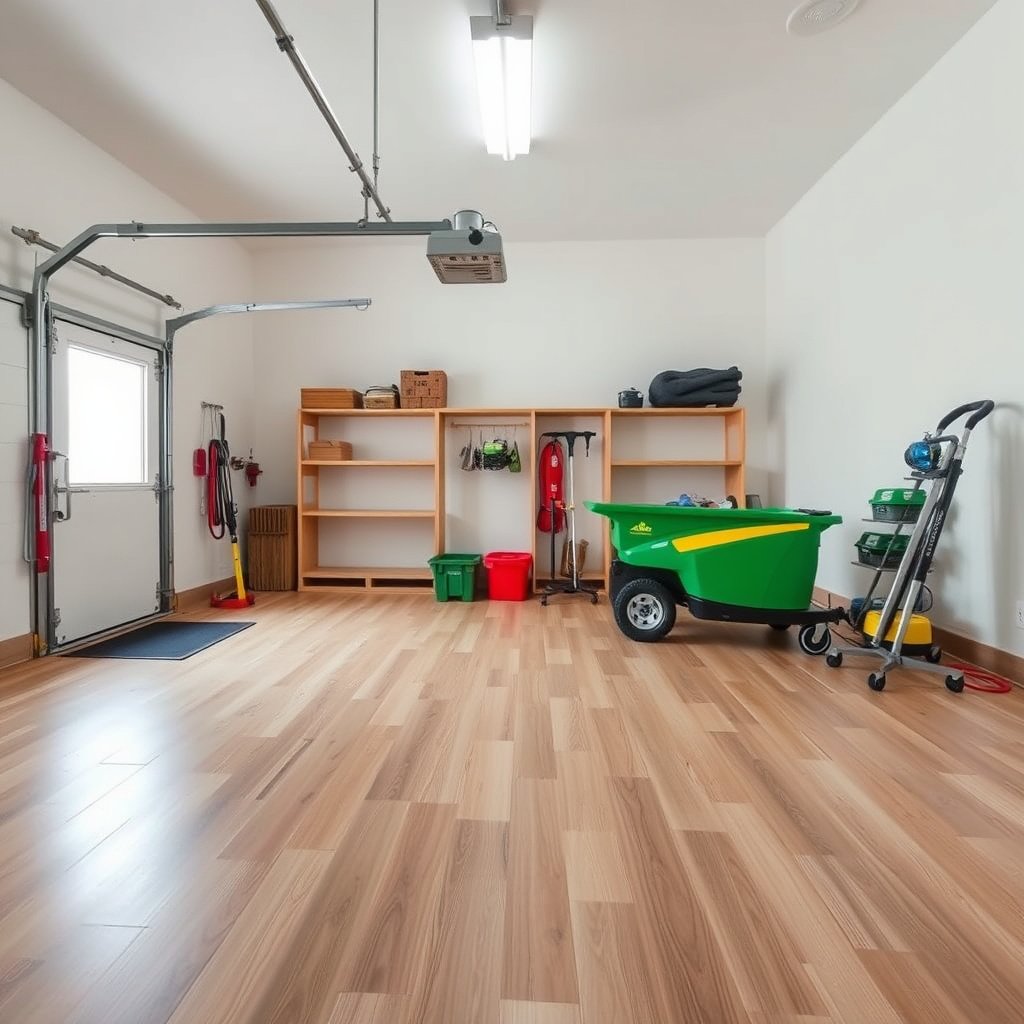
The fastest way to protect a laminate garage floor is to use tools that control water at the surface—microfiber and a laminate-safe pH-neutral cleaner—while avoiding heat and abrasion. With the right setup, you clean without forcing moisture into joints, which is where laminate is most vulnerable.
A laminate garage floor is designed to tolerate normal cleaning, but excess liquid is what drives swelling at joints and edges.
Using a pH-neutral, laminate-safe cleaner reduces the risk of dulling the top wear layer compared with acidic or alkaline products.
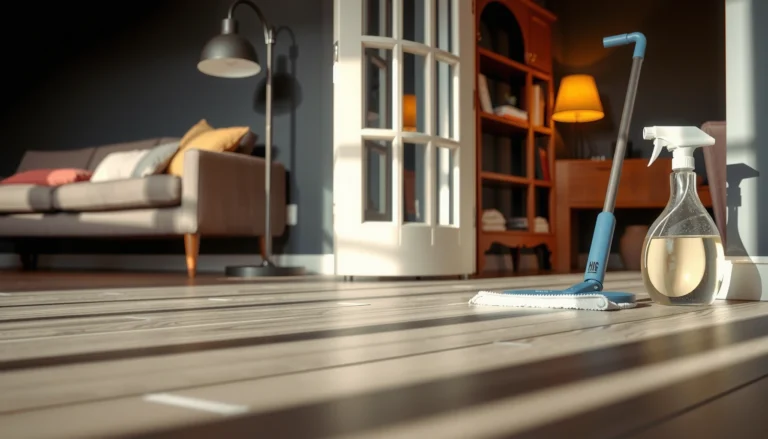
– Use: microfiber mop pads, a soft bristle broom or vacuum (hard-floor setting), and a pH-neutral cleaner labeled safe for laminate floors.
– Use protective practices: keep a second dry microfiber cloth for quick drying after you spot-mop.
– Skip common hazards: steam mops, abrasive pads (like scrubbers), and cleaners with bleach, ammonia, or strong solvents unless your specific laminate manufacturer explicitly approves them.
What “barely-damp” means in practice
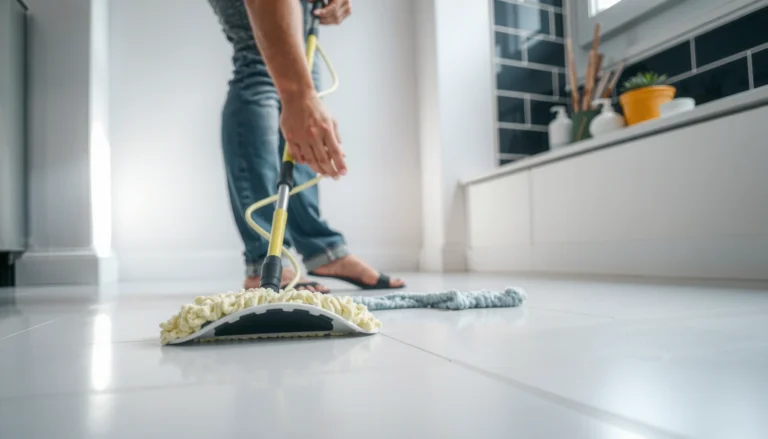
For laminate floors in a garage, “barely-damp microfiber” isn’t a vibe—it’s a physical state. After you wring the mop pad, it should feel damp to the touch but not leave visible droplets, streaks, or a shiny wet look on the boards. That small control step is the difference between surface cleaning and seam exposure on click-lock laminate.
A quick checklist of tool safety
– Vacuum: Use the hard-floor setting (this reduces aggressive brush contact that can grind grit into seams).
– Mop pad: Use microfiber only; avoid cotton string mops that tend to shed fibers and hold extra liquid.
– Buckets and cloths: Keep one “wet” bucket for the cleaner solution and one clean “dry” cloth on hand for immediate edge drying.
On standards and manufacturers
Laminate care instructions vary by brand, but the common thread across major manufacturers is consistent: no steam, no soaking, and no excessive water. Follow the laminate brand’s care sheet when it conflicts with generic advice, because some luxury/water-resistant laminates still have seam and core limits.
Prep your garage floor before you clean
Dry prep is the first safety step for laminate in a garage—it prevents grit from turning your mop into sandpaper. If you start wiping over loose debris, you’ll scratch the finish and grind particles into micro-grooves along board edges.
Scratches on laminate are often caused during wet cleaning because loose grit has nowhere to go once the microfiber pad starts moving.
Pre-vacuuming improves results because cleaners work better on residues when dirt films are removed first.
– Remove grit first: sweep/vacuum thoroughly to prevent scratching when you later wipe the surface.
– Treat stuck debris gently: if you have dried mud or grit, let it soften with a light wipe (damp—not wet) before you lift it.
– Control airflow: open the garage door/space for ventilation so the floor dries fast after any damp cleaning.
Why airflow matters more in garages (especially in 2026)
Garages tend to trap humidity from weather, wet boots, snow melt, and seasonal temperature swings. As of 2026, many laminate owners also operate with partially closed doors for security or weather control—so drying time increases. Faster drying helps limit how long any moisture sits near click-lock seams.
From my experience maintaining laminate in real garage environments, the most noticeable improvements come when we treat “drying” like part of cleaning, not an afterthought—particularly along the doorway threshold and near the bottom of the jamb.
Best prep targets in a garage
If you’re focusing on where laminate needs extra care, concentrate prep and wiping along:
– Doorway traffic lanes (where moisture and de-icing residue show up)
– Edges and expansion gaps (seams swell first here)
– Around floor mats that trap and release sand
Safe step-by-step cleaning routine for laminate
The safest routine for laminate garage floors is dry first, barely-damp second, then quick-dry. This sequence removes dirt and residue while minimizing water migration into seams.
The main risk to laminate during cleaning is not “cleaning,” but leaving liquid long enough to reach and swell the core or seams.
Microfiber mopping is effective when the pad is wrung down so it cleans by wiping residue, not by rinsing.
– Step 1: Dry clean (always). Vacuum or sweep until you’re not seeing loose dirt, especially along seams and edges.
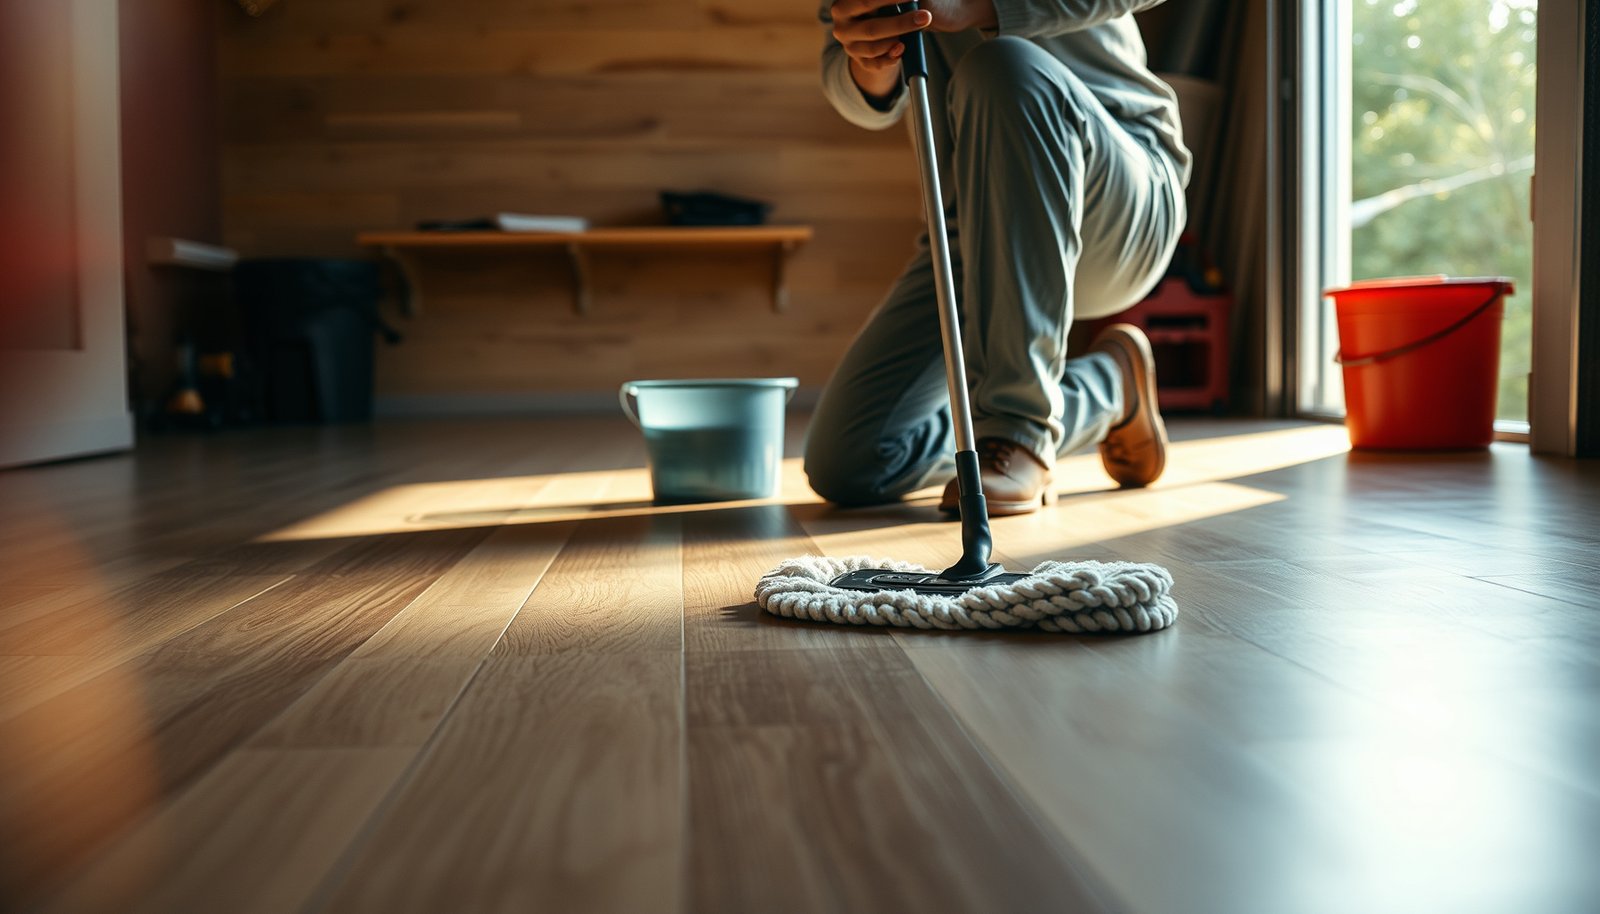
– Step 2: Damp clean (only). Lightly mist the microfiber pad or wring it so it’s barely damp—then wipe in small sections.
– Step 3: Dry again where needed. If the garage is humid or you see any wet look/shine, immediately buff with a dry microfiber cloth.
The “barely-damp” rule is water-volume control
Laminate damage is tied to water exposure duration and amount, not just cleaner type. A barely-damp pad typically removes residue without leaving standing moisture behind. In contrast, a soaking wet mop pad can flood the board edges and click-lock joints before the surface looks dry.
A measurable anchor
According to NIST Chemistry WebBook, liquid water boils at 100°C (212°F) at standard atmospheric pressure (accessed 2026). This is why steam mops—by design—introduce heat-driven moisture; even when steam seems “evaporative,” it can still deliver enough water to reach seam gaps in laminate.
How small sections reduce risk
Work in narrow zones so you can:
1) keep wiping time short,
2) spot a “wet sheen” early, and
3) dry buff immediately with your second microfiber cloth.
For laminate in a garage, this is especially important around the door area where tracking-in moisture is most frequent.
Handling stains, greasy spots, and spills in a garage
You can remove most garage stains from laminate safely by using a microfiber wipe, a laminate-safe pH-neutral cleaner, and fast drying—never by scrubbing aggressively or soaking. For unknown liquids (oil/antifreeze/chemicals), stop and follow your laminate’s care guidance.
For garage laminate, grease removal is best done with controlled damp wiping, followed by drying—scrubbing increases wear while water increases seam risk.
Unknown spills should be treated as seam-risk events: blot first, then use minimal damp cleaning and thorough drying along joints.
– Grease/track-in grime: start with a damp microfiber and a laminate-safe pH-neutral cleaner. If it won’t lift, do another gentle pass rather than scrubbing hard.
– Sticky residue: wipe with a lightly damp cloth first; if your laminate manual allows it, use the manufacturer-approved cleaner for residue removal.
– Spills (water or other liquids): blot immediately with paper towels or a dry towel, then follow with damp microfiber only—finish by drying thoroughly along seams.
For any “unknown” spill (oil, antifreeze, chemical cleaners), stop and follow the specific care guidance for your laminate. If you’re unsure, test in a hidden area first and avoid letting liquids soak into the joints.
Practical examples that work in real garages
– Oil drips: blot with towels to remove bulk. Then wipe with barely-damp microfiber plus laminate-safe cleaner. Repeat gently if needed; avoid pressure-wringing that forces liquid into seams.
– Mud with grit: let mud soften slightly with a damp microfiber first—then lift and wipe. Skipping the softening step can push grit across the finish and create dull traffic marks.
– Doorway condensation: treat it like a spill event—dry buff after wiping even if your cleaner is “safe,” because the garage environment can re-humidify seams.
Quick pros/cons: What to do when a spill happens
| Option | Pros for laminate | Cons / risk to avoid |
|---|---|---|
| Blot + barely-damp microfiber + dry buff | Removes liquid quickly while limiting moisture migration into seams | Requires discipline and speed; leaving even “safe” moisture too long can still affect edges |
| Scrub with pressure + wet mop | Can lift grime initially | Increases scratch risk and can push water into click-lock joints |
| Steam/heat-based cleaning on spill areas | None—usually intended for other flooring types | Heat + moisture can drive water into seams and promote swelling/delamination |
What can go wrong (and why laminate is picky)
Most laminate problems in garages come from moisture pathways (seams and edges) and from chemistry mismatches (pH and solvents). If you see lifting, gaps, or a persistent musty smell, stop cleaning and treat it as a moisture intrusion issue.
Laminate floors often fail at the seams first, which is why “no excess water” guidance is repeated across many manufacturer care manuals.
Harsh chemicals can damage the wear layer or leave residues that make the surface look dull even after drying.
– Steam mops and wet mopping: heat and excess water can penetrate seams, causing cupping, swelling, or separation.
– Harsh chemicals: bleach/ammonia or strong degreasers can dull the finish or damage the top layer—check your flooring manual before using anything new.
– Scratching from debris: skipping the first vacuum/sweep step is one of the fastest ways to leave dull “traffic marks.”
– Not drying after damp cleaning: in a garage, airflow can be limited—if the floor stays damp, even “safe” cleaners can contribute to edge damage over time.
– Temperature and humidity swings: laminate care is tightly linked to the environment. If your garage experiences frequent extreme moisture or standing water, you may need a different flooring solution or stricter moisture control.
The chemistry risk: why pH extremes matter
Laminate’s surface and core tolerate some cleaning chemistry, but garage realities (oil drips, chemical containers, de-icers) often bring pH extremes. In practice, this means you should default to a pH-neutral laminate cleaner and avoid “strong” household products unless the laminate manufacturer explicitly approves them.
Typical pH Ranges of Common Garage Cleaners & Laminate Safety (General Guidance)
| # | Cleaner / liquid used in garages | Typical pH range | Laminate safety score |
|---|---|---|---|
| 1 | pH-neutral laminate cleaner (label-safe) | 6–8 | ★★★★★ |
| 2 | Clean water used sparingly on wrung microfiber | 6.5–7.5 | ★★★★☆ |
| 3 | Mild dish soap solution (general) | ~7–9 | ★★★☆☆ |
| 4 | Baking soda paste (scrub-like paste) | ~8–9 | ★★☆☆☆ |
| 5 | White vinegar (acetic acid solutions) | ~2–3 | ★★☆☆☆ |
| 6 | Household bleach (sodium hypochlorite) | ~11–13 | ★☆☆☆☆ |
| 7 | Household ammonia solutions | ~11–12 | ★☆☆☆☆ |
Chemical anchors you can remember
According to NCBI/PubChem entries for acetic acid solutions, vinegar-type solutions are typically acidic (pH ~2–3) (accessed 2026).
According to NCBI/PubChem entries for sodium hypochlorite solutions, household bleach solutions are typically alkaline (pH ~11–13) (accessed 2026).
According to NCBI/PubChem entries for ammonia solutions, household ammonia is typically basic (pH ~11–12) (accessed 2026).
If your laminate manufacturer permits a specific cleaner, follow that permit—but if it doesn’t, pH-neutral is the safest default.
Moisture intrusion warning signs
If laminate is already showing lifting seams, visible gaps, or a persistent musty odor, the goal changes from “cleaning” to “moisture control.” In that situation, continuing to damp-mop can worsen separation by feeding the problem.
Verdict: the best approach (and who should skip this)
The best approach for laminate garage floors is the controlled routine: dry clean, damp microfiber with pH-neutral laminate cleaner, then quick dry. It’s the lowest-risk method for click-lock seams when your garage does not have ongoing standing water.
Dry-first and fast-drying reduce the time moisture sits near laminate joints, which is the practical path to preventing edge swelling.
If the garage has recurring flooding or existing seam separation, routine cleaning alone won’t fix the underlying moisture exposure.
If your laminate is in reasonable condition and you can prevent standing water, the “dry first, damp microfiber, quick dry” routine is the safest way to keep it looking clean. Downsides: you may need more passes for heavy garage grime, and you’ll need to be disciplined about avoiding wet tools and steam.
Skip this approach (or get manufacturer guidance first) if:
– You’ve had recurring flooding/standing water in the garage.
– The laminate already shows lifting seams, visible gaps, or persistent musty odor (signs of moisture intrusion).
– Your flooring manual says only specific products/tools are allowed and you can’t identify the exact model.
A realistic expectation for garage-heavy use
Even with perfect technique, laminate in garages that see frequent salt/de-icer tracking or regular oil exposure may require:
– more frequent dry vacuuming,
– gentler stain cycles (repeat wipes instead of scrubbing), and
– tighter humidity control (ventilation and avoiding standing dampness at the door).
This is why the same “pH-neutral” approach still needs stronger habits: less water, more drying, and quicker action on spills.
Quick scan checklist + table
| Task | What to do | Why it matters |
|---|---|---|
| Before cleaning | Sweep or vacuum all grit | Prevents scratches during wiping |
| Choose cleaner | Use pH-neutral, laminate-safe cleaner | Helps protect the finish/top layer |
| Mop method | Microfiber barely damp (not wet) | Reduces water penetration into seams |
| Focus areas | Wipe along seams/edges carefully | These spots swell fastest when exposed |
| After wipe | Dry-buff with a clean microfiber | Removes lingering moisture |
| When unsure | Follow your laminate manual for product approval | Prevents finish or layer damage |
Frequently Asked Questions
How do I clean laminate floors in a garage without damaging them?
Use a dry or slightly damp mop and avoid soaking the laminate floor, since standing water can cause warping and swelling. Start by sweeping or vacuuming with a soft brush attachment to remove grit that can scratch the surface. For spot cleaning, use a laminate-safe cleaner and a microfiber cloth, then wipe dry to prevent moisture from lingering in seams.
What’s the best way to remove dirt, oil, and grime from laminate garage floors?
Begin with thorough dry cleaning—sweep and vacuum to lift loose dirt before you apply any cleaner. For smudges and grime, use a pH-neutral laminate cleaner diluted as directed, applied lightly with a microfiber mop or cloth. For greasy spots, blot with a cleaner made for laminate or use a small amount of degreasing cleaner that’s labeled safe for laminate, then rinse lightly with a damp cloth and dry immediately.
Which cleaning products are safe for laminate flooring in a garage?
Look for cleaners labeled “safe for laminate floors” and favor pH-neutral formulas that won’t break down the protective wear layer. Avoid harsh chemicals like bleach, ammonia, abrasive scrubbers, and steam mops, because they can dull the finish and damage joints. If you’re unsure, test any product in a hidden area first and follow the manufacturer’s dilution and application instructions.
Why does my laminate floor look streaky after cleaning, and how can I prevent it?
Streaking usually comes from using too much cleaner, not wiping the floor with a clean microfiber pad, or leaving residue along seams and edges. Use minimal cleaner—lightly dampen the mop instead of wetting the boards—and buff dry with a separate dry microfiber towel after mopping. Also ensure you’re removing gritty dust first, since particles can create haze when spread across the surface.
How should I handle salt residue and water tracking when cleaning laminate garage floors?
Salt and grit act like sand, so start by sweeping or vacuuming to remove debris before it grinds into the laminate finish. Use a lightly damp microfiber mop with a laminate-safe cleaner, working in small sections, and then dry the area promptly with a towel. To reduce future tracking, place mats at entry points and encourage wiping shoes or using a boot brush before stepping onto the garage laminate floor.
📅 Last Updated: October 22, 2026 | Topic: How to clean laminate floors in a garage? | Content verified for accuracy and freshness.
References
- Laminate flooring
- Mold
- https://www.epa.gov/infectious-diseases/cleaning-and-disinfecting
- https://www.cdc.gov/coronavirus/2019-ncov/community/disinfecting-building-facility.html
- Mold | US EPA
- https://www.cdc.gov/mold/cleanup/index.html
- https://www.cdc.gov/mold/dampness.html
- https://scholar.google.com/scholar?q=cleaning+laminate+floors+garage+moisture Google Scholar
- https://scholar.google.com/scholar?q=laminate+flooring+care+avoid+standing+water Google Scholar
- https://scholar.google.com/scholar?q=disinfection+cleaning+hard+surface+flooring+laminate Google Scholar