


Want to install laminate floors in a garage without wasting time or fighting moisture and uneven slabs? This step-by-step guide walks you from prepping and leveling the concrete to laying planks, installing the right underlayment, and finishing the edges so the floor holds up under daily wear. If you follow these instructions, you’ll get a clean, tight install with fewer gaps and fewer surprises than shortcuts.



Yes—you can install laminate flooring in a garage, but only if you control concrete moisture and keep the floor able to expand/contract as temperatures change. Start by verifying your laminate is approved for below/at-grade garage conditions, then install the correct vapor barrier/underlayment on a clean, flat slab. Finally, lay the planks as a floating floor with proper expansion gaps around the perimeter and at doorways.
This is for DIY homeowners installing laminate over a garage slab (often concrete) who want a practical, step-by-step walkthrough—especially around the parts that cause failures (moisture, leveling, and expansion gaps). If your garage gets extremely wet, flooded, or regularly freezes, you should read the “What can go wrong” and “Verdict” sections before you start.
Prep the garage slab for laminate (moisture + cleanliness)
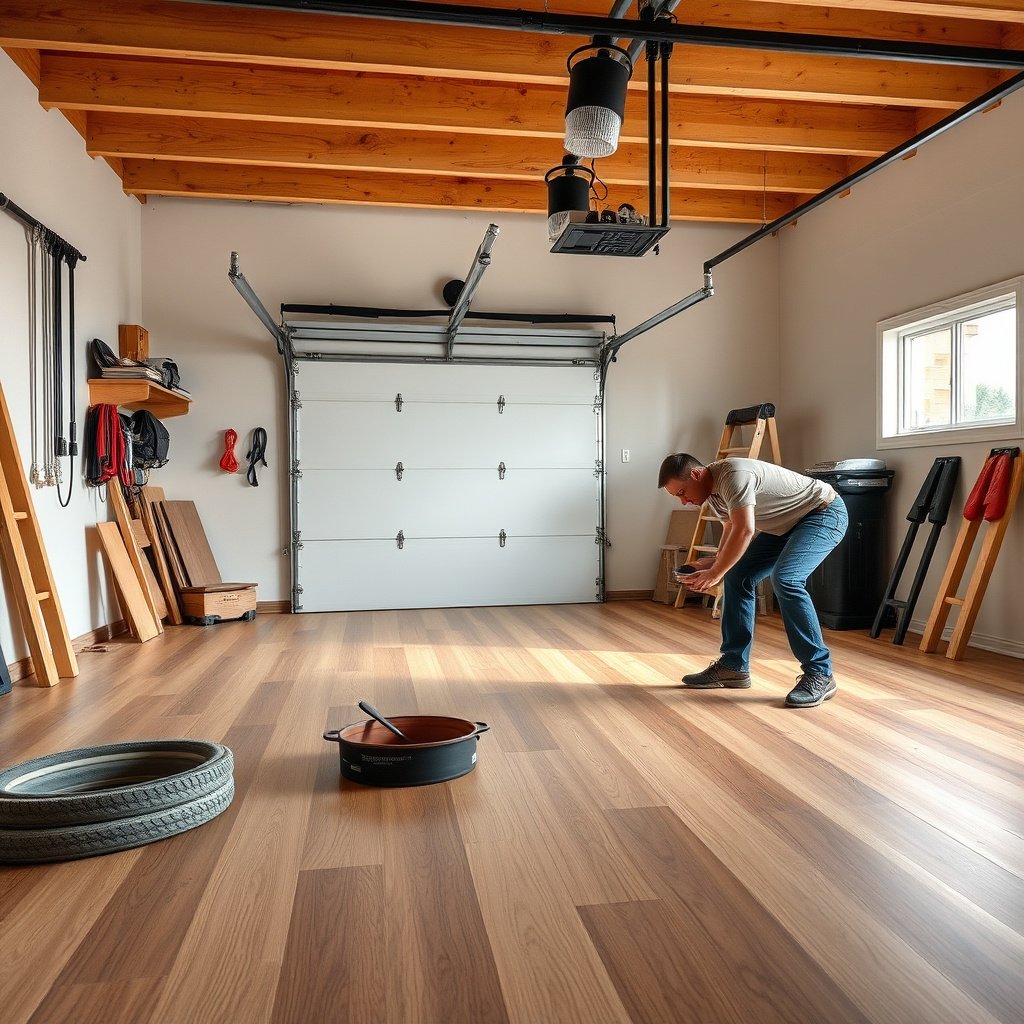
You get the best outcome when you treat moisture control and surface prep as the “real” installation—not the clicking of planks. Laminate flooring in a garage succeeds only when the concrete slab is clean, stable, and covered by a moisture plan your specific product allows.
Concrete moisture performance for floor coverings is commonly evaluated using ASTM methods and manufacturer thresholds; when you skip those requirements, warranty coverage can be lost (ASTM F2170).
ASTM E1745 classifies vapor retarders by permeance; Class I is ≤ 0.1 perms, which is what many “concrete slab” systems rely on for moisture control (ASTM E1745).
– Confirm the laminate product is rated for garage use and concrete subfloors (check the manufacturer’s installation instructions and warranty language; many floors are not meant for high-moisture or exterior-like conditions).
– Inspect the slab for moisture problems and surface issues—repair cracks/patches and remove any paint, sealers, dust, or adhesive residue that could interfere with flooring prep.
– If the manufacturer specifies a moisture test method (often for concrete slabs), follow it exactly (if no method is provided, use a standard like ASTM guidance as a starting point).
– As of 2026, the safest approach for laminate flooring in a garage is to align your moisture testing and underlayment assembly with the wording in the warranty (not just “it should be fine”). If the warranty doesn’t mention garage basements/garages, treat that as a red flag.
Quick moisture reality check (perm classes, in plain terms)
When you’re selecting a vapor barrier system under laminate flooring in a garage, the “vapor barrier” label alone isn’t enough—permeance class matters.
According to ASTM E1745, vapor barrier classes are defined by permeance (a measure of how readily moisture vapor passes through): Class I is ≤0.1 perms, Class II is 0.1–1.0 perms, and Class III is 1–10 perms. If your laminate instructions require Class I (common for concrete), choosing “something that feels plastic” can still leave too much vapor transfer.
Gather the right tools + plan for acclimation
You’ll avoid most DIY headaches when you plan the layout early and acclimate the laminate correctly before installation. For laminate flooring in a garage, acclimation and layout planning matter because temperature swings can stress seams and locking joints.
Laminate flooring must be acclimated to the installation environment as defined by the manufacturer’s instructions; otherwise temperature-related movement can cause joint stress ().
Installation planning for laminate flooring is about movement: you need enough expansion space so the floating floor can expand/contract without contacting walls or fixed objects.
– Use the tools your planks require: tapping block, pull bar, spacers (for expansion), underlayment/vapor barrier, utility knife, saw (usually a miter or table saw for clean cuts), and measuring/layout supplies.
– Acclimate laminate per the manufacturer’s instructions (temperature and time matter). If the guide doesn’t specify acclimation time, follow the minimum guidance from the product instructions rather than guessing.
– Plan your layout before you snap boards together: choose a “from the wall” direction, account for expansion gaps, and decide where long seams will land.
– From a practical standpoint, I’ve seen many laminate flooring in a garage issues trace back to layout choices (rows that end in a “tight” spot near a doorway). When you plan the first two rows carefully, you’re far less likely to end up forcing a cut that blocks the expansion route.
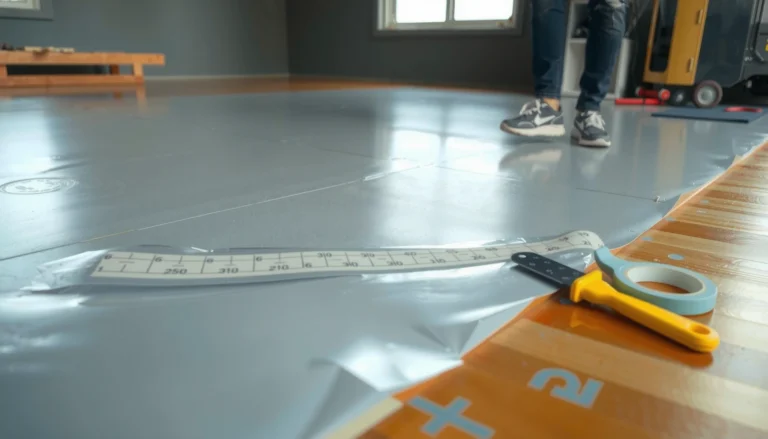
Level the subfloor and install the underlayment/vapor barrier
You’ll prevent future joint failure by leveling the slab (within your laminate’s flatness tolerance) and installing only the approved underlayment/vapor barrier assembly. Laminate flooring in a garage is unforgiving about unevenness because click joints can work loose when planks rock.
Floor flatness tolerances are defined by manufacturer specifications; if the slab exceeds the permitted deviation, laminate seams can separate as the floating floor moves.
Moisture protection systems for laminate on concrete slabs are typically “approved assemblies,” meaning the underlayment/vapor barrier must match what the manufacturer lists.
– Laminate hates unevenness. Level the concrete so the floor remains stable; if the slab is wavy or high/low, you’ll get gaps, noise, and seam stress.
– Install the correct underlayment and/or vapor barrier exactly as directed by the flooring manufacturer. For concrete slabs, this is commonly a system requirement (and using the wrong layer can void warranty or fail moisture protection).
– Overlap/seal seams and keep the barrier tidy—wrinkles, cuts, or gaps at seams can create moisture pathways.
– If you’re currently deciding between “more padding” and “correct moisture control,” choose correctly rated moisture protection first. In laminate flooring in a garage installations, thick underlayment can sometimes conflict with locking-joint performance and manufacturer requirements.
Lay laminate planks as a floating floor (expansion gaps first)
You’ll get the longevity you want when you treat expansion gaps as non-negotiable and lock every joint fully. For laminate flooring in a garage, correct floating-floor behavior is what keeps click seams from popping as the garage warms, cools, and sometimes gets humid.
Perimeter expansion gaps prevent laminate flooring from binding against walls as it expands with temperature changes ().
A floating laminate floor should not be fastened to the concrete slab; fastening defeats the designed movement and raises the risk of buckling.
– Maintain expansion gaps around every boundary: perimeter walls, posts, pipes, and any fixed vertical surfaces. Typical DIY failures come from skipping or undersizing these gaps.
– Start with a straight reference line. Keep the first row aligned, then stagger end joints for a cleaner structure and better interlocking performance.
– Lock planks together using the tapping block/pull bar to fully seat joints—partial seating can lead to separation later, especially with garage temperature swings.
– As you install, check occasionally that your rows remain straight. In laminate flooring in a garage, small misalignments compound—particularly when you’re working around a doorway or a slightly out-of-square bay.
Cut around obstacles and finish transitions safely
You keep the floor functional when you cut cleanly and install transitions that still respect the floating nature of laminate. In laminate flooring in a garage, obstacles like doorways and vents can trap movement if trim is applied incorrectly.
Transition and trim installation must allow the laminate floor to remain a floating system—trim can cover gaps, but it shouldn’t clamp planks to the slab.
Consistent cutting reduces chipping and seam stress, which matters because damaged edges are where laminate locking systems fail first.
– Measure twice for doorways, garage thresholds, and vent covers. Plan transitions so you don’t trap expansion space behind trim or mismatched flooring heights.
– Use the right cutting method for consistent edges: straight cuts for length, careful notch cuts for obstacles, and clean saw cuts to avoid chipping (follow any manufacturer guidance for blade type if provided).
– Finish with molding/trim that allows the floor to “float.” Don’t fasten laminate planks to the slab—most laminate systems are designed to be installed without direct attachment to the concrete.
– If you’re transitioning from laminate to tile, epoxy-coated concrete, or another system, verify the transition height so the laminate can still expand freely under the appropriate overlap/cover.
What can go wrong (and how to avoid it)
Most garage failures happen when moisture control, flatness, or expansion gaps are treated as optional. If you’re installing laminate flooring in a garage in 2026 (or any year), these failure points are still the main culprits across DIY and contractor installs.
ASTM E1745 links vapor retarder performance to permeance classes; using a barrier with a higher permeance than your system requires can increase moisture transfer risk.
Warranty language often requires compliance with approved moisture test methods and underlayment assemblies; noncompliance can void coverage even if the laminate “looks fine” initially.
– Moisture failure from concrete: The most common garage issue is moisture coming through the slab. If the manufacturer requires a specific vapor barrier setup or moisture test, ignoring it is a high-risk mistake.
– Skipping acclimation: If the laminate is installed cold/hot and then the garage conditions swing, boards can expand/contract in ways that stress seams.
– No expansion gap (or wrong gap size): Walls and posts can “lock” the floor, leading to buckling. This is why the gap rules matter more than people expect.
– Uneven slab: Laminate can feel fine at first, but uneven spots cause joint stress and movement—eventually you may see gaps, noise, or failure at click seams.
– Wrong underlayment/vapor system: Some underlayments are incompatible with certain laminate constructions (or they’re not intended for concrete slabs). Follow the product’s “approved assemblies” list if the instructions provide one.
– High-movement garage scenarios: If your garage experiences frequent standing water, heavy condensation, or near-outdoor temperature extremes, laminate may not be a good match even if it technically installs.
Moisture-control strategies: what works better for laminate flooring in a garage
Here’s how the common approaches compare when the goal is to protect laminate over concrete.
| Strategy | Pros | Cons / Risk |
|---|---|---|
| Approved vapor barrier + floating laminate | Lowest complexity; aligns with many laminate warranties when installed per the approved assembly. | Only as good as seam overlap, correct class/permeance, and slab flatness. |
| Moisture mitigation coating (as specified) | Can reduce moisture vapor transmission when properly matched to the flooring system. | Requires strict surface prep and product compatibility; not every laminate system allows coatings under it. |
| Indicator moisture checks only (DIY shortcuts) | Low cost; can flag obvious problems. | Often not warranty-grade; condensation/visual methods can miss chronic moisture vapor issues. |
Verdict / tip: when laminate in a garage makes sense (and when to skip)
Laminate flooring in a garage can work well when your product is explicitly approved for concrete and garage conditions, you install the required moisture protection system correctly, and you maintain floating-floor expansion gaps. The tradeoff is that garages often experience more extreme temperature swings and moisture pressure than interior rooms, which can shorten lifespan if prep and compliance steps aren’t followed.
Skip laminate if your garage regularly gets wet (leaks, frequent standing water), you can’t control moisture, or your chosen product doesn’t clearly allow garage/concrete installs. In those cases, a moisture-tolerant surface (like properly specified concrete coatings or other flooring types designed for garages) is often the safer route.
Moisture & slab references that matter for laminate flooring in garages
| # | Reference | Primary output | What it helps you decide | Warranty support |
|---|---|---|---|---|
| 1 | ASTM F2170 | In-situ RH (%RH) | Moisture performance for slab-to-floor systems | ★★★★★ High |
| 2 | ASTM F1869 | Moisture vapor emission rate (lb/1000 ft²/24h) | Dryness using calcium chloride testing | ★★★★☆ Strong |
| 3 | ASTM E1745 | Vapor permeance class (perms) | Selecting vapor barrier/retarder class | ★★★★☆ High |
| 4 | ASTM D4263 | Visual moisture/condensation indication | Screening for obvious moisture behavior | ★★☆☆☆ Limited |
| 5 | ASTM F710 | Surface preparation practices | Cleaning, profiling, and repair guidance | ★★★☆☆ Medium |
| 6 | ASTM E1155 | Floor flatness indices (FF/FL) | Quantifying how level/flat a slab is | ★★★☆☆ Medium |
| 7 | Laminate manufacturer install guide | Approved assemblies + thresholds | What your exact floor allows (garage + concrete) | ★★★★★ Highest |
Scan-and-save checklist (quick install readiness)
– [ ] Verify laminate is rated for garage + concrete subfloors (per manufacturer)
– [ ] Confirm moisture testing requirements (if listed) and follow them
– [ ] Clean slab; remove residue, paint, sealers, and debris
– [ ] Repair cracks/patches so the surface is stable
– [ ] Level subfloor to the tolerance in your laminate instructions ()
– [ ] Install approved underlayment/vapor barrier exactly as specified
– [ ] Acclimate planks per instructions ()
– [ ] Plan layout and stagger end joints
– [ ] Use spacers to maintain expansion gaps ()
– [ ] Don’t fasten laminate to the slab; keep it floating
– [ ] Use correct transitions for doorways/thresholds
Sources
– ASTM: ASTM F2170 (standard for in-situ relative humidity testing for concrete), used as a moisture testing reference when applicable.
– ASTM: ASTM E1745 (vapor-permeable/vapor barrier material classification) for understanding vapor barrier systems.
If you follow the manufacturer’s moisture/underlayment requirements and keep the installation “floating” with correct expansion gaps, laminate flooring in a garage can be a solid DIY project. Before you buy or start, double-check the installation guide for garage ratings, moisture steps, flatness tolerance, and gap size—then plan your layout so you don’t rush the first row.
Frequently Asked Questions
What subfloor preparation is required before installing laminate floors in a garage?
Start by checking that the concrete slab is clean, dry, and smooth—repair cracks, fill low spots with a suitable patch, and remove any paint, sealers, or debris that can prevent bonding. Use a moisture test kit to confirm the garage concrete meets the laminate manufacturer’s requirements, since excess moisture is a common cause of buckling. For best results, install a leveling compound if the floor has significant high/low areas and allow it to cure fully before laying laminate.
How do you install laminate flooring in a garage with temperature and humidity changes?
Choose a laminate product labeled for “water resistance” or designed for below/above grade or fluctuating conditions, and follow the temperature/humidity limits in the installation guide. Acclimate the laminate planks in the garage for the recommended period so they adjust to local conditions, which helps reduce expansion gaps and seam issues. Maintain proper relative humidity as much as possible, and leave the required expansion gap around the perimeter, doorways, and columns.
Which underlayment is best for laminate floors in a garage over concrete?
Look for a garage-appropriate underlayment that includes both sound control and a vapor barrier (often a 6-mil polyethylene layer or an integrated system) to reduce moisture transmission from the concrete. Ensure the underlayment thickness and type match the flooring manufacturer’s specifications, since some laminates require a specific underlayment to protect warranties. Avoid overly soft foam that can create bounce and joint separation, especially in areas where you park vehicles or work with tools.
How do you cut and install laminate planks around garage doors, vents, and irregular corners?
Plan your layout first so plank seams avoid landing in high-traffic or stress zones, and start from a straight reference line to keep rows square. For garage door tracks, vents, and posts, measure carefully and use a jigsaw or laminate saw to create precise cutouts, leaving the required expansion gap around fixed objects. Use spacers for consistent spacing along walls and at the threshold, and install transitions (reducers/threshold strips) where necessary to keep the flooring flat and secure.
Why does laminate flooring in a garage fail, and how can you prevent it during installation?
The most common causes are moisture problems, poor subfloor flatness, missing or incorrect expansion gaps, and using incompatible underlayment—any of these can lead to cupping, buckling, or separating seams. Verify subfloor flatness before installation, use the manufacturer’s required vapor barrier/underlayment, and install with the correct expansion clearance at edges and around penetrations. Finally, avoid installing over contaminated surfaces and follow acclimation and fastening guidance closely to keep your laminate garage floor looking good for years.
📅 Last Updated: October 22, 2026 | Topic: How to install laminate floors in a garage? | Content verified for accuracy and freshness.
References
- Laminate flooring
- https://www.pergofloors.com/en-us/support/installation-instructions
- https://www.tarkettna.com/professionals/installation
- https://www.armstrongflooring.com/support/installing-flooring.html
- F1869 Standard Test Method for Measuring Moisture Vapor Emission Rate of Concrete Subfloor Using …
- F2170 Standard Test Method for Determining Relative Humidity in Concrete Floor Slabs Using in sit…
- https://scholar.google.com/scholar?q=how+to+install+laminate+flooring+in+a+garage Google Scholar
- https://scholar.google.com/scholar?q=laminate+flooring+installation+concrete+moisture+testing+underlayment Google Scholar
- https://scholar.google.com/scholar?q=ASTM+F1869+F2170+flooring+moisture+laminate+installation Google Scholar
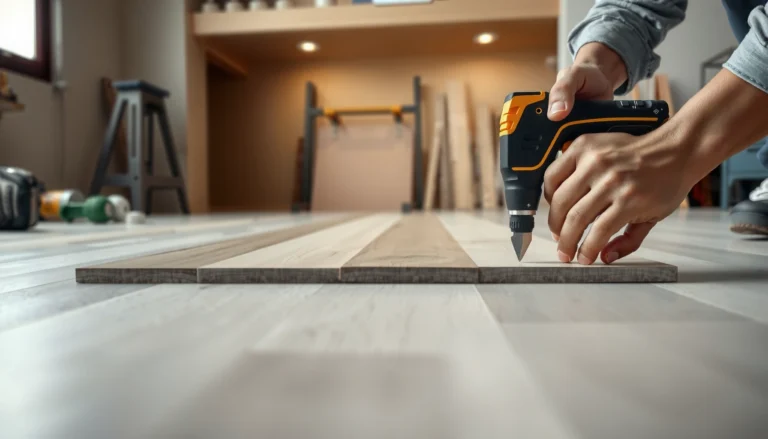

[…] installing laminate in a garage, you need to level the subfloor so the surface stays flat underfoot—plan for a proper flatness check first, then fill low spots […]