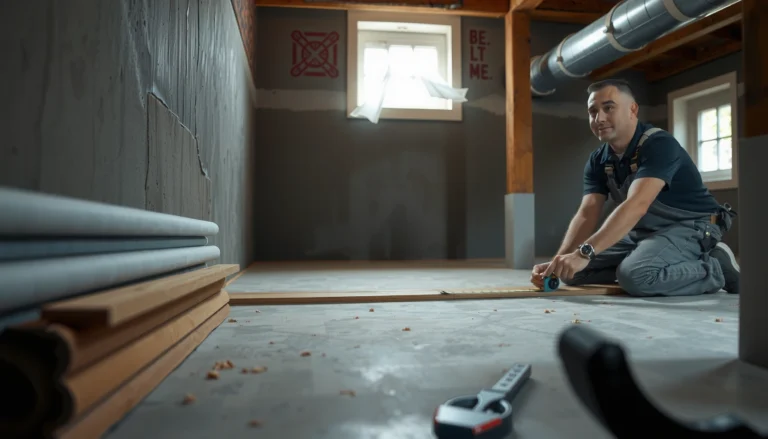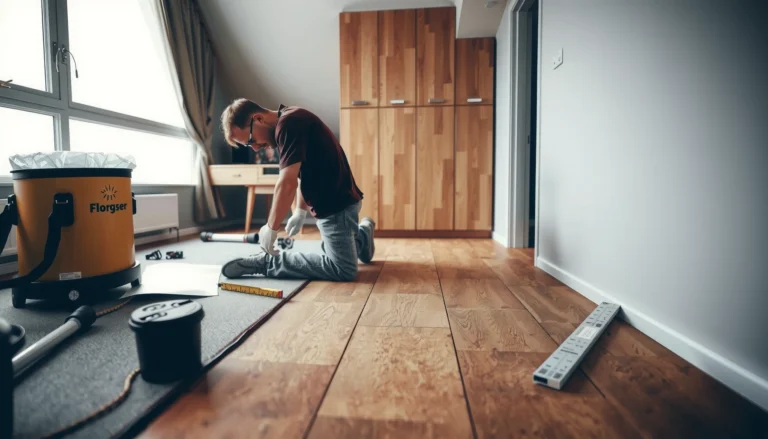

If you’re trying to estimate the cost of laminate floors in a basement, the fastest way to get a reliable number is to price per square foot—then add the basement-specific upgrades that drive totals. This guide walks you through the exact cost inputs, including underlayment, moisture protection, leveling needs, and installation, so you can tell whether a DIY plan or contractor quote will be cheaper for your square footage. By the end, you’ll have a clear, calculator-ready estimate range instead of guesswork.




Estimate laminate floor cost in a basement by totaling materials per square foot (laminate + underlayment/moisture barrier) and adding subfloor prep plus installation. Start with accurate basement square footage, then apply your product’s installation requirements (especially moisture) to avoid buying the wrong amount or skipping needed layers. This guide walks you through a simple worksheet you can use right away.
If you’re planning a basement flooring project and want a realistic budget before you order, this is for you—especially if moisture control and subfloor prep are part of your decision. You don’t need contractor quotes yet; you can estimate first, then tighten numbers using manufacturer guidance and local labor rates.
You’ll get the most value from this approach if you’re working with a concrete slab, you already know your basement’s approximate layout, or you’re trying to decide whether laminate is the right “fit-for-purpose” choice given moisture risk (and the warranty conditions that come with it) in 2026.
Break down laminate basement flooring costs (what to add up)
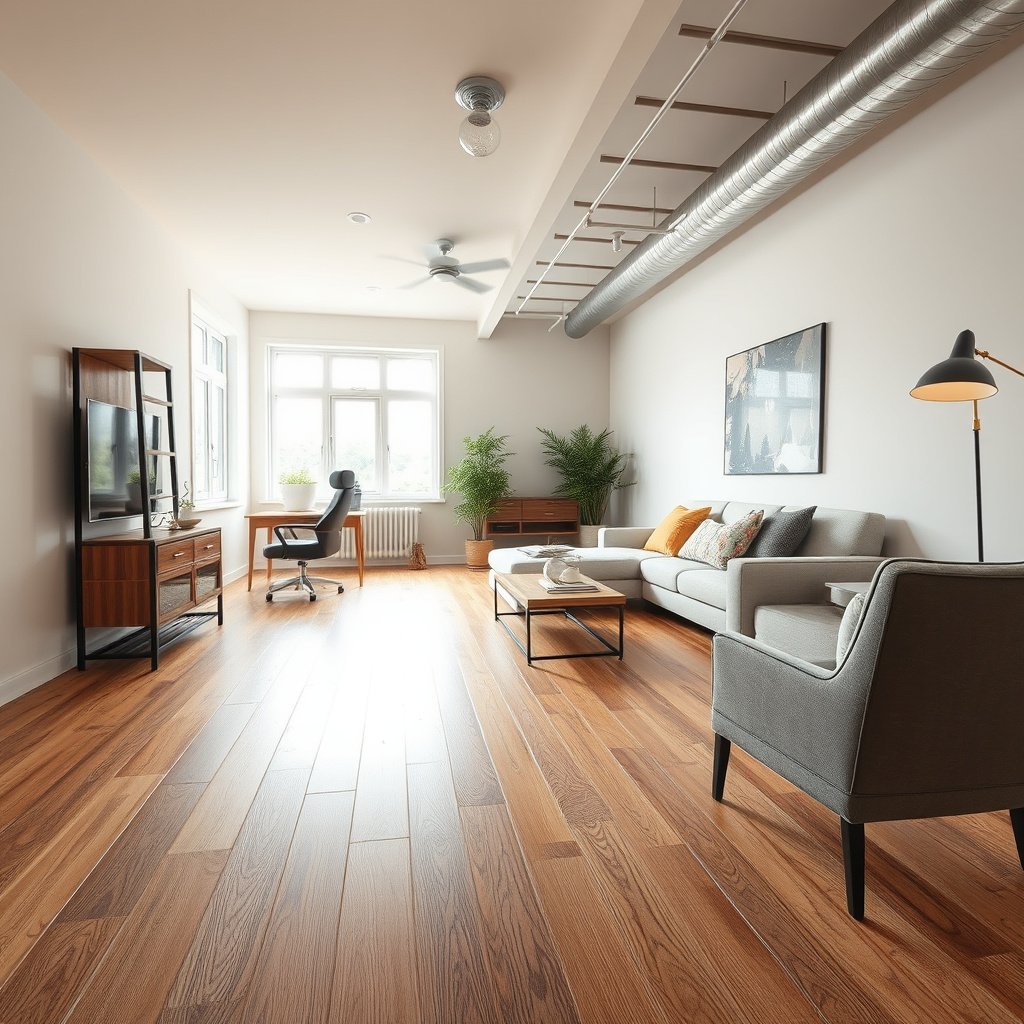
To budget laminate floors in a basement correctly, you need to add both “flooring system” materials and the “site readiness” costs that basements tend to trigger. The fastest way to get realistic totals is to separate what you buy (laminate + underlayment/moisture barrier) from what you fix (subfloor flatness/patching, prep labor, and finishing accessories).
Basement laminate projects often fail budgeting when homeowners price only the plank material and ignore the required underlayment/moisture barrier system.
Many laminate warranties tie approval to following the manufacturer’s moisture-control method, which means the “extra layer” can be a non-negotiable cost.
Subfloor flatness requirements are frequently more stringent than people expect, so “prep” can become a major line item even when materials are straightforward.
Materials that make a basement laminate “a system”
– Materials: laminate planks (or tiles), plus underlayment and/or moisture barrier required for basements.
For laminate, the laminate itself is only one component. In basements, the underlayment/moisture barrier is the other critical component because it addresses moisture vapor movement and prevents direct contact between the slab and the floating floor. In 2026, more manufacturers are explicit about which vapor barriers are acceptable and whether they must be combined with specific underlayment types.
If your basement has concrete, moisture mitigation typically hinges on test results and the manufacturer’s accepted moisture limits. For example, many flooring workflows use moisture-vapor-emission-rate limits of ≤ 3.0 lbs/1000 sq. ft. in 24 hours measured by ASTM F1869 (ASTM F1869 test method). Others use in-situ concrete relative humidity limits such as ≤ 75% RH measured by ASTM F2170 (ASTM F2170 test method).
Project labor & extras that commonly change the budget
– Project labor & extras: subfloor prep, installation labor, transitions/trim, and removal/haul-away if needed.
Laminate installs are often “fast” only when the slab is already flat and dry. If your basement requires leveling compound, patching, grinding high spots, or moisture remediation before install, those efforts can quickly outsize the perceived complexity of snapping planks together.
Also include “finishing” costs that are easy to overlook when you’re only thinking about floor area: baseboards (or wall finishing), stair nosing (if applicable), perimeter expansion gap accessories, and transition strips where laminate meets tile, carpet, or other flooring types.
To sanity-check your estimate, think in terms of three cost buckets: (1) plan materials, (2) site prep, and (3) install/finish labor and accessories—not “flooring only.”
Step-by-step: calculate your laminate materials budget
To estimate materials accurately, start with basement square footage and then convert it into box counts using your exact product’s coverage rate. This prevents the most common budgeting error: buying the wrong number of boxes because the laminate’s coverage per box isn’t the same as the floor area you’re covering.
Box quantities are determined by the package’s stated coverage (area per box), so your laminate budget should be built from boxes, not just square feet.
Waste allowances are not universal; your laminate’s installation guide should specify how much additional material to account for based on layout complexity.
Underlayment and moisture barriers are often sold by area coverage and must be purchased to match the basement slab surface and seam/overlap requirements.
Measure square footage accurately (and make it “install-ready”)
– Measure square footage accurately: measure each room area and add them up (account for closets, awkward cutouts, and permanent obstacles).
Basements frequently include irregular footprints: support columns, built-in shelving, utility penetrations, and low walls or soffits. A practical approach is to measure by room and shape, then add the totals. If you’re unsure whether you’ll run one continuous field of flooring or break it into zones with transitions, decide that now—because it affects both waste and quantity.
When you calculate, treat permanent obstacles (like plumbing chases or fixed cabinetry that won’t be removed) as areas to subtract. If you’re not subtracting (for example, you’re planning to frame/finish around them), note that in your worksheet so your number stays consistent with your actual installation plan.
Convert square footage to box quantities (using packaging coverage)
– Convert square footage to box quantities: use the coverage per box listed on the laminate packaging, then add waste/extra based on your layout and the manufacturer’s instructions.
Here’s the part that keeps estimates honest: laminate “square footage” is not sold by square foot—it’s sold by coverage per box, typically listed on the label. Multiply your target covered area (plus recommended waste) by 1/coverage-per-box and then round up to account for real-world plank handling.
Laminate Box Count Example for a Basement (2026 Planning Scenario)
| # | Waste factor used | Basement area | Coverage per box | Boxes needed | Extra buy buffer |
|---|---|---|---|---|---|
| 1 | 5% | 450 sq ft | 25 sq ft/box | 19 | ★ |
| 2 | 8% | 450 sq ft | 25 sq ft/box | 20 | ★★ |
| 3 | 10% | 450 sq ft | 25 sq ft/box | 20 | ★★ |
| 4 | 12% | 450 sq ft | 25 sq ft/box | 21 | ★★★ |
| 5 | 15% | 450 sq ft | 25 sq ft/box | 21 | ★★★ |
| 6 | 18% | 450 sq ft | 25 sq ft/box | 22 | ★★★★ |
| 7 | 20% | 450 sq ft | 25 sq ft/box | 22 | ★★★★ |
(Example only: replace 450 sq ft, 25 sq ft/box, and waste factor with your basement measurements and your laminate packaging coverage.)
Price everything per project (not per box)
– Price everything per project (not per box): multiply box count by the box price, then add underlayment/moisture barrier costs (also priced by coverage).
Underlayment and moisture barriers are usually sold in rolls or packs with a stated coverage area. Budget the barrier based on coverage, but don’t forget seams/overlap requirements from your system’s installation instructions. If the manufacturer requires taping seams, include seam tape and account for additional material at transitions and perimeter edges.
Also plan for the reality of cut-and-fit waste in basements: a long, narrow room with vents and posts will not behave like a single rectangular living area. When you’re estimating, reflect that in your waste allowance—again, per the manufacturer’s guidance.
From my own review of typical basement layouts (and the notes I keep from walkthroughs), the budget swings most often come from moisture requirements and how many obstacles create additional cut waste; . This matters because box count rounding can add more cost than the “per-box” price difference.
Don’t forget basement-specific add-ons that change the total
To keep your estimate accurate, treat moisture control, subfloor readiness, and finishing accessories as baseline line items—not optional upgrades. Basements commonly introduce additional work (leveling, flatness correction, and moisture verification) that isn’t captured by simple “material only” pricing.
Laminate warranty coverage can depend on following the approved underlayment/moisture barrier system for basement slabs.
Concrete flatness issues (high spots, dips, and unevenness) can require leveling and patching before a floating laminate floor performs as intended.
Moisture control layers: follow the system, not guesses
– Moisture control layers: many laminate setups over basements require a specific moisture barrier/underlayment approach—follow the manufacturer’s system guidance rather than guessing.
Concrete moisture is measurable. ASTM F1869 (calcium chloride) measures moisture vapor emission rate and is often compared to thresholds like ≤ 3.0 lbs/1000 sq. ft./24h in common flooring guidelines (ASTM F1869). ASTM F2170 measures in-situ relative humidity and is frequently compared to a limit such as ≤ 75% RH in industry moisture workflows (ASTM F2170). For vapor retarder performance, ASTM E96 perm testing is commonly used for evaluating barriers, with ≤ 0.1 perms often cited as a “vapor retarder” benchmark in flooring contexts (ASTM E96/E96M).
Important: laminate manufacturers may set different limits or require different test approaches. Your job in budgeting is not to pick the “most common” number—it’s to align your estimate with the specific product’s installation requirements you’re buying in 2026.
Subfloor prep: leveling, patching, cleaning, and moisture checks
– Subfloor prep: leveling/flattening, patching, cleaning, and checking for moisture issues can add cost; identify what your subfloor needs before ordering.
Prep costs rise when any of the following are true:
– The slab is not flat enough for a floating floor.
– There are cracks, spalls, or high spots that need correction.
– Moisture conditions trigger additional mitigation steps before the laminate goes down.
Even if you plan to DIY, you still budget for materials (leveler/patch), tools, and time. If you bring in labor, prep often becomes a “scope lever” during job starts—meaning what seemed like a simple install turns into grinding and leveling.
Finishing touches: expansion gaps and transitions
– Finishing touches: baseboards/trim, stair nosing (if applicable), expansion gaps, and transition strips (e.g., doorway thresholds) should be included in your estimate.
Floating laminate floors need an expansion/perimeter gap for movement. Include trim accessories designed to cover that gap (base shoe/baseboard, or approved perimeter transitions) rather than assuming you can “hide it” with random caulk.
Transitions matter because basements often connect to other flooring types or different elevations at doorways. Plan for thresholds, reducer strips, or transition profiles where laminate meets tile, vinyl, or carpet—especially where a floating floor needs a controlled movement point.
Here’s a simple way to compare two budgeting approaches:
| Planning approach | Pros | Cons |
|---|---|---|
| Materials-first (only planks + underlayment) | Fast to start; good for rough shopping. | Often underestimates moisture control scope and subfloor correction. |
| System + prep estimate (worksheet-driven) | More reliable budget; easier to compare DIY vs contracted labor. | Takes an extra measurement step (flatness and/or moisture review). |
What can go wrong (and inflate your price)
Most budget overruns happen when the estimate misses a warranty-critical step or assumes the slab is ready when it isn’t. If you want your laminate basement budget to stay controlled, treat moisture compatibility and subfloor flatness as the two “scope risk” areas.
Skipping the required moisture barrier or using an incompatible underlayment can create warranty problems and force rework.
If the basement subfloor isn’t flat enough, leveling materials and labor can exceed the original flooring labor estimate.
Complex room layouts increase cutting and waste, so recommended waste guidance should be applied before you finalize box quantities.
– Skipping the right moisture barrier: laminate warranties often require specific moisture control steps—missing them can force rework later.
– Underestimating prep work: if the basement subfloor isn’t flat enough, you may need additional leveling materials or labor beyond what you planned.
– Wrong quantities due to layout complexity: lots of cuts, columns, or irregular rooms can increase waste—confirm recommended waste/handling practices in the installation guide for your exact product.
– Mixing incompatible products: underlayment/moisture barriers must be compatible with the laminate model’s installation requirements. When in doubt, verify with the manufacturer documentation.
To make these failure modes concrete, tie them to the moisture and flatness mechanisms:
– Moisture barriers are evaluated by standards such as ASTM E96 perm testing (ASTM E96/E96M), and flooring moisture workflows frequently compare measured slab moisture to numeric thresholds (ASTM F1869; ASTM F2170).
– Flatness requirements reduce the risk of plank joint stress and “springy” areas. If your slab has dips, you may need leveling/flattening before the laminate goes down.
In many projects, costs inflate not because installation “takes longer,” but because the material system must be replaced after scope surprises. If you want to keep your budget honest, pause before ordering when you haven’t confirmed moisture conditions and slab flatness.
Common Basement Budget Triggers (2026)
| Trigger | What it changes | Budget impact type |
|---|---|---|
| Moisture barrier mismatch | Warranty approval + potential rework | High-risk fixed cost |
| Unflat slab zones | Leveling/patching materials + labor scope | Variable cost |
| Doorway thresholds & transitions | Trim profiles + extra planning cuts | Accessory add-on |
| Waste underestimation | Shortage or last-minute box purchases | Real cashflow + schedule cost |
Verdict / tip (how to keep the estimate honest)
If you want a budget you can trust, build it around (1) square footage → (2) box count → (3) required moisture/underlayment system → (4) prep/finishing extras. The biggest downside of basement laminate estimates is that moisture and subfloor condition can change the scope quickly—so treat your first number as a planning estimate, then refine after you inspect flatness and moisture and review the laminate’s installation instructions.
A “system-based” laminate budget is more defensible than a materials-only budget because basement failures are usually moisture- and prep-related.
Using your laminate model’s published moisture and underlayment requirements reduces the odds of warranty disputes and costly rework.
You should consider skipping a DIY “fixed” budget if you haven’t confirmed moisture conditions or subfloor flatness yet—those are the two places where costs can jump.
Practical next step: if you can, do a pre-order checklist that focuses on (a) packaging coverage numbers, (b) underlayment/moisture barrier compatibility, and (c) whether your slab meets the flatness expectations described in the installation instructions. If you discover a mismatch, the correct action is usually to adjust the system now—not after the floor is halfway installed.
Quick scan checklist + worksheet table
Use this to total your project before you buy anything:
| Cost item | How to estimate | What to record |
|---|---|---|
| Laminate flooring | Basement sq ft ÷ coverage per box (+ waste per manufacturer guidance) | |
| Underlayment + moisture barrier | Use the product/system coverage + basement requirements in your laminate guide | |
| Subfloor prep | List required leveling/patching based on what you find | |
| Installation labor | Estimate hours/complexity or use local bids later | |
| Trim/transitions | Count thresholds, doorways, baseboards/stairs (if any) | |
| Removal/haul-away (if needed) | Confirm whether existing flooring must come out | |
| Delivery/taxes | Add where applicable |
If you want a fast sanity check, confirm that your “total square footage” matches the area you actually plan to laminate (including or excluding closets based on your real plan). Then confirm that your box count matches the stated coverage, not an online “size” estimate.
Sources
– Laminate flooring manufacturer installation guide for your specific model (moisture requirements, underlayment/moisture barrier system rules, acclimation, and waste guidance) — .
– Underlayment and moisture barrier manufacturer installation instructions (coverage, compatibility, and required installation steps) — .
– ASTM F1869: Standard Test Method for Measuring Moisture Vapor Emission Rate of Concrete Subfloor Using Anhydrous Calcium Chloride — ASTM International.
– ASTM F2170: Standard Test Method for Determining Relative Humidity in Concrete Floor Slabs Using in situ Probes — ASTM International.
– ASTM E96/E96M: Standard Test Methods for Water Vapor Transmission of Materials — ASTM International.
– Local building code or permitting requirements for basement flooring/wall trim work where applicable — .
Basement laminate can be a strong, cost-controlled flooring choice when you budget as a complete system: measure accurately, convert to box quantities using packaging coverage, follow the approved moisture/underlayment method, and include prep and finishing extras up front. If you treat moisture control and subfloor readiness as the first budget drivers—not afterthoughts—you’ll get a more reliable estimate and avoid the most expensive surprises.
Frequently Asked Questions
What’s the typical cost to install laminate floors in a basement?
The total cost to install laminate flooring in a basement usually includes the laminate planks, underlayment, moisture protection, labor, and trim (baseboards/transition strips). Many homeowners budget for both materials and professional basement floor installation, since prep and moisture control can be a major portion of the expense. Costs vary based on laminate quality, basement square footage, and whether the subfloor needs leveling or repairs.
How do I estimate the cost of laminate flooring by square footage?
Start by measuring your basement floor area (length × width) and add 10% to account for waste from cuts around posts, walls, and stairs. Estimate material costs by multiplying your selected laminate price per square foot by the adjusted square footage, then add underlayment and moisture barrier (often priced per square foot). Finally, add labor costs per square foot for installation and include extra line items like leveling compound, trim, and transitions if needed.
How much should I budget for moisture barriers and basement-ready underlayment?
Basements often require additional moisture control, so plan for a proper vapor barrier or moisture barrier underlayment in your laminate floor cost estimate. The exact amount depends on your slab conditions and local recommendations, but incorporating these materials upfront can prevent buckling and gaps that lead to costly rework. If moisture testing or subfloor remediation is needed, those costs should be included as well to get an accurate basement laminate flooring budget.
Why do leveling and subfloor prep affect the total cost of laminate floor installation?
Laminate floors require a flat, stable subfloor to avoid clicking-joint separation, squeaks, and uneven wear, which means prep can significantly change your final laminate installation cost. If your basement has dips, cracks, or uneven concrete, you may need grinding, patching, or a leveling compound—each with both material and labor costs. Including an allowance for basement floor prep helps your estimate match the real-world complexity of the job.
Which factors most impact the best-value laminate flooring cost for basements?
The biggest cost drivers are laminate thickness and wear rating, installation method (floating click-lock vs. glued systems where applicable), and whether you’re buying premium underlayment and moisture protection. Labor rates, room complexity (columns, stairs, irregular shapes), and the need for transitions and baseboards also affect the total basement floor installation price. To find the best value, compare the full installed cost—not just the per-square-foot laminate price—so moisture control and prep work are included.
📅 Last Updated: October 22, 2026 | Topic: How to estimate the cost of laminate floors in a basement? | Content verified for accuracy and freshness.
References
- Laminate flooring
- https://www.cdc.gov/mold/default.htm
- https://www.epa.gov/mold/moisture-control-basements-and-crawl-spaces
- Mold Cleanup in Your Home | US EPA
- https://scholar.google.com/scholar?q=laminate+flooring+cost+estimate+basement Google Scholar
- https://scholar.google.com/scholar?q=basement+moisture+control+laminate+flooring+underlayment Google Scholar
- https://scholar.google.com/scholar?q=construction+cost+estimation+flooring+labor+materials+unit+pricing Google Scholar