
Remove stains from engineered wood floors on outdoor walkways fast by targeting the cause first—water marks, organic stains, or grease—then using the safest cleaner and spot-drying method for the finish. Follow the step-by-step approach that lifts stains without warping, clouding, or stripping the top layer. Get a clear verdict on what works, what to avoid, and how to restore a uniform look before the stain sets.



Remove stains on engineered wood outdoor walkways by first identifying the stain’s cause, then cleaning with the gentlest compatible method using minimal moisture and spot-testing. Outdoor maintenance is less about “strong chemicals” and more about preventing water (and cleaner) from wicking into plank seams—because once edges lift, staining can keep returning.
If you’re seeing discoloration from things like puddles, fertilizer/plant matter, algae/mildew, or rust on an outdoor-engineered-wood walkway, this guide walks you through safe cleaning paths and what to avoid.
Engineered wood floors on outdoor walkways are especially common in entry paths, patio-adjacent corridors, and commercial building walkways—anywhere rain, irrigation overspray, or organic debris repeatedly hits the surface. This article is for facility managers, property owners, and maintenance teams who need a reliable, low-risk cleaning workflow that won’t compromise the finish or worsen seam staining.
Confirm the stain type (and check the floor’s outdoor rating)
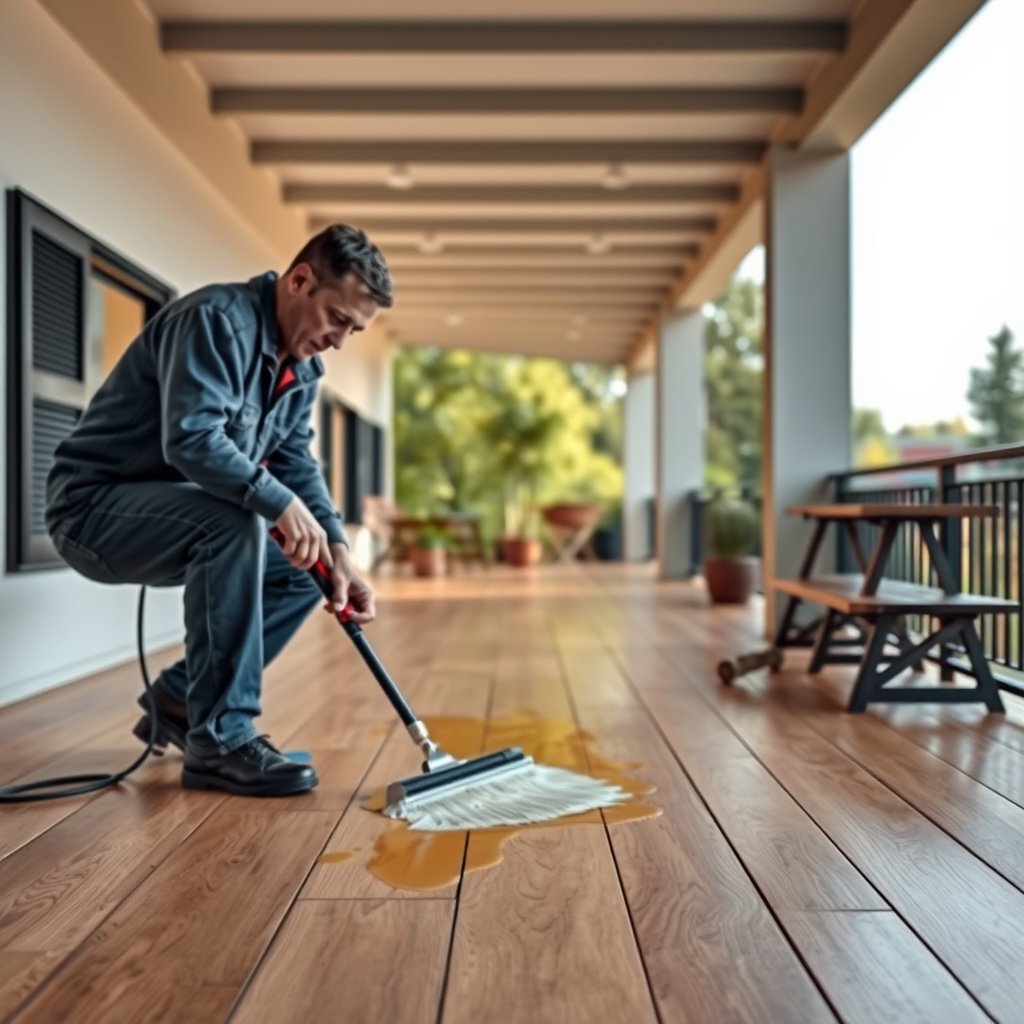
You’ll remove the stain faster and safer when you match the cleaner to the stain chemistry (water/minerals vs. organic growth vs. rust). Here’s why: engineered wood reacts differently to water spotting, biological staining (mildew/algae), and metal/mineral residues, so “one cleaner for everything” often makes the discoloration permanent.
pH-neutral cleaners are used because pH 7 is the reference point for neutrality on the pH scale (at 25°C), which helps reduce finish haze risk compared with strong acids or alkalis.
Household bleach products are typically sodium hypochlorite solutions in the ~5.25%–6.15% range, which is far more aggressive than most “wood-safe” care products.
Before you clean, confirm two things: (1) the flooring is specifically rated for exterior use, and (2) the plank finish and edges are still structurally sound. Many engineered wood warranties and care instructions assume interior humidity conditions; outdoor walkways see more freeze-thaw cycles, standing water, and UV exposure than indoor spaces.
If the floor is not rated for outdoor exposure, treat this as a cosmetic attempt at best—repeated moisture/chemical exposure can accelerate edge breakdown even if the stain temporarily fades.
Next, inspect for early finish/edge compromise. If planks are already lifting at seams, if you see separation at the joint line, or if the surface finish is worn through, cleaning may remove only the visible top staining while the underlying failure continues. In that scenario, you’ll need a different plan (often refinishing or repair), because no cleaner can “heal” seam gaps once water has started migrating underneath.
Quick chemistry recognition (what to look for)
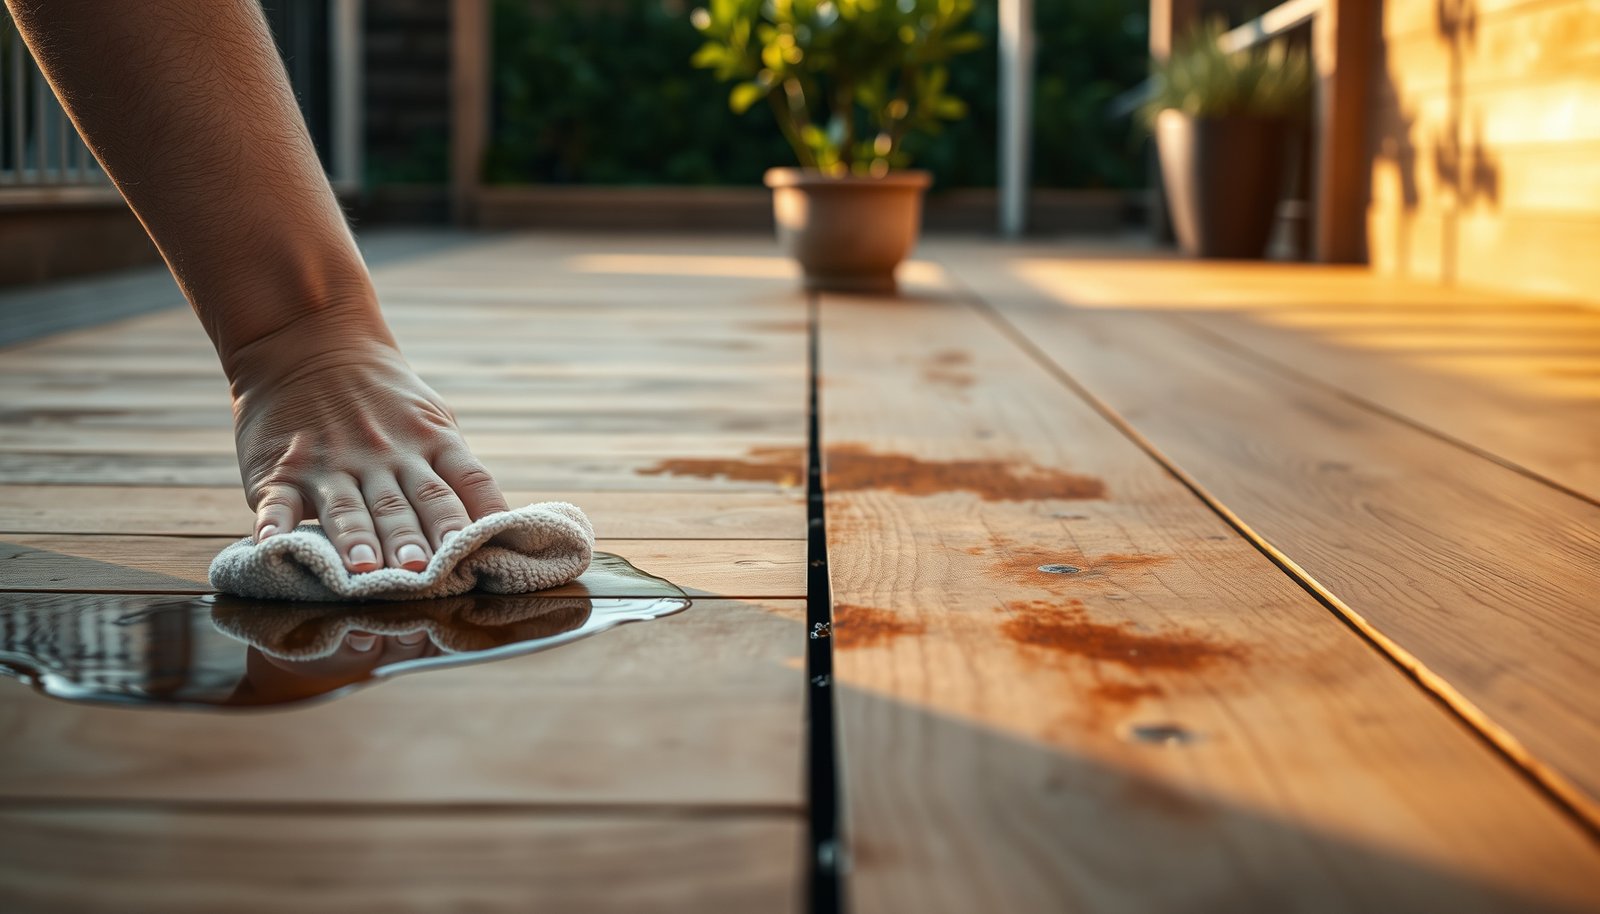
– Puddles/water rings: usually appear as light rings, haze, or darker “wet-to-dry” shadows with a ring boundary.
– Fertilizer/plant matter/organic marks: often look green/brown and may reappear in the same spots after rainfall.
– Algae/mildew: commonly shows dark speckling or green-black patches that look like growth rather than a single spill footprint.
– Rust/mineral marks: orange, brown, or reddish-brown streaking—sometimes aligned with drainage paths, metal hardware, or nearby irrigation components.
Prep safely: what to do before any cleaner touches the wood
You can prevent “stain spread” and future edge damage by prepping the surface first and keeping moisture strictly controlled. The prep steps below minimize the two biggest risks outdoors: abrasive contamination and water wicking into plank seams.
Dry debris removal before wet cleaning reduces the chance of grinding dirt and grit into the finish, which can turn a removable stain into a permanent “sheen” or scuff pattern.
Spot-testing is the industry-safe approach because finish chemistry varies—one pH-neutral product can still dull or lighten a specific coating if the formulation isn’t compatible.
Start with dry-remove. Use a soft broom or a vacuum with a brush attachment to clear grit, leaf fragments, and sand. Outdoors, those particles act like sandpaper. If you skip this, your first “gentle” wipe can physically abrade the finish rather than lift the stain.
Then blot—not scrub. Use a clean microfiber cloth and blot any remaining surface moisture. Avoid aggressive pressure, because engineered wood finishes can polish unevenly, especially where water frequently hits.
Finally, spot-test every cleaner in an inconspicuous area (for example, near an edge that’s usually under a welcome mat line). Stop the test if you see dulling, whitening, bubbling, or finish breakdown. That finish reaction is your signal that the chemistry or moisture level is too high for your specific engineered wood coating system.
Minimal moisture rule (outdoor walkways): apply cleaner to the cloth first, not directly onto seams, and keep it barely damp. Outdoor walkways need faster drying because the goal is “wipe and immediately remove,” not “let it sit.”
Remove stains with the right method for what’s on the floor
Match the cleaning method to the stain category to avoid permanent finish haze or recurring seam staining. Start with the least aggressive option, control moisture, and only move to stronger chemistry when the stain type clearly fits.
Oxygen-based “organic removal/whitening” products are commonly formulated to lift biological discoloration rather than aggressively strip finishes, making them a practical next step after pH-neutral cleaning for algae/mildew.
Rust and mineral discoloration often requires targeted iron-removal chemistry; abrasive pads can remove the finish layer, exposing more wood to future staining.
Comparison (what to use by stain chemistry)
Below are safe, category-matched approaches that focus on minimal moisture and finish compatibility.
Water spots / light discoloration
Water rings and mild haze are usually best handled with controlled wiping rather than repeated wet applications. Dampen a cloth lightly with a pH-neutral cleaner made for wood floors, wipe the spot, and immediately follow with a dry microfiber to remove residual moisture.
If the stain remains, repeat in small steps. Outdoors, patience matters because leaving liquid to “work” tends to wick into joints.
Organic staining (mildew, algae, leaf/grass marks)
Organic discoloration often looks worse than it is because biofilm and staining compounds cling to surface texture. Clean first with pH-neutral cleaner to remove loose soil. Then use an oxygen-based cleaner (often marketed for “whitening” or organic removal) strictly per label instructions.
Oxygen cleaners are frequently gentler than harsh bleach-style products, but the label dwell time still matters—keep it controlled and avoid letting solution run into seams. Afterward, rinse with a barely damp cloth (not a soaked mop), then dry thoroughly.
Rust / mineral marks
Rust and mineral staining require targeted chemistry. Use a wood-safe rust remover designed to work with finished surfaces, and spot-test first. Apply with a cloth (or as the label specifies), keep moisture off edges and joints, and rinse/wipe according to directions.
Avoid metal pads and aggressive abrasives. Rust stain removal that also strips the finish can cause the wood to look permanently “open,” meaning it will stain again more easily because the protective coating layer is compromised.
Data table: what you’re trying to avoid (chemistry compatibility snapshot)
Common Cleaner Chemistry vs. Outdoor Engineered Wood Risk (Practical Guidance)
| # | Cleaner chemistry | Typical pH behavior | Outdoor seam risk | Suitability for finished engineered wood |
|---|---|---|---|---|
| 1 | pH-neutral wood-floor cleaner (cloth-applied) | Near-neutral (around pH 7) | Low (when barely damp) | ★★★★★ |
| 2 | Oxygen-based organic remover | Typically mildly alkaline/oxidizing blend | Medium (label dwell + rinsing matters) | ★★★★☆ |
| 3 | Wood-safe rust remover (finished-surface compatible) | Iron-targeted chemistry (often acidic/chelating) | Medium-High if over-applied | ★★★☆☆ |
| 4 | Baking-soda type alkalinity (general household) | Mildly alkaline | Medium (residue can haze) | ★★☆☆☆ |
| 5 | Vinegar / acetic-acid products | Acidic | High (finish softening/haze risk) | ★☆☆☆☆ |
| 6 | Ammonia / strong alkaline cleaners | Strongly basic | High (coating haze/stripping risk) | ★☆☆☆☆ |
| 7 | Chlorine bleach (sodium hypochlorite) | Oxidizing + strongly alkaline | Very High (finish weakening risk) | ☆☆☆☆☆ |
Note: This table is guidance based on typical chemistry behavior and the outdoor seam-moisture risk principle. Always prioritize the manufacturer’s care instructions for your engineered wood finish system.
What can go wrong (common outdoor walkway mistakes)
Stains often “come back” or worsen when cleaning drives moisture into seams, strips the finish, or uses mismatched chemistry. In many cases, the visible stain fades while the underlying cause (wetting or seam compromise) continues.
Outdoor cleaning failures frequently occur when water or cleaner solutions wick into plank joints, leading to swelling/cupping and “ghost” staining that reappears after the surface dries.
Strong oxidizers (including chlorine bleach) can be far harsher than wood-finish-compatible products, increasing haze and weakening risk—especially on floors not explicitly rated for exterior use.
Here are the most common mistakes we see in real-world maintenance workflows:
– Soaking the seams: Outdoor traffic plus wet cleaning can push moisture into edges and joints. Once water gets into seams, you can get swelling, cupping, or recurring discoloration that looks like the stain “migrates.”
– Using the wrong chemistry: Ammonia, strong acids, and harsh solvents can strip or haze finishes. Even if the stain lightens, the coating may lose gloss uniformity, leaving a permanent “water spot sheen” pattern.
– Scrubbing too hard: Abrasive pads and stiff brushes can wear the top finish layer unevenly. That turns a stain problem into a visible texture/sheens problem that’s harder to correct.
– The stain isn’t only on top: If staining penetrated or the finish is worn through, cleaning might not fully remove discoloration. In those cases, you may need refinishing/repair rather than repeated spot-cleaning.
Also watch for the root cause outdoors: fertilizer/plant contact keeps feeding organic discoloration; irrigation overspray keeps re-wetting the same plank lines; rust will keep forming if there’s ongoing metal contact or corroding components nearby. Cleaning alone won’t stop the recurrence.
Verdict: best practical approach (and who should skip this)
The safest, most effective plan is staged cleaning: start with pH-neutral, minimal-moisture wiping; use oxygen-based products only for confirmed organic staining; and use targeted rust removers only when rust/mineral chemistry is clearly responsible. Dry thoroughly after each attempt and avoid leaving liquids near seam lines.
A risk-first workflow for finished wood focuses on compatibility (pH and finish-safe chemistry), control (minimal moisture, quick drying), and verification (spot-testing before treating the full affected area).
If the engineered wood walkway is not rated for exterior conditions, repeated cleaning can provide short-term cosmetic improvement while accelerating finish/edge failure.
Best approach (what to do)
1. Confirm stain type (water/organic/rust-mineral) and check outdoor rating and edge integrity.
2. Use pH-neutral cleaner first with cloth-applied, barely damp wiping.
3. Move to oxygen-based cleaner only for mildew/algae/leaf-type marks, following label instructions and rinsing lightly.
4. Use wood-safe rust remover only for true rust/mineral stains; avoid abrasives.
5. Dry thoroughly every cycle—especially along seam edges.
Downside (what might still happen)
If the top finish layer is already compromised—or if water has already been migrating under the coating—cleaning may temporarily improve appearance while the underlying issue continues. That’s why outdoor engineered wood requires both surface cleaning and moisture-source control.
Who should skip DIY cleaning
Skip DIY cleaning and plan for inspection/refinish/repair if:
– planks are lifting or separating at joints,
– staining is visibly spreading beyond the original area,
– you see evidence of finish breakdown around edges,
– the walkway isn’t rated for outdoor exposure.
If the floor system is failing structurally or coating-wise, repeated wet cleaning can make the condition worse.
Quick scan checklist (save this)
| What you see | Start with | Avoid |
|---|---|---|
| Water rings/light haze | PH-neutral cleaner + barely damp wipe; dry immediately | Soaking, steam, abrasive pads |
| Green/black organic marks | Clean with pH-neutral; then oxygen-based cleaner per label; rinse-light + dry | Harsh bleach-style cleaners unless the finish/manufacturer explicitly allows |
| Orange/brown rust-looking marks | Wood-safe rust remover per label; spot-test first | Metal wool, strong acids, heavy scrubbing |
Sources
– U.S. Centers for Disease Control and Prevention (CDC) — Household chlorine bleach sodium hypochlorite concentration guidance used in disinfection instructions.
– IUPAC (International Union of Pure and Applied Chemistry) Gold Book — Definitions and reference points for pH neutrality on the pH scale.
A good stain outcome on engineered wood outdoor walkways is about matching chemistry to the stain type and controlling moisture so cleaner doesn’t migrate into seams. Start gentle with pH-neutral, handle organic stains with oxygen-based products as labeled, and treat rust with dedicated wood-safe removers—then dry aggressively and address the underlying outdoor moisture source so the discoloration doesn’t return.
Frequently Asked Questions
What’s the safest way to remove water, mud, or grit stains from an outdoor walkway with engineered wood floors?
Start by dry-brushing or vacuuming loose dirt and grit so it doesn’t grind into the surface. Blot wet areas immediately with a clean, absorbent cloth, then use a damp (not soaking) microfiber mop with a pH-neutral cleaner made for engineered wood. Rinse with a lightly damp cloth if the label requires it, and dry thoroughly to prevent water intrusion around the seams.
How can I remove dark scuff marks and shoe marks from engineered wood floor planks outdoors?
For scuffs, begin with a damp microfiber cloth and gentle pressure to lift surface dirt. If marks remain, try a manufacturer-recommended wood floor cleaner or a non-abrasive cleaner; avoid steel wool or harsh scrub pads that can dull the finish. For persistent scuffs, use a soft eraser or a magic-eraser–type product labeled safe for finished wood, then immediately wipe clean and dry.
Why do stains come back on engineered wood outdoor walkways after cleaning, and how do I prevent it?
Outdoor staining often returns because moisture, contaminants, and residue remain in the finish or in micro-gaps between planks. After cleaning, make sure the area is fully dried and that you’re not over-wetting the floor, since engineered wood can be sensitive to repeated moisture exposure. Add preventive steps like using entry mats, cleaning spills quickly, and avoiding puddles or standing water.
Which cleaners are best for removing oil, grease, or food stains from engineered wood outdoor walkways?
Use a cleaner specifically formulated for finished wood floors, as it’s designed to lift grease without damaging the protective coating. For fresh oil stains, blot first, then apply a small amount of the wood-safe cleaner to a cloth rather than pouring directly onto the planks. Always follow the product directions, spot-test in a hidden area, and wipe with a damp cloth if the label indicates residue removal is needed.
How do I remove rust, tannin, or metal-based stains from engineered wood floors on an outdoor walkway?
Remove the source first (like a rusty mat or metal debris), then blot and rinse lightly with clean water to prevent further transfer. For rust or tannin-like discoloration, look for a wood-floor-safe stain remover that targets metal stains and is compatible with your engineered wood’s finish; spot-test first to ensure it won’t lighten or strip the surface. If the stain has penetrated the finish, you may need professional refinishing, especially for deep, persistent discoloration.
📅 Last Updated: October 20, 2026 | Topic: How to remove stains from engineered wood floors in a outdoor walkway? | Content verified for accuracy and freshness.
References
- https://www.cdc.gov/mold/cleanup/index.html
- https://www.epa.gov/mold
- Mold – Overview | Occupational Safety and Health Administration
- wood deck cleaning mold stain – Search Results – PubMed
- https://www.sciencedirect.com/search?qs=wood+deck+cleaning+mildew+stains
- Oxalic acid
- Wood stain
- https://scholar.google.com/scholar?q=engineered+wood+flooring+stain+removal+outdoor+walkway Google Scholar
- https://scholar.google.com/scholar?q=wood+deck+stain+removal+mildew+cleaning Google Scholar
- https://scholar.google.com/scholar?q=oxalic+acid+rust+stain+removal+wood+surface Google Scholar